Getting started is one of the biggest hurdles in photography. That’s why I created this 30-day photography challenge. It will kickstart your photography and help you realize your potential. Each day, an exciting photography challenge boosts your creativity and skills.
By the end of the challenge, you will have generated many more ideas. You can also involve friends and family and compare results! Tag each other and ExpertPhotography on Instagram to share your photos and inspire others.
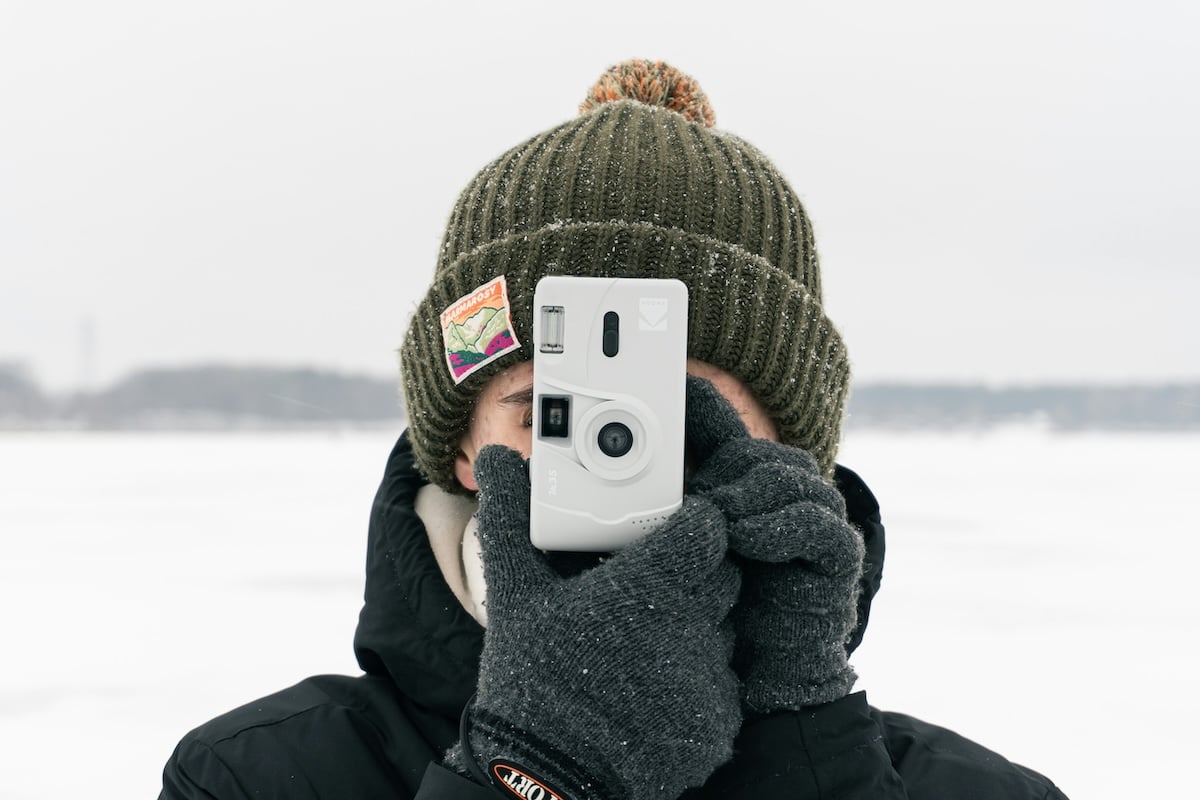
Kodak M35. Shot with a Sony a6400. 50mm, f/5.6, 1/80 s, ISO 100. Kyryl Levenets (Unsplash)
What Is a Photography Challenge?
A photography challenge is a daily exercise that pushes your creativity, enhances your skills, and makes you a better photographer.
Here, we’re challenging you to try a new photography technique everyday for 30 days. You don’t have to complete it in 30 consecutive days, but the fact there is some kind of stop watch does give you an extra push.
Each challenge encourages you to experiment with new ideas and techniques you wouldn’t otherwise consider. By pushing you out of your comfort zone, they help you learn to take better photos in any situation.
And what is a 365 photo challenge? Most photo challenges, like this one, last thirty days. But those dedicated to learning photography can try the 365 photo challenge that lasts a year. It’s quite a commitment, but it’s worth trying!
Shot with a Canon EOS R5. 70mm, f/7.1, 1/30 s, ISO 100. Steve Gribble (Unsplash)
Our 30-Day Photo Challenge
Each link takes you through the challenge for the day. So, let’s get started!
Day 1: Self Portrait
We all know how to take selfies. But this photography challenge asks you to take self-portraits more seriously.
Self-portraits in the mirror are still a great option. But using a timer on your camera gives you more freedom, allowing you to be more creative.
You can be yourself, or you can create characters and alter-egos using costumes. You can check out our list of self-portrait photographers if you need inspiration.
Day 2: Rule of Thirds
The rule of thirds is one of the most basic composition concepts in photography. Using the grid system might be confusing at first, but it’ll change the way you compose your photos. You’ll have more powerful compositions in now time, and this will bread even more enthusiasm for photography.
Day 3: Black and White
Bright, vibrant colos always make photos eye-catching. But when you’re shooting in black and white, you have to find other ways to make your images visually interesting.
Looking for texture, contrast, or abstract shapes makes you work harder as a photographer. But once you start to see these things, you’ll have a fresh new outlook.
Day 4: Depth
If you continuously suffer from images that look flat, this challenge is perfect for you. The depth challenge the best way to learn how to create dynamic pictures that appear to pop out of the frame.
Looking for ways to add depth to your images will strengthen your compositions in different ways. It’ll help you think about foreground and background, and it will help you put more thought into subject placement.
Day 5: Texture
Looking for texture in your photos is a great way to study how light interacts with surfaces. You’ll notice details you might have overlooked before, and you’ll start to see beauty in simple things like rocks and wood.
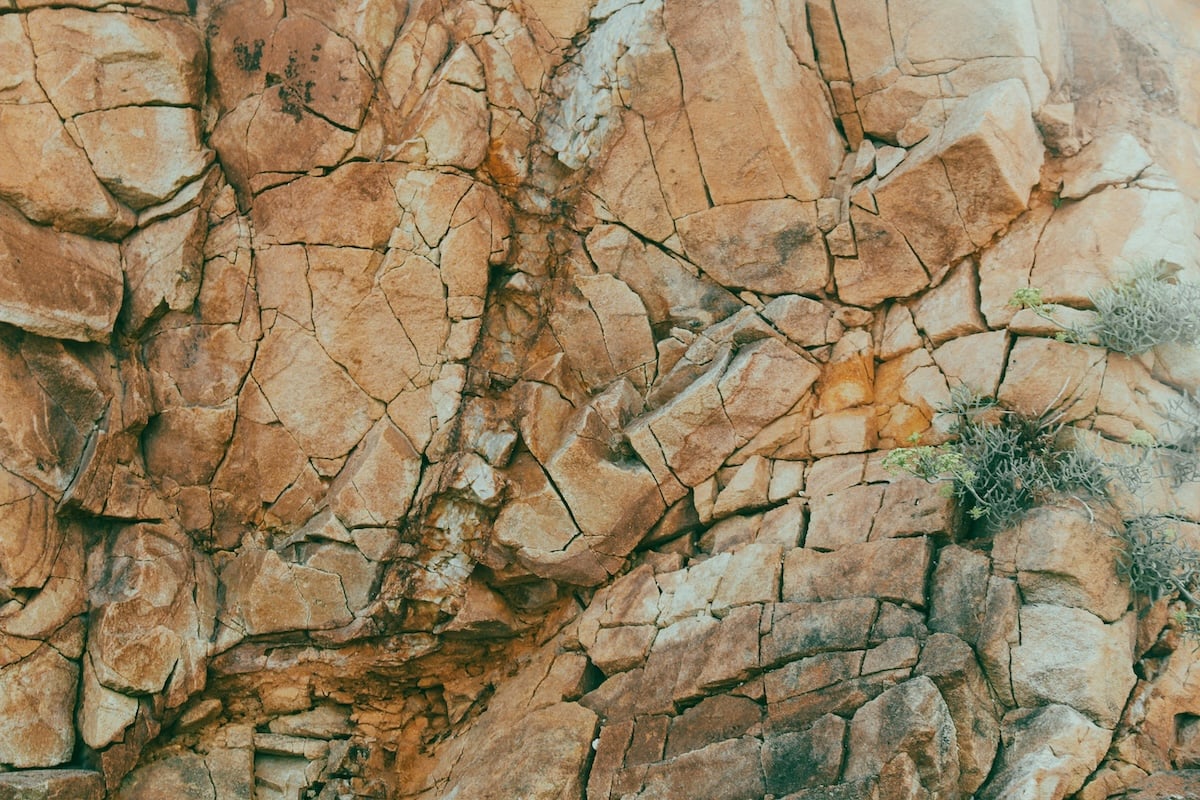
Shot with a Canon EOS 70D. 50mm, f/7.1, 1/125 s, ISO 100. Matthieu Bibs (Unsplash)
Day 6: High Angle
Are you tired of shooting at the same angle all the time? Take a high-angle photo of a subject that would otherwise look boring at eye level. After a few shots, you’ll quickly learn the power of perspective in photography.
Day 7: Low Angle
The same goes for low-angle photography. Explore the ways shooting from a low angle changes the feel and message of your image. Try both low angle and high angle shots with the same subject and see how they differ.
Day 8: Sunset
I think we can all agree that sunsets are beautiful. It’s often easy to get a great sunset picture because they’re look so fabulous. But be experimental with your sunset images. Try different compositions and camera positions to see what you can achieve.
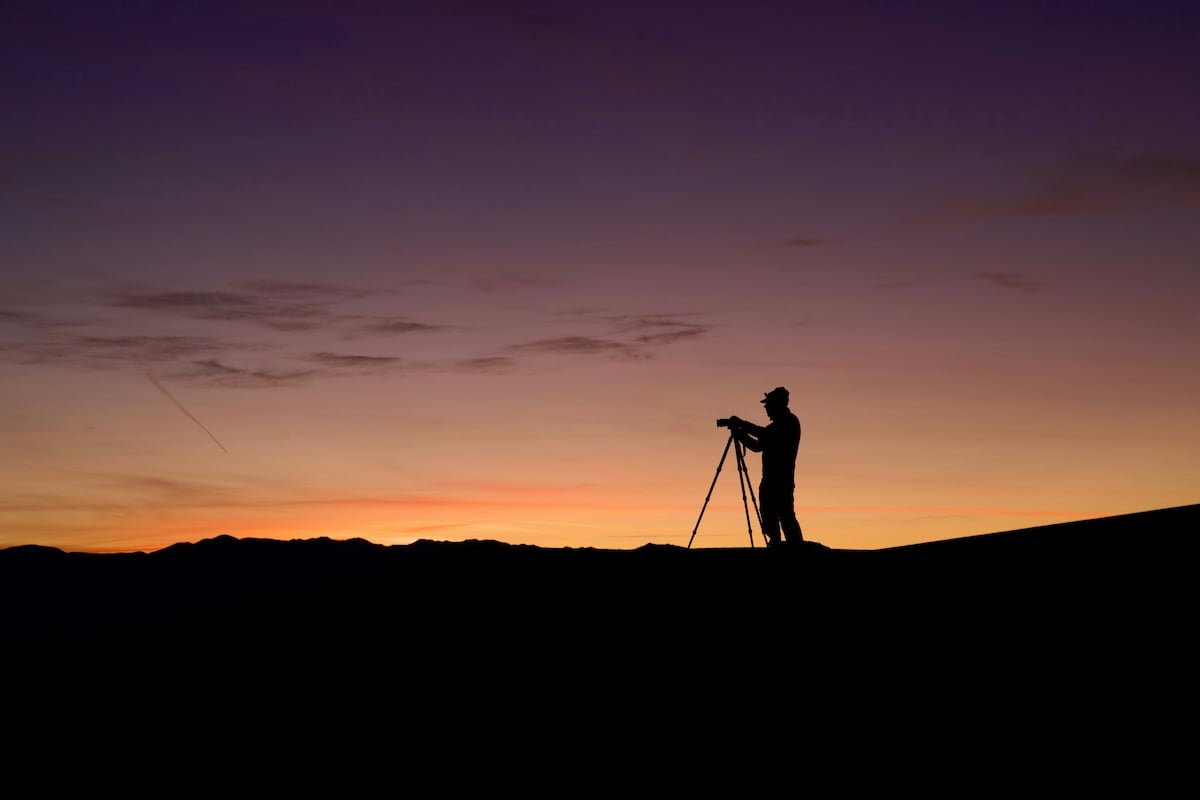
Day 9: Silhouette
Silhouettes can be a powerful visual element in photography. They are striking, bold, and add mystery to images. The key is to have strong back lighting, so look for situations where the subject is between you and the light source.
Day 10: Bokeh
This is one of the easiest and most fun photo challenges you can do. It’s a simple technique every photographer needs to know. And as long as you know about aperture, you’ll be able to create the bokeh effect in your images.
Time to open up your lens aperture and capture incredible bokeh shots!

Shot with a Canon EOS R5. 70mm, f/2, 1/250 s, ISO 1600. Alexander Jawfox (Unsplash)
Day 11: Landscape
Landscape photography is one of the most traditional genres. All you need to do is find a location that visually interesting. Rural scenes and mountains come to mind, but you can even shoot industrial landscapes. Use what you have available to you.
Day 12: Balanced
There’s something calming and satisfying about a well-balance photo. That’s why learning about balance in photography can improve your composition.
Day 13: Unbalanced
An unbalanced photo can have a distressing effect on the viewer. There’s a sense of instability and disorder, and learning to harness these feelings will make you a more powerful photographer.
Day 14: Lens Flare
Take photos facing the sun to create beautiful lens flare. Be careful not to point the camera directly at the sun, but experiment with how direct sunlight can create beautiful visual elements.
Day 15: Portrait
Portraiture are one of the most popular forms of photography. All you need is a willing model, and you can try your hand a captivating portrait photography.
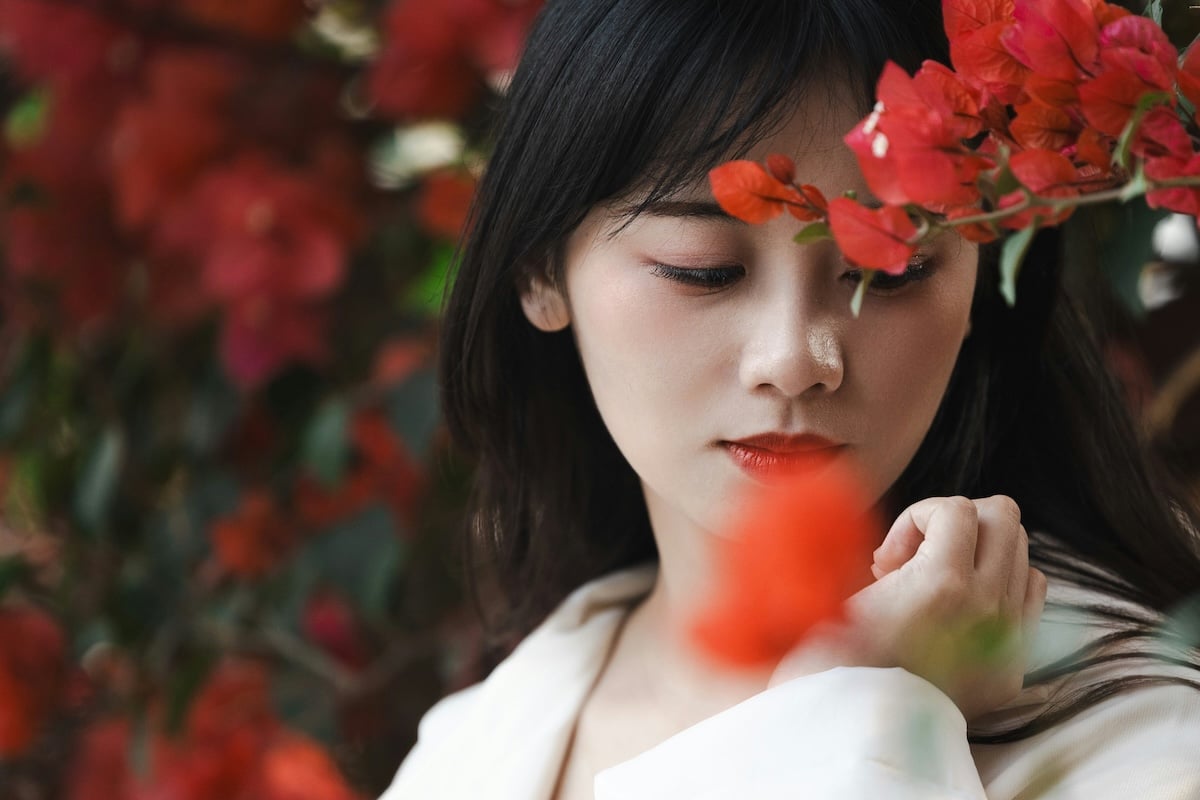
Shot with a Canon EOS RP. 187mm, f/2.8, 1/500 s, ISO 640. Woody Yan (Unsplash)
Day 16: Dynamic Tension
For interest and drama, look for the interaction of opposing elements, such as contrasting shapes, colors, or lines. This gives your images a sense of dynamic tension.
Day 17: Slow Sync Flash
You don’t need fancy equipment for this challenge. Using a slow-sync flash is a great way to experiment with flash photography. You’ll have some really interesting results.
Day 18: Frame Within a Frame
Improve your composition skills by trying the frame-within-a-frame technique. Look for natural frames in your environment and use them as a framing device in your images.
Day 19: Panorama
Are you bored with regular landscape images? Now is the time for you to learn how to take epic panorama images.
Day 20: Panning
Do you need to improve your action photography? If so, you’ll find panning the camera an easy technique that brings a sense of movement and energy to your images. It’s surprising how easy it is!
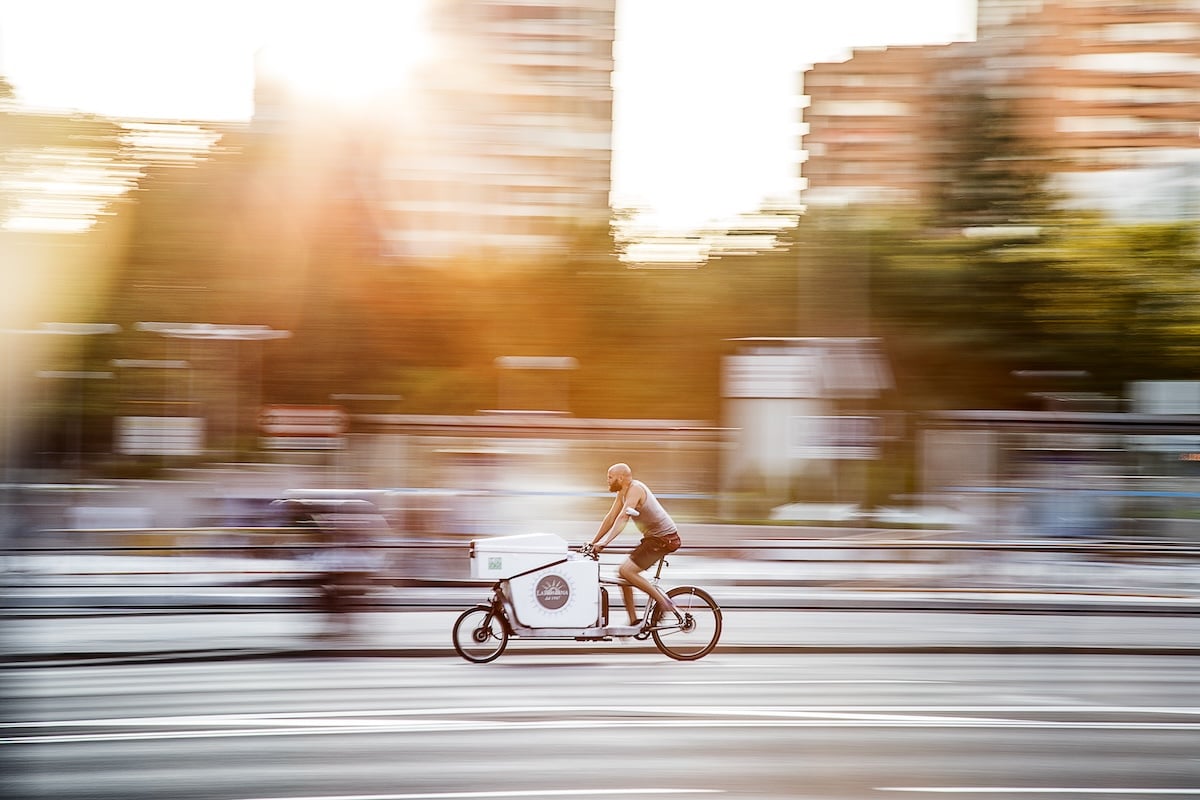
Shot with a Canon EOS 5D Mark IV. 105mm, f/14, 1/13 s, ISO 100. JavyGo (Unsplash)
Day 21: Colorful Water Drops
So far, our photography challenges have been quite simple. Now it’s time to break out of the traditional and experiment with conceptual photography!
You will need a bit of additional equipment for colorful water drop photography, but there’s nothing expensive or difficult to find.
Day 22: Harris Shutter Effect
This trippy photo challenge uses red, blue, and green filters to create psychedelic effects. Need we say more? You have to try the Harris Shutter Effect.
Day 23: Light Painting
Light painting is one of the most useful photo challenges you can do at night. It involves lighting up the dark parts in your frame to create interesting exposures.
Day 24: Water Splash
Have you ever wondered how to freeze water splashes in your photo? You’re in for a treat because this photo challenge will teach you how to do it.
Day 25: Street Photography
Street photography is another popular genre of photography. All you need to do is roam the streets with you camera, capturing life as it moves around you.
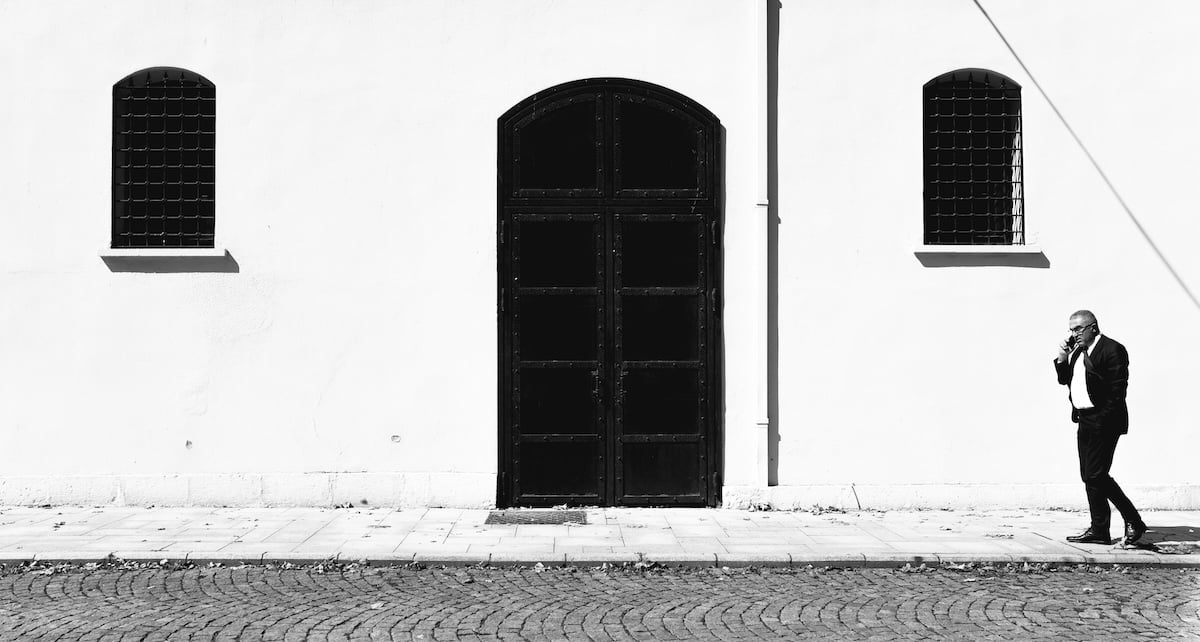
Shot with a Fujifilm X-T3. 23mm, f/5.6 , 1/1000 s, ISO 200. Furkan Elveren
Day 26: Complementary Colors
Even just a small amount of knowledge about color theory can make a big difference to your photography. Use complementary colors in your images to add more vitality to your images.
Day 27: Architecture
Try your hand at architecture photography by taking pictures of interesting buildings. They can be small or large. They can be brick or wood. You just have to capture them in a way that’s visually stimulating.
Day 28: Hidden Camera Mirror Photo
This is a tricky one, but you’re near the end of the 30-day challenge so you’re basically a pro. The hidden camera mirror selfie is a great way to impress people. And it’s a fabulous technique once you can use it.
Day 29: Night
This photography challenge is a great way to test your photography skills. Night photography requires knowing how to use your equipment correctly, but those skills will come in handy any time you’re shooting after dark.
Day 30: Light Graffiti
Take out your colorful flashlights and do some nighttime light graffiti photography! This is a more free-form style of light painting.
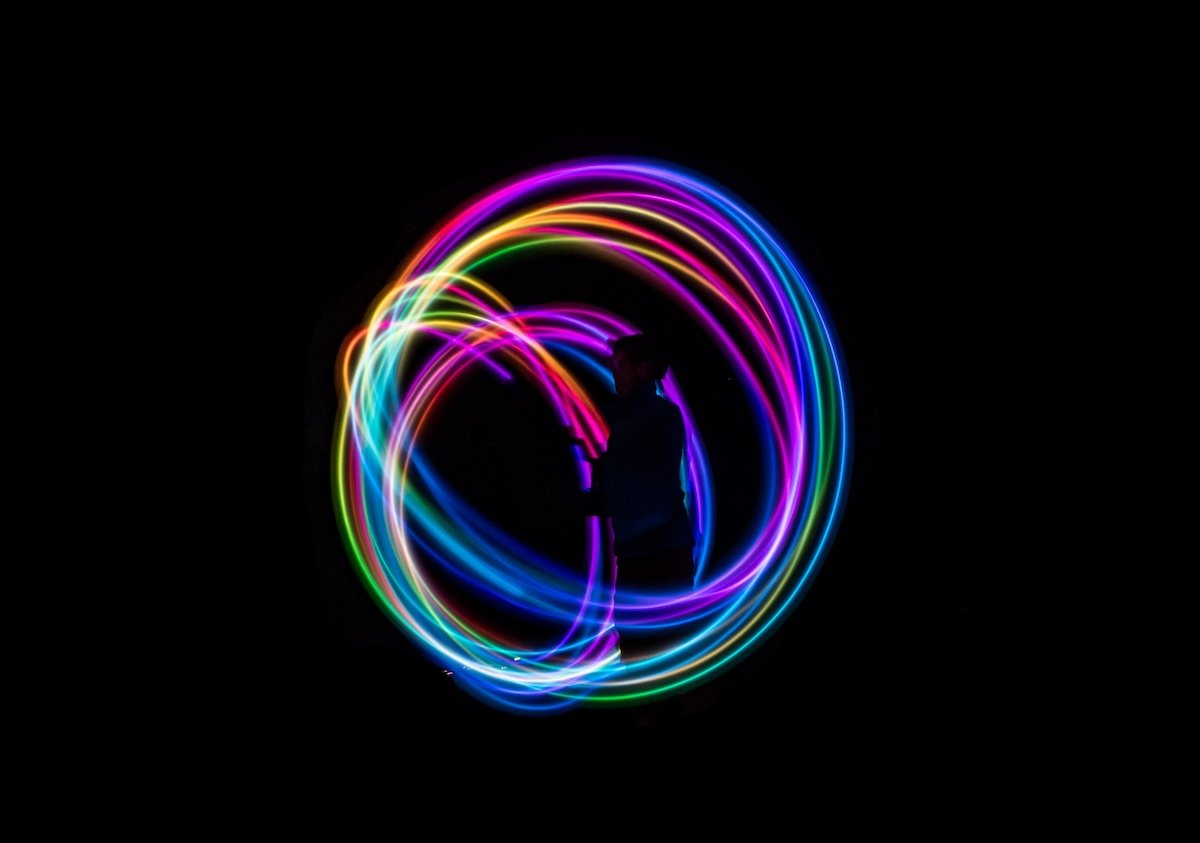
Shot with a Panasonic Lumix FZ300. 5.2mm, f/6.3, 8 seconds, ISO 100. Tyler Lastovich (Unsplash)
Conclusion: 30 Day Photography Challenge
Our 30-day photography challenge is an excellent way to learn new techniques and improve the ones you already know.
Of course, you shouldn’t stop after 30 days! Remember that photography is just like regular exercise. The more you do it, the better you get. After this intense photography challenge, you’ll definitely see the improvement in your camera skills.
I hope you enjoy these different photo challenge ideas. They will undoubtedly help you improve your photography!
Check out our Wow Factor Photography course for creative photo exercises and learning opportunities.


