Flash is often a necessity when taking portraits. Whether they’re casual photos from an event or family portraits for a client.
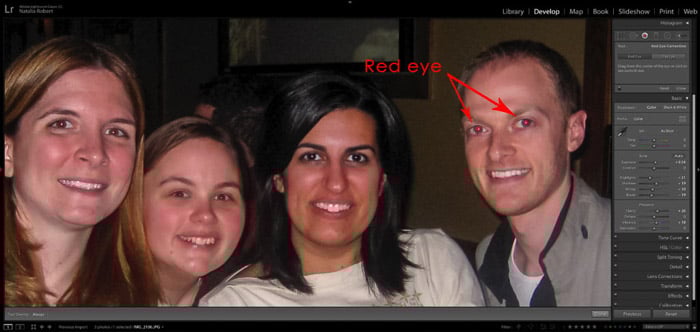
While flash can be a huge help in lighting, it can also produce red eyes on our subjects.
Thankfully, Lightroom has an easy tool to correct this. Here’s how to use Lightrooms red eye remover in a few quick and easy steps!
What Is Red Eye and How Can You Use Red Eye Remover in Photography?
Simply put, red eyes in photos happen because your subject is turned at just the right angle to cause a reflection of the flash in their eyes. What we see as red eyes is the reflection.
It can also happen when photographing animals. When Fido has green glowing eyes in photos it’s from the same reflection of the flash.
Both types of reflections are fixed in the same way, using Lightroom’s red eye remover correction tool. Let’s walk through how to use this tool in our photo retouching.
Selecting the Red Eye Correction Tool
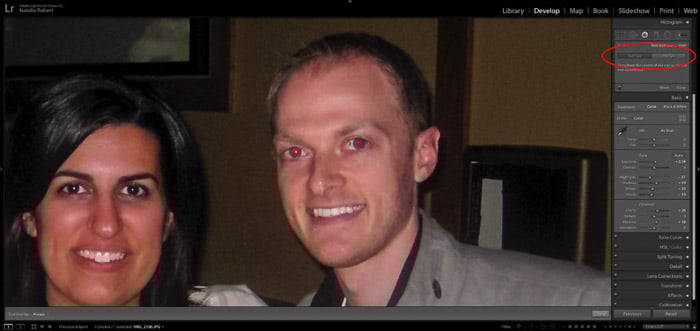
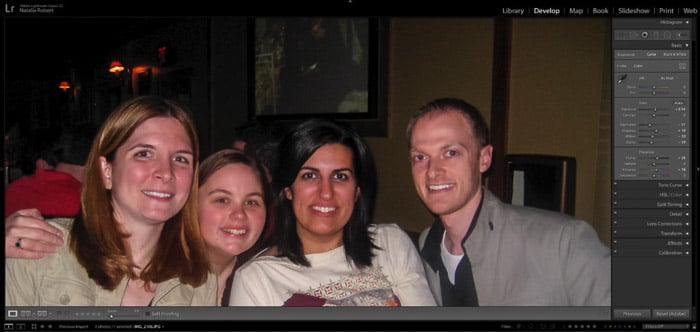
While working in the Develop module of Lightroom, select the Red Eye Correction tool from the right column. You can find it nestled between the Spot Removal tool and the Gradient Filter.
You’ll then select either Red Eye or Pet Eye correction. Red Eye is for photos of people because our eyes reflect in red. Pet Eyes will correct the green-yellow tones that reflect in animals’ eyes.
Select Where to Correct
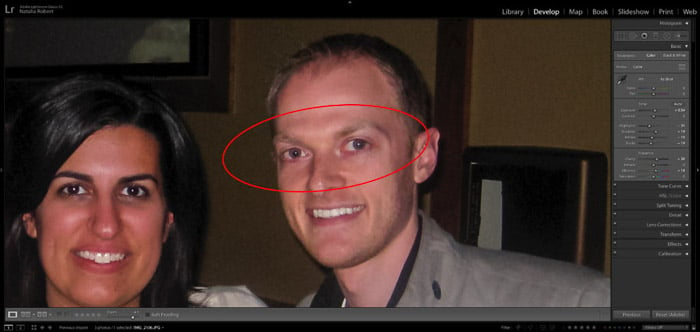
You then click and drag out from the center of the red eye. Release when you’ve drawn a circle to encompass the entire iris of the eye.
You can adjust the size the same as the radial filter tool, by clicking and dragging the edges to adjust size. Or by clicking and dragging the center to move the entire selection.
How to Adjust Your Corrections
Once you have the selection where you want it, you can adjust the pupil size and darkness with the sliders.

Repeat, Review, and Done!
Once you have one eye done, you can do the same process with the other eye for any further corrections.
If you need to adjust one selection after you clicked out of it, you can always go back and click on the selection to adjust settings.
Conclusion
Lightroom makes it super easy for us to fix the pesky red eyes that happen sometimes from flash photography.
With this red-eye removal tool, we can continue shooting, knowing that there’s a way to easily correct the photo for our clients!