Drones have opened up a whole new world of photography, and landscape drone photography is one of the most popular genres. Here are eleven tips to help you take your landscape drone photography to the next level.
It's easy to fall for the temptation to fly as high as your drone (or the law) will allow. Just because you can go way up in the sky doesn't mean you should. Great drone pics are often taken low to the ground as this allows the camera to see the contours of the landscape. It shows depth and size and shape in a way that you can't see from high up.
Think about the way a great landscape photo of rolling hills captures the shape of the terrain. It's the same with drone photography. Even if you're shooting straight down, you'll be able to capture more detail if you're closer to the ground.
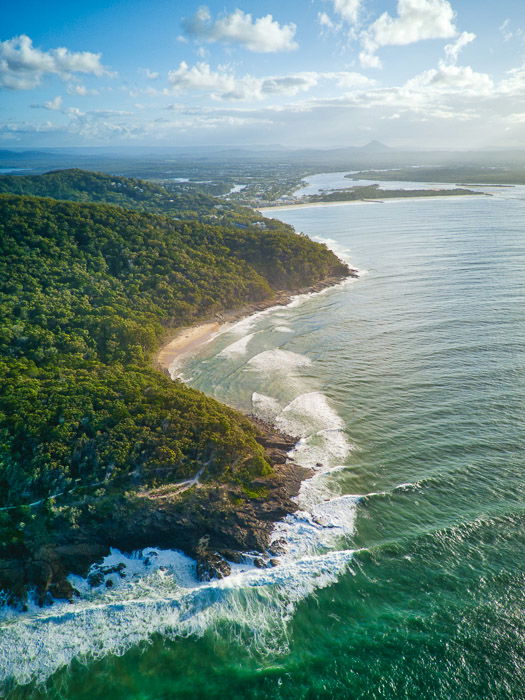
The small sensors in drones don't have a very good dynamic range. Even relatively cheap have the ability to capture an incredible range of light, so photographing landscapes with drones requires you to bracket a lot more.
Exposure bracketing involves taking multiple exposures of the same scene, some being underexposed and some being overexposed so you can record a much larger dynamic range. You then take those bracketed exposures and blend them together into one image in post-production.
Many drones have an HDR function which blends exposures into one image automatically for you. I recommend taking multiple exposures manually or using the AEB function which will take 3 or 5 exposures automatically with one click.
This will give you more control over how the exposures are blended together in post-production, and allow you to decide how the final image looks. You can do this either with Adobe Lightroom/Photoshop or tone mapping software.
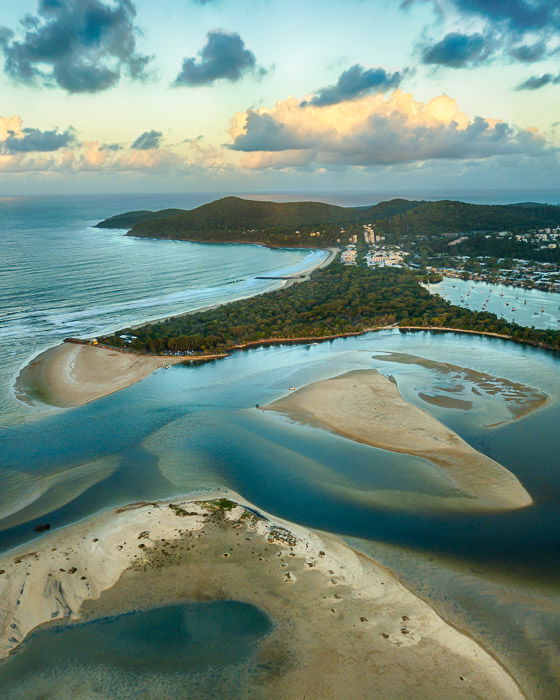
Most landscape photographers will agree that you generally get the best light around "golden hour". This gives you about an hour to shoot at the beginning and the end of the day. The light at these times of day tends to be warmer and softer, which gives the landscape a beautiful glow.
Personally, I think the best time to photograph aerial landscapes is about 30-60 minutes after sunrise and before sunset. It's not technically "golden hour", but for drone photography, I think it's better. This is when the sun is low in the sky, but still high enough to illuminate the landscape in a way that lights up the whole scene.
If you shoot when the sun is right down on the horizon, you will often get an image where only the edges of the landscape are illuminated.
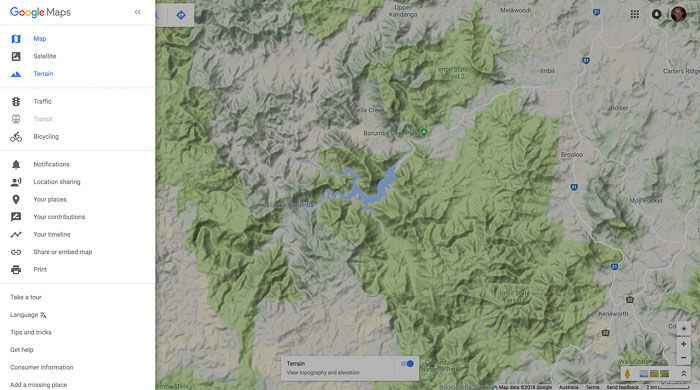
You've probably already figured out that Google Maps is a great place to research drone photos. I spend hours trawling over Google's insane amount of satellite imagery looking for potential aerial landscapes.
Even in Satellite View, I've found that often some of the best landscapes are invisible when looking straight down (see tip #1).

If you turn on Terrain View, you will be able to see the earth in a more useful way. Terrain View allows you to see the depth of the area you're looking at. This shows you a lot more locations that you might have skipped right over otherwise.
See how in Satellite View this location looks pretty uninteresting, but in Terrain View you can see the potential for some great drone landscape photos.
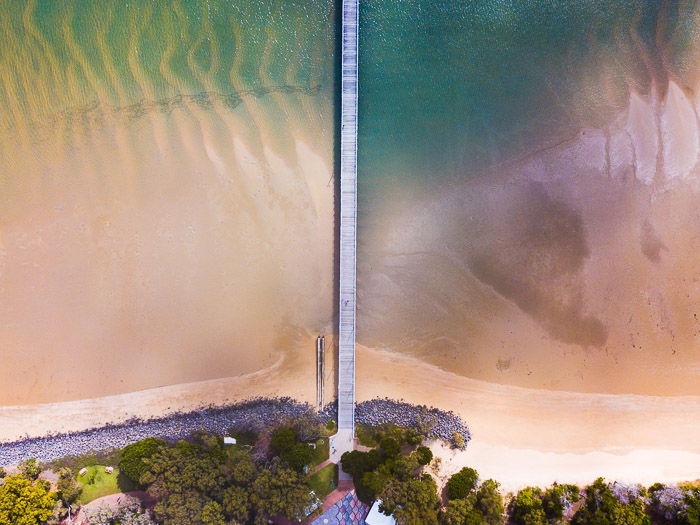
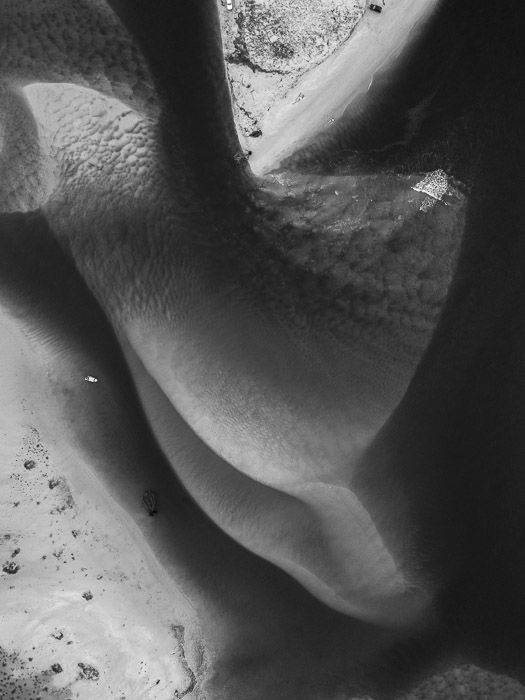
Drone photography opens up a whole world of possibilities to take some mesmerising photos that would be impossible from the ground. Some of the most incredible drone photos I've seen have been taken shooting straight down and capturing symmetry well.
There are many opportunities for this in cities where man-made structures provide straight, perpendicular lines. You can also find symmetry in natural landscapes if you look hard enough. Try combining natural and man-made features in your drone photos for a double-win.
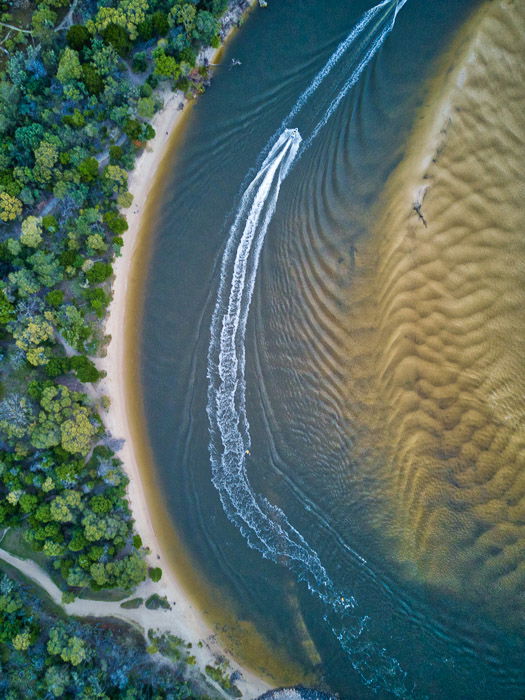
Another reason drone photos can be so interesting is because of the ability to capture contrasting textures in unique ways. Drone photography can often have a painterly feel to it due to the way it captures the textures of the landscape.
Finding and photographing contrasting textures can make for some amazing photos. Think about the different textures of sand, water, concrete, grass, trees, metal, or snow. How might they look if they were photographed side-by-side or overlapping in the same photograph?
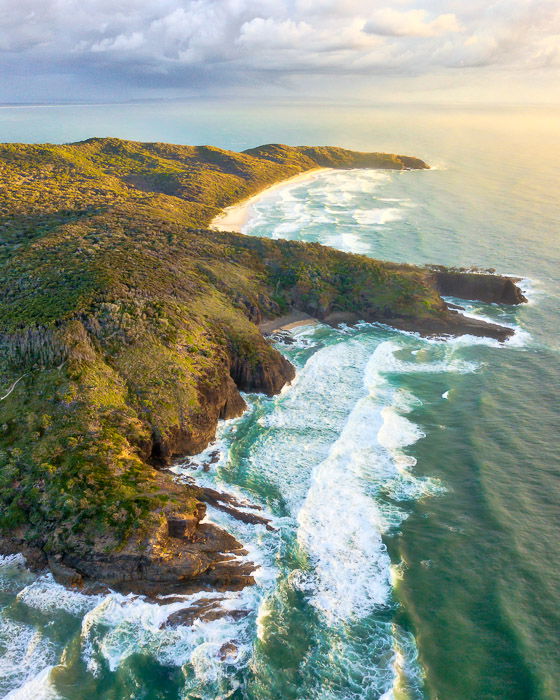
You can apply the principles of portrait lighting to landscapes even though you have no control over the light. Portrait photographers will often use side-lighting to light a face because they know that side-light reveals shape and depth. Early and late in the day (see tip #3) the light is softened by the atmosphere in much the same way as a portrait photographer would soften the light from their flash using a softbox or umbrella.
You can apply these principles to landscape photography by shooting at the best times and making sure the light is coming from off to one side of the camera. Instead of shooting with the sun in front of or behind the drone, keep it to the right or left. As the sun hits your landscape, it will light it beautifully, showing off the shape and depth of the scene.
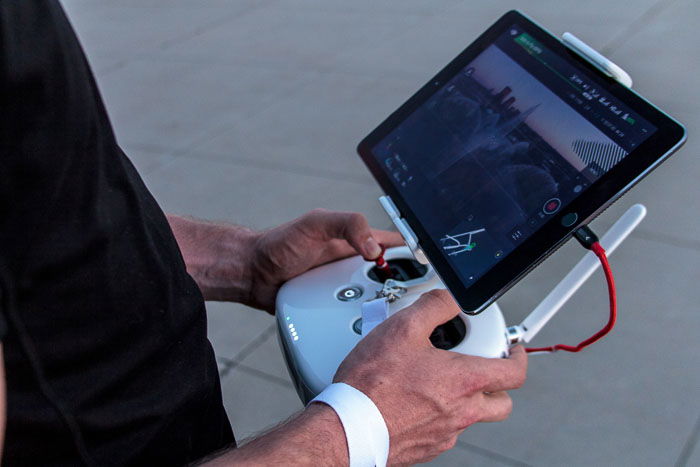
I very quickly got frustrated with using my phone as a controller while taking drone photos. It's not small, but I still wanted more screen to be able to see what my drone was seeing.
Connecting a tablet to your drone controller will allow you to see far more. This makes it easier to compose photos and check focus. It also makes flying a lot safer.
The added benefit is that your phone will be free to use for other tasks, like checking how long you have until sunset or taking behind the scenes pics for your Instagram Story.
While we're on the subject of your controller screen, did you know you can clear all the clutter away, showing just what the drone’s camera sees?
All that data is super helpful when you're flying and changing camera settings, but not when you're composing your drone photos.
Before I knew that I could do this, I would often be disappointed with the composition of my drone photos when I uploaded them to my computer. Now that I know about this awesome feature, my rate of keepers is a lot higher.
In the DJI Go 4 app simply swipe up or down to enter Full-Screen Mode and repeat to exit. If you're using another app it may be different, so you’ll have to read the instruction manual.
You likely think you'll never be one of those photographers who loses their drone or makes the news, but it's easily done. I had a scare not long after getting my drone and I hope you can learn from my near-miss.
I put too much trust in the drone's ability to know how much battery would be needed to fly home.
What I didn’t account for was how much extra power it would use flying back into the wind and let's just say it didn't make it home.
Luckily I realised in time and landed it in a safe spot, but it wasn't very far from water and heavy traffic, so could have had an embarrassing or dangerous outcome.
Don't be like me. Test your drone's limitations in a safe environment and bring it home sooner rather than later.
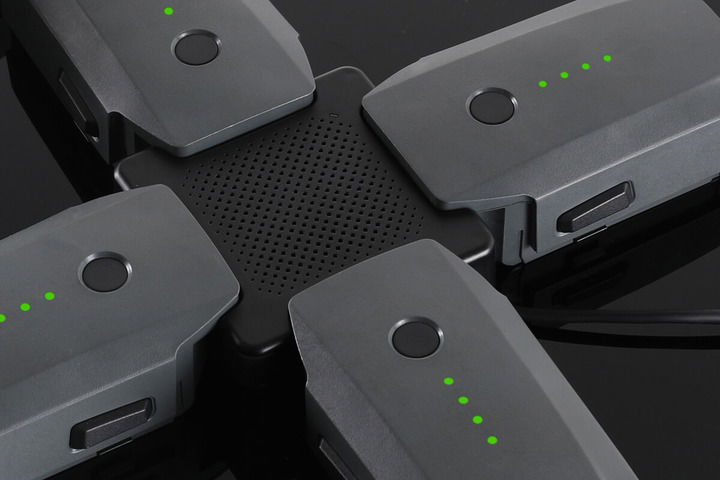
The only times I have ever taken my drone out and used one battery are when I have been grounded by wind, rain, or low light. I only get about 20 minutes of flying and photography out of one battery, and that is never enough!
I always carry three batteries, giving me about an hour.
Having to go home because your battery is dead when you want to keep shooting is super annoying. If you don't have spares you're also more likely to keep flying when you really should be bringing it home.
Buy extra batteries.
Drones literally open up a whole world of possibilities with landscape photography. These tips are just a few of the things I've picked up while learning landscape drone photography.
I would love to hear about your experiences with shooting landscapes with a drone. Have any tips to add? Please leave them in the comments!
We have a great article on buying a drone and landscape photography accessories you should check out before your next trip!