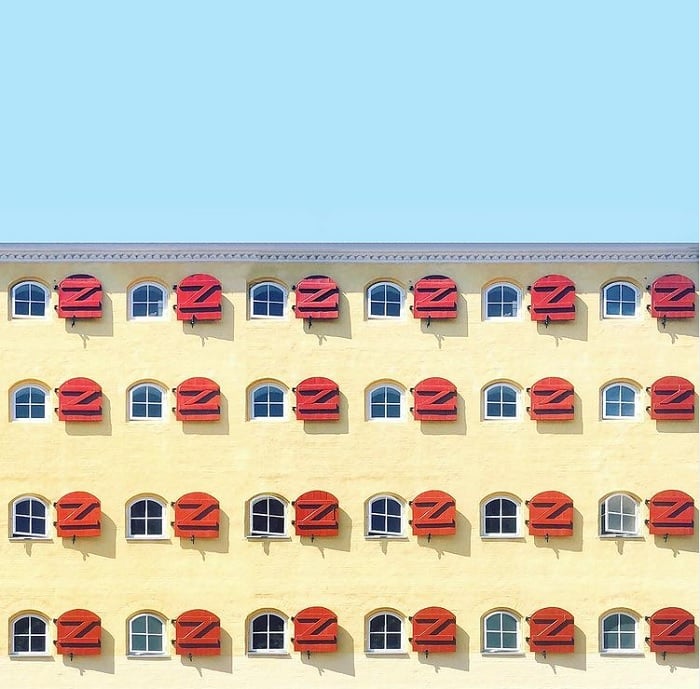
Adding a human element in architecture photography can make or break the shot. Here are 10 tips for getting it right every time.
1. Learn About the Human Element In Architecture You’re Photographing
Understanding a structure’s aesthetics is one of the most important considerations when adding the human element into architecture photography. Learning about a building’s lines, elevation, and angles makes a difference to how I approach an architectural photo shoot.
The amount of research you can do will vary depending on where you are, how long you’re at a location, and any cultural and language barriers you experience. If you can’t research beforehand, check out the internet afterwards to find the background of the architecture.
You don’t need to be in a foreign country to learn new things about architecture. Discover more about local architects and styles in your own community. Being able to provide a verbal or written narrative with your photos is a great skill to share with viewers.
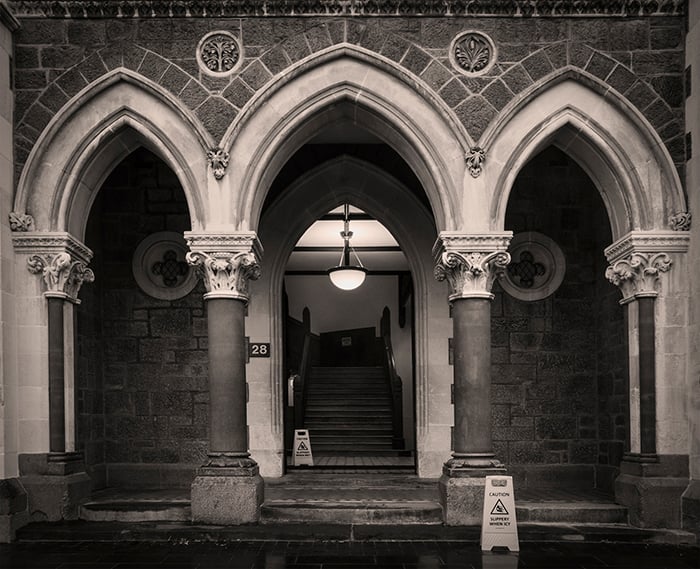
Architectural Photography.
The entrance to the Gothic Revival-inspired Arts Center, designed by architect William Armson. Christchurch, New Zealand. © Heather Milne
2. Pictures of People and Architecture
This might seem obvious, but including people in your frame is a great way to add the human element. Pictures of people provide a sense of scale and context to a scene, and help viewers relate to the architecture. Look for repeated patterns and lines in both the person and the architecture.
Keep It Candid
With the focus on architecture, I try to avoid a person having direct eye contact with the camera. Capturing passers-by is the best way to include people acting candid and natural, and their inclusion is directly relevant to the architecture and the story.
Depending on what I’m using the photograph for, I may work from a viewpoint where I can’t see faces clearly, to circumvent any privacy/permission issues.
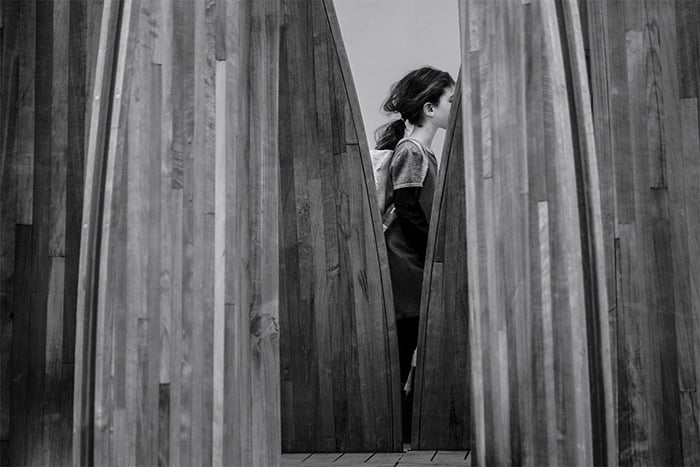
Architectural Photography.
A girl interacts with artwork ‘Tree Houses for Swamp Dwellers’, Julia Morison, 2013. Christchurch, New Zealand. © Heather Milne
Use the Movement
Borrowing a cool street photography trick, use a tripod and shutter release cable and slow your shutter speed right down so that you capture the blur of people moving against the stillness of the architecture.
It’s one of those techniques that looks more complicated than it is. Because of the slow shutter speed letting more light into the camera, it’s best to do this in lower light levels (an overcast day or during the golden hours is ideal). Working with this technique at night also provides an awesome effect with movement of vehicle lights against buildings.
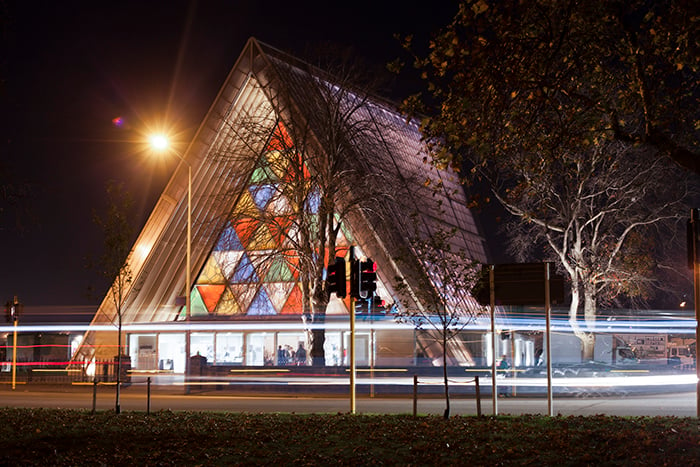
Architectural Photography.
The Transitional Cathedral (aka ‘Cardboard Cathedral’) designed by Shigeru Ban. Christchurch, New Zealand. © Heather Milne
Diversify
Include a wide range of people of different ages, gender, ability, culture, and ethnicity in your photographs. This will mean that more people can relate and connect to your photographs.
3. Play With Light
Light provides emotion and nostalgia to a scene, and these are great human elements to include. You might photograph a dark, moody city church, bright sunny beach hut, or rural barn in the warm fading light. The amount of light we let into our cameras affects how we feel about the photograph.
Be creative and let your perceptions about the architecture suggest the light you should shoot it in. Shadows, concrete, and reflective surfaces result in shadows and strong contrasts, although I find converting the images to black and white can make them stand out. A bit of research comes in handy – particularly with weather forecasts, sunrise/sunset times and sun direction.
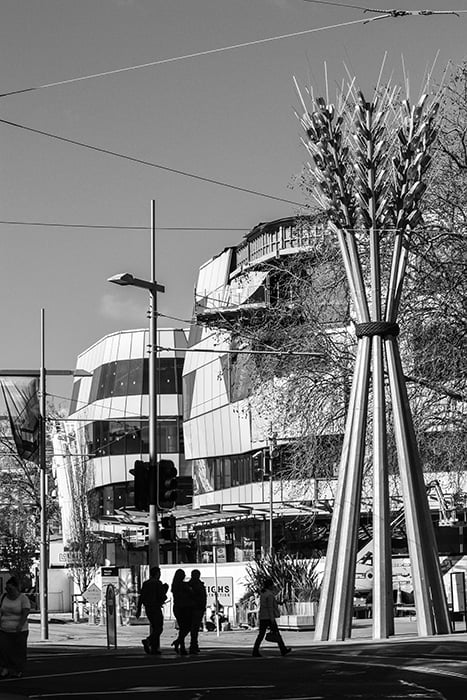
Architectural Photography.
Artwork ‘Flour Power’, Regan Gentry, 2008 from Scape Public Art. ANZ Building under construction designed by Peddle Thorp Architects, in the background. Christchurch, New Zealand. © Heather Milne
4. Include Artwork in Pictures of Buildings
I’m lucky to live in a city that has a flourishing street art and sculpture scene. This makes for unique architectural photographic opportunities that celebrate and promote the relationships between art and architecture. An artist invests a huge amount of personal emotion into creating a work of art, and this translates beautifully to photography.
Include sculpture and street art with quirky curves and interesting shapes in your frame. These can be easier for people to relate to than plain bricks and mortar, and when juxtaposed against formal architecture, they encourage viewers to think about the aesthetics of the space in different ways.
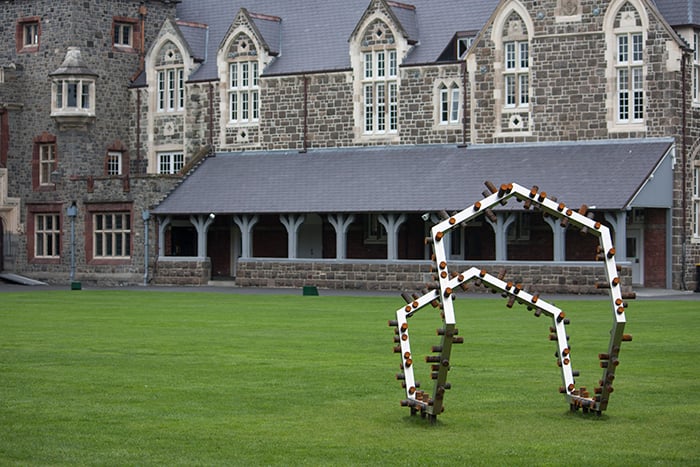
Architecture Photography.
Anton Parsons Acquiesce 2017 from Scape Public Art. Image courtesy of artist and Jonathan Smart Gallery, Christchurch. © Heather Milne
5. Get the Technical Bits Right
One of the reasons I love architectural photography is because of the ‘exactness’ of it. I like the methodical process of working out viewpoints and composition, and I really love that architecture doesn’t shake in the wind or sneeze in the middle of a shot! If you get the technical basics right, you can concentrate on more variable human elements in your photo.
Use Your Tripod
It seems daft to use a tripod on a bright sunny day when you’re taking a photo of a very still building, but it really can make a difference. A tripod forces me to put more thought into my composition, often resulting in less post-production cropping or need for the Transform Tool.
Shutter Release
When surrounded by bustling city distractions and different light conditions, I can’t always see the sharpness of a photograph on my camera’s LCD screen. A shutter release cable gives me peace of mind so that I don’t experience camera-shake disappointment in post-production.
The shutter release cable and tripod also work together well if you’re waiting for a person to walk into the frame (or if you need to politely ask someone to stay out of the frame while you take the photo).
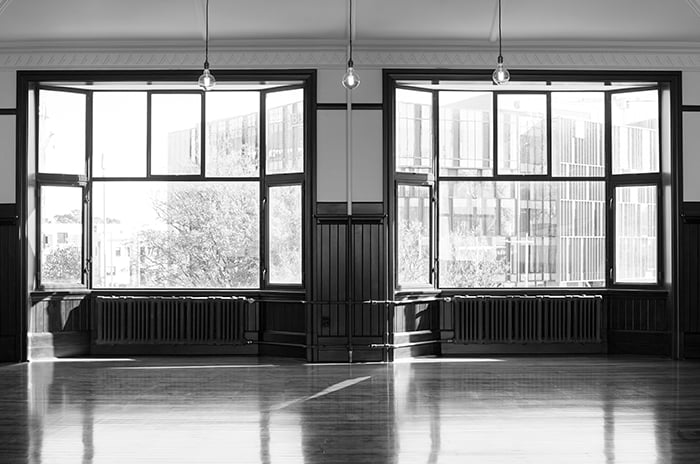
Architecture Photography.
The restored former billiards room of the Midland Club Building, Christchurch, New Zealand. © Heather Milne
Clean Lenses
One of my major camera crimes is forgetting to clean my lenses because I’m usually so enthusiastic about heading out with my camera! Architecture can involve big skies, and nothing shows a dust spot or water spot on your lens like a lovely big sky. It can be remedied in post-production, but it’s quicker and easier to give your lenses a clean before you leave your house.
Depth of Field
Generally when I’m photographing architecture with a wide angle or , I keep my aperture at f/6.3 or higher. I experiment with the depth of field a bit more when I’m photographing small architectural details with my zoom lens. Each lens has an aperture ‘sweet spot’ which is a useful thing to know if you’re unsure about what setting to use.
Every lens is different, so research to find the sweet spot for your lenses.
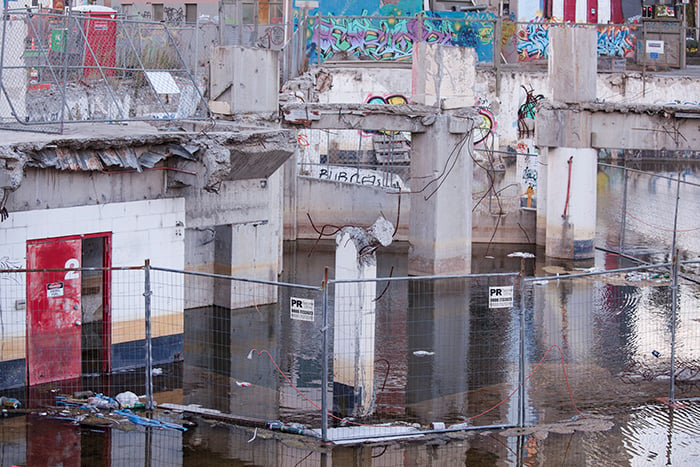
Architecture Photography.
Broken remains of a demolished building in central Christchurch, New Zealand after the earthquakes. © Heather Milne
ISO
I did all my photography study on a very old DSLR camera which forced me to use ISO100. My tutor also insisted this had to be our default setting!
Consequently, shooting at a low ISO is my super power.
If you’re using a tripod and shutter release cable for architecture photography, there’s generally no need to use high ISO settings unless you’re in extremely low light. Set your shutter speed accordingly (the lower the ISO and/or narrower the aperture, the slower the shutter speed), and use an ISO between 100 and 200 to achieve that clear, smooth effect without noise.
6. Incorporate Nature
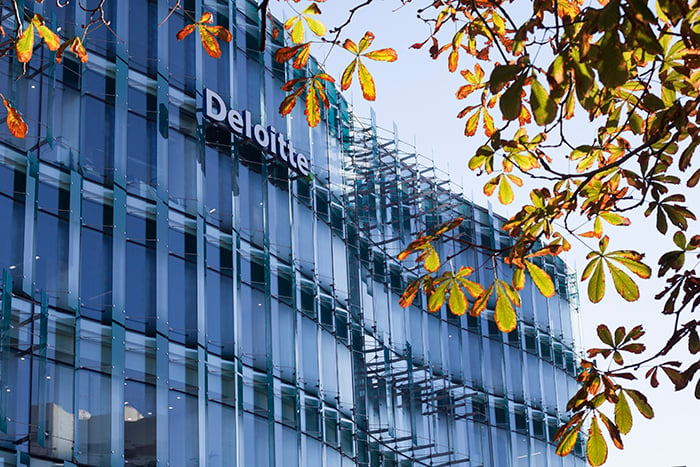
If I’m looking for a softer approach when photographing buildings or structures, I like to include plants in the frame. Irregular shapes, impermanence, and connection to the planet provide a great juxtaposition to concrete, steel, and glass.
Like incorporating a person in a photo, nature also shows context and scale, and helps us relate to a building on an emotional level. Make sure that nature complements, not competes, with the building’s lines and shapes. The architecture still needs to be the focus of your photograph.
Architecture Photography.
151 Cambridge Tce, Christchurch, New Zealand. Designed by Jasmax Architects. © Heather Milne
7. Include Human Things
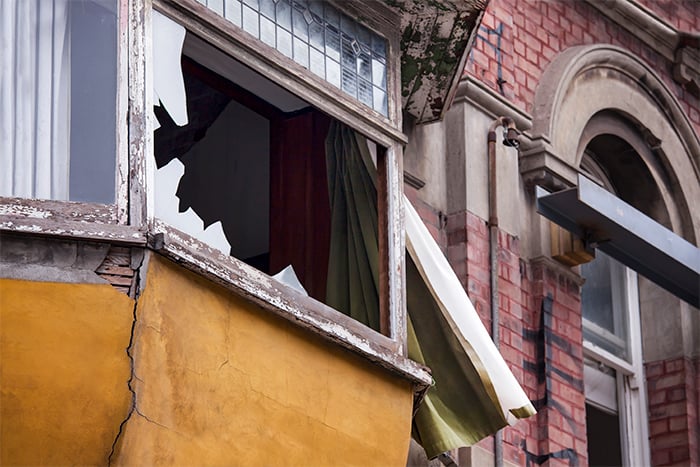
While including people in your architecture photography is an obvious way to include the human element, it’s sometimes even more effective to take a step back and include human-made elements instead. Everyday items such as clothing or furniture hint at the human side to the architecture. This technique encourages viewers to use their imagination about the architecture and create their own stories of the space (which is pretty compelling!).
A lone sock, curtain in the breeze, or old couch can be poignant and sad. A bright pair of gumboots or line of washing flapping in the wind can be cheery and optimistic. Experiment with photographing human elements in the foreground, middleground, and background of your architectural photo by either moving the object or changing your viewpoint.
This can demonstrate different relationships between the structure and the object and provide different storytelling options to work with in post-production.
Architecture Photography.
A curtain blows in the wind of a building awaiting demolition after the earthquakes in Christchurch, New Zealand. © Heather Milne
8. Celebrate Color
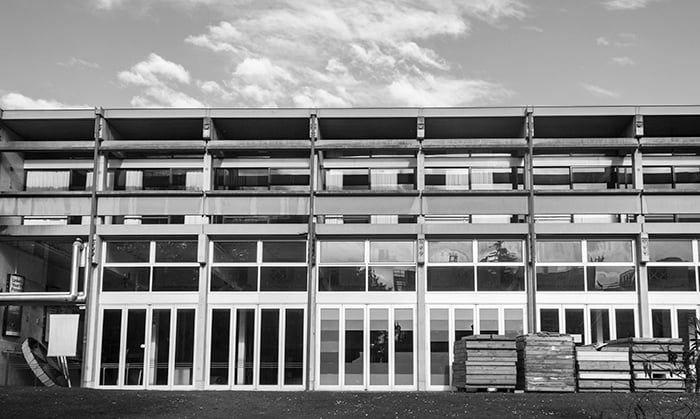
I’m a huge fan of black and white architectural photography. I love how it highlights the building materials and the textures, lines and shapes. This (slight) obsession means that I have to consciously work at not automatically converting my images to black and white.
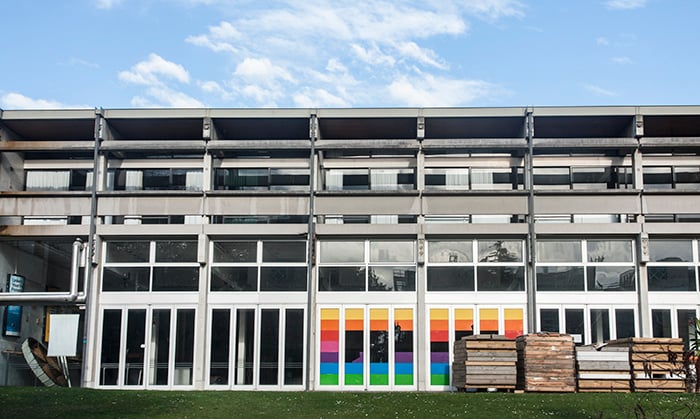
There have been plenty of occasions where using color in my photos has pleasantly surprised me. Color adds much more of a human element into your architecture photography. We see the world in color, and color communicates a range of emotions that black and white architecture photography doesn’t always achieve.
© Heather Milne
Architecture Photography.
Student Union Building, University of Canterbury, New Zealand. Designed by Warren & Mahoney. © Heather Milne
9. Capture Architectural Details
Although I love big sweeping architecture photography shots of grand buildings, I like to change my lenses to capture some of the personal details that tell me more about how a building or structure is used, and the people who use it. This doesn’t mean taking paparazzi photos through windows though!
Architectural Follies
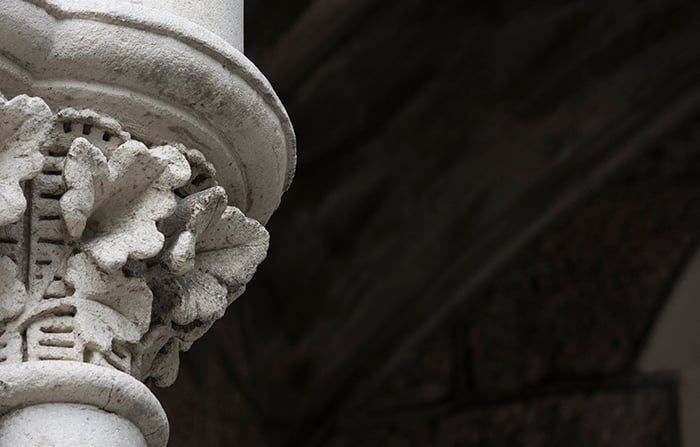
Small details are sometimes overlooked in architecture photography, but they speak volumes about the care and attention that went into a building’s construction. Older architecture in particular can include exquisite detail that has no practical purpose, and is what we now consider to be ‘folly’ – unnecessary and expensive!
These architectural ‘folly’ features often represent personal design agendas or human emotion – generally love or ego – which I find really endearing. I usually use a zoom lens for these kind of details, but you could really push the boundaries of the definition of architectural photography and use a macro lens!
Architecture Photography.
Detail from the newly restored Arts Centre, Christchurch, New Zealand. © Heather Milne
Capturing Significance
Including important features such as religious symbolism, signs of incarceration, or hospital furniture in your architecture photography frame provokes thought and discussion (and sometimes debate) which is all about people. This is a powerful tool!
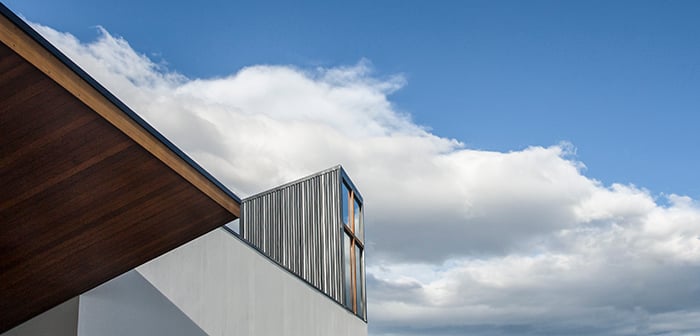
Experiment with different lenses so that you can capture these features – a wide angle lens will be useful when you’re photographing a room and need to include furnishings in the frame. A zoom lens will be important if you’re trying to photograph details such as a minaret, cross, or small coat of arms. Respect the site by talking with owners or caretakers if required.
Architecture Photography.
Christchurch North Methodist Church, New Zealand. Designed by Dalman Architects. © Heather Milne
10. Angles and Viewpoints for Architecture Photography
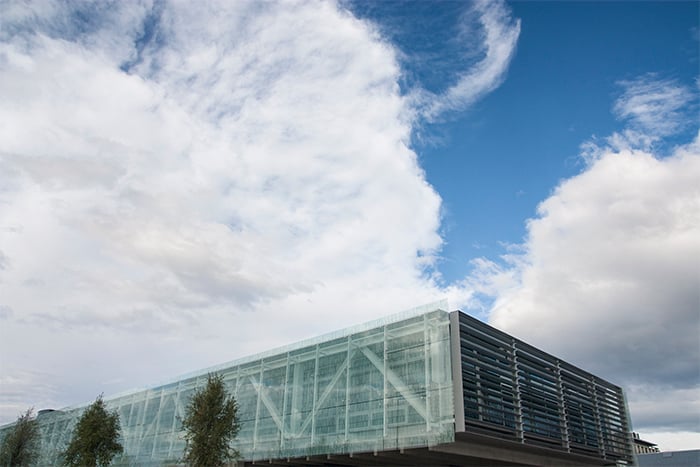
Angles and viewpoints are a big deal in architectural photography. As the photographer, you can encourage a viewer to anthropomorphise a building or structure simply by photographing from different viewpoints. Lying or crouching on the ground and pointing your camera upwards towards the architecture can make a building look powerful, scary and ominous (even if you’re photographing a small house).
Alternatively, you could photograph a building from a taller neighbouring structure so that it appears to be jostling for space among bigger buildings. In rural areas, you can apply these same techniques to architecture photography by using hills and valleys as your vantage points.
Architecture Photography
University of Canterbury ICT Building, New Zealand. Designed by Warren and Mahoney. © Heather Milne
Architecture photography feels like a personal subject to me. There’s a responsibility in photographing buildings with sensitivity to how designers and builders planned them, and their relationship with people, nature, and other surrounding structures. Incorporating human elements in your architecture photography is a great way to demonstrate these relationships and make your images unique.
