Food photography is a popular genre of photography, and for good reason – it’s a great way to capture the beauty and flavor of food. But capturing great food photos isn’t as easy as it looks. Experimenting with food photography angles is a great way to improve your delicious food photos.
The Benefits of Using Different Food Photography Angles
Many factors can make or break your food photography—issues with lighting, composition, or food and prop styling all impact the result of your work. Even minor decisions in these areas can cause an image to feel slightly “off.”
angles are essential when composing for food photography. A perspective that might work very well for one image will not necessarily work for another. So before you pick up your camera, think about which perspective will help bring out the dish’s best features.
There are three main food photography angles: overhead, 3/4, or straight on.
They may sound a bit technical. But these camera angles are quite easy to remember. Overhead is like the bird’s eye view. Meanwhile, you can think of the 3/4 as the diner’s point of view. And finally, straight on refers to the camera being level with the table.
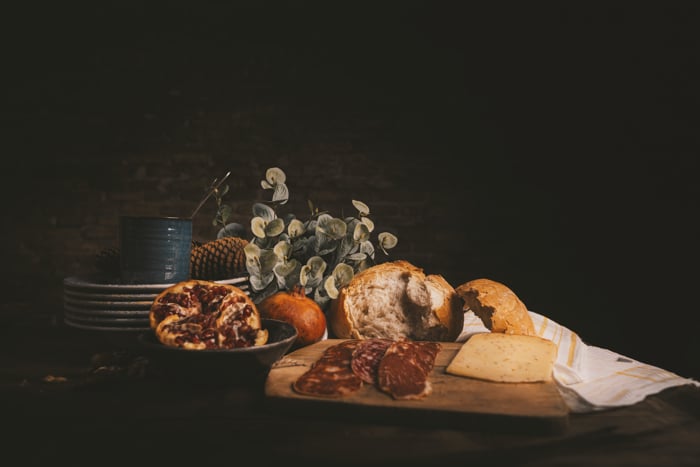
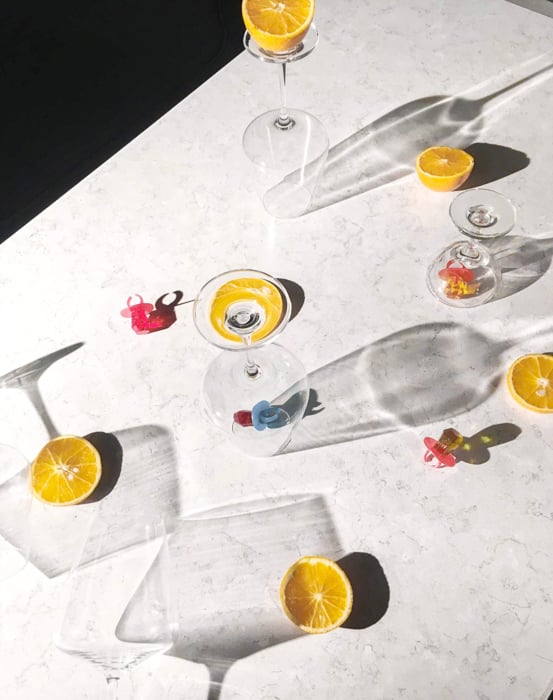
Image by Jose Tebor
Slight variations on these camera angles for food photography exist. But these are the main ones that professionals and enthusiasts use all the time.
How to Use the 3/4 Camera Angle
This angle is when you place your camera anywhere from 25 to 75 degrees to your subject.
Typically, 45-degrees is the most common angle for commercial food photography. It’s a popular angle because it’s so versatile. It allows you to show the front and surface of the dish, as well as the sides.
And did we mention that it’s also the same perspective that people see when they eat food?
The 30-degree angle is a variation of the 45-degree angle. The camera angle is slightly lower and allows the viewer to see the background.
Let’s look at the images below to see how the 3/4 angle works when photographing food. The image on the left was shot at 30-degrees while the image on the right was shot at 45-degrees. You can see the background in the left image. But in the image on the right, you see the ingredients in the food much better.
Both of these photographs were shot at 70mm, so the focal length was the same. The differences came from the camera angle.
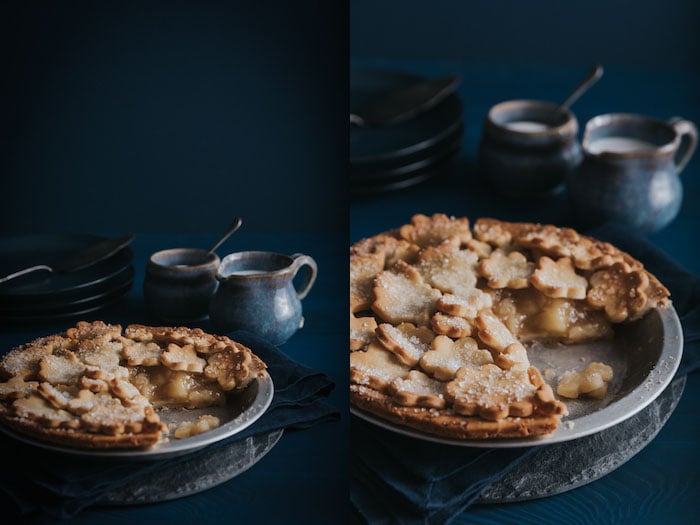
When choosing the angle for photography of food, think about what kind of dish you’ll be serving your food. For a salad served in a bowl, we would want to see deeper into it. That means choosing a 45-degree angle rather than a 30-degree angle.
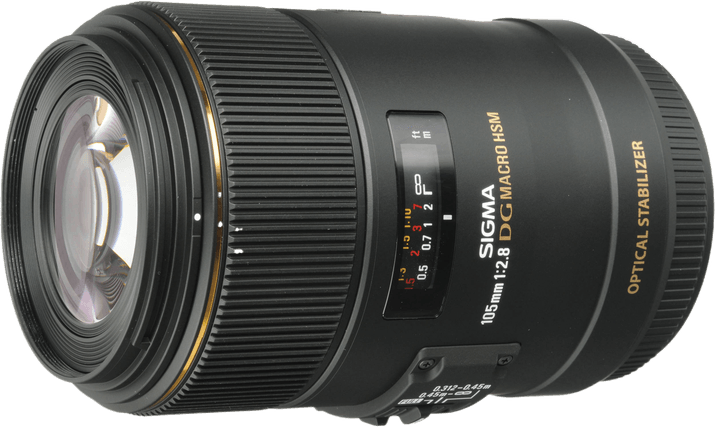
Choose your camera and props before you start setting up your shot, as one will influence the other. So will the lens you use and the distance between your camera and subject.
When you’re shooting with a longer lens, you typically only see the food and the table. I almost always shoot at 70mm or higher on my .
When it comes to food photography, a 50mm lens is a wide-angle lens. If you are only shooting one dish, it may show more of the background more than you prefer.
If you’re taking photos with a 50mm lens, you’ll need large surfaces and backgrounds. You’ll also have to get very close to your food to omit what you don’t want in the shot. Otherwise, you’ll capture a lot of unnecessary space.
The 50mm is a great lens to work with if you are doing a tablescape or have other dishes or props in your scene.
For shooting one dish or minimalist food photography, I find 50mm too limiting. In food photography, the food needs to be the focus, even when you have several elements in the frame. These should support the main subject, not detract from it.
How to Use the Overhead Camera Angle
Thanks to Instagram, the overhead shot has become one of the most popular camera angles lately. It’s excellent for smartphone photography because phones have a very wide-angle lens. So if you are a budding food photographer, this is one of the best angles to try!
Food shot at 45-degrees on the phone can appear as if it’s sliding off the table, due to the distortion caused by a wide-angle lens.
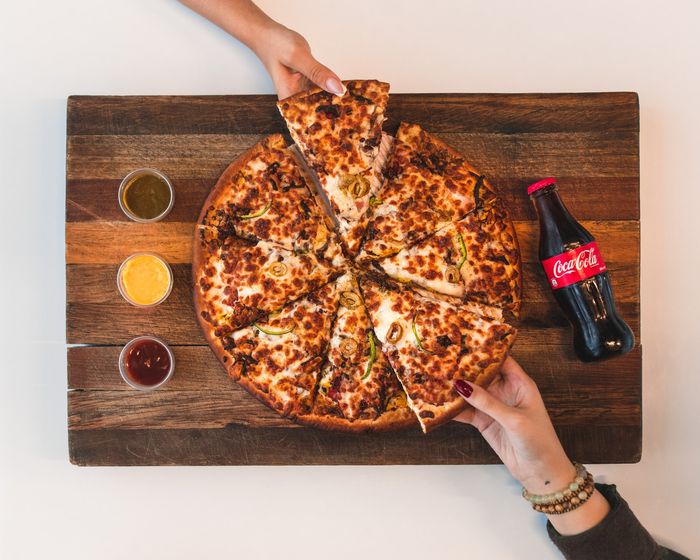
The overhead has several benefits. For instance, it’s useful for fitting several elements into a scene such as a tablescape. That’s why it’s an excellent perspective for storytelling. You can see a variety of props, ingredients, or dishes of food in the frame when you shoot from overhead. It is also often more convenient to compose your shot using this angle than a 3/4 or straight-on.
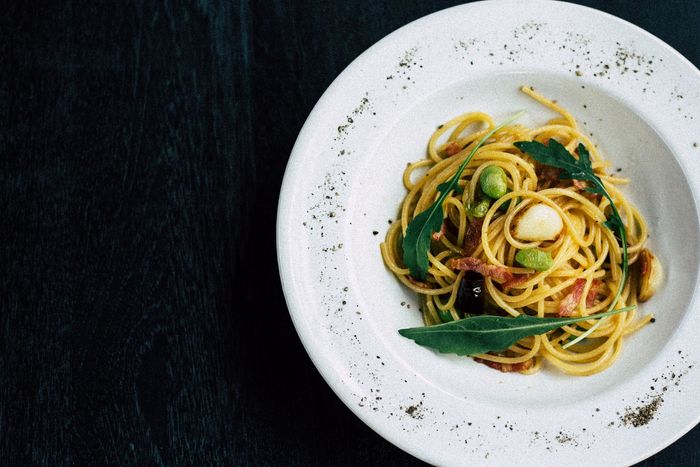
In the image of the spaghetti carbonara below, the 90-degree angle allows us to see into the dish. It brings to full view details such as the bacon, parsley, grating of cheese, and the ground black pepper. It is a minimalist shot with a lot of negative space, but the result is pleasing to the eye.
We can see a lot of texture in not only the food but also the pan and the background.
Texture is an essential element in food photography, and the choice of an overhead angle allows us to utilise it effectively.
However, the overhead angle doesn’t work for every type of food shot. It eliminates depth, which gives a more graphic pop to an image. So that means it’s not suitable for every kind of food. With the overhead angle, you emphasise the shape of the food and various elements of the scene.
How to Use the Straight-On Angle
This camera angle is most suitable for “tall” foods, like burgers or stacks of pancakes. It emphasizes the height of a dish. When you are shooting burgers and sandwiches, the bun or the top piece of bread hides what is inside. That’s why taking the shot from anywhere above the food doesn’t make sense. Remember, the objective is always to focus on the best features of the food.
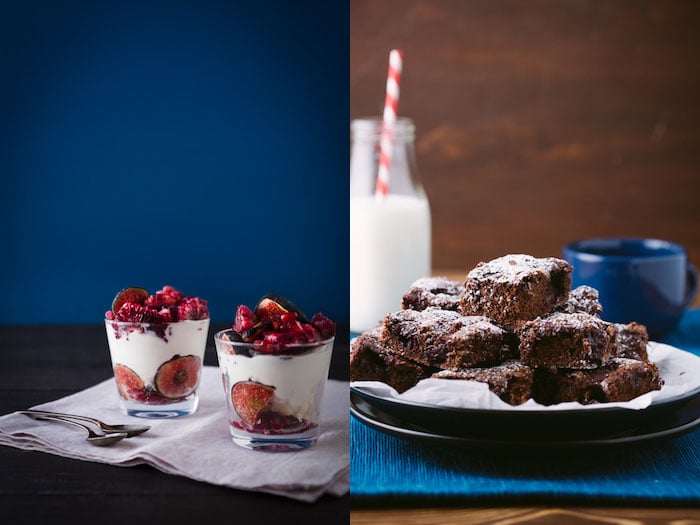
In the image of the Eton Mess below, straight-on was an obvious choice. It allows us to see the meringue and whipping cream layered with the fig and blood orange slices. In the image of the chocolate brownies, we can see their texture and the cherries. And we have the contrast of the sprinkle of icing sugar.
Had I taken the shot overhead, the icing sugar and the texture of the top of the brownie would have been the focus. And that’s terrible because people wouldn’t have any way of knowing what’s in the food.
Other Great Angles You Can Use in Food Photography
We mentioned earlier that the 3/4, overhead, and straight on aren’t the only angles out there. You can also use the ones we listed below for photography food:
Low Angle
The low angle is a variation of the straight-on shot. The only difference is you need to go slightly lower than the dish you’re photographing.
This perspective makes the dish look bigger than its actual size. That’s why you see it a lot in advertisements. You can use it when taking pictures of burgers, a stack of pancakes, or anything else with height.
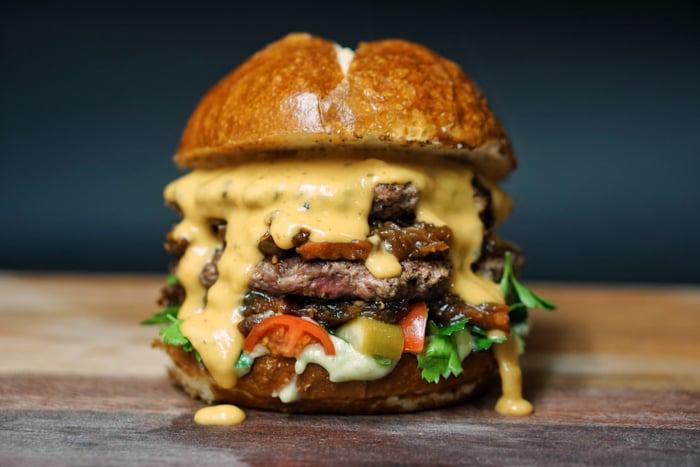
Image by Amirali Mirashemian
Close-up
Do you need to showcase the ingredients inside the food? Then consider doing a close-up shot. It allows you to show the texture and the detail of the dish you’re photographing.
This way, your viewers will get a better idea of how the dish will taste and feel in their mouths. In most cases, this perspective is only complementary to the main shot. In other words, you’ll need to establish what people are looking at with the main shot. So when they look at the close-up, they’ll know it’s the same subject.
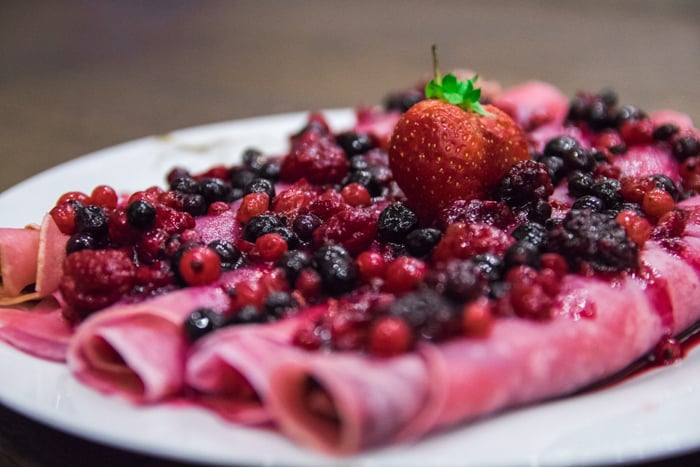
Image by Inja Pavlic
Dutch Angle
Dutch angle is just a fancy name for tilting your camera slightly. It’s not common in food photography. But you can try this if your set has sharp lines or geometric shapes.
Instead of making everything straight, you can skew them a bit to create some interest. In turn, the diagonal shapes you create helps direct the viewer’s eye to the food.
When Should You Use These Angles?
Always prioritise the food you are shooting. Does it have layers, like a sandwich? Or is it a flat food, like a pizza? Also, think about where you want to place the main focus of interest. My recommendation is that you focus on the front of the food.
If the food has layers, you need to avoid overhead shots. Instead, go for the 3/4 and straight-on angle. That way, you can show everything that’s in it.
If the dish is flat or has most of its ingredients at the top, then do overhead shots.
If you are shooting with your phone, use the overhead or straight-on perspective. Avoid taking slanted angles. There is a tendency when starting to shoot food photography to take pictures at an angle. It never looks good and will brand you as an amateur. Especially if it seems like the food is about to slide off the table!
When you’re taking pictures of food, don’t limit yourself with just one angle. I even recommend you do all three angles. After all, that’s what most professional photographers do. They want to cover everything, so they don’t miss any details. That thought process also allows them to give their clients more choices.
Of course, you should also consider trying other angles. Doing so allows you to come up with a unique perspective. You see, the more different your images are from others, the more likely you are to succeed in this genre. So don’t be afraid to experiment! After all, you have all the time to do so, since your subject doesn’t move.
Conclusion
Knowing how to use 3/4, overhead, and straight-on will help you a lot in product photography. Once you become familiar with these angles, you don’t have to waste time figuring out how to photograph your dish. After all, you only have three choices to make.
The more you shoot and practice food photography, the more intuitive it will become. You’ll learn to quickly choose the angle that will best work for the items you are shooting. It can be beneficial to plan things out in advance, but you want to allow some room for creativity too.
Looking to take your food photography to the next level? Why not check out our course Edible Images next!