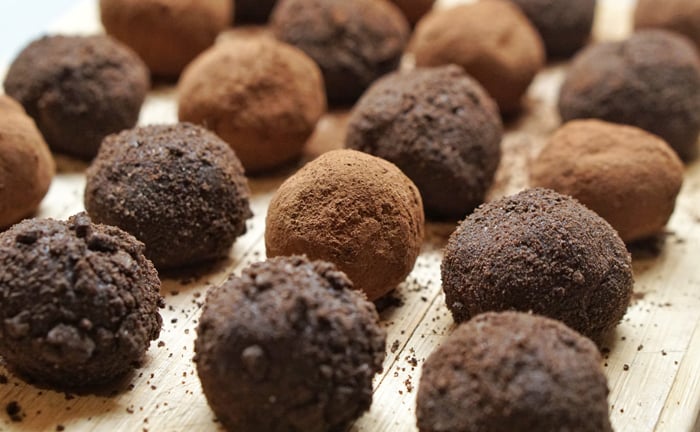
Have you ever tried taking pictures of chocolate?
If you have, it may have been a struggle. Chocolate can be tricky to photograph.
Here are seven tips to help you create tantalising images of the famous cocoa-based treat.
7. Choose Suitable Props and Backgrounds for Chocolate Photography to Flatter the Subject
The props you use for your chocolate photography depends on the style you aim for.
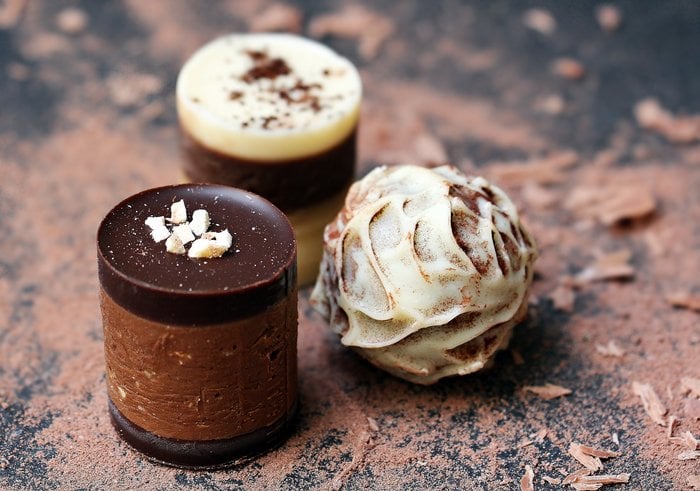
If you want to photograph individual bonbons or chocolate bars, you can stick to a simple background and no props.
But if you want to take photos of chocolate cupcakes or cakes, you can add a few props to tell a story.
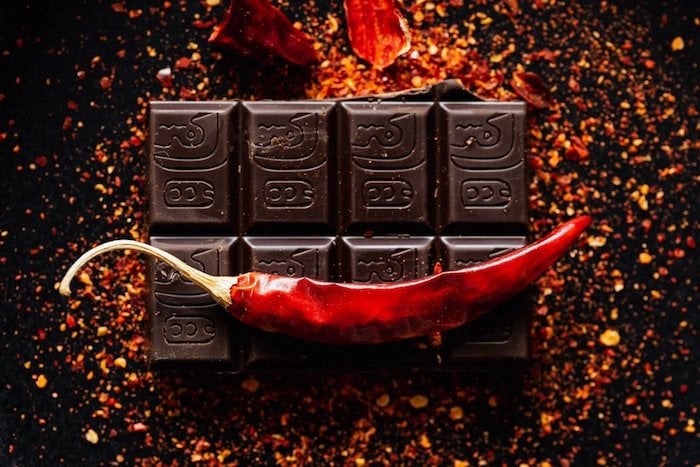
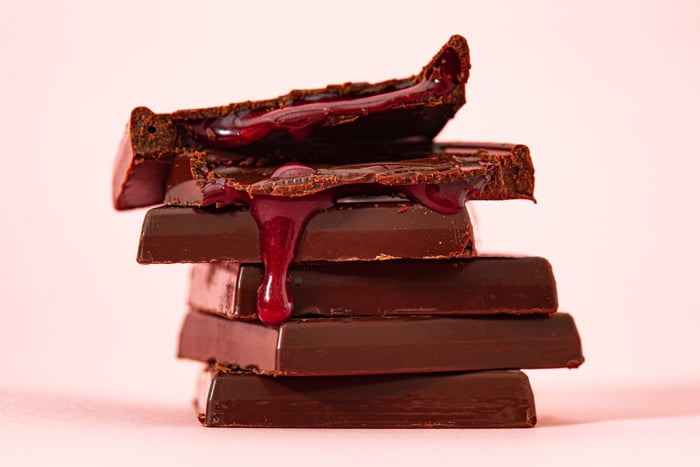
The background you choose will depend on the type of chocolate you photograph. White chocolate doesn’t look good with a white background.
But if you are capturing milk chocolate or dark chocolate, bright-colored backdrops are excellent for creating contrast.
If you shoot commercial chocolate photography, your client might ask you to include the brand’s logo or the packaging. Pay attention to the reflections that shiny packaging can create.
6. Prepare Your Chocolate to Make it Appealing
Although delicious, chocolate isn’t always perfect looking in real-time.
Sometimes it has what is called “bloom”. This is a thin layer of white that can appear due to changes in the sugar or fat crystals. If you store your chocolates in the fridge and you take them out to room temperature, bloom often appears on their surface.
Bloom is safe to eat. But it’s surface texture and appearance is unappetising. Not what you want when you are trying to “sell” your chocolate to the viewer.
Food stylists who work with chocolate fix this problem by lightly and quickly applying a heat gun to the chocolate. Enough time to get rid of the bloom, but not enough time to melt.
You can also try blowing on the chocolate. Depending on the consistency of the chocolate, this may be enough to do the trick.
Chocolate bloom is a nightmare to retouch later. Make sure to deal with it before you pick up your camera.
To ensure optimal texture, store chocolate in a cool, dry place that is not the fridge. And make sure it’s not exposed to direct sunlight.
This is where “hot” or constant lights can be a bad idea unless they are LED.
5. Handle Chocolate With Care to Avoid Fingerprints
So you have the perfect chocolate specimens. Now you need to keep them that way.
Use gloves when handling chocolate. Any fingerprints will become glaring to the camera. Use gloves that will also not leave their mark on the chocolate.
White cotton gloves are nice. But they might leave a little bit of their fuzz behind. Latex gloves can be a better option.
With food photography, you can end up doing a lot of tinkering before you get your composition right. In the meantime, the warmth of your hands can soften the chocolate.
Have some extra chocolate on hand to play with and determine your composition. Swap it out with the “hero”, or the final product, before pressing the shutter.

4. Use Lighting to Enhance the Chocolate
Choosing the right direction of light is one of the most important elements in chocolate photography.
Your lighting should always enhance your subject in the most thoughtful and positive way.
When it comes to taking photos of chocolate, natural light is the best choice, if it’s available.
Try lighting from an angle that brings out the chocolate’s texture.
A side-lighting setup is a safe and easy bet for many types of shots. Use fill and bounce cards to carve the light in order to enhance the photos of chocolate.
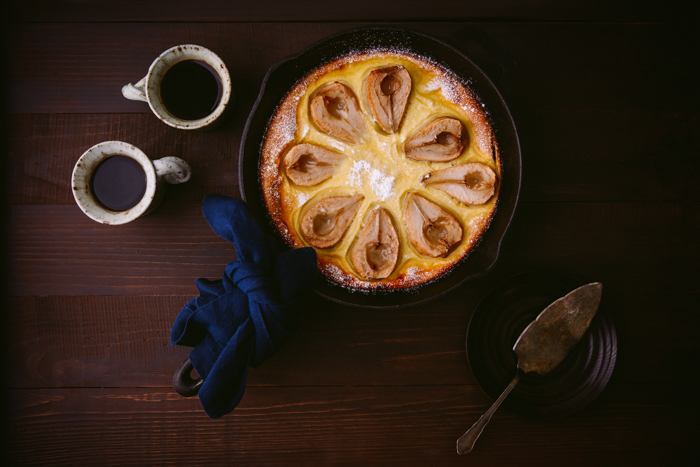
In the image of the chocolate cake below, I used backlighting. This brought out the natural sheen and texture of the chocolate icing.
The problem with backlighting is that the image can be blown out in the back. All while the front remains too dark and underexposed.
To remedy this, play with the distance of your set to your light source. And make sure to use a bounce card at the front of your setup. This will direct some of the light back into the scene for more even exposure.
My recommendation when it comes to any type of food photography is to avoid lighting your food from the front or the top.
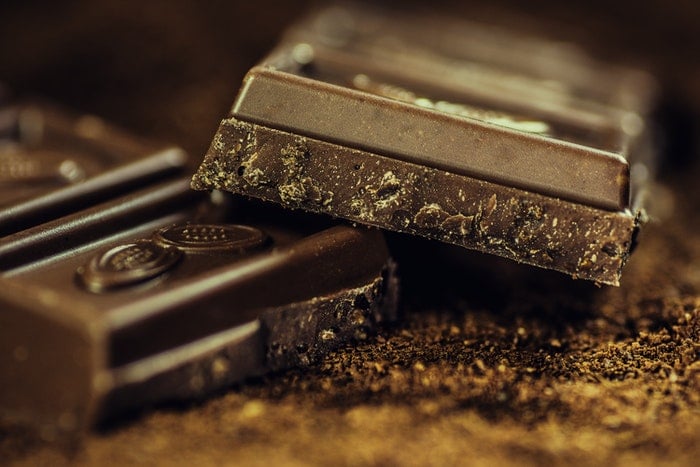
This will result in flat-looking images without enough shadows. This is great for portraiture, but when it comes to food, contrast is essential. Especially if you take pictures of dark chocolate.
3. Use One Light Source for Beautiful Shadows and Highlights
In chocolate photography, one light source is all that you need. Unless you’re doing certain types of advertising work where you need artificial lights with a lot of power.
One light source, like a large window, will give you one beautiful set of shadows and highlights.
For a soft and dreamy look, be sure to diffuse the light with a diffusion panel. A scrim, or even a translucent curtain or piece of fabric work too.
Deep shadows make milk chocolate and dark chocolate look appealing. You want to go easy on any fill light.
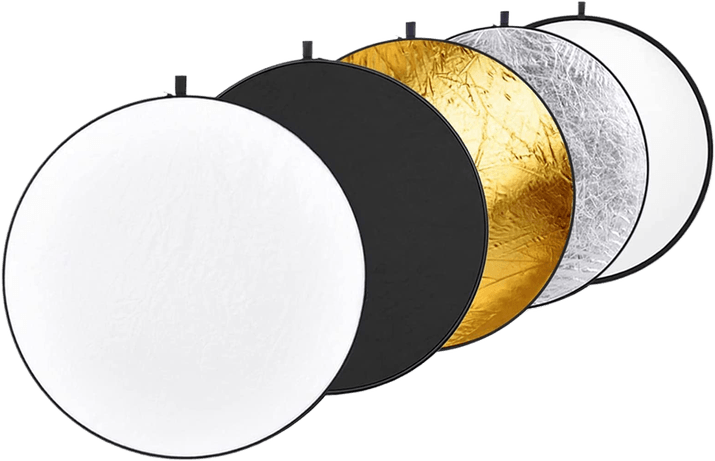
A couple of white bounce cards should be enough to direct some of the light back into the scene without over-brightening your images.
Sometimes silver or gold reflectors can add a metallic look that doesn’t look natural.
When shooting chocolate, it’s important to know what mood you want to convey. Then you can build your set.
It doesn’t need to be complicated. But planning out your lighting advance will ensure that you get the best results.
2. Choose a Suitable Lens for the Best Result
The lens you choose to shoot with depends on the subject you are photographing and how you want to portray it.
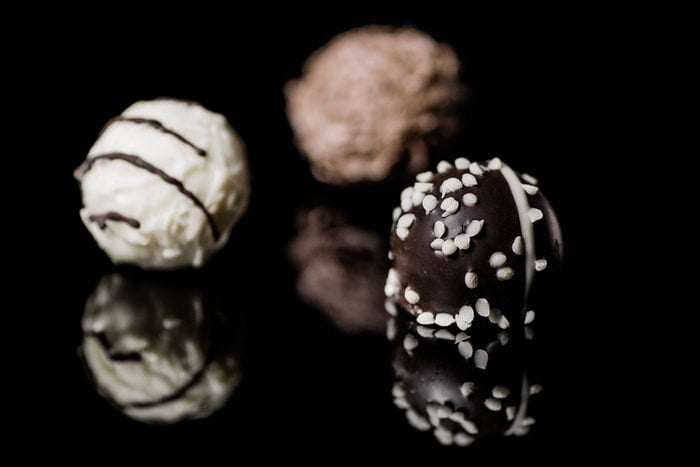
When it comes to chocolate photography, you will want to get a close up of your subject. Especially if you photograph chocolate bonbons that are tiny and have mouthwatering fillings.
On a full frame camera, this will mean an 85mm or 100mm macro lens. On a camera with a cropped sensor, a 50mm or a 60mm macro will give you great results.
A shallow depth of field with a blurred out background will help bring the eye to the subject. In dark and moody photography, a vignette will also have the same effect.
1. Edit Your Chocolate Images in Photoshop for a Smooth and Refined Look
When it comes to editing your chocolate photography, Photoshop is your best friend.
It’s difficult to create decent chocolate photography without some basic Photoshop skills. Lightroom won’t cut it for this one.
The reason is that Lightroom is a global editor, while Photoshop is a pixel editor. Lightroom is best for making adjustments to the whole image.
You can fine-tune your photos with some of the tools, like the adjustment brush. But you can use the tools in Photoshop to make very precise adjustments to various parts of the image.
For example, you can use the spot correction tool in Lightroom to fix little spots or flaws on your chocolate. This is fine if you only have a couple of flaws to fix.
Often, you’ll actually need to do a lot of finessing to get your chocolate photography to look smooth and refined enough. Spotty chocolate is not appealing.
Use the spot healing brush tool in Photoshop to make multiple edits. When you use the spot tool in Lightroom, it will slow down the software’s performance. It won’t give you clean results.
The good news is that you only need a few simple tools to make your chocolate photography look its best.
The spot healing brush tool, clone stamp, and healing brush will be more than enough to take your images to the next level.
Conclusion
Chocolate photography can be tough to shoot. With a little bit of planning and care, you can take some truly drool-worthy images for your portfolio.
Eating the leftovers afterwards will be the best part.
For the best food photography tips, read our guide – Edible Images!