Black and white portrait photography is one of the most popular forms of portraiture. Many gravitate to it because of the unique and honest perspective it can bring to your photos.
A lack of color opens up a new world where light, expressions, and stories are intensified.
What I love most about a black and white portrait is its soulfulness. If you compare two versions of the same portrait—the original and its B&W copy—you would feel more drawn to the emotions in the second one. A B&W portrait will prioritize your subject’s expressions, movements, and other subtleties.
This article will equip you with the skills to achieve those visually appealing black-and-white portraits.
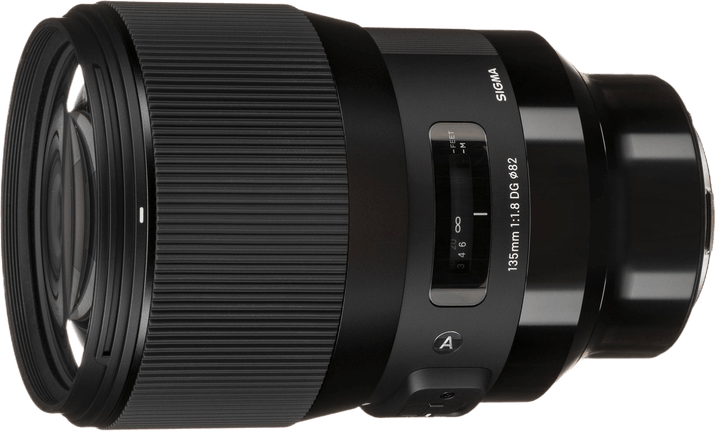
A lot of cameras have a B&W shooting option. It’s a fun feature worth experimenting with. But it should not be your main tool for taking black and white photos. There are a couple of reasons for this:
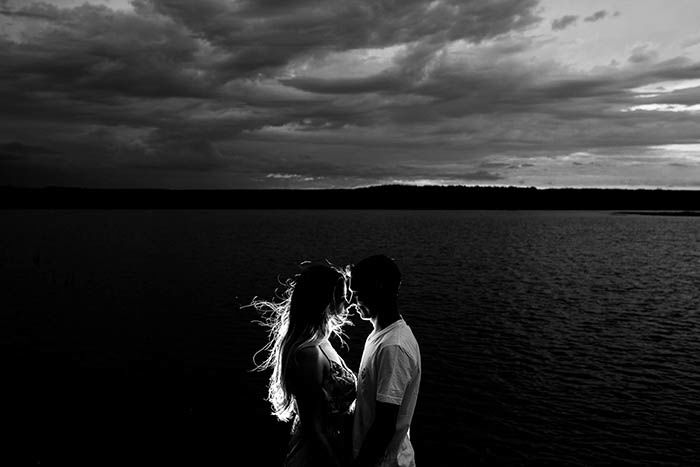
Camera settings, lighting, location, and your model’s posing all have to be planned carefully before your photo shoot.
As you read the following points, think about the stories you want to tell and what you want your viewers to feel when they look at your work. This information will help you before, during, and after your photo shoot.
When I take photos of people, I like to separate them from their backgrounds. To do this, I use an aperture of f/1.8 – f/2.5. This range makes my subjects stand out and creates gorgeous bokeh. A soft background will complement your model’s features. It will also eliminate any potential distractions, and look amazing in B&W.
However, this is just my way of working with aperture. If you have a different method, don’t feel left out. But try to remain open to experimenting with new settings.
When I take portrait photography at night (or in a place with limited light), I like to experiment with high ISO numbers. I know this might sound intimidating, but it’s ideal for shooting black and white portraits. The grain in your image will create a rough, film-like look. The lack of light, which may look unappealing in color, will look dramatic in B&W.
The type of lighting you should work with depends on the kind of story you want your photos to tell. You don’t even have to come up with a complicated idea. All you have to do is ask yourself three simple questions:
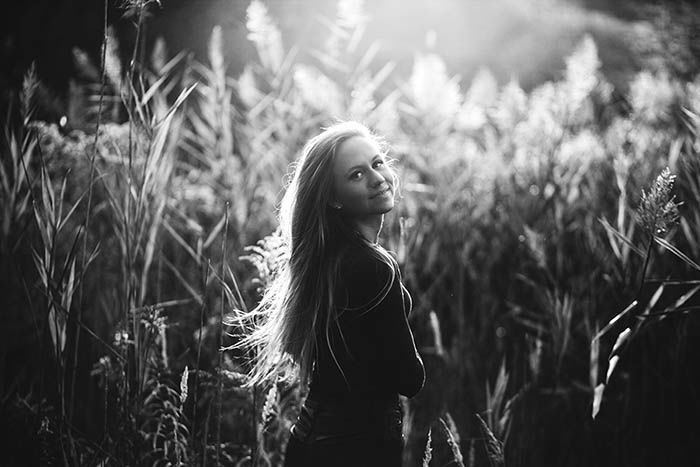
Without any distracting colors and details, your subject will stand out. Every curve, movement, and texture will be emphasized. It’s important to know what looks most natural.
Posing relies heavily on communication and practice. Don’t be afraid to make mistakes during this process. Also, get to know your models before you work with them. Befriending your subjects will help you understand what makes them who they are. This information will allow you to tell your story through their unique personality.
Many photographers recommend focusing on the eyes when shooting black and white portrait photography. When you ask your models to pose a certain way, make sure their eyes look bright and sparkly. This will make your photos eye-catching and impactful. Combine that with a great pose and you’ll have the perfect black and white portrait.
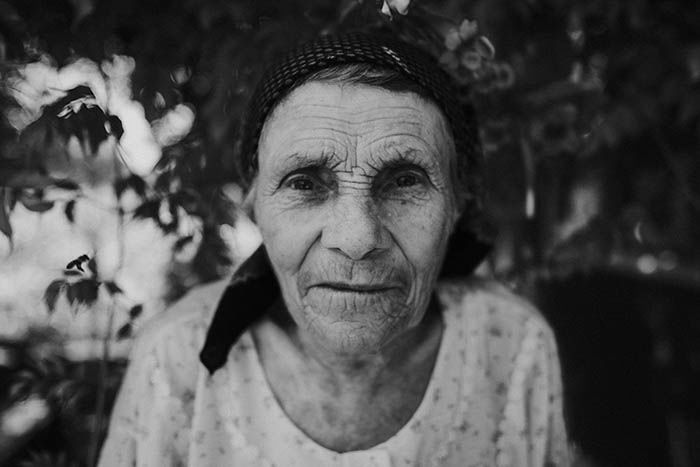
A lack of color gives other elements a chance to be seen and appreciated. These include textures, expressions, and negative space. Wrinkles, freckles, and fabric will all tell a story of their own in black and white.
Expressions will add depth to every other part of your photograph. Negative space, like an empty sky or a black background, will give your portrait a minimalistic yet striking look.
Keep an eye out for these things when you take photographs. They’ll compliment your subject’s poses and enhance your compositions. When you look for objects to include in your portraits, don’t forget to think in black and white. What may look appealing to you in color may not look that great in black and white, and vice versa.
Focus on the things you usually overlook or leave out. If there are any vibrant colors you’d usually avoid, take a photo of them and convert the results to B&W.
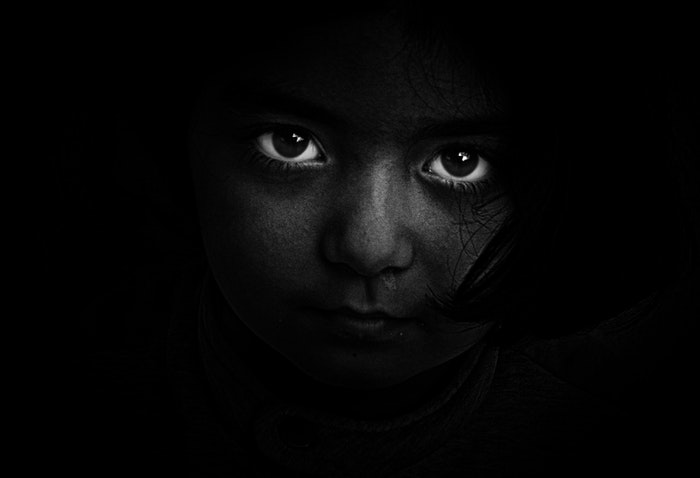
The real magic of black-and-white photography happens when you start editing. Your photography editing style may be different from mine. But there are some tricks that every artist can benefit from.
Don’t get discouraged if your photo looks dull when you convert it to black and white. The first thing you should do is work with the options that your editing program offers.
In Photoshop, you can choose various filters. What works best for most portraits is the Green filter. It enhances every skin color, darkens textures, and adds more contrast to the entire photo.
In Lightroom, the same tools are available under the Tone Curve. Drag the Orange slider to the right and the Red slider to the left. (To perfect your skills, try out our Effortless Editing course!)
You should make the most of the Curve and Clarity tools in your editing program. They’re usually all I need when I convert my portraits to B&W. These tools will help you deepen shadows and brighten highlights. It’s easy to get carried away with clarity and add too much depth to your photo. Be careful when you adjust it.
You can also add grain to your photos for a film camera effect. Subtle grain or dust textures look stunning in black and white photographs. I often use free scratch textures or make my own. These effects tend to look better in my B&W portraits than in colored versions.
If you want to save time and experiment with someone else’s style, use B&W Lightroom presets or Photoshop actions. These resources will convert your photography to stylistic black-and-white portraits.
Familiarizing yourself with other people’s editing preferences is a great way to learn. It can even help you to get out of a creative rut.
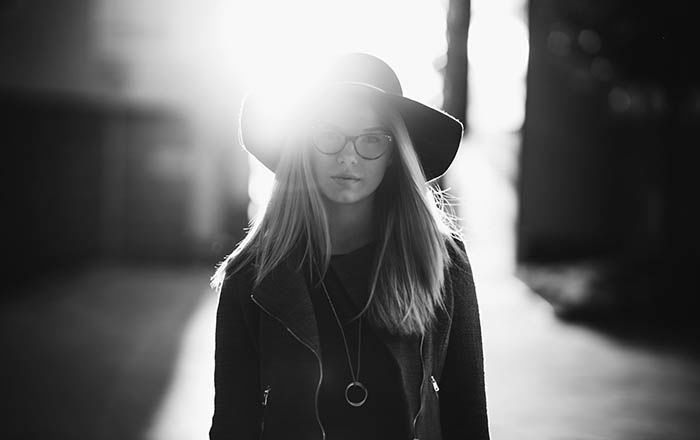
I remember how skeptical I felt when I took my first B&W self-portraits. As a beginner with little experience, I didn’t think I had much to contribute.
Filled with doubts, I still persevered. I discovered a world that completely changed the way I looked at portrait photography. What first started out as a skeptical experiment turned into a personal creative journey. Through self-portraiture, I found a way to express my deepest feelings.
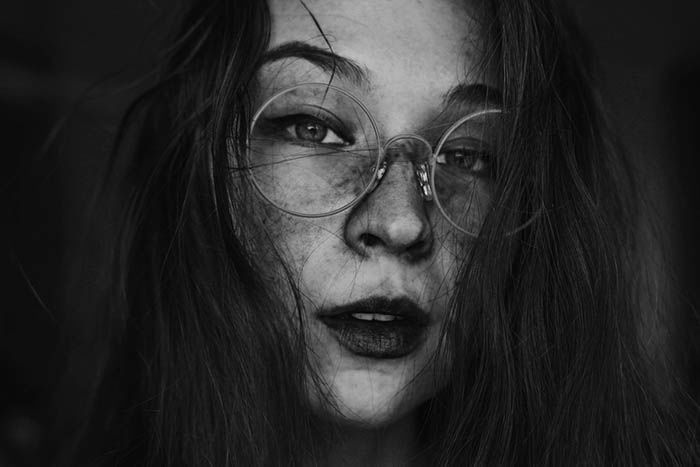
Figure out what kind of stories you want to tell. Learn how to give clear instructions to your models. Appreciate unique elements like textures. And don’t be afraid to fail once in a while.
Eventually, you’ll feel confident in this sub-genre. You can easily learn how to edit your black and white portrait photography and turn into a master of monochrome thinking.
