Canon’s Auto Lighting Optimizer (ALO) automatically adjusts image brightness and contrast. It can make a dark subject easier to see in a JPEG, but it can also brighten shadows you want to keep dark.
Start with Standard for a backlit subject, then compare it with Disable. Use Low if the correction is too strong. If you want a silhouette or a deliberately dark photo, switch ALO off. For compatible RAW files, you can choose the correction later in Canon’s Digital Photo Professional.

- Learn to effortlessly set up your camera for any situation.
- Master the art of selecting the perfect exposure every time.
- Discover 10 composition rules that elevate your photos instantly.
What Is the Canon Auto Lighting Optimizer?
ALO is a camera setting that processes the image’s brightness and contrast. It does not add light to the scene. Its purpose is to improve the appearance of the captured image, not replace a suitable exposure.
For JPEGs, the camera applies the correction when it creates the image. With compatible RAW files, Canon’s Digital Photo Professional (DPP) lets you change or remove ALO during processing. Canon documents this distinction in its EOS 550D instruction manual, on printed page 103.
The effect depends on the scene. A useful place to look is the dark part of a backlit subject. Compare its brightness with the background and check whether the result still has the contrast you want. For Nikon users, we have a separate guide to Active D-Lighting.
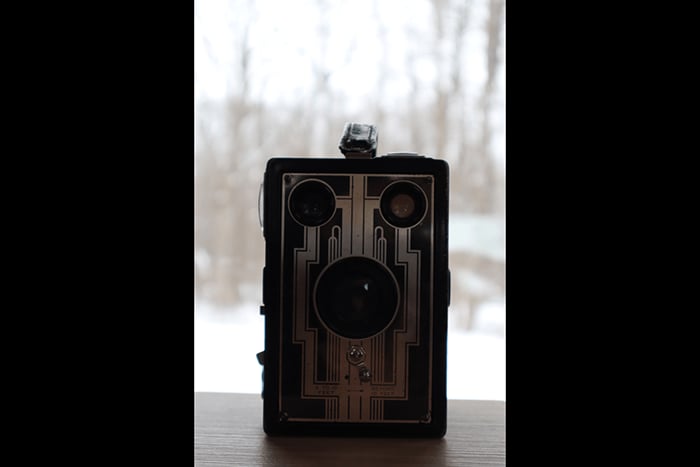
In the comparison below, ALO is off in the first image and on in the second. Use the slider to compare the dark areas of the camera.
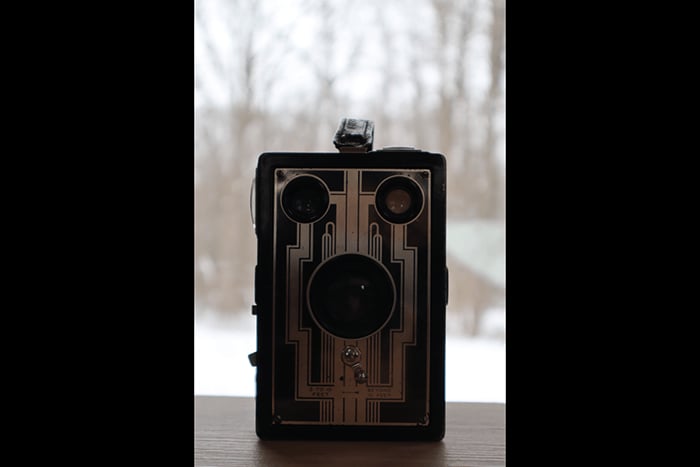
When to Turn Auto Lighting Optimizer On or Off
Try ALO when light comes from behind your subject and the face or foreground looks too dark. Start with Standard and judge the result. You can also compare it on and off during flash photography, including when using a Canon flash, rather than assuming every flash photo needs it.
Think of the choice in terms of the photograph you want:
- A brighter subject in a JPEG: Try Standard. Compare the shadows with ALO disabled before selecting a stronger setting.
- A result that looks too bright: Reduce the correction to Low or turn it off.
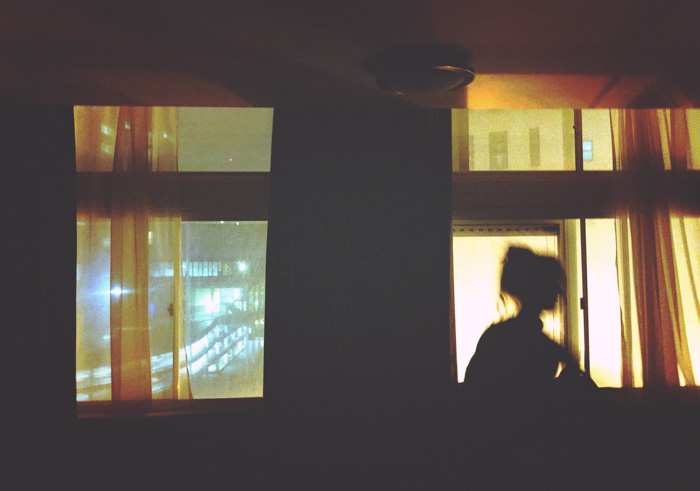
- A silhouette or low-key photograph: Disable ALO so it does not work against your intended brightness.
- A scene that already looks right: Leave ALO off if the adjustment adds nothing useful.
Canon warns that ALO can increase noise and change apparent resolution under some conditions. Check dark areas at full size, especially before choosing the strongest setting. A brighter shadow is not automatically a better shadow.
Also check ALO if exposure compensation seems ineffective. Canon’s EOS M50 Mark II manual explains that the image may remain bright even after you use exposure or flash exposure compensation to darken it. Disable ALO when that conflicts with the result you want.
What If You Shoot RAW?
For compatible images you shoot in RAW, you can decide on the ALO correction during processing. In Canon’s DPP, select Auto Lighting Optimizer and choose Low, Standard, or Strong. Clear its checkbox to remove the adjustment. ALO enabled in the camera is selected by default when you open a compatible image.
Do not assume a different RAW editor will reproduce the camera’s ALO look. Judge the processed file in the software you use. You can instead adjust exposure and recover available detail manually, including changes to the tone curve. That gives you a choice over which tones to change; it is not a guarantee of a better result.
If you want to compare tools for that workflow, see our photo editing software guide.



How to Set Auto Lighting Optimizer
Menu pages and available controls vary by camera. Use the full menu as a starting point, and consult your camera’s user manual if the option is missing.
- Press MENU and find Auto Lighting Optimizer in the shooting settings.
- Open the setting and choose the correction level. Disable or Off removes ALO processing. Low applies a weaker correction, Standard sits in the middle, and Strong or High is the strongest option. Follow the labels on your camera.
- Take a photo and review it. Compare Standard with Disable using the same subject, lighting, and exposure settings. If Standard helps but is too strong, try Low.
- Recheck the choice when your lighting or creative aim changes.
The graphic below shows one set of Canon icons. Their order in the graphic is Off, Standard, Low, and Strong; it is not a recommendation to select them in that order.
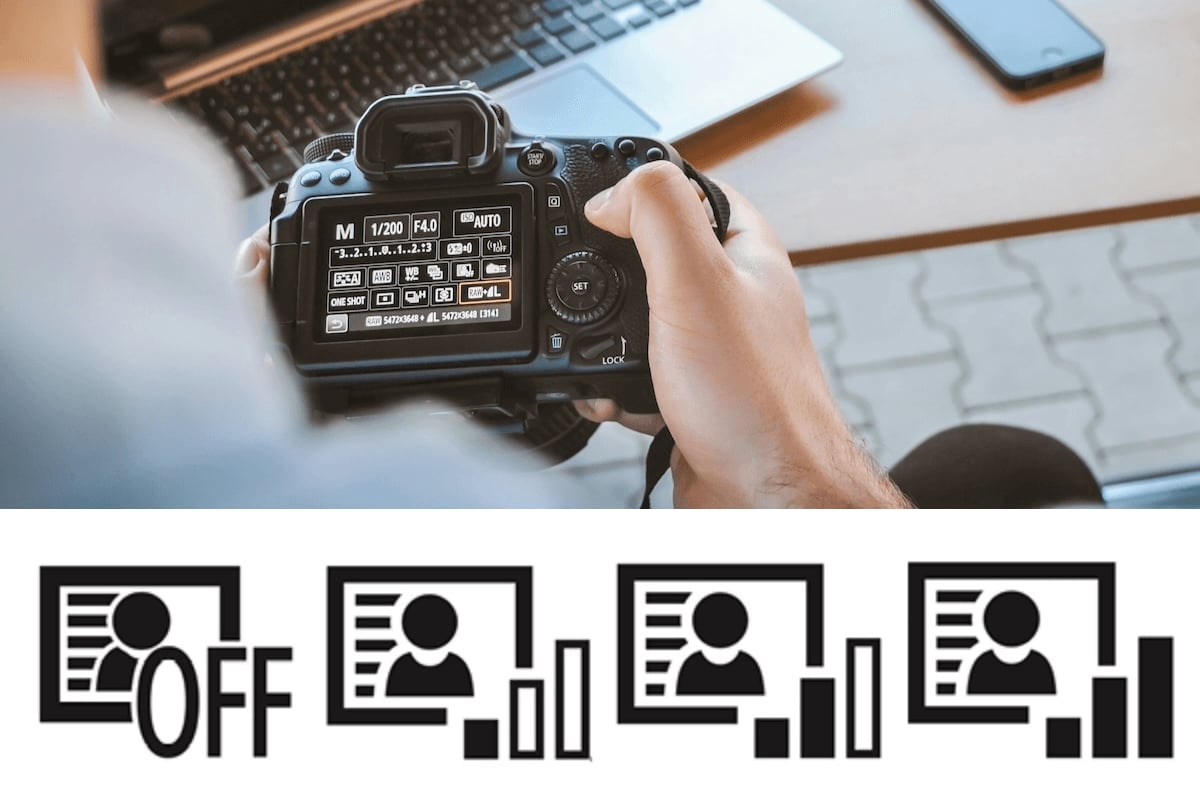
From left to right: Off, Standard, Low, and Strong Auto Lighting Optimizer settings. Photo by Jeshoots (Unsplash). Graphic from Canon.
How Do I Turn On Auto Lighting Optimizer on a Canon EOS R6?
On the original Canon EOS R6, open the shooting menu, select Auto Lighting Optimizer, and choose a correction option. Select Standard as a starting point to enable ALO.
If it is unavailable in Manual or Bulb mode, open the ALO setting, press INFO, and clear the checkmark for Disabled in M or B modes. In Scene Intelligent Auto, Standard is selected automatically. These details come from Canon’s EOS R6 manual; do not assume that another EOS model has the same controls.
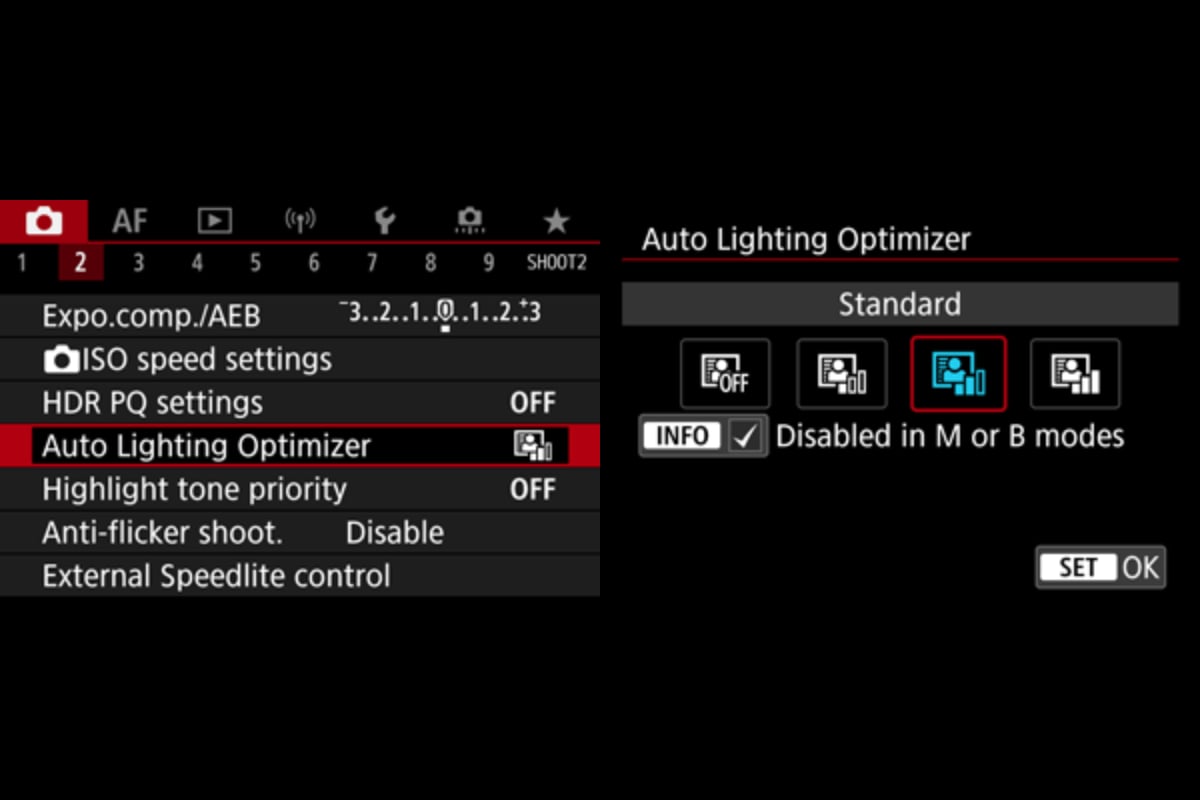
Auto Lighting Optimizer menu and controls on an EOS R6 courtesy of Canon.
Auto Lighting Optimizer and Highlight Tone Priority
Highlight Tone Priority (HTP) is a separate setting intended to retain detail in bright areas. Use HTP when bright details are at risk, and ALO when you want an automatic brightness and contrast adjustment.
On the EOS R6, Canon says HTP can reduce clipped highlights. It also raises the minimum available ISO to 200 and can slightly increase noise. These are trade-offs to consider before shooting.
The interaction between HTP and ALO depends on the camera and processing workflow. For example, Canon’s EOS 7D Mark II guidance says enabling HTP cancels ALO. DPP also has camera-specific restrictions on applying ALO to RAW files shot with HTP. Check the manual for your model if ALO is unavailable; do not assume a rule for one camera covers every EOS body.
Conclusion: Choose ALO for the Result You Want
Use Auto Lighting Optimizer as an optional brightness and contrast correction. Standard is a useful starting point when a JPEG subject is too dark. Compare the result, reduce the strength if needed, and disable it for intentionally dark images.
For compatible RAW files, decide on the ALO correction in DPP or make your own tonal adjustments. Keep Highlight Tone Priority as a separate choice based on the highlights and your camera’s restrictions.
- Learn to effortlessly set up your camera for any situation.
- Master the art of selecting the perfect exposure every time.
- Discover 10 composition rules that elevate your photos instantly.