When it comes to color vs black and white street photography, unfortunately there’s no secret rule book. We tend to interpret color and black and white photography subjectively. The beauty of photography is that you incorporate your own experiences, culture, and background in your photos.
There are certain conditions however, when I deliberately plan to make my street photographs either in black and white or color. In this article, I’ll share my tips about when to use black and white, and when to use color in your street photography.
Emotion in Black and White Street Photography
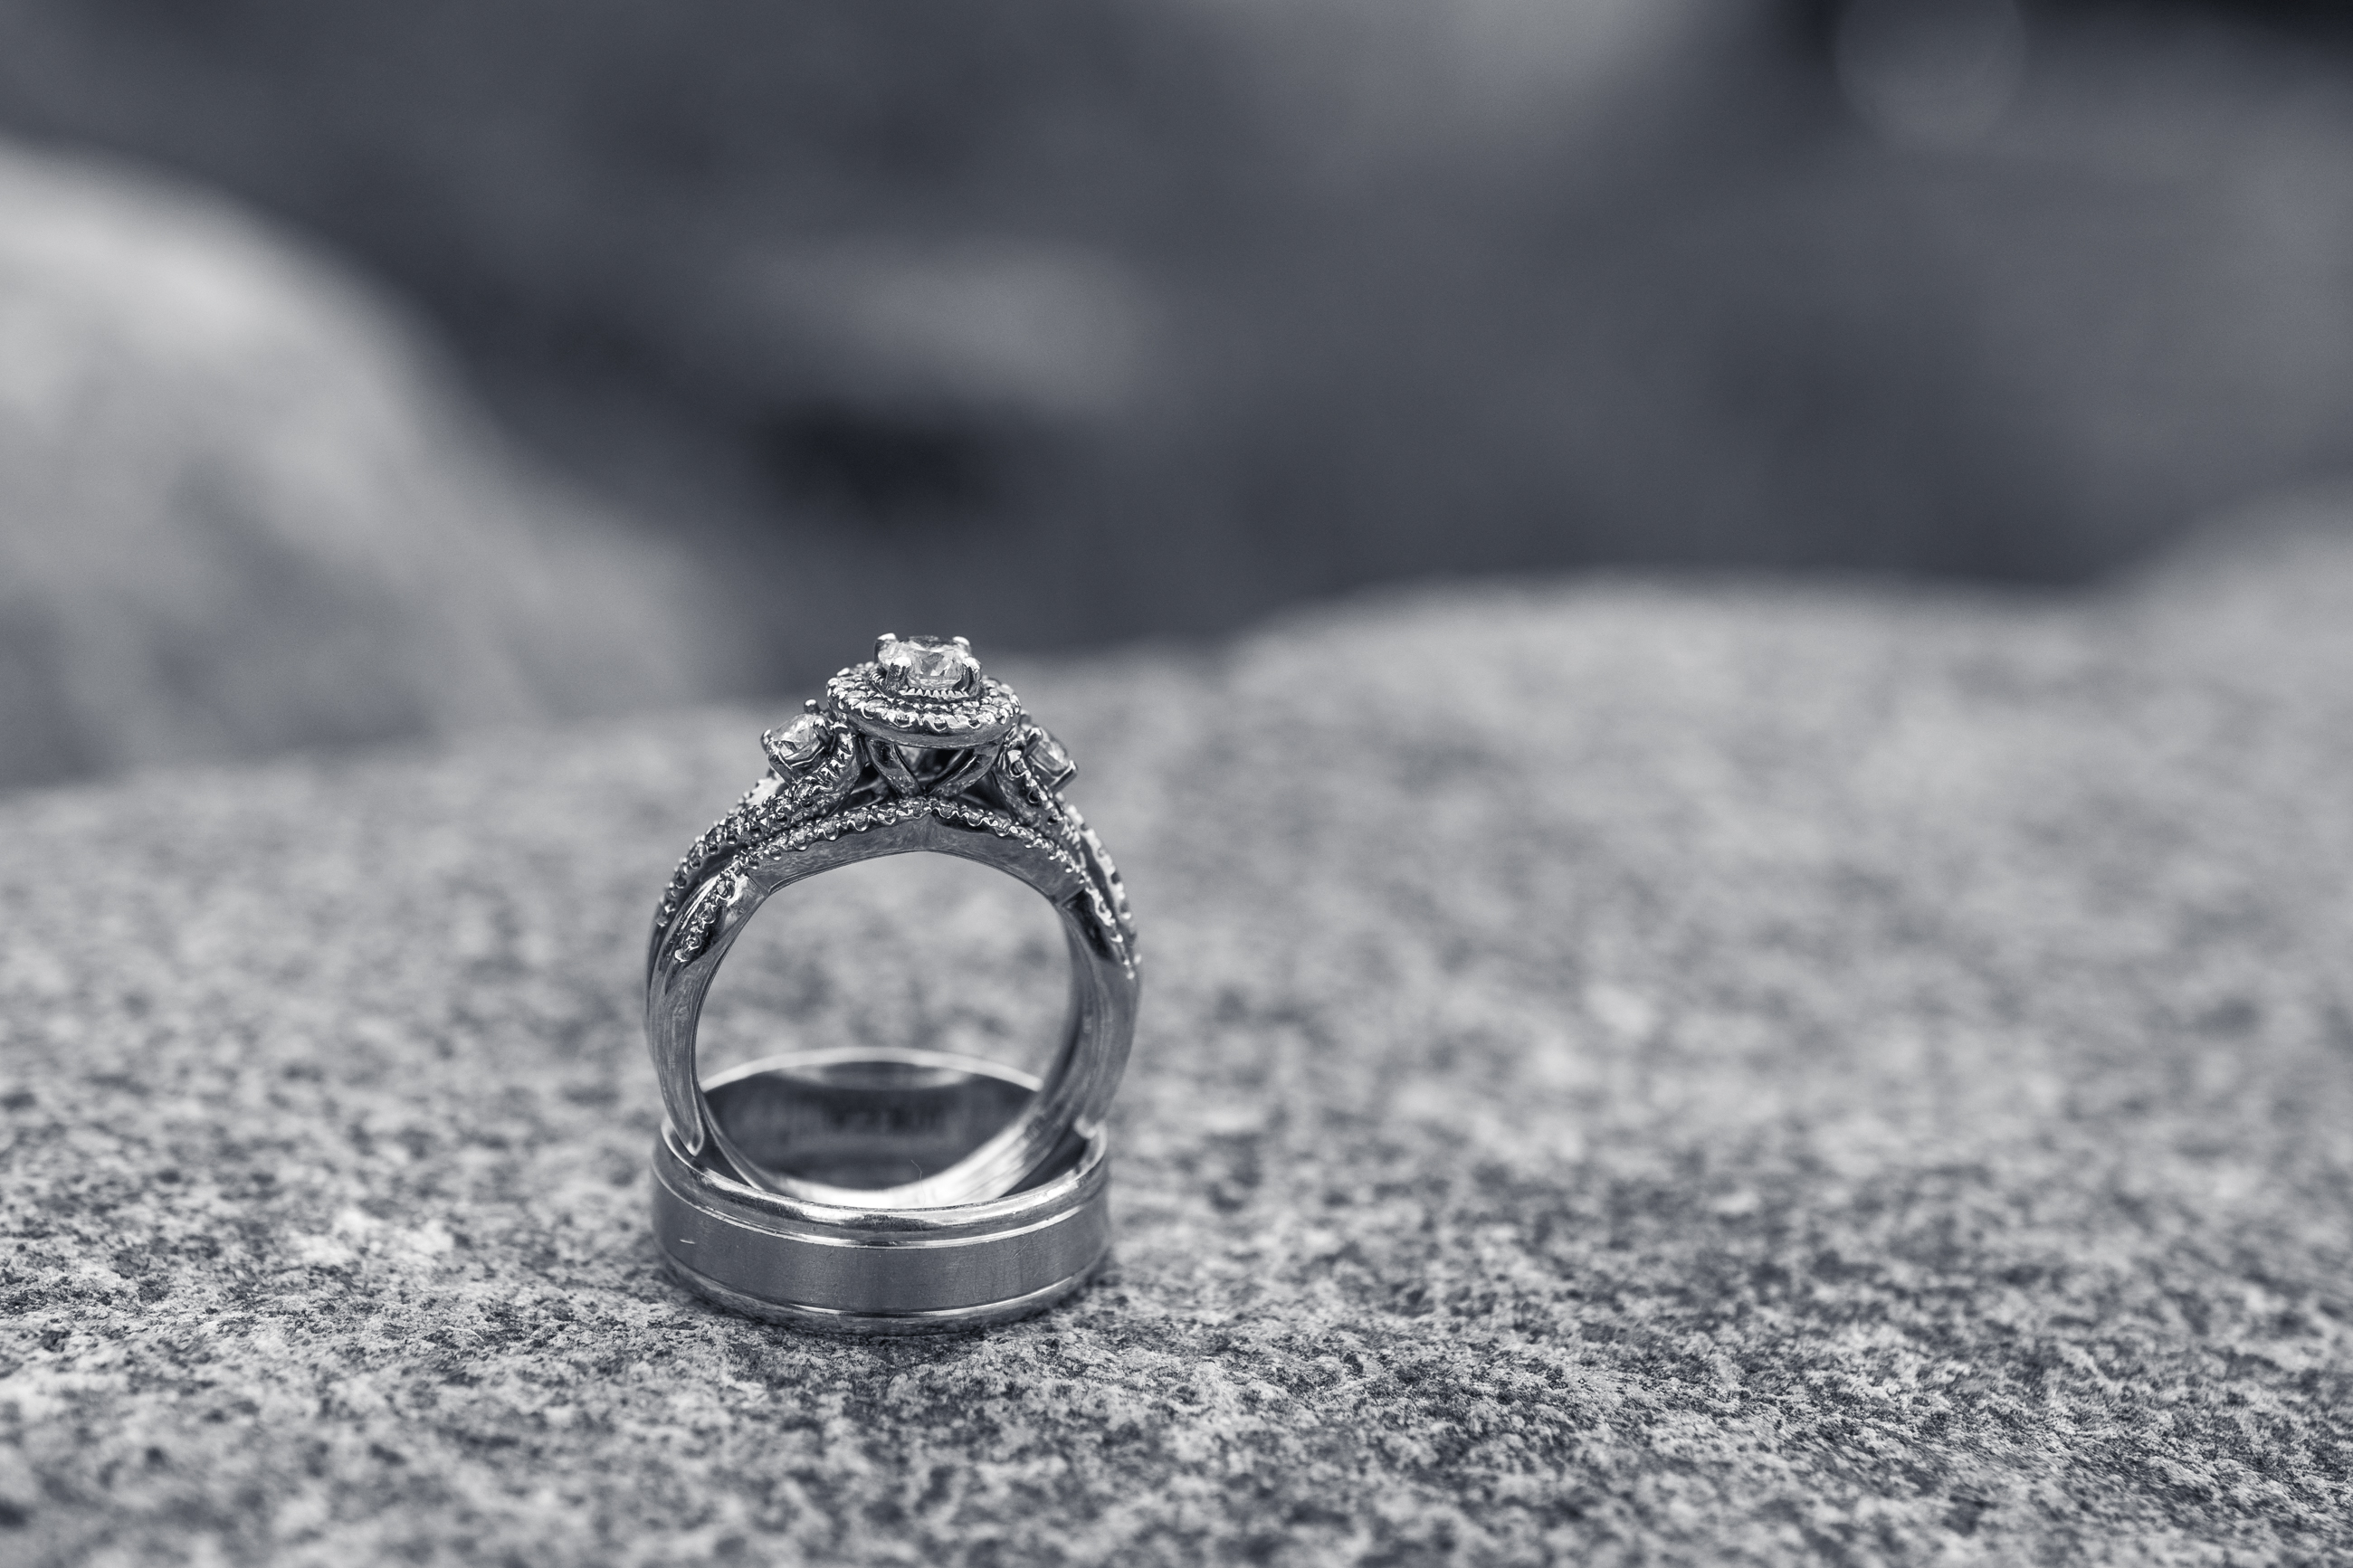
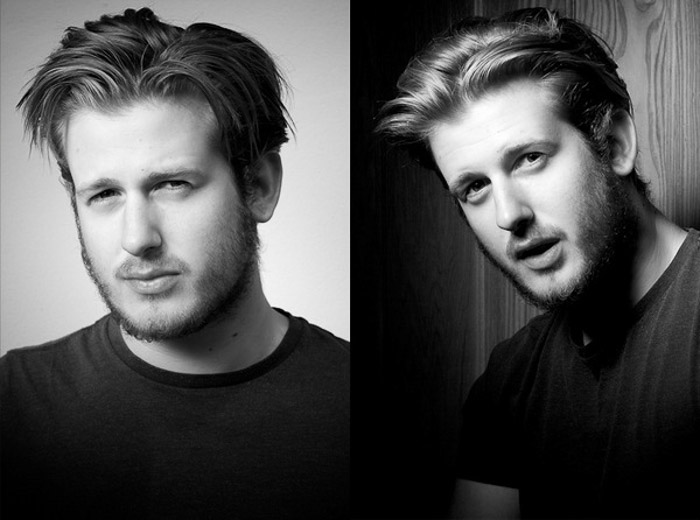
I want viewers of my photographs to connect to the themes I capture, and conveying emotion is a great way to achieve this. If you’re aiming for emotion and personality, consider using black and white street photography.
This is because we interpret facial expressions faster without the distraction of color. Body language such as slumped shoulders, tense hands, and foot positioning also translates beautifully into black and white street photography, and tells a clearer story without color.
If you want to enhance the emotion, try ‘warming up’ or ‘cooling down’ the black and white image using split toning in Lightroom. Photos with brown and orange tones suggest warmth and nostalgia. Blue and purple tones evoke a feeling of chill and melancholy.
© Heather Milne
Shapes and Lines In B&W Street Photography
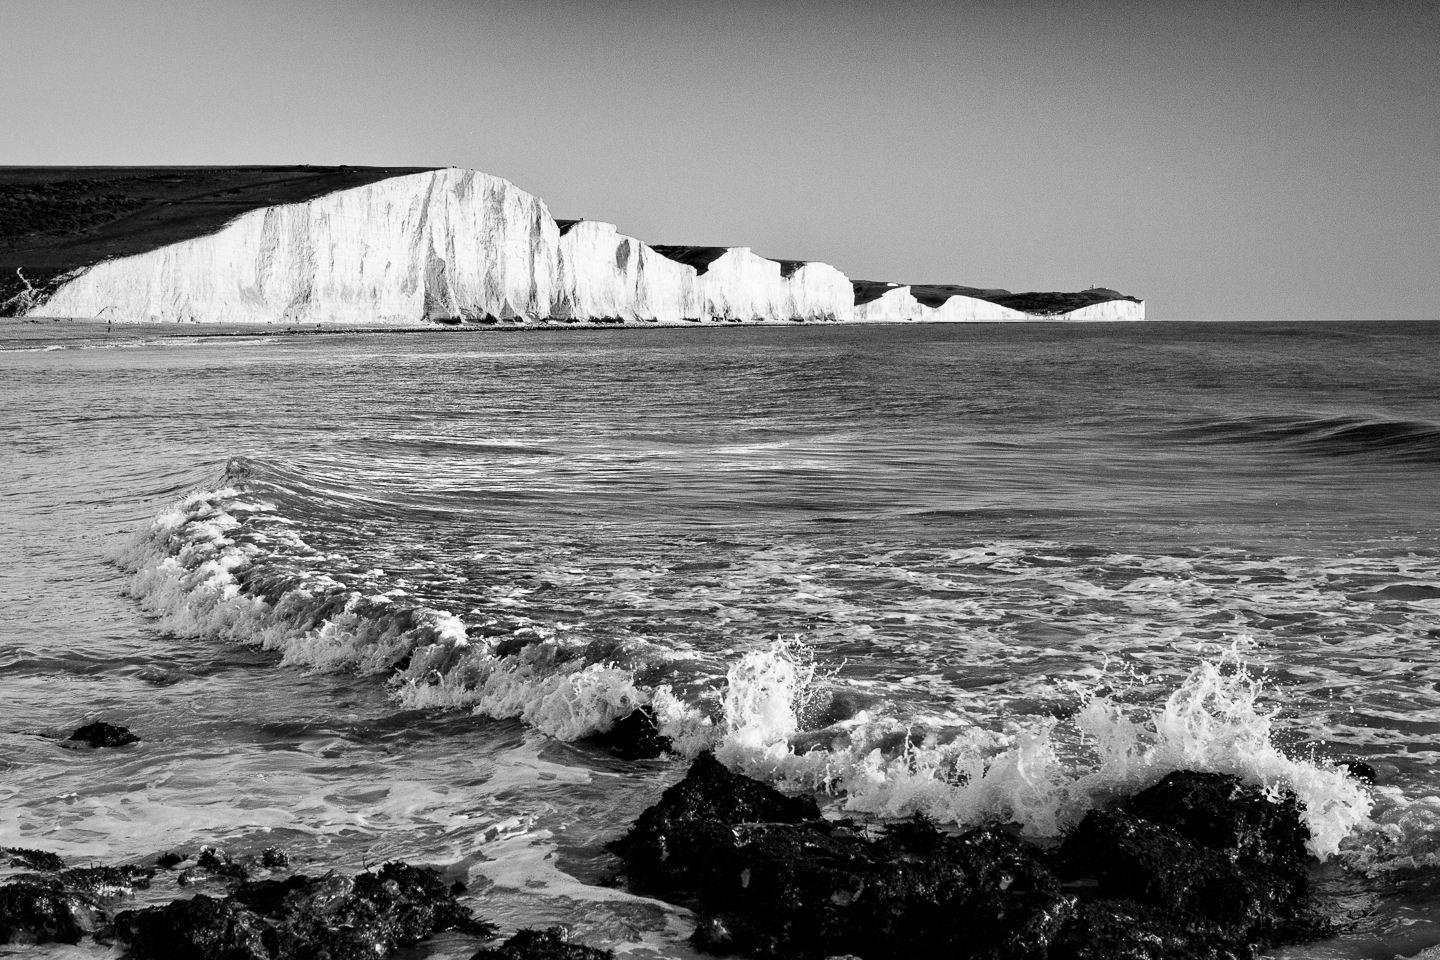
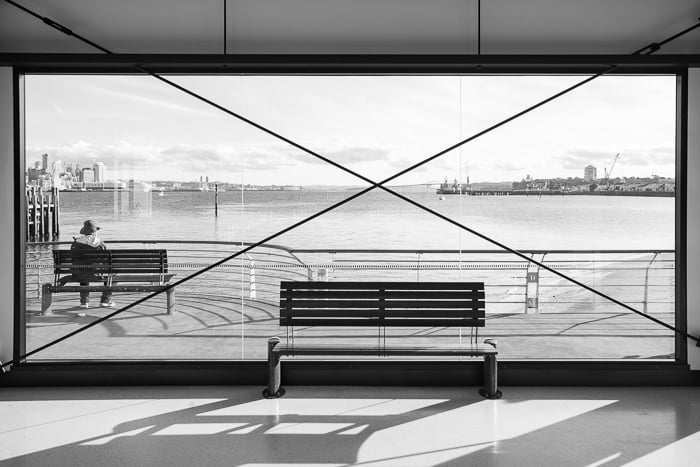
I love including shapes and lines of architecture and structures in my street photography, but sometimes these features are ‘lost’ when they’re surrounded by people and vehicles on the go. In the same way as when I highlight emotion, I prefer to remove the distraction of color when focusing on patterns in a street photograph.
This emphasises repeating shapes, textures, leading lines, and how they all interact with each other. The result is a composition that really stands out. Converting a photograph into black and white also enables me to boost the clarity and contrast, and accentuate the highlights and shadows more than I would with a color photograph.
Downtown Auckland, New Zealand on a bright sunny day. © Heather Milne
Night Time Color Pops
I’ve taken many night photos that really shine and tell a great story in color, but they fade to humdrum when I convert them to black and white (and because I love black and white photography, I try converting EVERYTHING to black and white!)
Street lights and lit shop windows are magic tools for showing off color in your night time street photography. Set up your tripod and shutter release cable, and keep the ISO as low as possible to avoid noise in your final images. Look for bright yellows, oranges, and reds, and include the inky blue of the night for negative space in your photograph.
There are so many creative opportunities for night photography, but make sure you wrap up warm and take a flask of hot coffee!
Redcliffs, Christchurch, New Zealand at night in color. © Heather Milne

Redcliffs at night in black and white without the punchy color. black and white vs color. © Heather Milne
Use Bursts Of Color
The main reason I make a color street photograph is because the color has caught my eye. The color is the point of that particular photo. Look for color interplay in street art, clothing, vehicles, or signage. I usually notice colors more during the ‘golden hour‘ at the start and end of each day, or when the color is intensely lit.
Work fast in these conditions because the moment can be fleeting! A car in a particular shade of yellow surrounded by black-clad office workers might be a one-off observation. A special red neon artwork might only be installed for 24 hours. The stranger walking down the street in a vivid green suit could only be in town for a short time.
We’re accustomed to thinking of city streets in shades of grey and brown. Bright color in a street photograph is often unexpected, and is great for eliciting a smile from people.
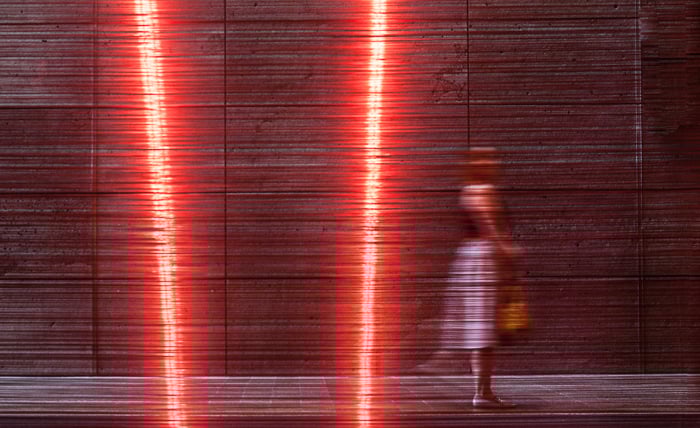
A woman walking past artwork ‘Aeriology’ by David Haines and Joyce Hinterding. © Heather Milne
Bright Sunshiny Days
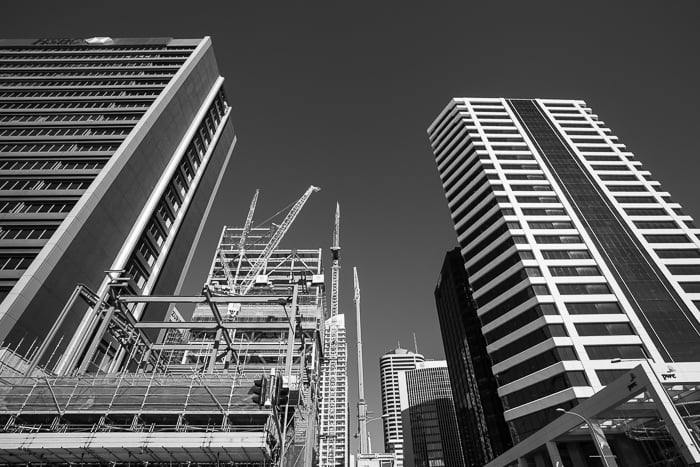
I try not to let the weather stop me from photographing, but bright blue-sky days can be a challenge when you’re doing street photography. Interesting things happen on the streets at all times of day, not just during the golden hour. Embrace the contrasting light and shadows and stick to black and white photography when the sun is high and the sky is clear.
Experiment with adjusting the color sliders in post-production to decrease highlights – particularly the blue and yellow. Big blue skies are perfect for showing annoying dust and water spots when you convert them to black and white, so keep your lens clean to avoid time-consuming clean-ups later in post production.
Read our post on how to capture great street photography in any kind of lighting here.
Devonport, Auckland, in the bright sun. © Heather Milne
Nature in Color Street Photography
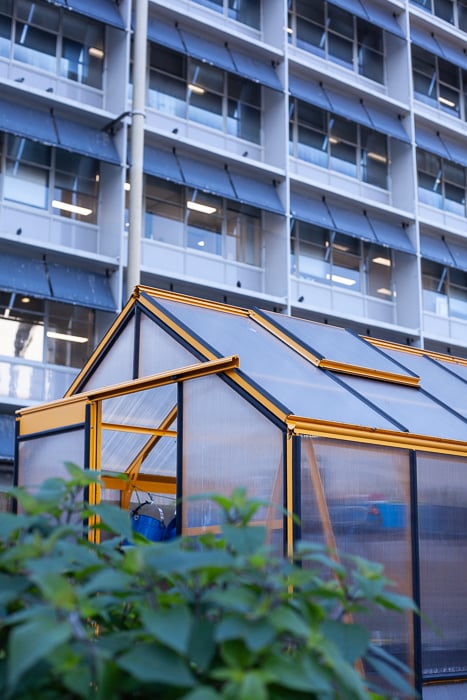
© Heather Milne
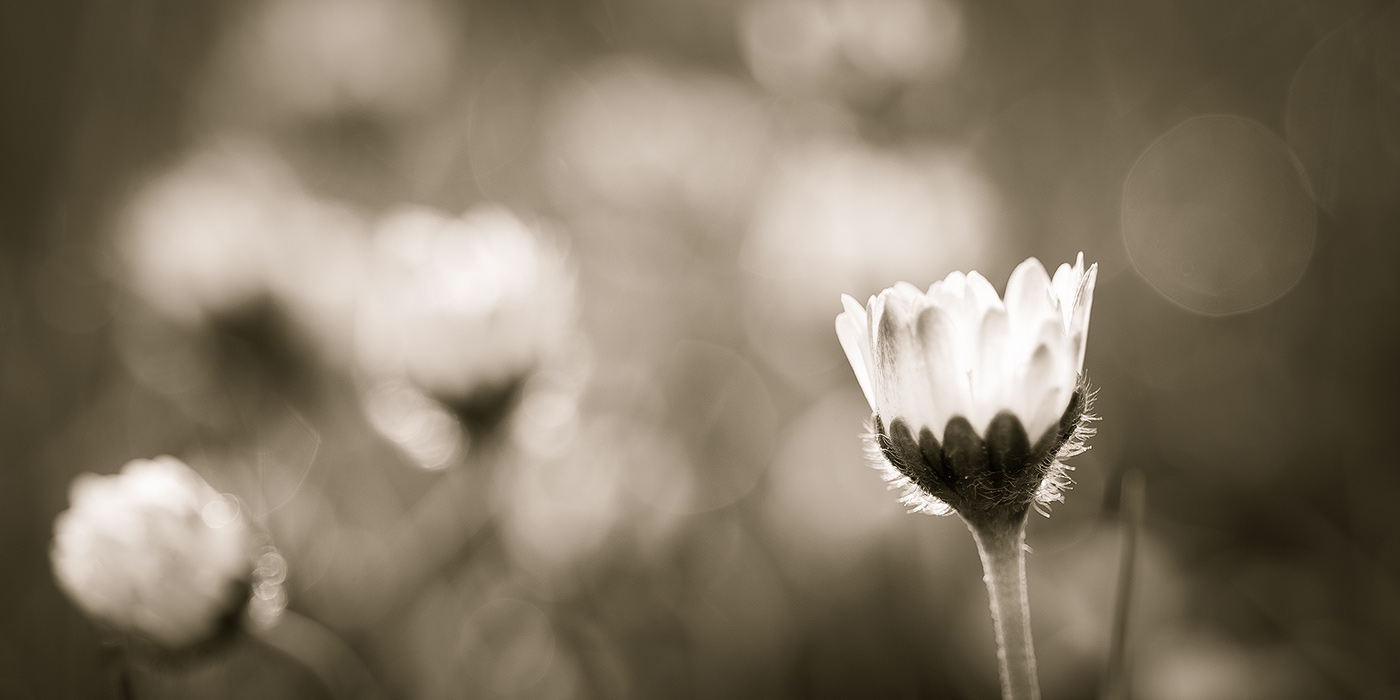
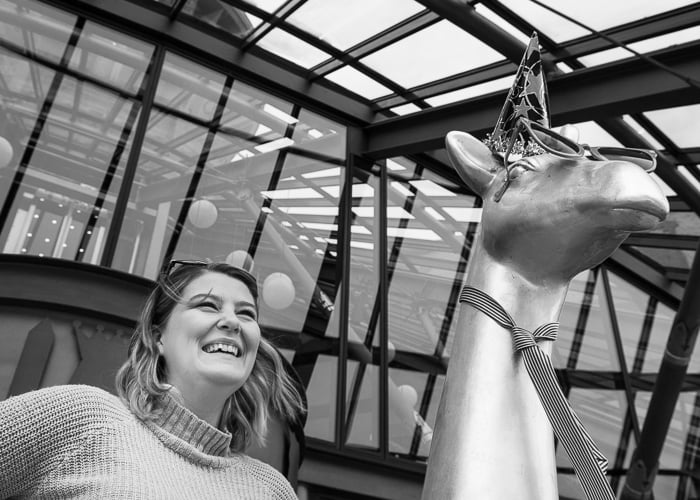
Nature provides a beautiful and unexpected contrast of elements in street photographs. I love how organic shapes and textures vary to the straight lines and seriousness of street scenes. Colors – in particular Fall and Summer shades – stand out in urban photography.
Auburn-leafed trees and green grass help ‘rest’ the eye – similar to the effect of negative space. Vivid flowers provide warmth and visual interest. I’m usually hesitant to convert these photos to black and white, preferring to celebrate the colors and contrasts in their full glory.
Winter can be a different story however. Naked branches and trunks of trees lining streets can look striking when converted into black and white, with their irregular shapes and curves in different shades of grey.
Think About Where You’ll Use Your Street Photos
Everyone has unique motives for doing street photography. Perhaps you’re documenting your changing city’s streets, or you’re visiting a town for the first time. You might be making photos for a community exhibition, or as part of a street art installation.
Think about the wider purpose of your photos, and how they’ll be presented. Do you need the whole collection to be consistently color or black and white? Would it work to mix it up a bit? Do the photos need to be printed large and inexpensively?
Consider the story you’re telling, who your target audiences are, and how they’ll perceive it.
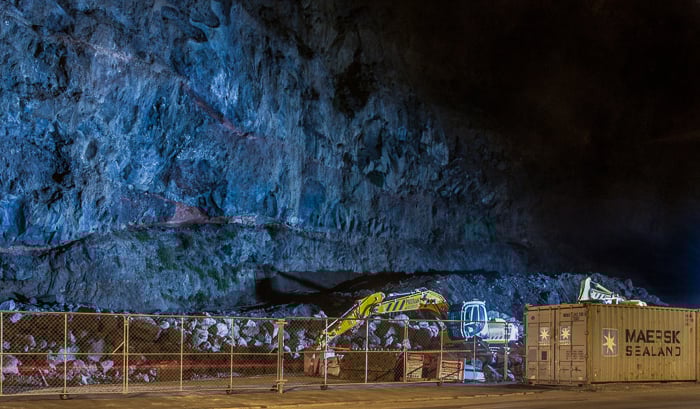
![[CROP] Project: New Zealand Intervention, photographic street art. Black and white vs color street photography.](https://expertphotography.com/img/2018/06/colour-vs-black-and-white-street-photography-construction-public-art.jpg)
[CROP] Project: New Zealand Intervention, photographic street art. © Heather Milne
Photographing On Grey Days

© Heather Milne
Photographing street scenes on grey, rainy days can be a cold and uninspiring experience, but don’t let the dull weather curb your creativity! Boost your ISO to capture more light, and focus on your subject matter and composition.
If possible, use your tripod and shutter release cable to keep your photographs sharp. With these essentials taken care of, trust in a bit of black and white post-production magic. Colors appear dreadfully drab and washed out on grey overcast days. Convert your photograph to black and white, increase the clarity, and adjust shadows and highlights in post-production.
Experiment with the color sliders so that you see a full range of white, grey, and black tones. Let people’s expressions and body language convey the gloomy weather, not the tones in your photograph.
The awesome thing about our own photography is that we have creative freedom when it comes to choosing between black and white and color. In fact you don’t have to choose. The same photograph that looks great in black and white might look equally as stunning in color – have both on file!
As your photographic experiences and personal circumstances develop and change, so will your decision processes about how you photograph. I used to be a self-confessed black and white street photography snob, but over the past two years, I’ve changed my ways and I’m much more open to using color in my street photography.
Consider the weather, the light, and how you want to present your photographs. Let instinct kick in and let your finger do the clicking.
Check out our recent article on using film for street photography or the best street photography cameras.