Street light photography can be a lot of fun, and it can also produce some stunning results. In this article, we’ll discuss the best street light photography tips for better photos. We’ll provide tips on how to use each setting effectively, and we’ll show you some stunning examples of photos that were taken with these settings.
Planning for Street Light Photography
If you’re working with sub-optimal light, there is some gear that will make your life easier.
And your street photos better!
I always bring a:
- Shutter release cable
- Camera with a gutsy ISO and timer
- Lens hood
- Piece of A4 card (more about that later)
- ND filters
I didn’t start out with all these. I started with an old camera restricted to ISO 100, and I lugged a kitchen stool around as a tripod.
But they are useful pieces of equipment that reduce the need for post-production.
They also keep your images as sharp as a tack. And make the difference between a fantastic photograph or a photograph to delete.
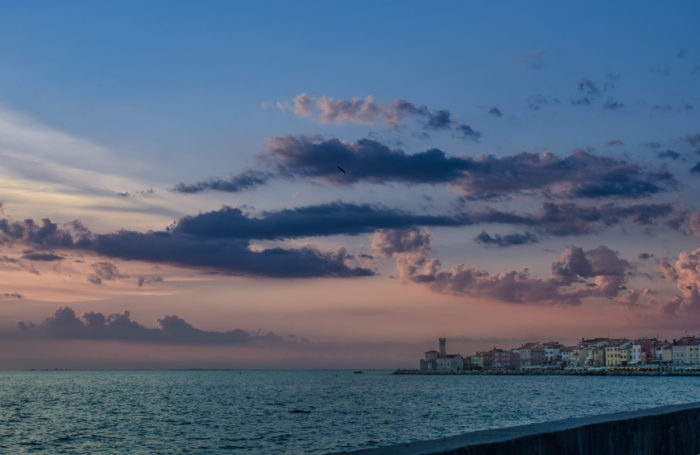
Taking Photos on Grey and Rainy Days
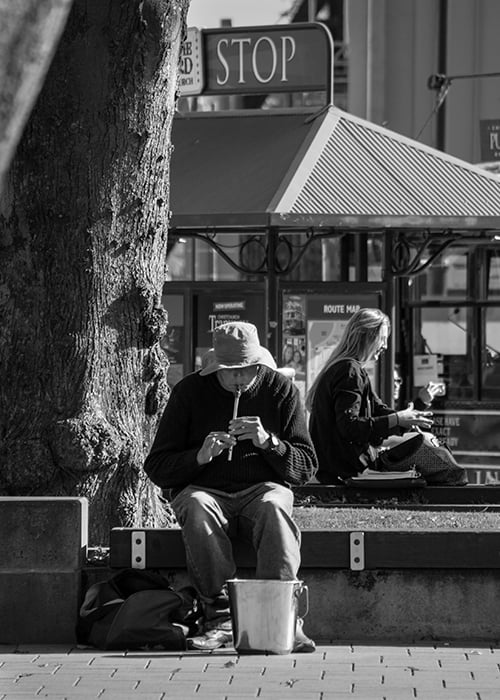
Photographing in rain or low cloud is uncomfortable. Low light causes color in your photographs to appear dull and muted. You get distracted by cold feet and wet gear. This is when black and white photography is your friend. Although the light is dull, at least it’s even so there are no strong contrasts to worry about.
Black and white reflects the sombre nature of the weather. It’s great for showing emotion in faces of passers-by. It also emphasises lines, shadows, and textures. These replace the punch that color provides.
A black and white photograph in gloomy weather can show emotion. Even without people in the frame.
Look around for subjects that include these dynamics. You’ll convert to black and white and adjust clarity in post-production.
Street Photography Lighting Options for Overcast Days
Regardless of your color choices, your camera sensor still needs adequate light.
You’ve got a few technical options for dull weather street photography:
- Slow the shutter speed and use a tripod and shutter release cable to avoid camera shake. Bear in mind that passers-by will have a bit of blur to them which adds a whole new atmosphere to your story.
- Increase the ISO and maintain a quick shutter speed and medium aperture. This will result in increased noise in your final image (grainy effect). The added texture can work well in black and white photography. It all depends on the look you’re going for.
- Lower the aperture and keep the shutter speed fast and the ISO low. This can be tricky if you’re including several subjects and details in your frame. You’ll end up with a very shallow depth of field. This technique is great for capturing close-up detail with a bokeh-effect background. It looks particularly great in the rain.
© Heather Milne
Don’t completely disregard color photography in doom and gloom weather. Look for bright colors such as oranges and reds – particularly if they’re shiny from rain.
A burst of color in a dull weather photograph can lift spirits and tell a great story.
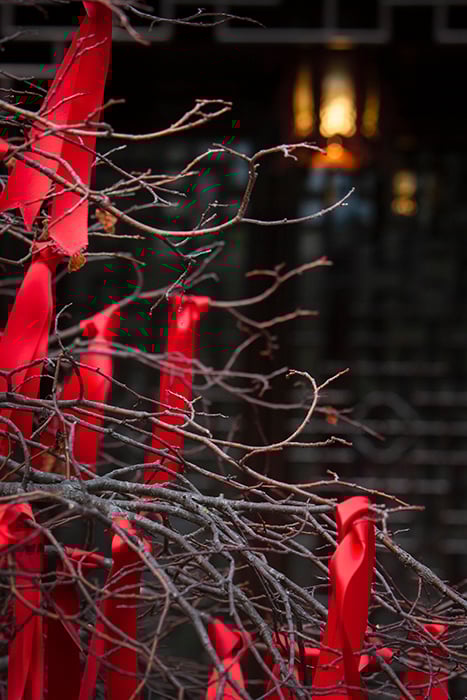
A burst of color on a dull, grey day. © Heather Milne
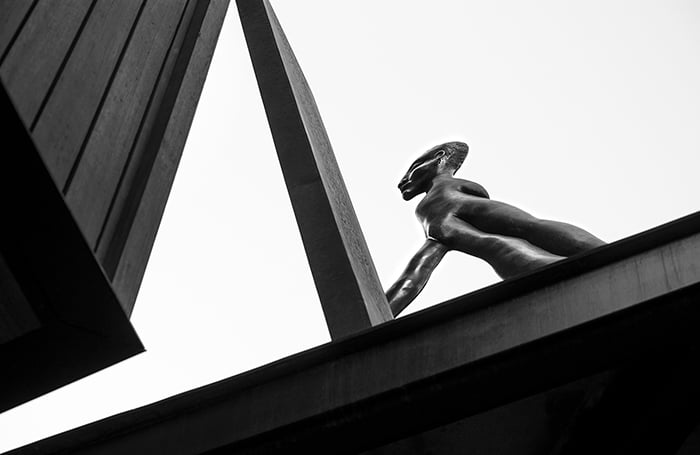
Photographing in Bright Sunshine
A bright sunny day makes my heart sink. I can expect strong contrast and harsh shadows. Also a demanding white balance that needs regular adjusting, and people blinking.
It’s difficult to reveal detail in the shadows without blowing out the highlights. And color is flat and washed out.
But loads of photogenic things happen on the streets in this weather. And I don’t want to miss out on them. This type of light allows you to get creative with shadows in photography.
Some tricks I use with bright daytime street photography are:
- A lens hood! Sometimes the lens hood isn’t enough. I also hold a piece of card in the path of direct sunlight hitting the lens so that the lens flares disappear
- Keep the ISO low (100). Don’t be afraid to increase the shutter speed and aperture. This reduces the light entering the camera sensor
- An ND filter to further decrease the light entering the camera sensor. They range from 1 stop to 10 stops, so do some research about what works for you and your style of photography
- Adjust shadows, highlights and tones in post-production
- Work on individual colors in post-production
- Convert a photograph to black and white in post-production if the colors are too washed out
- Point your camera lens downwards to find shadows and texture.
Consider using a zoom lens in bright weather. Focus on details and small scenes where you control the light.
Explore subjects under shop front verandas or awnings. Try photos in alleyways and doorways, or under the shade of large trees or shrubs.
This photo was made on a day of bright sun and glare, so I directed a zoom lens on a small part of the subject out of direct sunlight. © Heather Milne
Black and white on a bright sunny day. © Heather Milne
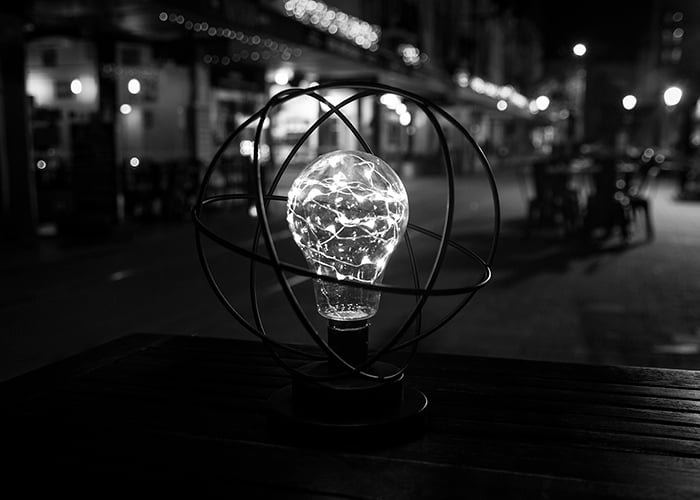
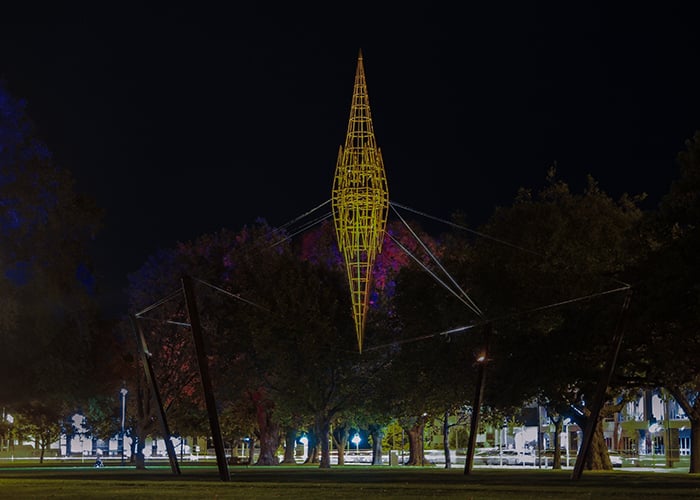
Night Photography and Low Light
Darkness and semi-darkness (blue light) on city streets at night make for great photos. You can use the artificial light shining around you.
Understanding manual night photography settings is important for low light photography. You need a tripod and a shutter release. That way you can slow the shutter speed right down without camera shake.
A tripod will also enable you to keep the ISO at 100. This produces clean and noise-free photographs.
Some tips and techniques to try:
- Get busy with street light photography. Include some artificial light, but not too much. You need enough light to show your subject, create an ambience, and tell the story. But you’re not pretending it’s daytime. Include contrast between the artificial lights and some negative space of the night sky or dark buildings
- Experiment with white balance settings on your camera and/or in post-production. Different sources of artificial light will affect how you use the white balance. A street light will produce different results to a shop window light or car light
- Embrace colour! Illuminated colors look stunning at night
- Photograph movement at slow shutter speeds. Vehicle lights become streaks of white and colored lights
- Explore contre-jour techniques. People walking past lit shop windows become eerie shadowy ghosts. Create a street light silhouette with shapes underneath a light street lamp
- Keep yourself and your gear safe and trust your instincts.
One of my early night photographs using an old camera with ISO 100 and kitchen stool for a tripod. © Heather Milne
Color glowing at night with a low shutter speed. © Heather Milne
Conclusion
Don’t feel disheartened with poor weather and light. You can tell a great story through your street photography. Even when mother nature is against you.
Practice in sub-optimal light conditions to increase your skill and confidence.
And when you do have that perfect light day, you’ll be even more prepared to capture great photography.