If you want to take your photography skills up a notch, consider light painting. This involves using long exposure to capture the movement of light in a scene, creating an ethereal and otherworldly effect.
You don’t need expensive equipment to do light painting. But you need a decent smartphone with manual settings or a good long-exposure camera app.
We’ll provide tips to help you start light painting with your phone. We’ll show you how to use your phone to take pictures of light painting and to do the actual light painting!
Equipment You Need to Do Light Painting With a Phone
- Smartphone: You need this for taking photos, or you can use a digital camera with long exposure settings. You need an iPhone with iOS 11+ or an Android with manual camera settings.
- Long-Exposure Camera App: If you have an older iPhone or an Android without manual mode, you must use a camera app with long-exposure features. We used Slow Shutter Cam (iOS) for this tutorial. We recommend ProShot for Android phones.
- Tripod: This is recommended. But you can rest your camera where it won’t move in a pinch. If you use a tripod, you need the relevant mount to hold your camera.
- Camera Remote or External Shutter Release: These are available for smartphones, DSLRs, and mirrorless cameras. You’ll need this to ensure your camera doesn’t move when you take the photo.
- Light Source: This could be an LED light, a video light, a flashlight, or another smartphone. Anything that emits light can be used for light painting.
- Gels: This refers to transparent plastic of different colors. You can use these to change the color of the light you paint with. But these are optional.
1. Using Your Smartphone Camera to Take the Picture
Again, those with older smartphones will have only one real option when making long exposures. And that’s using an app that allows you to take long-exposure photos.
Newer iPhones have a feature with Live Photos, which allows you to transform a Live Photo into a long exposure photo. Or newer Androids have manual settings for long exposure.
Whichever method you use, this is a long-exposure photo. So it’s best to use a tripod.
Let’s look at how you go about this and why, for the time being, DSLRs and mirrorless cameras are still a ways ahead in this area of photography. (Despite recent advances by smartphone manufacturers.)
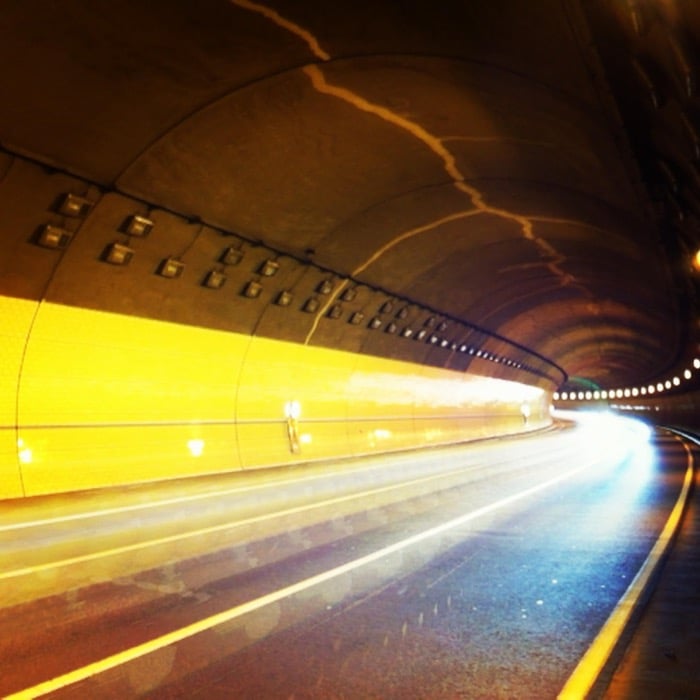
An example of long exposure with an iPhone.
Steps to Do Light Painting With a Phone and App
You’ll first need to download an app to perform long exposure with your phone. When you have this app, you’re ready to paint with light!
To use the app effectively, position your camera somewhere it won’t move during the exposure, preferably on a tripod.
The Slow Shutter app (iOS) gives you a choice of exposure times from 0.5 to 15 seconds. There is even a bulb mode and a Light Trail mode for light painting!
The ProShot app (Android) also has a Light Painting mode. Or you can utilize its full manual controls to set up a slow shutter speed and a low ISO for a long exposure.
If you have an external shutter release for your phone, you could experiment with this. In addition to this, explore your app’s capture modes. They may have a long-exposure or light-trail mode.
Those without a camera remote or external shutter release are also catered for with the apps. Both the Slow Shutter and ProShot apps have a self-timer for you to utilize to release the shutter.
There are two types of shots you can experiment with these apps:
- Traffic Light Trails: Simply set up your phone in an interesting place to capture and record car light trails. The light will be “painted” as the cars move through the scene.
- Light Painting: You’ll need one of the mentioned light tools, like a flashlight, to do this. Set your camera to expose and “paint” letters or shapes in the air with the light. You’ll likely need 15 seconds or longer to complete your light painting.

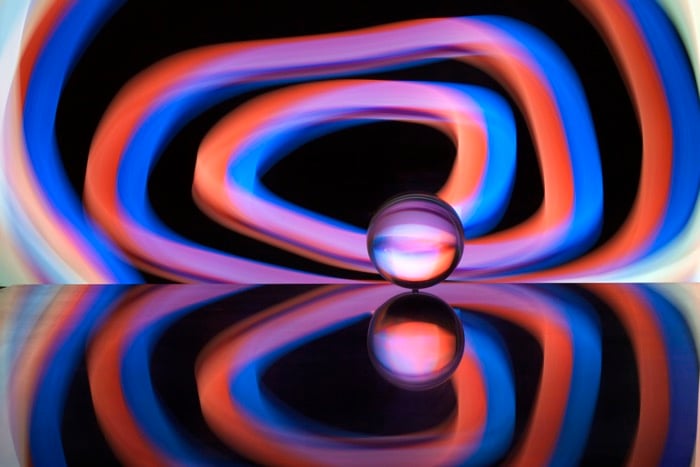
Abstract painting shot with an Android phone with a 24-second exposure. © Jatin Gajjar (Unsplash)
Using an iPhone Camera’s Live Photos
An alternative way of creating long exposure is available for iPhone users with iOS 11+. It utilizes the camera phone’s Live Photos.
How this photo is taken even means you can make a long handheld exposure. But I’d advise against this.
- First, you need to set your camera to shoot a Live Photo (the bulls-eye in the top-right corner).
- Next, expose your photo with the self-timer from the top drop-down menu to create your light painting. You can light paint or use traffic light trails.
- When it has finished recording, go to your photo library and view your finished exposure in the camera app.
- Lastly, hit the Live drop-down menu (with the bulls-eye in the top-left corner), and choose Long Exposure. This will transform your photo into a light painting!
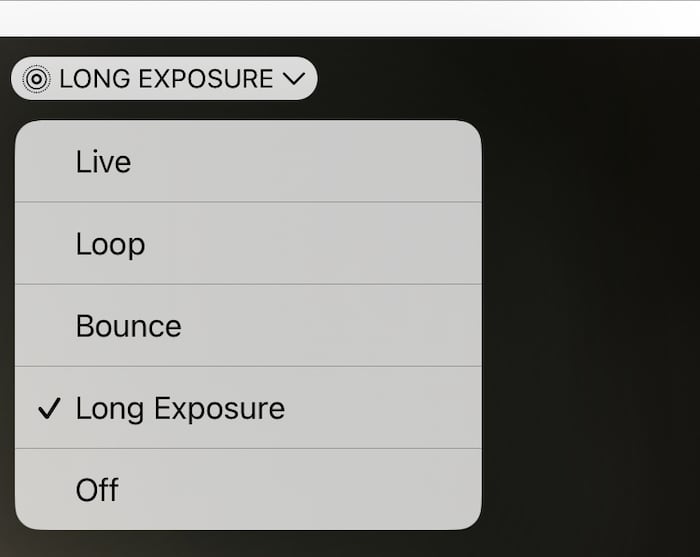
Long exposure option in iPhone’s Live drop-down menu
Larger Aperture and Smaller Sensor Sizes
Camera phones do have a couple of serious shortcomings when it comes to nighttime long exposure. These are unlikely to be fixable except perhaps by post-processing.
- Aperture: The aperture on a smartphone is typically on the large side (small number). For instance, the iPhone X goes from f/1.8 to f/2.4. A large aperture is usually great, but not when it comes to light painting. This means the lines of light you produce are bright and wide. And this isn’t a great look. It also means any stationary light sources won’t produce the starburst effect you’d see with a camera aperture at around f/11 or smaller.
- Sensor Size: Using any camera for a long exposure will produce an image with digital noise. The smaller sensors perform worst in this area. So this is another disadvantage to using a camera phone for this type of photography.
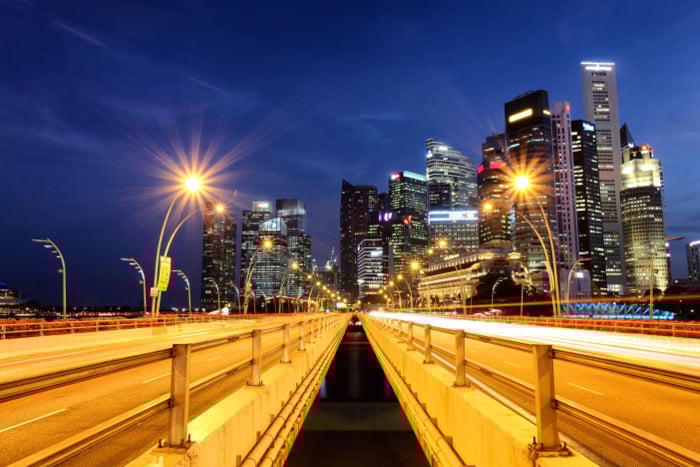
Shot with a Canon 5D Mark II DSLR. The starburst effect is only possible with a small aperture (large f-number)
2. Using Your Smartphone as a Light Painting Tool
The second way you can use your smartphone is as a tool for light painting. You can use it with a DSLR, mirrorless, or another camera capable of long exposure.
A phone has two main light sources— the flashlight and its screen. So it can be used to create your light painting in several ways.
Remember that your camera should be on a tripod when light painting. And you’ll want to expose your scene for 15 seconds or longer.
Move your light source around while the camera’s shutter is open to create the light painting.
Lighting a Subject Up
Light painting occurs in a dark place, either indoors or outdoors. If you wish to light up a person or object, using a flash with your light painting is an option.
When the object to light is perfectly still, the other option is to light it up through light painting. In this case, the light source faces away from the camera lens and toward the object you wish to light up.
The flashlight on your phone is perfect for this function and can light up an object or a specific area of your photo.
If the room is dark enough, you may be able to light up your still-life object and light paint behind that object in the same exposure (see below).
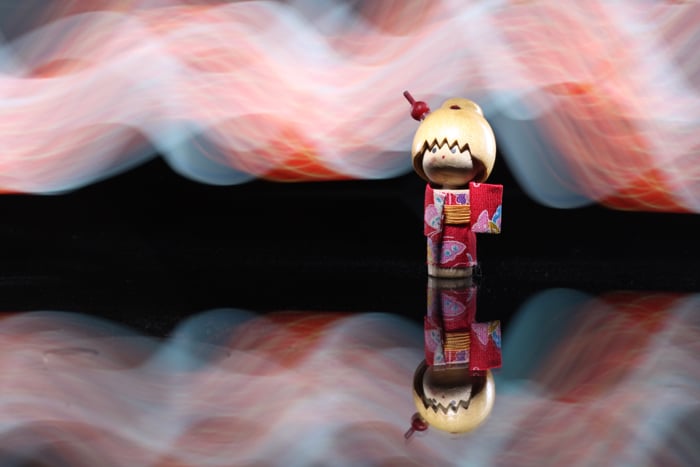
The figure was lit using a smartphone’s flashlight. The background was “painted” using a smartphone’s screen.
Painting With the Camera’s Flashlight
The first camera light source you can use to paint with is light from the camera’s flash.
This is a bright beam of light. So there will be a very strong light in your photo. This can be used to make shapes like circles, lines, or even a heart.
Avoid keeping the light stationery within your scene for a prolonged time. If you do this, the light begins to overpower the photo.
This light will be white and is often a “cold,” white light. And it has a bluish tint to it. But having this color for your light painting is not always desirable. So how can you change the color?
The solution is simple. Just place some colored gels over your flash to change the color!
Adding a gel to the front of the flash will make the intensity of that light slightly dimmer. This can be an advantage for your light painting.
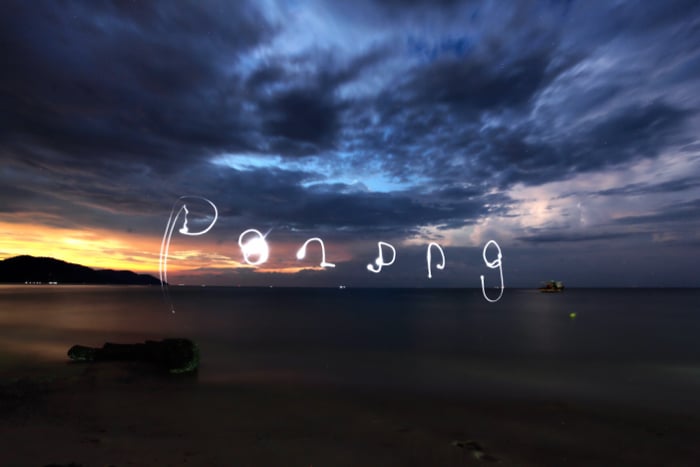
As well as painting shapes, you can also paint words using a smartphone’s flashlight.
Painting With the Camera’s Screen
An even more creative way of painting with light is to use the camera’s screen. This also emits light. But the light is much less intense than the flashlight.
What you now have in your hand is a mini light stick. And you can program it to emit different light sources.
Do you want to change the color of the light? No problem. And this time, you won’t even need gels to do it. You have a number of options to change the screen:
- Photos: You can use a photo you already have. Photos that have solid blocks of color work especially well for this. But you can experiment with any photo to see how it looks when used for light painting.
- Flashlight apps: The Flashlight for iPhone + iPad app lets you change the screen color of your phone. You can even choose more than one color. So you can have color blocks when you paint with the light. Similarly, there is an Android app called Color Flashlight you can use.
This photo is used on a camera screen to create the light painting below.
The light pattern was created by a smartphone’s screen background photo (pictured above).
Conclusion: How to Do Light Painting With a Phone for Stunning Photos
As you can see, light painting is a great technique, and you can do many things with your smartphone.
Have you ever used your smartphone to make a light painting? Have you ever tried something different with a smartphone light painting than we’ve covered here?
We hope that we’ve inspired you to try your hand at this dynamic form of photography. So please share your experience in the comments section with any photos you take!
Are you looking for more creative photography ideas? Check out our posts on minimalist photography or surreal photography.


