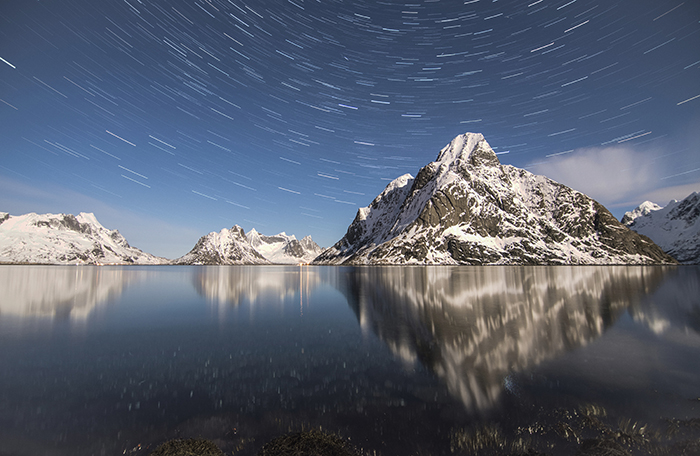
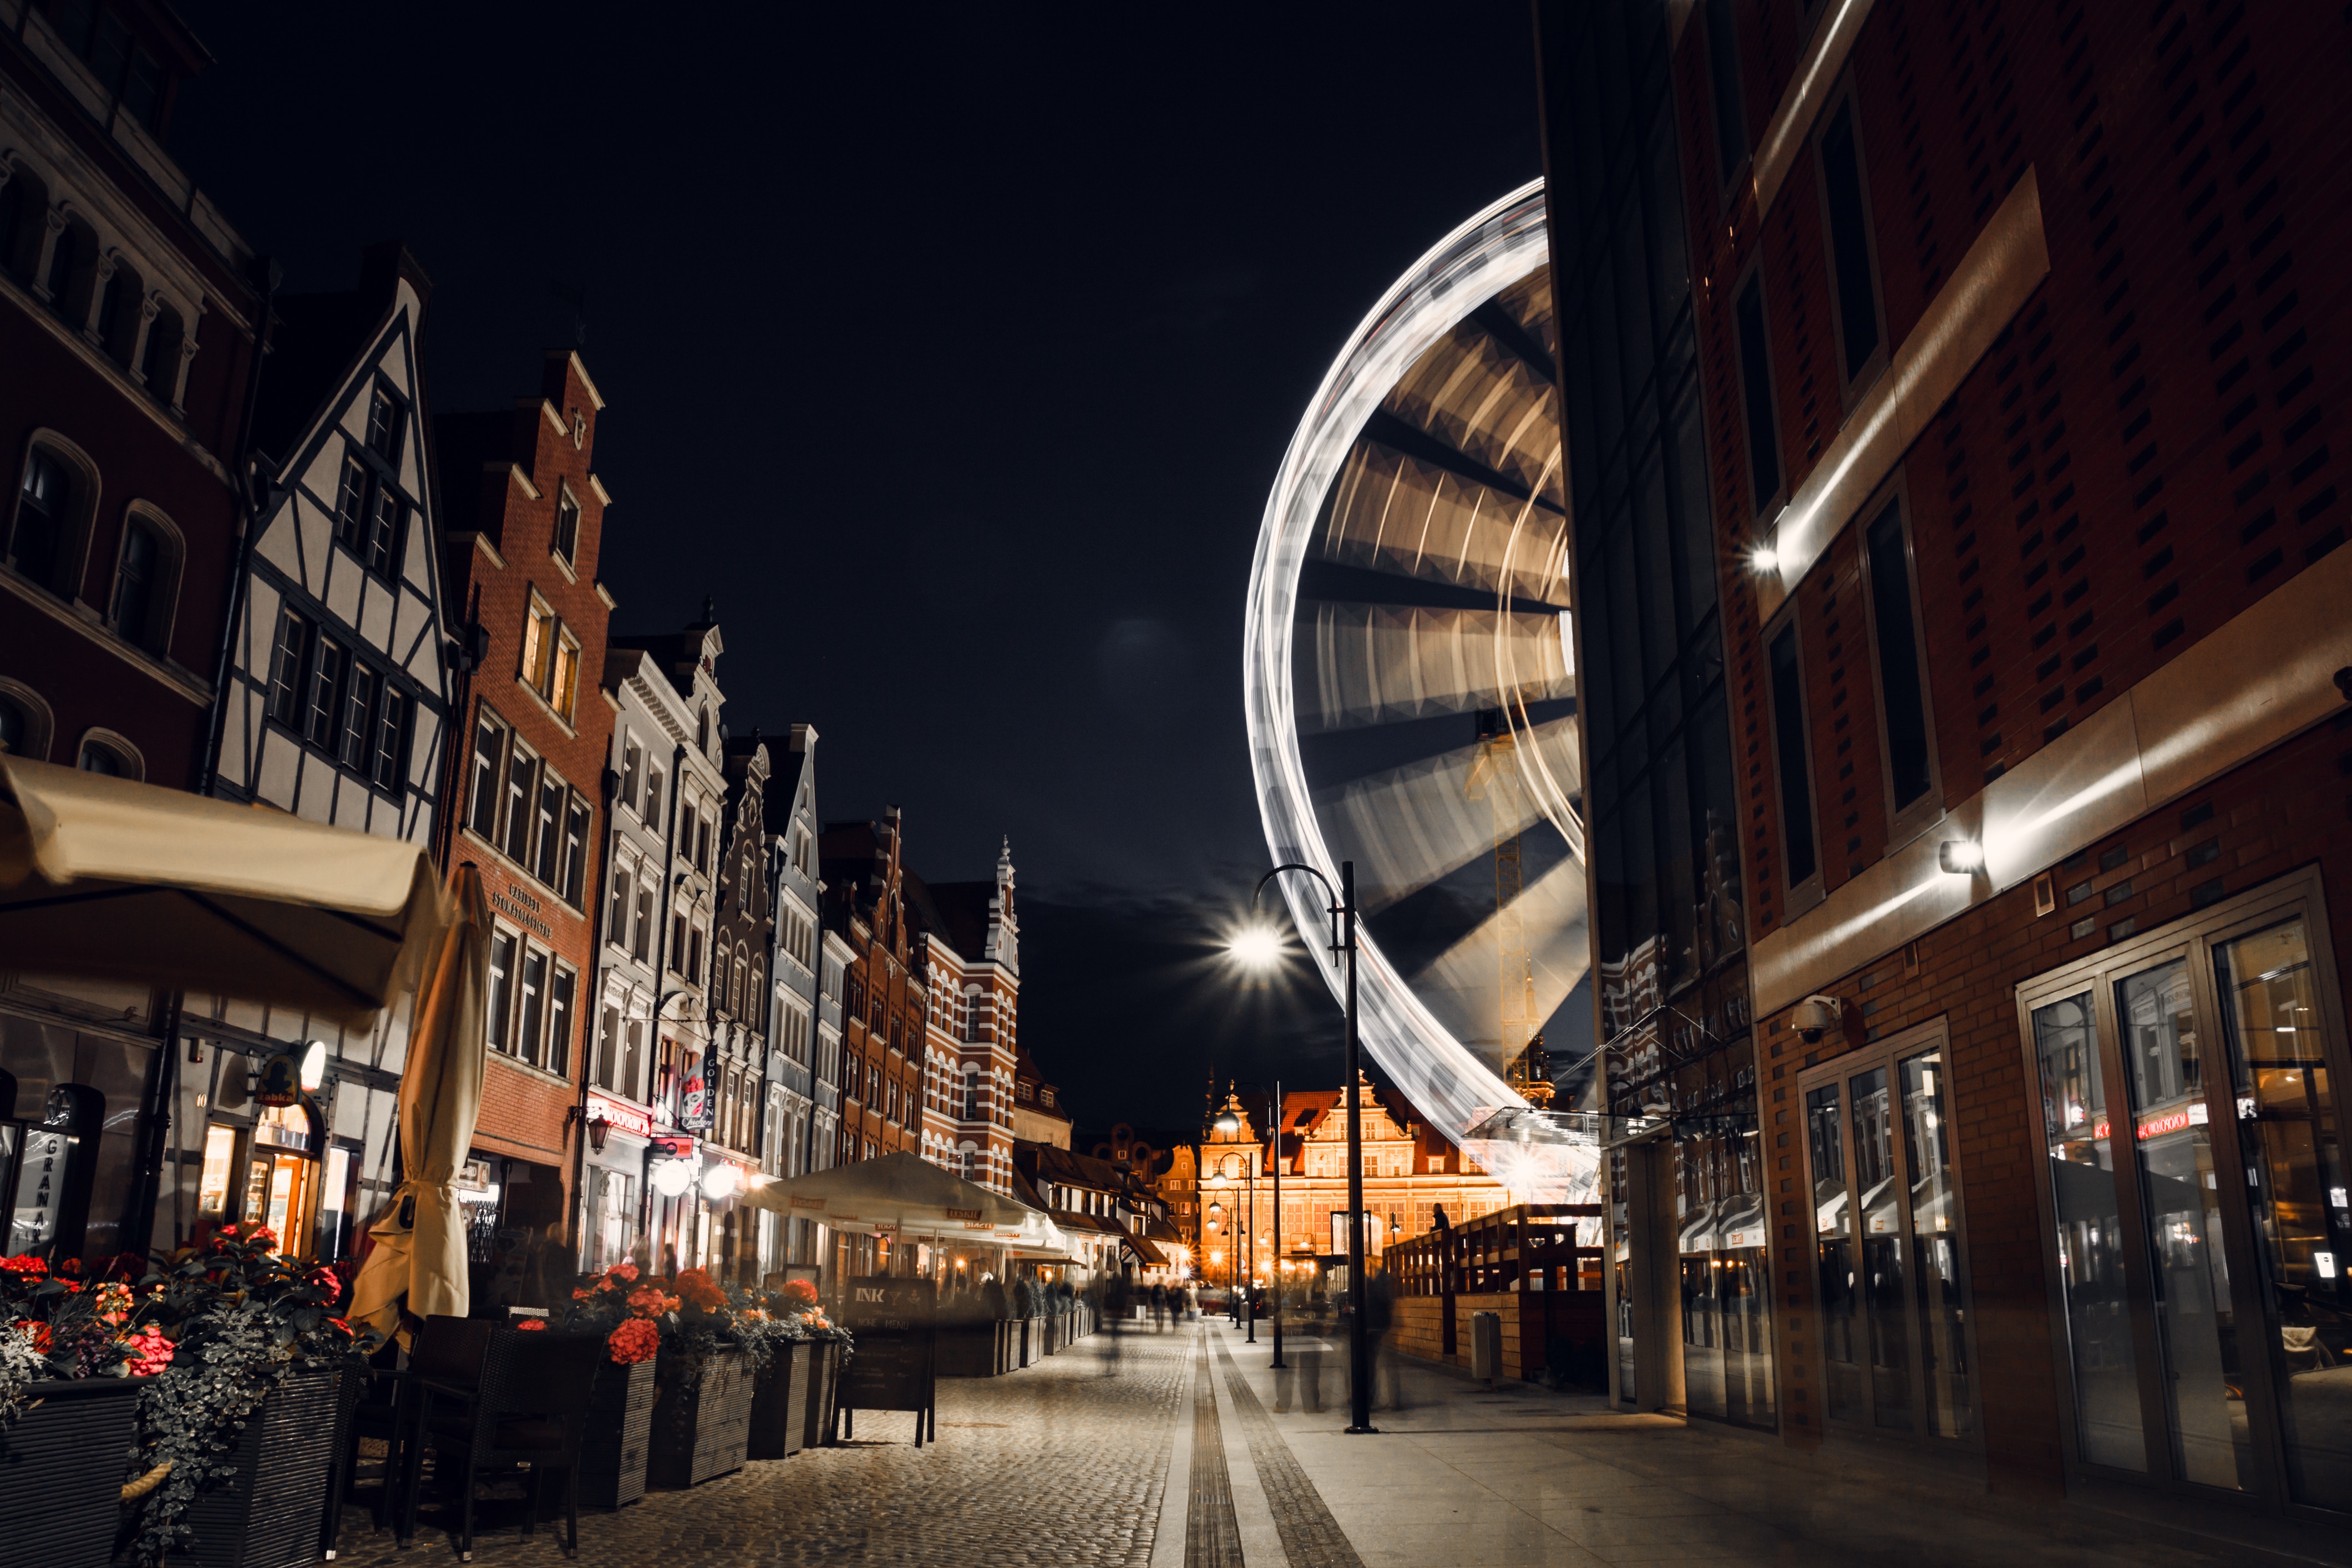
When you shoot a day to night time-lapse, you get to document the way different times of the day affect a landscape.
It takes time, but a day to night (or night to day timelapse!) is a fantastic way to improve your videography skills and make some extraordinary footage.

What You’ll Need to Shoot a Day to Night Time-Lapse
- Tripod
- Intervalometer (if your camera doesn’t have one)
- Camera
- Lens
Choose an Interval of Time That Will Make Your Time-Lapse Look Interesting
There are a few questions you must ask yourself before you start shooting. How long do you want to be outside? Or what exactly you want to include in your timelapse?
Do you want to create a sunset timelapse and get a few seconds of nighttime footage? How many elements do you want to include in your final video? All these questions will determine how long you spend outdoors.
It is best to choose a convenient time that doesn’t exhaust you. You need to be awake since you’ll be controlling your camera settings.
The time and settings ultimately depend on you and your preferences. If you’re not sure, you might want to create a day to night time-lapse from your window. Practising will give you a better idea of what you’re comfortable with.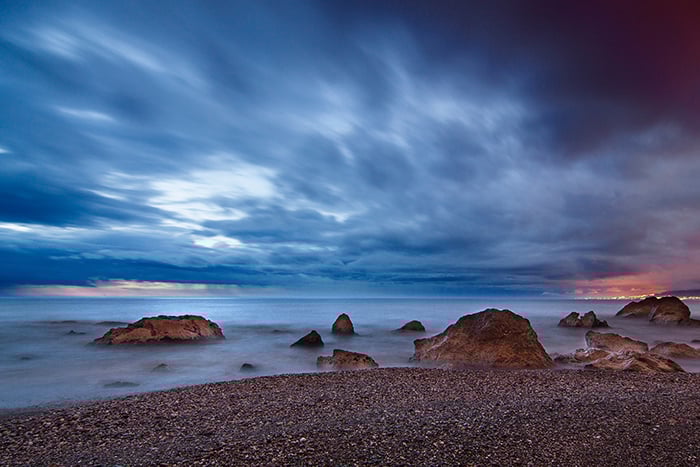
Find a Safe Location Where You Can Shoot for Hours
Once you have a clear idea of what images you want to capture, choose a safe location. This can be the top of a hill, the beach, or even a roof.
Your goal is to choose a location that will keep you safe and won’t disturb anyone around you. The weather conditions need to be ideal, especially if you plan on shooting for hours at night. If there’s a lot of wind, your camera will move around and take blurry timelapse images.
Make sure you bring something to keep you entertained during your shooting. You should also wear warm clothes, bring a chair, and make sure you have something to eat and drink.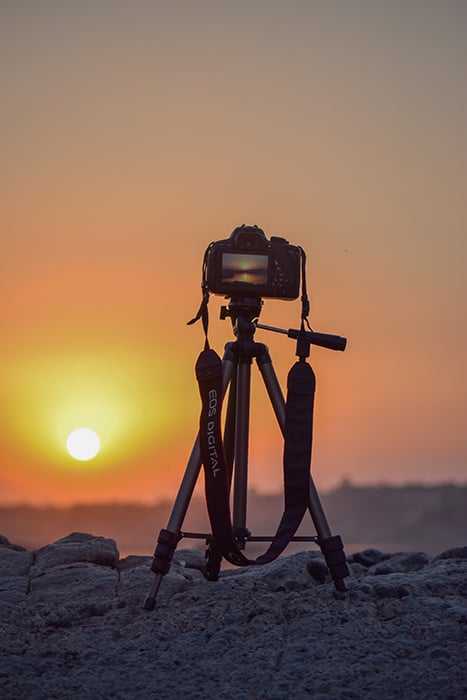
Select a Long Interval to Avoid Overwhelming Your Camera
You’ll need to use your internal or external intervalometer to set an interval. This interval will determine how often your camera takes pictures. For example, timelapse sunset timing is usually around 3 seconds.
If you’re going to be shooting for hours, your interval doesn’t have to be that short. The longer the interval is, the less overwhelmed your camera will be over a long period.
Keep your camera battery and memory in mind when you set an interval.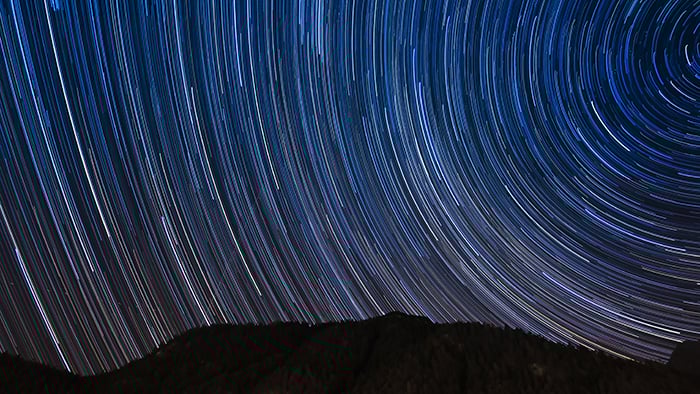
Cover the Viewfinder to Avoid Disruptive Light Leaks
If you’re not planning to use Manual mode, you need to cover your viewfinder.
The reason is that the viewfinder lets some light in, which can affect the way your camera takes pictures. If your camera automatically adjusts to the lighting throughout the day, it might not give you consistent results.
This usually results in flickering. Your time-lapse won’t look smooth, and you’ll end up having wasted your time.
You can cover your viewfinder with any safe material. Most time-lapse photographers use gaffer tape or viewfinder caps.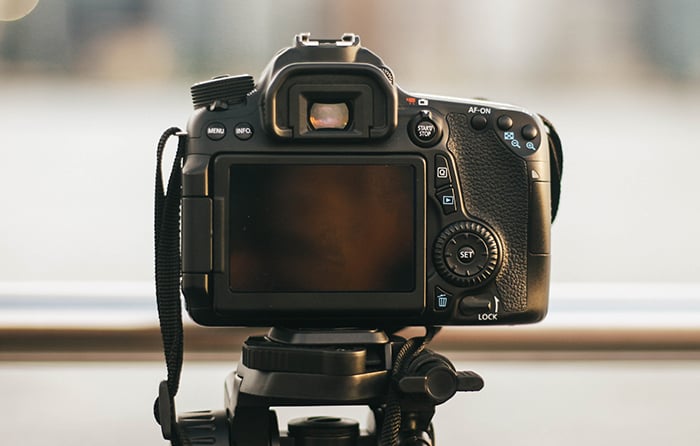
Shoot in Live View Mode to Know When to Adjust Your Exposure
You don’t have to use Manual mode to create great timelapse photography, but it will make your life easier. If you use it, make sure you shoot in Live View mode.
Live View mode will let you see what’s happening on your camera screen. This will make it easier for you to adjust your camera settings as the lighting changes.
Make sure you check the screen as often as you can. This will take more effort than using another mode, like Aperture Priority. But it will give you much more control over your images. This can save you a lot of time in the long run.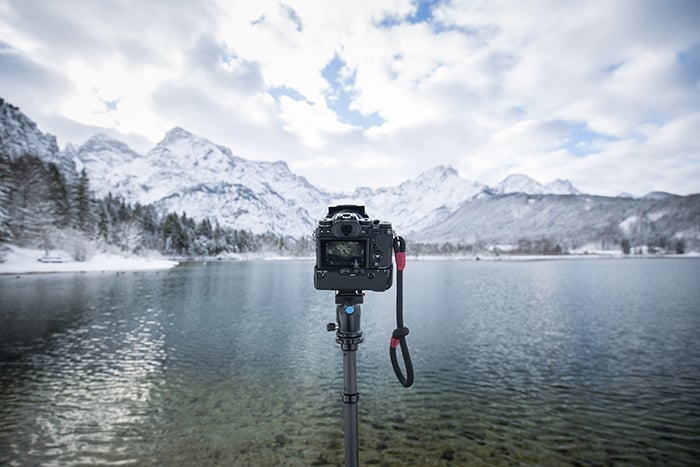
Use LRTimelapse to Put Everything Together Seamlessly
Once your timelapse images are ready, you’re only halfway done. The editing process is where you can control the look of your final video. This process is fun and creative for most time-lapse photographers.
There are many time-lapse photography programs out there, but LRTimelapse seems to be the most successful one. It offers a wide variety of tools that can help you transform simple photos into an outstanding time-lapse video.
You can use this program with Lightroom.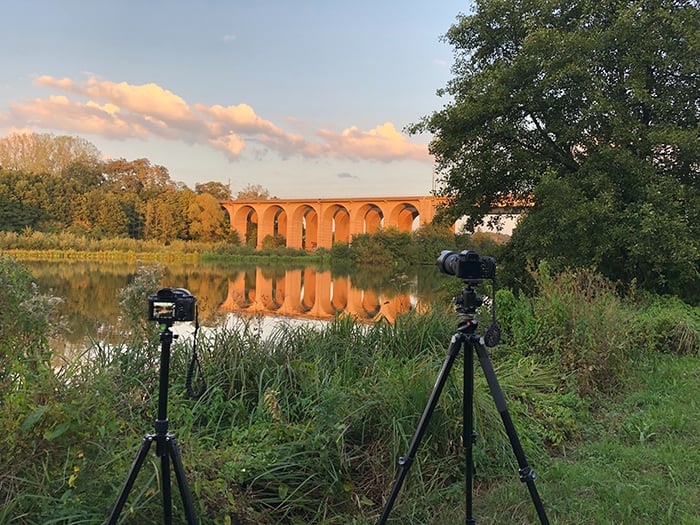
Use a Time-Lapse App to Make the Most of Your Camera Features
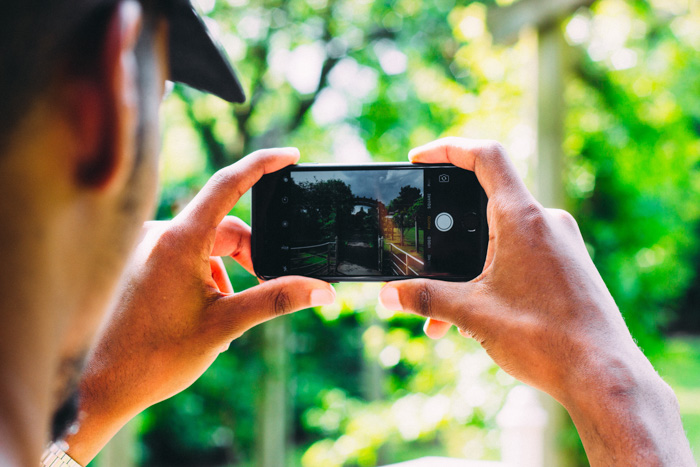
If you’re using a smartphone to create a time-lapse, you’re in luck! There are many free and premium apps that will help you take your time-lapse to the next level. One of the most popular is Framelapse.
Sony shooters used to buy a time-lapse app and load it onto the camera itself. That system is gone. Sony closed the PlayMemories Camera Apps store, and those apps can no longer be bought, downloaded or reinstalled. If you find an old tutorial telling you to grab one, ignore it.
You don’t need it anyway. Sony moved interval shooting into the camera firmware instead, so on an a7 III or anything newer it’s a menu item rather than a purchase. Look for “Interval Shoot Func.” in the shooting menu, switch it on, and set your interval and the number of frames you want. Canon, Nikon, Fujifilm and OM System bodies all have their own version of the same setting, usually filed under “interval timer” or “time-lapse”.
One difference worth knowing: the built-in function saves a folder of stills rather than handing you a finished video. That sounds like more work, and it is, but it’s the better outcome. You keep every frame at full resolution, you choose the frame rate yourself, and you can edit the sequence before it becomes a video instead of being stuck with the camera’s interpretation.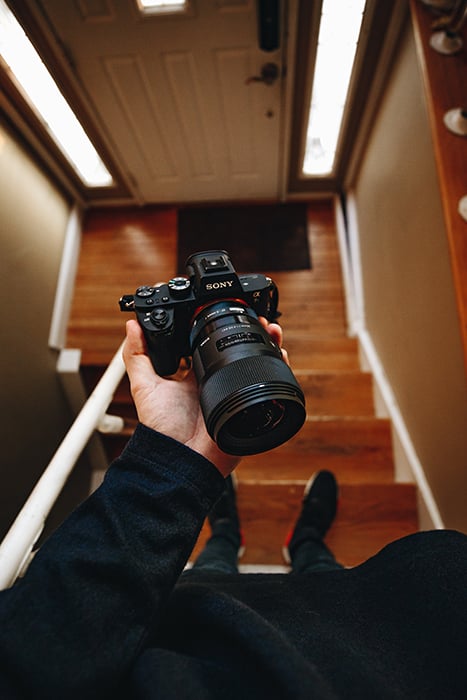
Common Time-Lapse Photography Questions
How Do You Do Day to Night Photography?
Figure out an appropriate time and location for your photoshoot. Mount your camera on a tripod and set your mode to Manual. Use your intervalometer to set an interval. This will determine how often your camera will take pictures. For a day to night time-lapse, longer intervals are acceptable.
What’s the Best Interval for Time-Lapse?
It depends on what you’re photographing. For sunset or sunrise time-lapse, your interval can be anywhere from 5-10 seconds. If you’re shooting something moving, like water, your intervals should be much shorter. For a day to night time-lapse, your intervals can be much longer.
How Does Time-Lapse Work?
Your camera’s intervalometer makes a time-lapse possible. Some cameras have internal intervalometers, while others need external ones. An intervalometer makes your camera take photos every few seconds. This leads to a series of photos that you can turn into a time-lapse video.
How Is Time-Lapse Calculated?
Your time-lapse calculations depend on how long you want your video to be. They also depend on your desired frame rate. To get fast and accurate calculations, you can use an online calculator like Omni.
Conclusion
Day to night time-lapses tend to be the most challenging to master, so prepare to learn and improve a lot. Once you learn how to do a time-lapse, you’ll be able to document any landscape effortlessly.
Why not check out how to shoot a drone time-lapse next!