8 Ways to Shoot Delicious Flat Lay Food Photography
Flat lay food photos look creative and mouthwatering. But how do you take flat food pictures like a pro?
Read our food photography tips and learn how to take the perfect flat lay shots!
8. Flat Lay Food Photography: 8 Tips to Choose a Flattering Background
Background can be a deal-breaker when it comes to flat lay food photography. You cannot avoid including parts of the backdrop with an overhead shot.
Choose a simple or neutral background. Use pastel colors or a wooden backdrop. Subtle textures look great, but they are not distracting.
You want to make sure that the viewer’s attention goes to the food subject.
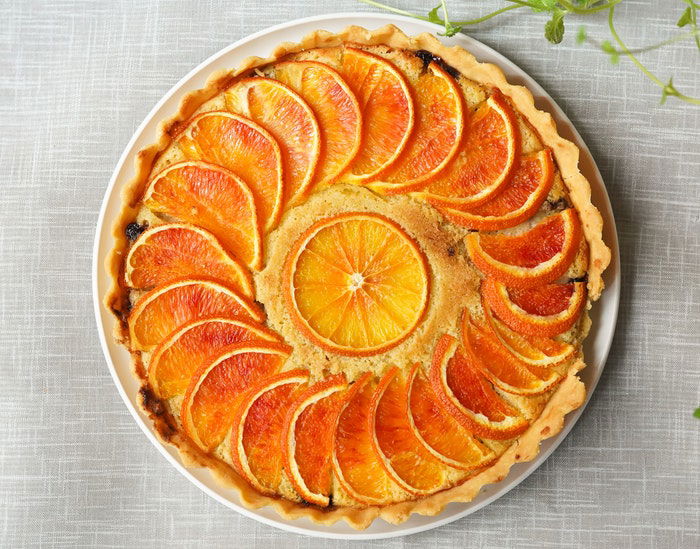
7. Set Your Camera High and Parallel
To get the best flay lay food pictures, you need to get your camera high to incorporate the scene. Stand on a chair or a ladder to photograph your scene. If you cannot do so, just arrange your food items on the floor. This will allow you to get more distance.
If you plan to shot a lot of flat lay food photography, I recommend getting a tripod with a 90-degree arm. This investment will save you from serious back pain. And will lead to fantastic overhead shots.
The tripod arm allows you to position your camera parallel with your scene. Make sure to use it with a sturdy tripod, especially if your camera or lens is heavy. You don’t want your camera to tip over.
The best way to see your shots is to shoot tethered. This way, you can rearrange anything if you need to.
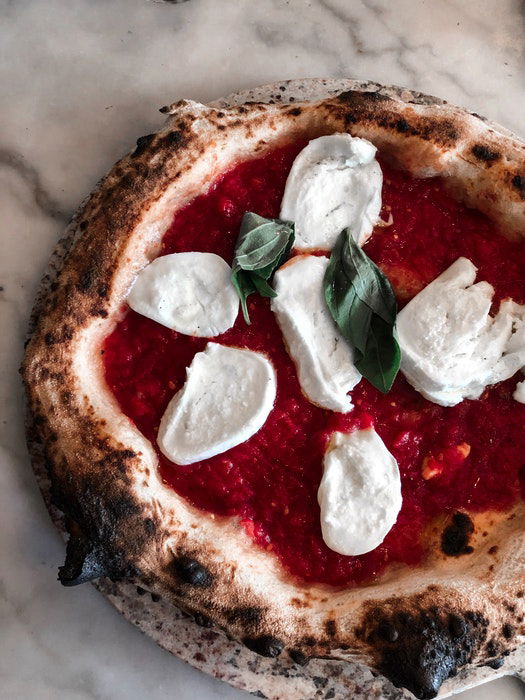
6. Use Props to Tell a Story
Props can make any food photography much better. Use ingredients, spices or toppings to decorate the scene. Add cutlery or some ornaments to make your photos more authentic.
Props also support visual storytelling. You can build cosy scenes and dreamy atmospheres with them.
Use props to design a creative scenario for your flat lay photos. For example, why don’t you build a complete Winter Wonderland when you photograph Christmas cookies? The flat lay setting lets you create 2D scenes with 3D elements.
Lay a few gingerbread men around the main subject and sprinkle the background with icing sugar. Add some Christmas lights and pine tree branches. You can create the perfect dreamy winter afternoon.
Props can help you tell the story of how the food is made. Add tools and main ingredients to the scene. This gives the impression that the viewer is part of the cooking progress.
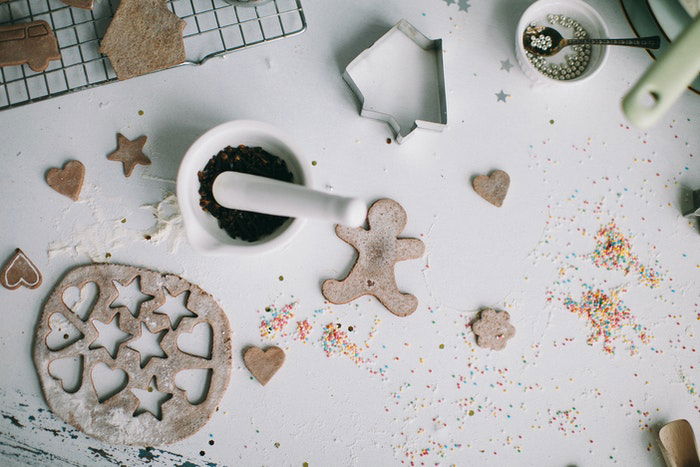
5. Build Depth Using Layers
I mentioned above the flat lay food photos look like 2D pictures. Sometimes this is great but many times makes your scene boring.
Add layers to build depths in your food photos. You might think that salt and pepper flakes are only for decoration. But every single item can add depth to your flat lays. These little tricks help to turn your 2D pictures into 3D photographs.
Look at the food photo below. How many layers do you see? Two, three? I see at least seven layers! The grey backdrop, the plate, the pepper flakes on the plate.
Then the bread, the avocado slices and the egg. On the top, you have the pine nuts and the pepper flakes. Every ingredient adds extra depth to your photos.
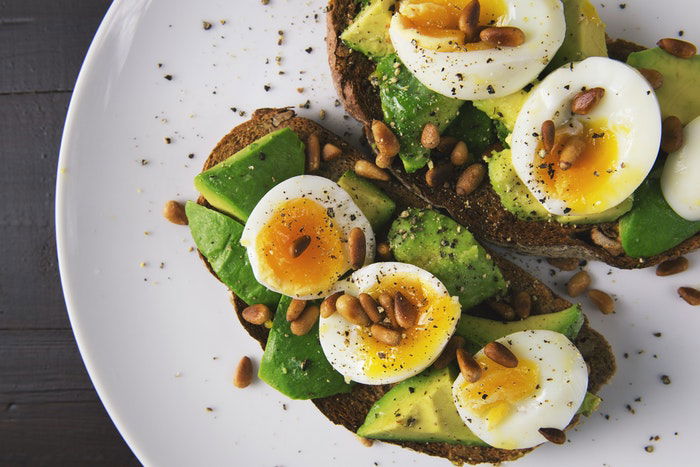
4. Experiment With the Composition
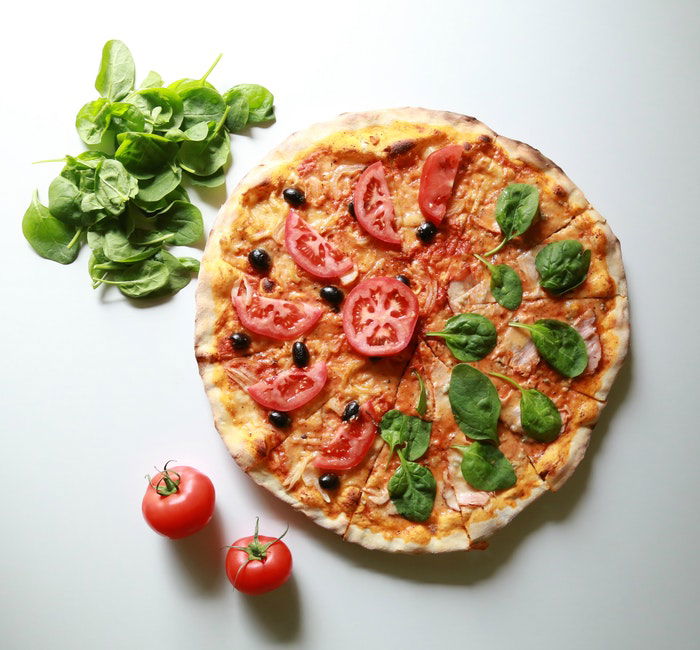
Some food looks the best in flat lat photography. A pizza or pie are easy subjects because they are flat. The toppings and the ingredients spread all around their surface.
But how do you take flat lay photos of a hamburger or a layered cake? You try to make them more appealing in the composition. And you need to apply food stylist tricks to succeed.
A food photography scene is almost never spontaneous. Every single segment is staged to make it look mouthwatering.
A burger is built so that the cheese is peaking over the edge of the bun and the salad leaves are perking out in every direction.
Have you ever realised that your burger never looks like that in reality? It’s because it is built for the photoshoot and not for consumption.
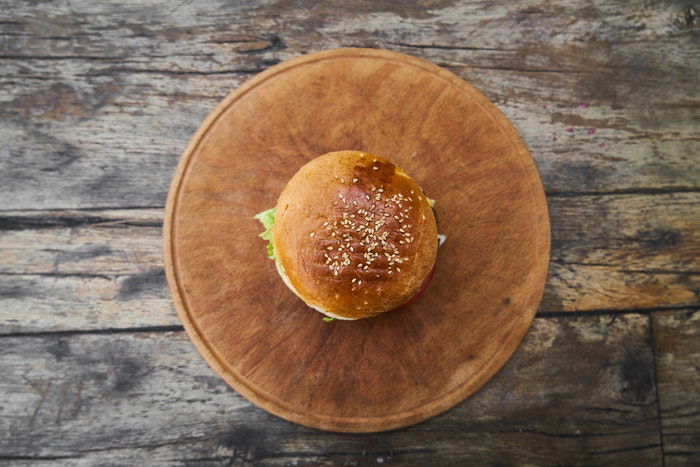
Look at the flat lay burger photos below. The first one has depth but you can only see a bit of salad sticking out in the side of the bun. Looks delicious? Not really.
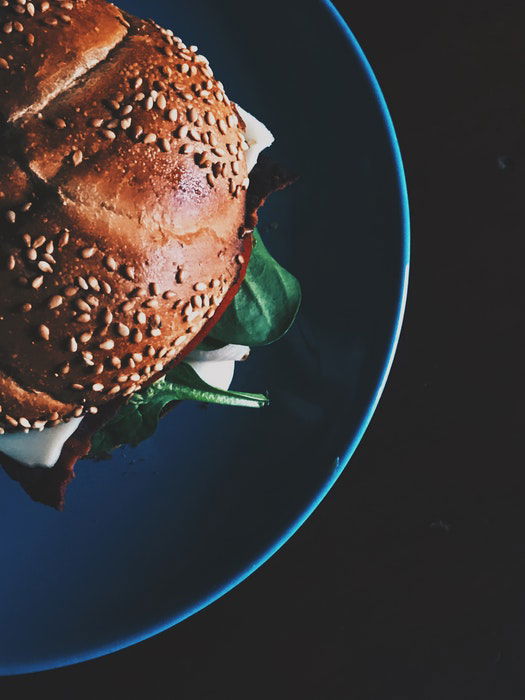
Look at the second photo. It is much more promising! We can spot cheese, bacon, tomato and spinach below the bun.
The framing also gives us the impression that there might be more on the plate. Maybe some fries next to the sandwich? It’s mysterious and it gets our food fantasy going.
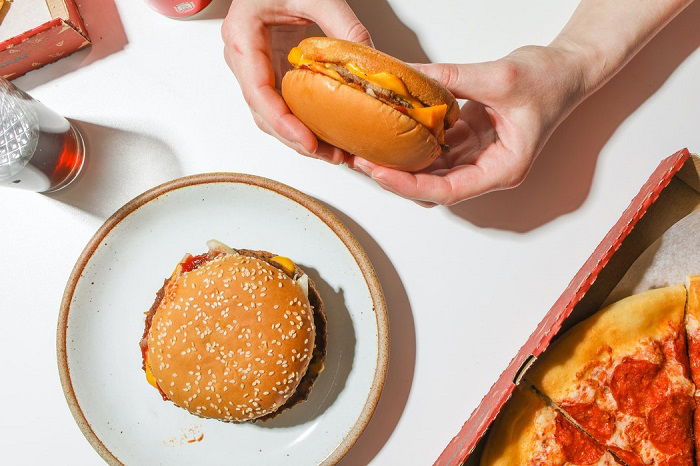
Now, look at the third flat lay burger shot. It is a game-changer. We can spot some ketchup, lettuce, cheese and meat below the bun.
But the photographer also turned one burger on its side so we can see every layer. The frame also includes some coke and part of a pizza in the shot. The whole photo conveys abundance and deliciousness. The shadows help to add extra depth to the flat lay photo.
 The composition is everything in food photography. Use the rule of thirds, props and leading lines to get delicious results.
3. Manage the Light and the Shadows
Natural light is always the best option for food photography. It will provide you with realistic colors and subtle shadows. Shoot outdoors or close to a window.
Shadows can make a difference in flat lay food photographs. They can add extra depths or unique effects. But they can also be annoying and appear at weird places.
Use a diffuser or a piece of paper to manage the shadows in your flat lays.
2. Include Humans in Your Flat Lay Food Shots
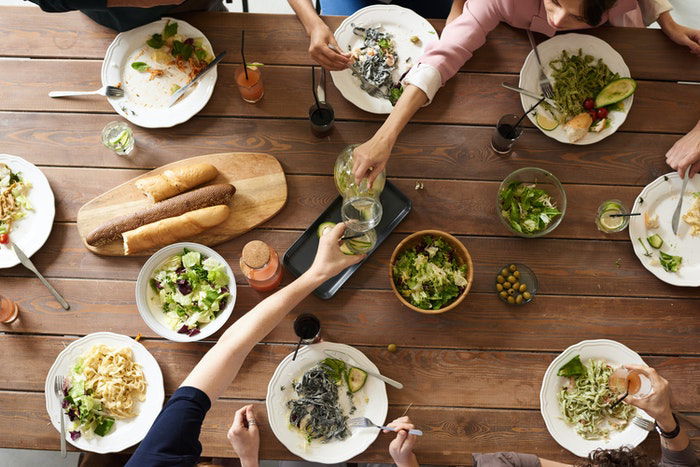
Including humans make your food photography more relatable. It shows that the food is eaten and not only photographed. Human elements also help you create a story.
Show hands grabbing for food or drinks. Include people cutting or holding their dish. You can also take a photograph of someone taking a picture of the food scene.
1. Be Creative With the Frame
Think about the frame as your unlimited creative space. Don’t be afraid to crop parts of the plate or the food. The more natural it looks, the better.
Scatter items around the frame and play with the negative space too. Despite the fact that you design every inch, make it look spontaneous and not staged.
Conclusion
Flat lay food photography is a great way to create delicious food photos. Follow the food photography tips above but keep looking for new ideas!
