Dessert photography is all about capturing the beauty and deliciousness of sweet treats. Whether you're shooting a towering cake or a simple plate of cookies, these tips will help you take mouth-watering photos that will make your friends and family drool with envy.

7. Choose Relevant Props and Backgrounds for Dessert Photography
Food photography requires planning. It takes a lot of work to make food look appealing on camera. Taking the photo is only part of the work. You also have to use creative food stylist skills.
Dessert photography is especially challenging. Desserts often have garnishes and sauces that can become messy if not handled well.
Items like ice cream can pose problems because they melt so quickly.
To make sure shoot day goes as smoothly as possible, decide on how you want to present your dessert. Then choose what props and backdrops will suit the story that you want to tell.
If you’re shooting a birthday cake, maybe some candles or a sparkler would be a nice addition.
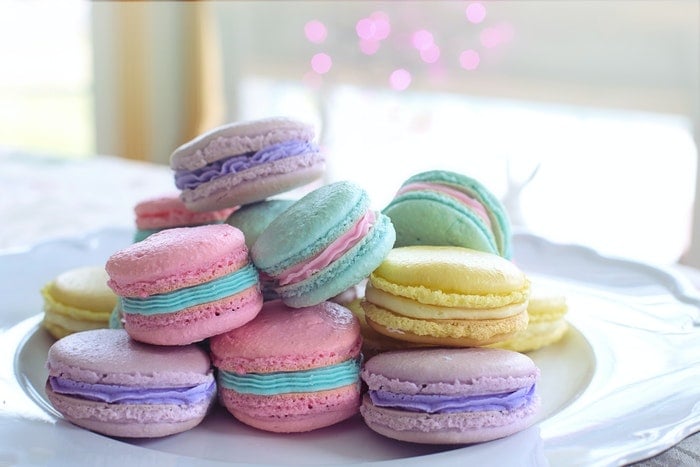
If your dessert is pretty and pastel, then you need similar colors for props and backgrounds. This would create a cohesive look.
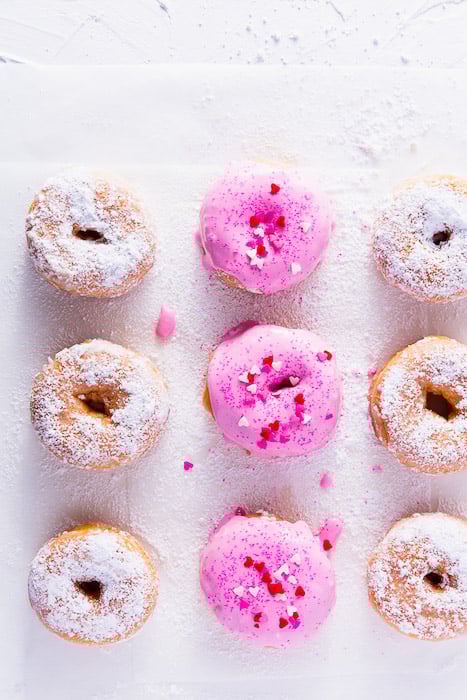
In the shot below of the doughnuts, I chose to shoot them overhead. A 90-degree angle emphasises shape. It’s also a great approach if you want to get several objects into the frame.
In this case, the doughnuts were iced and powdered. This was the most important factor in my choice of how I wanted to compose them.
In food photography, you always want to choose the angle that highlights the best features of your subject.
Take some time to think this through before you pick up your camera and take the photo.
Think about what you want your image to convey. Do a rough sketch of how you plan to shoot your subject. Include the best complementary elements you can add to your scene.
In this case, I used a textured background. I also added a couple of sheets of parchment paper for extra layering.
Dessert backgrounds always depend on your subject. If you have a cake with lots of decoration, the background should be as simple as possible.
But if your photo subject is very simple, you can spice up the dessert background a bit.
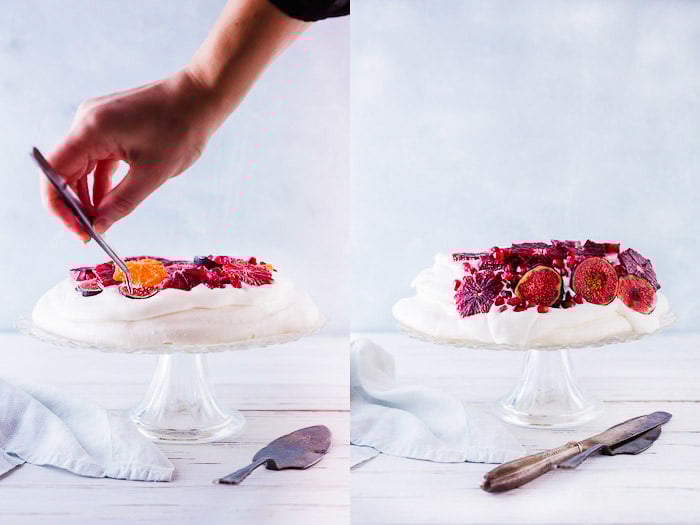
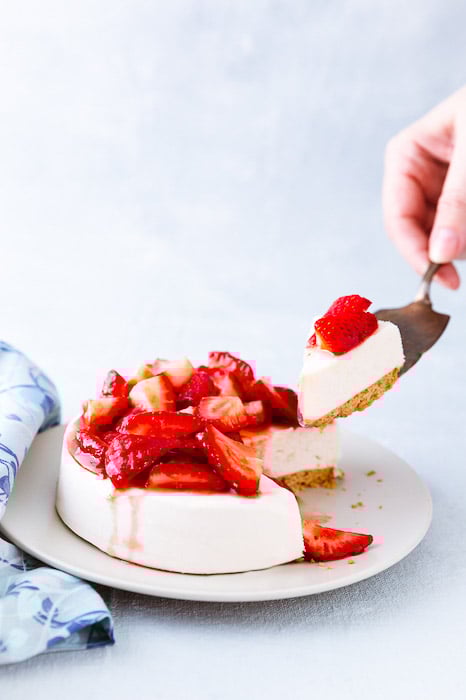
6. Use Details to Evoke Emotions
Besides your props, you should also think about the details. These will bring out the best in your subject. Dessert photography should evoke the emotions and stir the senses.
Make your viewer want to eat it. Make them crave the food because of the way you present it.
This can mean adding a swirl of whipped cream to your pecan pie. A drizzle of caramel sauce to your cake. Or even a sprinkling of coarse salt to that chocolate fudge cookie.
The best food photography has textures and layers. These kinds of simple details can take your dessert photography to the next level.
Besides these details, think about what other elements can complement your subject.
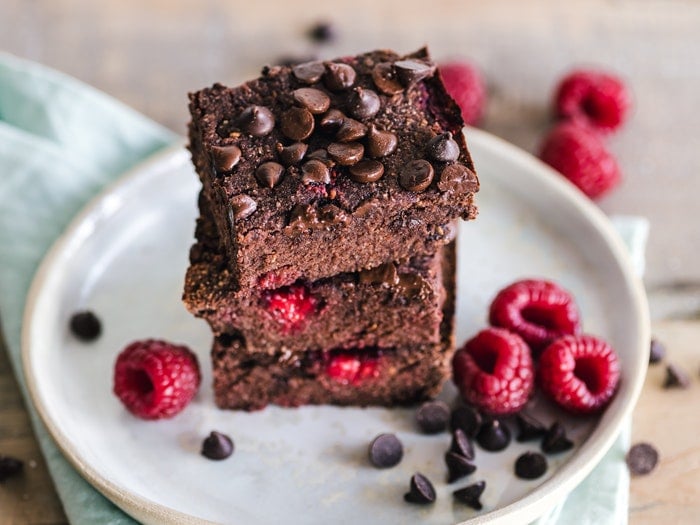
A stack of brownies or cookies looks great featured with a glass of milk. It’ll add more interest to the shot, as it’s not always easy to make brown food look good. Even if it’s sweet and delicious.
Or you can also take a bite out of the dessert. This conveys the message that you were not able to wait to taste it. A chocolate chip cookie with a bite missing convinces the viewer that it is irresistible.
Also, be aware when extra additions can detract from your main subject.
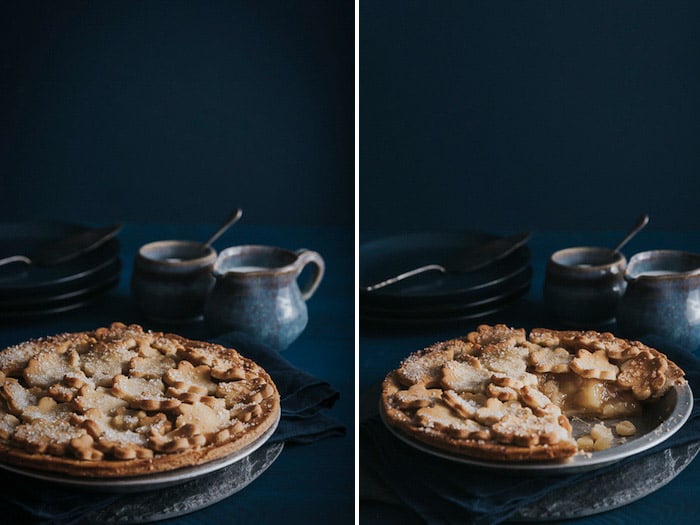
In the images of the pie below, I wanted to draw attention to the beautiful pastry work of the crust.
Although pie often looks naked without a scoop of ice cream, in this case, I chose to forego it. It would have hidden the intricate pastry, which was its best feature.
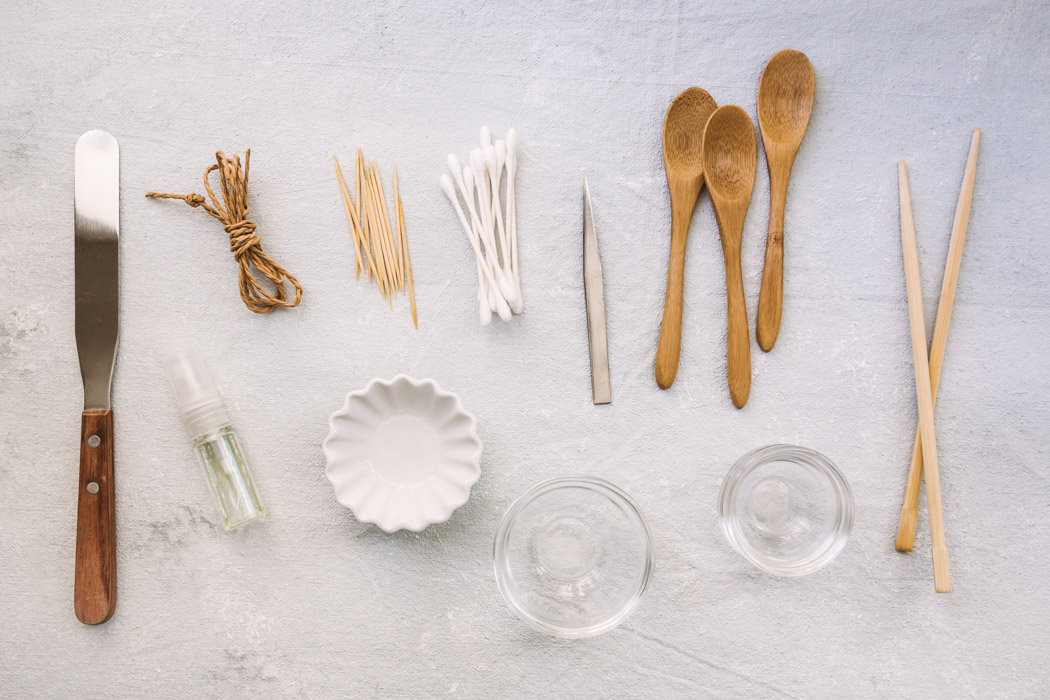
5. Use Simple Tools for Exciting Photos
So what are the best tools to use for styling your sweet subjects?
Food styling can often make or break a photo. Dessert photography is no exception.
A few simple tools are all you need to take your dessert pictures to the next level. You might have many of them in your home already.
Want to give that ice cream a natural look? Take a drinking straw and gently blow on the edges of your scoop to soften them.
Use a fine-mesh sifter or tea strainer to gently sprinkle some cocoa or powdered sugar on your cake or chocolate mousse.
A vegetable peeler will help you make ribbons from a hunk of chocolate. A pair of tweezers will help you place garnishes on your dessert where they will look best to the camera.
4. Use a Stand-In to Setup the Shot
Many pro food stylists and photographers use a stand-in for their “hero”. They substitute their main food subject with another until you’re ready to shoot.
It’s always a good idea to have more food on hand than you think you’ll need. Especially in the case of food photography.
You may not be able to get a straight edge on that slice of cake. Or the crust on your pie might crumble and fall apart. If you have extra on hand, it can save you a big headache.
In the case of frozen desserts, your subject might melt before you can get the shot.
Have an object that is similar in size and color to your subject to act as a stand-in while you adjust your set and lighting. This will ensure that everything is in place when your dessert is camera ready.
For example, a wad of crumpled up red tissue paper can make a great substitute for your raspberry sorbet.
You can also use items of dessert that didn’t really work out. Swap out the plate for the more attractive version when you have the camera settings for the scene.

3. Set the Light for Photographing Desserts
In food photography, working with natural light is often recommended.
Common advice is to shoot food with natural light because it’s “better”. This isn’t true. Pro food photographers use artificial light all the time and are paid to take awesome images.
The trick is to make artificial light look like natural daylight. This takes the right equipment and a lot of skill.
If you’re not an expert with artificial lighting, use window light.
A diffuser or scrim will help soften the light. A white piece of cardboard placed opposite your light source can help you bounce some of it back onto your subject to brighten it up.
Desserts look best when the light is soft and the colors are vibrant.
2. Use a Grey Card for the Correct White Balance
Desserts one type of food photography that requires accurate color.
Food looks good if it looks natural, with colors as realistic as possible. This is why purchased presets don’t tend to work in food photography.
Realistic colors mean that your white balance needs to be spot on.
You might be able to get away with using white balance creatively in some instances. In general, the more accurate your whites and tones, the better your picture will look.
In other words, this is not the time to add green split-toning.
The best way to get the correct white balance is to set it in-camera. Or shoot with a grey card and do it in post.
A grey card is a grey piece of plastic or paper that you can buy at a camera supply shop. Don’t use any old piece of grey paper. It has to be the exact 18% grey that your camera looks for while metering.
Take a shot with your grey card in a scene. When editing in Lightroom, click your white balance eyedropper on the grey card in your image. It will automatically adjust it for you. Then you can sync it to your other photos.
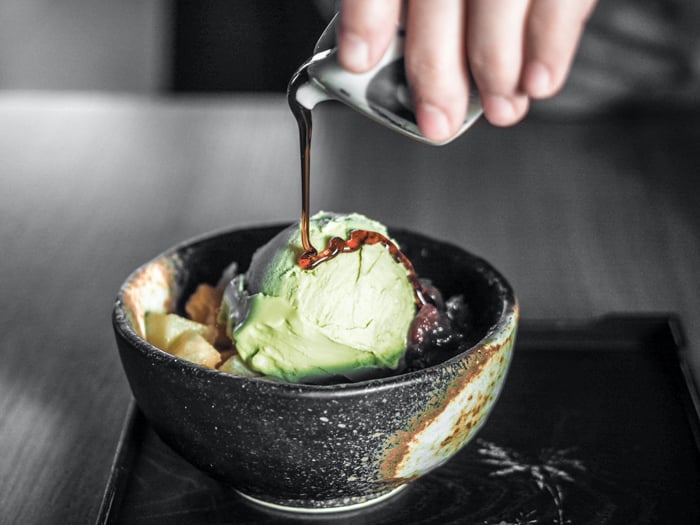
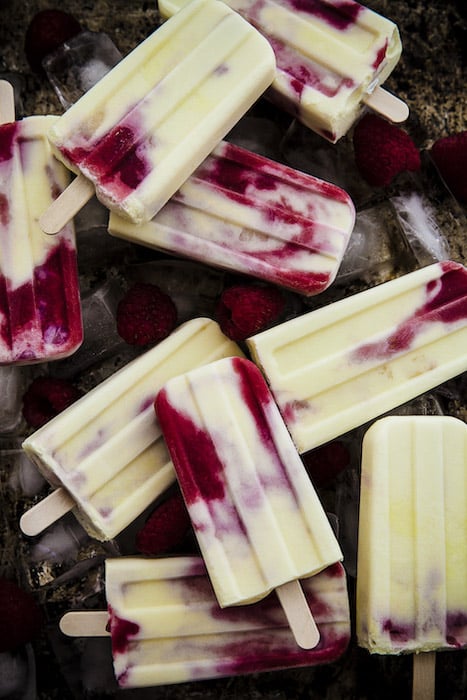
1. Learn to Capture Frozen Desserts
Photographing cold desserts such as ice cream or popsicles deserves special mention. They are very famous items on the menus and often appear as subjects in dessert photography.
They can be tough to work with. In fact, some food stylists refuse to work with them at all!
On commercial shoots, the food stylist often makes fake ice cream from instant mashed potatoes or confectioner’s sugar. These mimic the real thing very well. You don’t need to go this far.
With an understanding of some basic techniques and steps, along with preparation, you can get great-looking ice cream shots.
For basic ice cream scoops, start by lowering your freezer temperature by a few degrees. Scoop out five or six scoops of ice cream. Place them on a cookie sheet lined with parchment paper and stick them back in the freezer for at least twenty minutes.
While you wait, perfect your composition and lighting.
When you’re ready, simply place one or two of the scoops in a bowl or on a cone. If it’s not quite right, or it melts too quickly, you have several others on hand to try again.
A nice trick is to place your serving dish in the freezer as well. This gives them a nice frosted look. Pay attention to any water stains from condensation on your linens, if you’re using them.
When you pre-scoop the ice cream, you may find it loses that freshly scooped look and becomes rather stiff looking.
You can remedy this with the drinking straw tip mentioned above. The warmth of your breath will soften it just enough to give you the desirable soft look you want for the edges of your scoops.
You can also gently press your scoop on the top to push the edges down. This will give you a similar effect.
When styling cones, try placing some crumpled up tissue inside the cone. It’ll create a buffer between the ice cream scoop and cone to prevent it from becoming soggy.
Conclusion: Dessert Photography
Dessert photography can seem simple because the subjects are so delicious and attractive. But you need to be prepared and have a lot of food photography tricks up your sleeve to get them looking their best.
When in doubt, a minimalist approach is the best. Choosing the right background with one or two props will help you create drool-worthy pictures of desserts. Photos like you would see in your favourite food magazines.
Looking for more great food photography tips? Check our posts on how to shoot steam or taking great burger photos!
To learn how to create mouth-watering food photos, read our eBook – Edible Images!