Have you ever wanted to create beautiful pictures of hot, steaming coffee or a bowl of soup but had no clue how to photograph steam?
Adding steam to your food photography can be done in Photoshop. But it’s easy to get it right in-camera with a few simple tricks.
Let’s take a look at how to do it.
Photograph Steam With Side Backlighting
What is side backlighting?
Imagine the face of a clock. Side backlighting is when your light is positioned somewhere between 10:00 and 11:00.
Or 1:00 and 2:00, depending on which side of the camera you place your light on.
As a food photographer, I typically light my set from camera left instead of camera right. It’s because I live and photograph in the Western world. This means that we read from left to right.
The eye travels from left to right when viewing an image, and it’s first attracted to the brightest part of the frame. It makes sense to light from the left.
I don’t always do this, nor should you have to. What is important is that you think about the lighting that will best serve your visual story. Your lighting will affect your subject differently, depending on where you place it.
You can use side backlighting when shooting a steam shot. You need the light to shine through the steam in order to capture it effectively. Placing your light in this way will help you do that.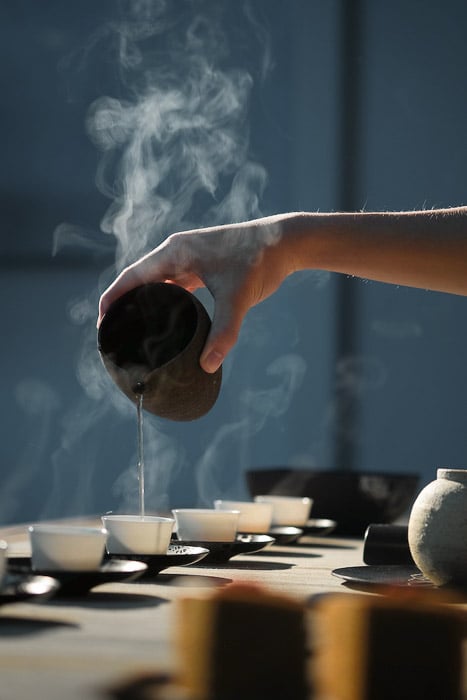
Use a Dark Background
The first rule of shooting pictures with steam is that you’ll need to use a relatively dark background.
This was not immediately obvious to me the first time I attempted to shoot coffee steam.
Steam is very light in color and somewhat transparent. It won’t show up unless the backdrop adds some contrast.
However, it is possible to showcase some steam with backlighting.
In the image below, you can see some of the steam coming off the coffee mug. This is because natural light is low and is coming in from the window behind the scene.
This gives the steam a softer feel. Note that the mug is colorful and adds some contrast. There are also some shadows on the duvet. These keep it from looking white and provide a contrast to the steam as well.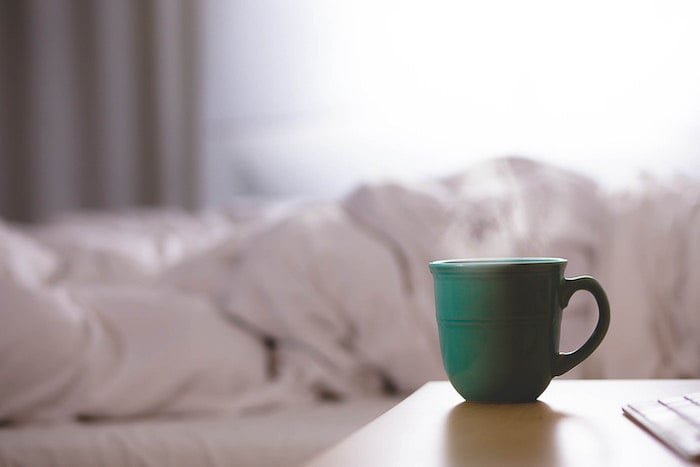
Use a Tripod
Hopefully you’re using a tripod if you’re already shooting still life photography. A tripod helps you stabilize your camera, and get a lower shutter speed if necessary. And it frees up your hands to style your scene to the camera.
When shooting steam shots, a tripod is a must. You’ll need your hands to be quick with placing your steam before it evaporates. It will do so very quickly.
You should use a shutter release, or the timer on your camera to automatically trigger your shutter. This way you can take the picture immediately after adding the steam.
The few seconds it takes for you to place the steam and press the shutter can result in a complete loss of steam.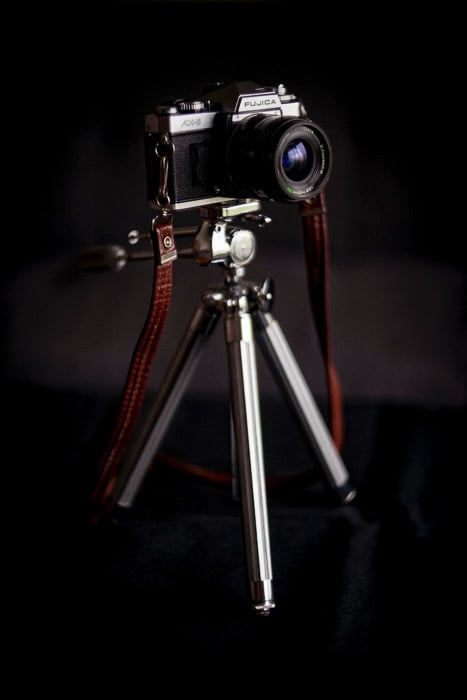
Use a Faster Shutter Speed When Shooting in Natural Light
When you shoot with flash, shutter speed doesn’t matter much because you’re freezing action.
However, with natural light, you need a higher shutter speed to freeze the movement of the steam wafting up in the air.
Set your camera to 1/200th of a second shutter speed and take a shot. If your steam looks too blurry, try boosting the shutter speed even higher. A fast shutter speed will create more details in your steam.
This means you will have to open up your aperture quite a bit. This is a better option that cranking up your ISO, which will result in increased noise.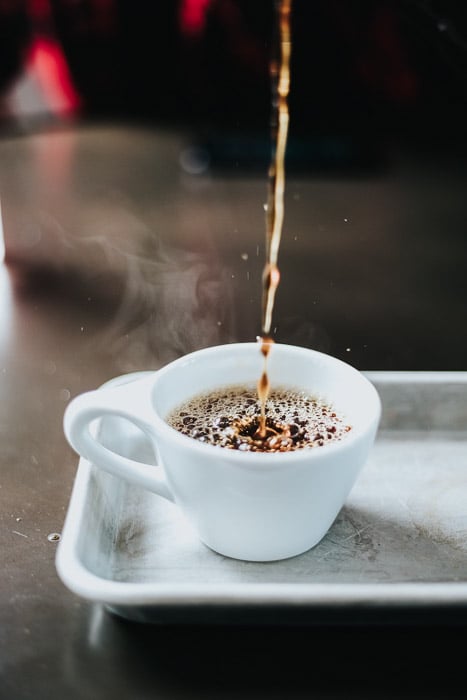
Options for Creating Steamy Beverages
The easiest way to create coffee or tea steam is with boiling water.
There are a couple of ways to do this.
You can prepare the hot beverage as you ordinarily would and then keep it at boil until you are ready to take your shot. Then simply pour it into your mug or cups and quickly take the shot.
You can also do this with instant coffee as well.
Another alternative is to place a small cup behind the one that contains your beverage. This works especially well for cappuccinos or other drinks that are not simple black coffee. This cup must be smaller than your main mug and should be placed in a way that it’s not visible to the camera.
Pour boiling water into the mug and immediately take a shot by pressing your shutter release.
You may find that you have to work really fast and do it a few times before you get the perfect curling tendrils of steam that you desire. But it’s a less complicated option and looks more realistic than using incense sticks or other tricks that some photographers use.
Another option is to use a clothing steamer. You don’t need a heavy duty commercial steamer like commercial stylists use.
You can get a portable, handheld garment steamer for a decent price online or shops where small appliances are sold. As long as it has a nozzle, you can create steam with it. Ideally, use one with a continuous steam option.
All you need to do is direct the nozzle where you want the steam and step back to take the picture.
Lastly, one trick that is popular with food stylists to create localized steam is to place a water-soaked tampon in the microwave just before you shoot and place it directly behind the beverage.
Whichever method you choose, you likely will have to repeat it a few times before you’re happy with your results.
How to Create Steamy Food
When you want to photograph steam rising from food, cover the prepared and arranged food with plastic wrap and put it in the microwave.
Once the food is hot, take off the plastic wrap and quickly clean up the moisture droplets before shooting,
A steamer is also great to utilise when working with food. If you’re shooting at eye-level, you can hold the steamer hidden below the plate and take the shot with your camera on a timer.
Conclusion
There are many ways to add steam to your food photography using smoke or chemicals. These suggestions are simple and safe, so give them a try.
Adding steam to your beverage and food photography is an exciting way to add a lifestyle element and sense of visual narrative.
Not every approach is going to work perfectly for every type of food or drink, so experiment and see what looks best.