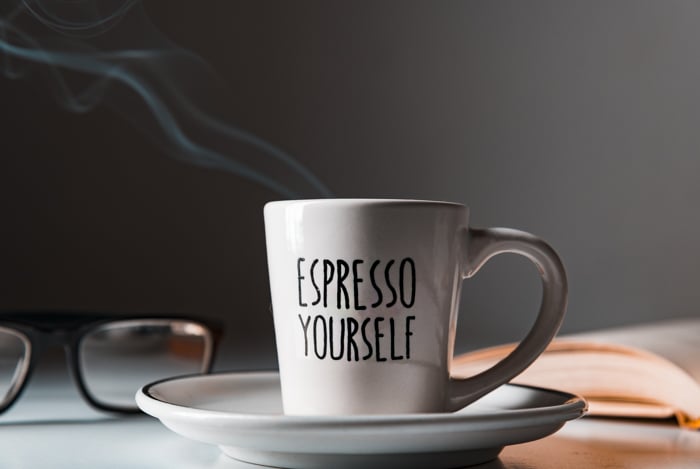
You may find this surprising, but photographing smoke and steam can be quite challenging. Just because you can see it, doesn’t mean you can easily take photos of it.
Go ahead and try taking pictures of steam coming from your coffee. Did you capture anything at all? If not, don’t worry. We’ll show you a few tricks to capture smoke photography.
Smoke Photography: How to Take Great Photos
People use smoke for various types of photography, from portraiture to still-life.
Depending on what you’d like to achieve, there are a variety of ways to capture smoke.
In this tutorial, we’ll start with simple methods you can use for food photography. But we’ll also show you advanced techniques that you can apply to your conceptual projects.
Most of the methods we’ll be discussing are so simple; you can even use your iPhone to do them.
(We also have amazing smoke photography tips in our Creative Photography Cookbook! Check it out today!)
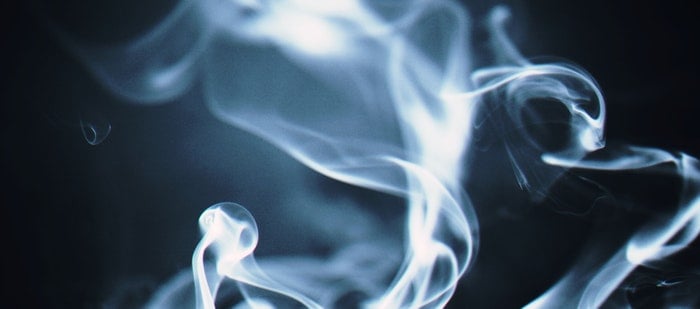
Photo by George Becker from Pexels
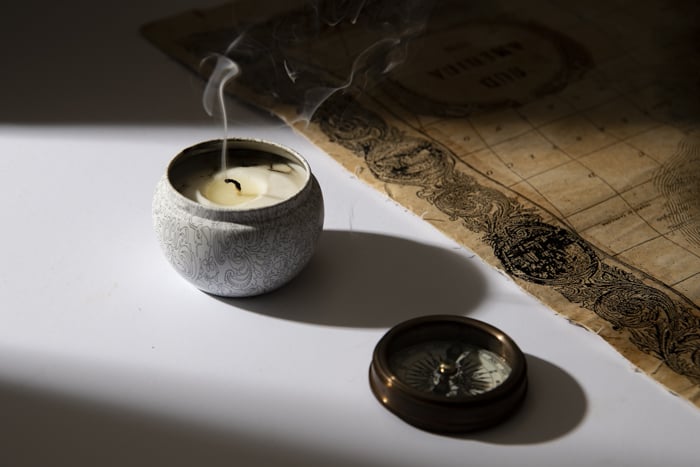
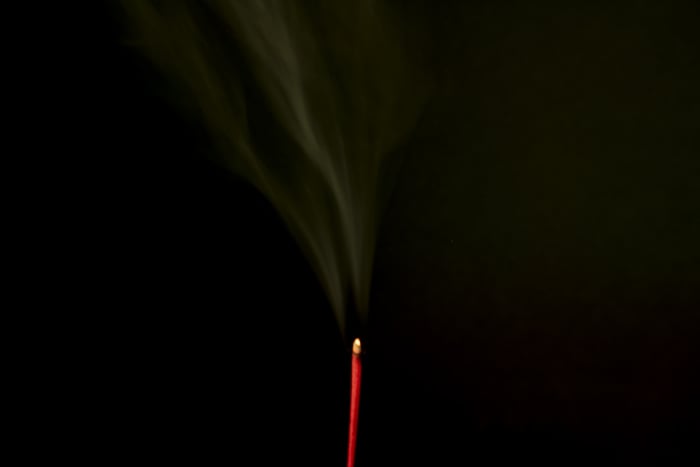
1. Observe Different Types of Smoke to Recreate Them
The steam from your hot drink looks distinct from the smoke that an extinguished candle produces. Now, why is this information necessary in smoke photography?
Sometimes, you need to “cheat” to produce smoke for photography. So it only makes sense that you know how to recreate smoke effects for anything from hot foods to burning candles.
You’ll see that candles often create wispy columns of smoke. Meanwhile, extremely hot foods and drinks often generate thicker billows.
At the same time, you should also consider the subtleties of creating photography smoke. For instance, a freshly poured coffee may create thick billows. Meanwhile, a cup that has been sitting on the table for a while may produce thin trails.
When you’re familiar with how something produces smoke, you’ll know which technique to use to create realistic effects.
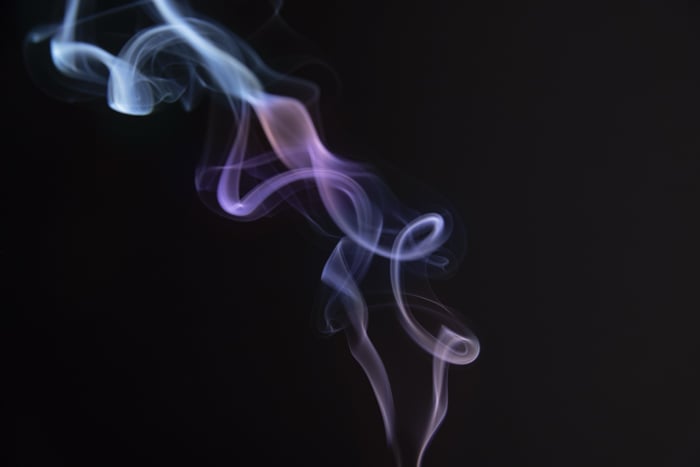
2. Pick a Darker Background to Add Contrast
One of the reasons why smoke isn’t showing up in your pictures is because of your background.
Since smoke is white, it won’t be as visible if what’s behind it is also a light color. So if possible, look for a dark background that provides the proper contrast you need.
The best background for smoke photography is black. But you don’t have to stick with that color all the time. You can also choose grey and other shades that make the smoke more visible.
And what if you only have a white wall as your background? Then try to block out some of the light hitting the wall. Doing so makes the surface look grey and thus would make the smoke visible in your photos.
3. Add Light to Emphasise the Smoke
When you shine a light on the smoke, you reveal its details.
But of course, it’s not just a matter of flooding your scene with light. You need a concentrated beam that focuses only on the smoke, and nothing else. That way, you can keep your background dark and retain the contrast you need.
So how do you focus light?
If you’re using natural light, it can be tricky. You may have to go around your house and look for beams of light entering the room.
But if you want consistency, you can try using off-camera flash, instead. To avoid illuminating the wall, you can place your flashgun behind the subject, but at an angle, so it’s not in your frame.
You may need to do some test shots to make sure the light is hitting the smoke at all. Once you find the correct position, you’ll instantly see how effective it is for smoke photography.
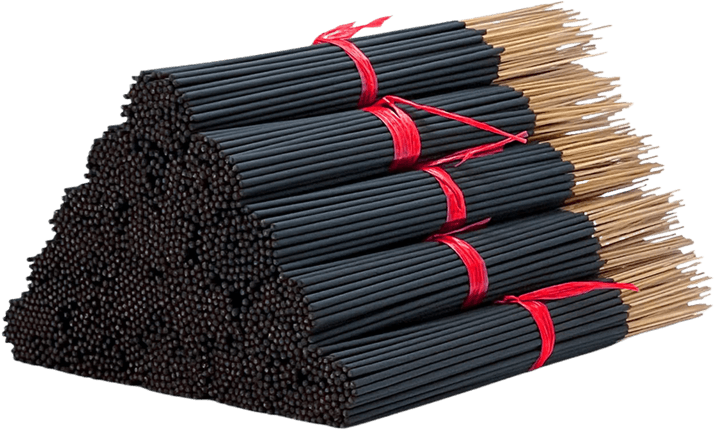
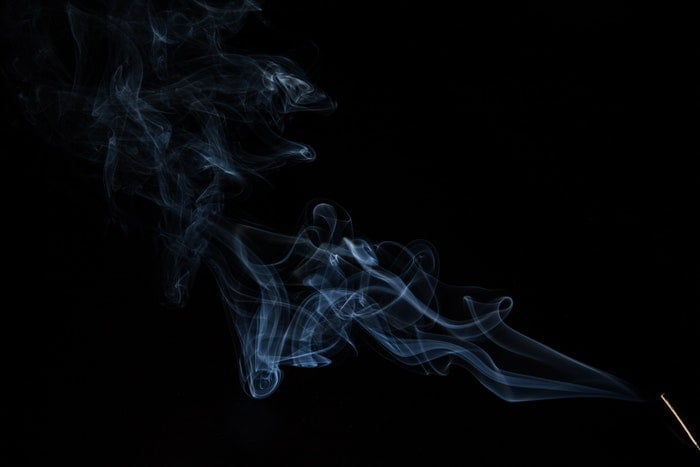
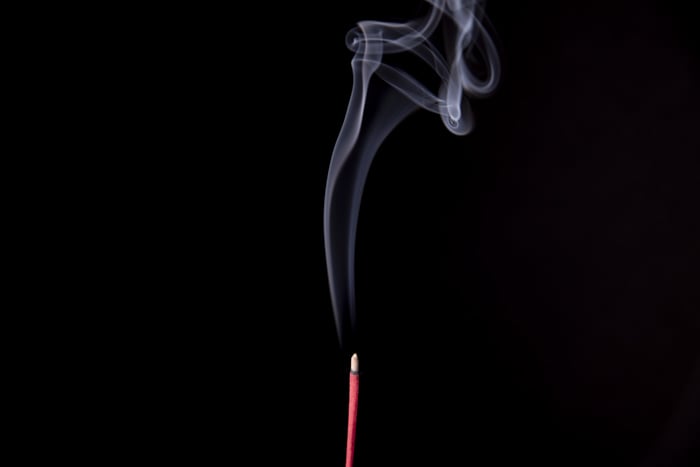
4. Burn an Incense Stick to Add Subtle Swirls
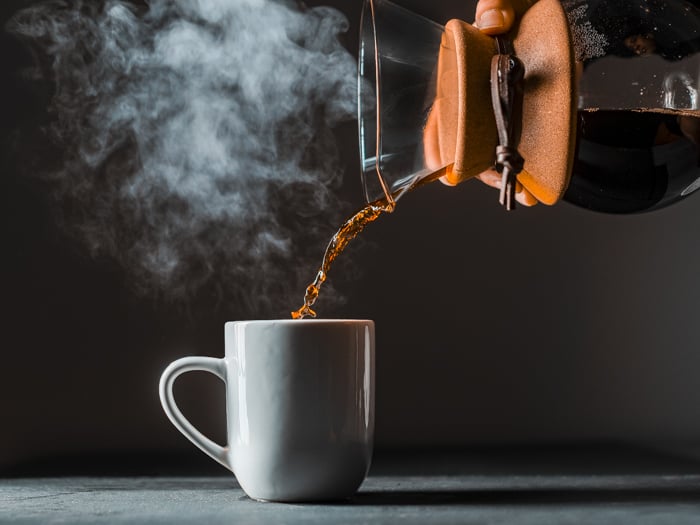
When you see smokey pictures of hot coffee, you may think it’s real. But there’s a good chance that it was faked using an incense stick.
Now, why not just take photos of hot coffee and capture real smoke?
The truth is that commercial photography takes hours to do. After just a few minutes, that hot cup of coffee will stop producing smoke.
If you’re all about authenticity, you can always reheat the coffee when photographing smoke.
But if you’re wiser, you can use an incense stick, instead. Why? Because they create thin trails of smoke that resemble the steam coming out of your cup of joe.
To use an incense stick for smoke photography, all you have to do is light one and place it behind the drink.
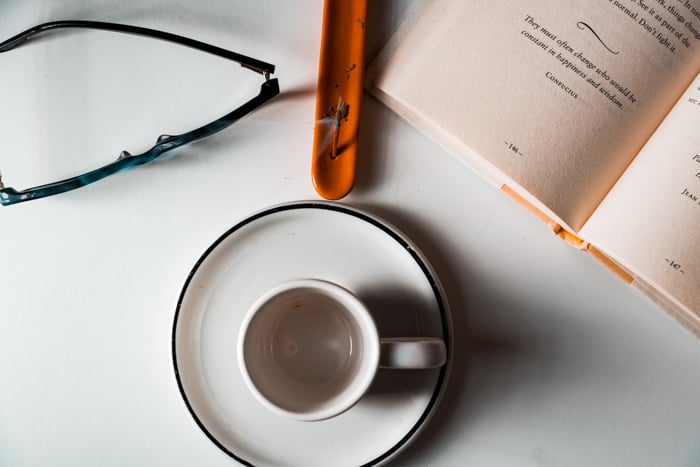
Incense stick behind an empty espresso cup.
Feel free to cut the wooden handle, so the tip of the incense stick isn’t visible in your frame.
You can also use silly-putty to prop up the sticks safely above the surface. That way, you can make sure you don’t accidentally cause a fire.
5. Adjust Your Shutter Speed to Alter the Smoke
You can use any shutter speed setting when doing smoke photography. But the value you select determines its appearance.
If you use fast shutter speed, you’ll end up with crisp trails. Any setting from 1/30th to 1/8000 helps you retain the detail of the smoke.
But as you go slower than 1/30th, you’ll start to notice the details disappear.
When you keep the shutter open for a few seconds, you’ll end up with wispy effects no matter what type of object you’re photographing.
In typical situations, losing the details when photographing smoke is not ideal. But if you want to create dreamy pictures, then keeping your shutter open for longer will do the trick.
Slow shutter speed also tends to increase the volume of the smoke. Why? Because it records every movement while the shutter stays open and blurs it.
So if your trail looks too thin, then blow on it while the shutter is open. That way, it spreads and ends up looking wider in your photo.
6. Use a Spoon to Create Patterns
The best smoke photography involves beautiful patterns that capture attention.
But the truth is that most of the time, you will encounter thin smoke that goes straight up. So what do you do when this happens to you? The simplest solution is to use a spoon.
All you have to do is place the spoon on top of the smoke. Doing so disrupts the straight column and creates patterns. Feel free to experiment with how you do it.
You can remove the spoon every few seconds to create a regular sequence. But you can also keep it on top to create turbulent mushroom clouds.
Of course, you’re free to use other objects too. We just chose a spoon because it doesn’t burn, and it’s readily available.
7. Soak Tea Bags in Water to Create Wispy Smoke
When it comes to doing food photography, incense sticks will not be enough to create realistic smoke. We don’t recommend you use them at all for hot foods. Why? Because the smoke they produce is too thin and fragile.
Hot food usually creates voluminous smoke, especially when it just came straight from the stove or oven. To create a similar effect, you can soak tea bags in hot water.
Since the teabag retains water, it will keep smoking for several minutes. Once it stops producing smoke, you can always place it hot water once more and start the process over again.
Teabags behind a bowl of mac and cheese.
Placing tea bags in hot every few minutes may seem tedious. But it’s a whole lot better than putting the food back in the oven and wait for a longer time.
Plus, tea bags are so small that you can place them just about anywhere. You can pour a whole bunch of them into a soufflé cup and set them behind a plate of food.
You can also place them between foods on your plate and not worry about them showing in your frame because they’re so small.
8. Light Smoke Bombs to Add Color to Your Photos
Smoke photography isn’t just about foods, drinks, and candles.
There are a lot of other creative ways to use smoke, and one of them is using smoke bombs. They’re not just colorful, but they add some action to what would otherwise be boring pictures.
You can use smoke bomb photography from capturing portraits to documenting action sports.
For portraits, most photographers often have their subjects hold the bomb while posing. But it’s also quite common for them to place several smoke bombs around the person and photograph them as smoke starts to fill the frame.
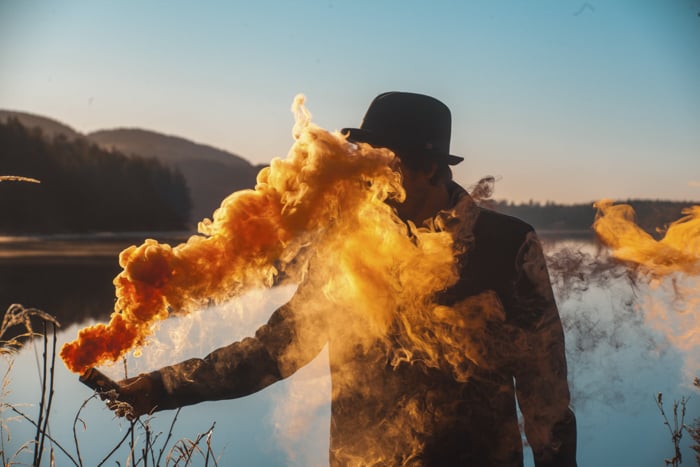
Photo by Thomas Bjornstad from Unsplash
As for action sports, a lot of photographers have their subjects hold the smoke bomb as they run or jump. Doing so allows them to emphasise the graceful movements of the athletes.
Of course, you don’t have to limit yourself to portraiture and sports photography.
Feel free to experiment with smoke bombs with other genres, whether it be landscape or conceptual photography. They may be what you need to give your photos that extra oomph.
Smoke bombs are a fire hazard, so make sure you stay safe while using them for your photography.
9. Experiment With a Smoke Machine to Add Drama
In most cases, smoke machines are overkill when it comes to doing smoke photography. They produce too much haze that can quickly engulf your scene.
But there are times when using incense sticks isn’t enough.
There are situations when smoke machines are necessary to create specific effects for your smoke photography. For instance, it’s ideal for replicating thick smoke that you often see coming from big fires. You can also use it to create mysterious, and even spooky moods.
I use a smoke machine to create a fake “ball of fire” without having to use a flame thrower. Using flash gels, I can develop photos such as the one you see below.
To use this technique, you’ll need two flashes, gels, and of course, a smoke machine. You’ll also need a remote to trigger your strobes wirelessly.
As you can see, there are quite a few requirements that most beginner photographers may not have. But if you have these pieces of equipment lying around, then this technique is worth trying.
First, place an orange gel on one flash and a darker orange gel on the other. If you don’t know what gels are, you can think of them as filters that change the color of the light.
Next, place the one flash behind the subject on the left side and the other one on the right side.
Once they’re in position, press the button of the smoke machine and take a picture once a white ball forms behind the object.
You may have to try several times until you find the best shot. But if you do it correctly, you should end up with a realistic fireball.
10. Use Lightroom to Create Colorful Smoke
When you google the term “smoke photography,” you’ll most likely end up with colorful photos of smoke. And if you’re wondering how to create your own, we’ll show you how.
There are a variety of methods you can try to achieve this effect. But to make it simple, we’ll teach you how to do it in Lightroom using the brush tool.
First, you’ll need to take photos of trails from incense sticks in front of a dark background.
Once you have several pictures, load them into Lightroom. Increase your contrast, shadow, and black to make sure the smoke pops from the background.
After you finish your basic adjustments, click on your brush tool. Now go down to Color and pick the color you want using the dropper.
At this point, all you have to do is “paint” the smoke with the color you pick. If you want another color, hit the New button just below the brush tool and choose another hue.
When you’re satisfied with the result, save your image, and that’s it!
Conclusion
Taking pictures of smoke is much more complicated than you think. It requires a lot of trial and error.
Using these techniques will help you solve the issues you may encounter. Keep them in mind; you’ll never know when you’re going to need them!