

Form in photography is the impression of three-dimensional volume in a two-dimensional image. Highlights, shadows and changes in viewpoint help a subject look solid, rounded or deep rather than like a flat outline.
You can use form when photographing people, still-life subjects, flowers or buildings. Start by looking at how light falls across your subject, then choose an angle that reveals its contours.
What Is Form in Photography?
Shape describes an object's two-dimensional outline. Form describes its apparent height, width and depth. A ball may have a circular outline, but shading across its surface makes it look like a sphere.
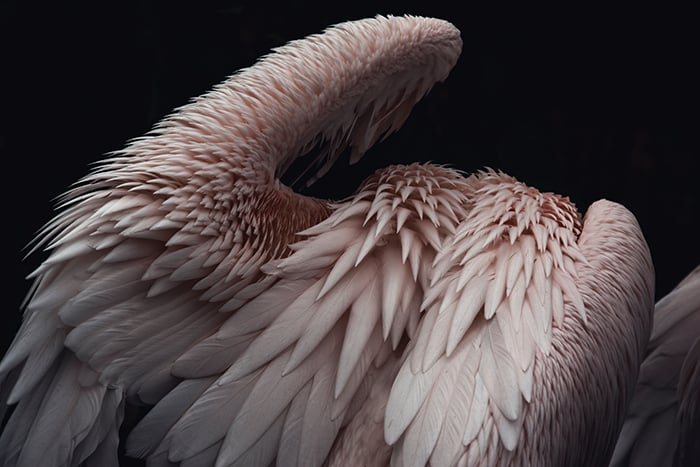
Form photography is all about subjects that stand out as if they’re 3D objects. These pelican feathers look like they’re about to jump out of the screen. This is possible thanks to the lighting, depth, and details in this photo. You’ll learn more about this later.
Form is one of the elements of art used in photography. It is different from texture, which describes how a surface looks or feels. A smooth ball has form even without a rough or patterned surface.
Look for a change from highlight to midtone to shadow across a subject. That change can show a curved cheek, a folded petal or the rounded side of a bottle. A cast shadow can also show how the subject sits in its surroundings.
Form is a compositional element, rather than a separate photography genre. It isn't a requirement for every good photo. A silhouette can make a strong picture by emphasising shape instead.
Examples of Form in Photography
These existing photos show different ways to reveal volume and depth. Look at the light on the subject itself as well as its position within the scene.
Depth
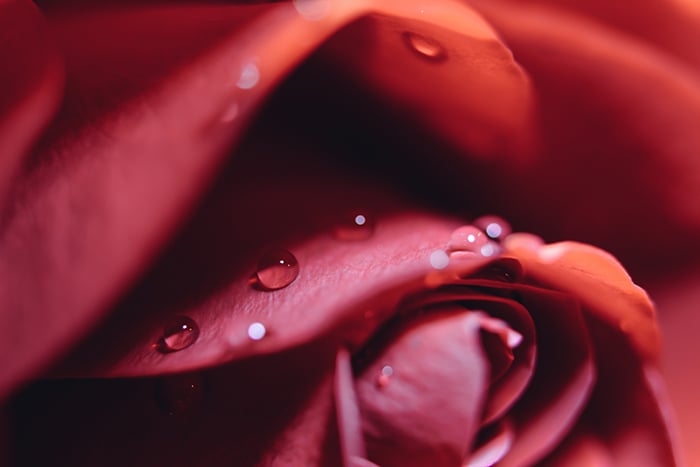
What is the first thing you looked at in this photo? Most people would probably notice the droplets. These are the sharpest parts of this photo. Thanks to form photography, details like this are easy to recognise with the help of a few technical tricks.
In the rose photo, the bright reflections and darker edges help the droplets look rounded. Their sharpness separates them from the softer petals around them.
A shallow depth of field can direct attention to a small detail like this. But blur alone doesn't create form. The droplets also need visible shading or reflections to show their volume.
A photo can show form with everything in focus. A sharp building photographed from a corner can reveal two sides, while different tones on those sides show its depth. Choose the focus range to suit the subject.
Light
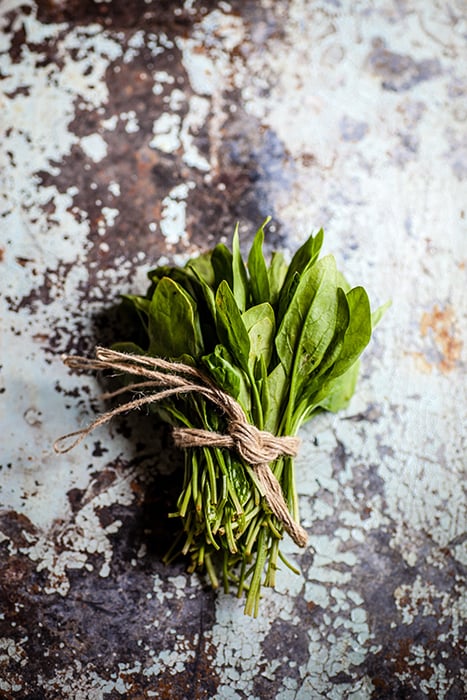
Side light is often used in form photography to create a raw, natural look. You can use the principles of form photography to take stunning photos of food like this.
The highlights and shadows on these leaves reveal folds, edges and overlapping surfaces. Light coming from the side helps those details stand out.
Light directly behind the camera can make a subject look flatter when it reduces visible shadows. Moving the light, the subject or the camera can reveal the same subject's contours.
Window light is one way to practise this. The photo doesn't tell us exactly which light source was used, but we can study the differences between its lit and shaded areas.
Tone and Color
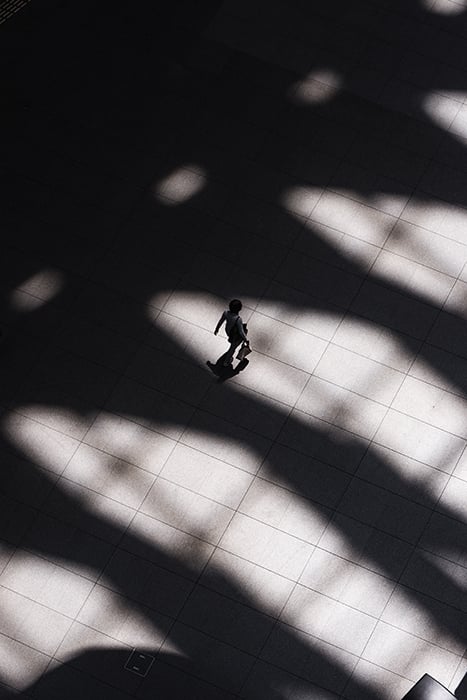
Form can stand out in black and white through differences between light and dark. This photo is so appealing because the highlights put a spotlight on the model while eliminating distractions at the same time.
Tone means how light or dark an area is. The contrast between the person, the ground and the long shadows makes this black-and-white scene easy to read.
Form can be visible in color or black and white. If distracting colors compete with your subject, try a monochrome version. Check whether the light and dark areas still separate the subject from its surroundings.
Converting to black and white won't automatically improve a photo. If the subject and background become similar shades of gray, they can merge. Keep color when it helps describe the subject or organise the composition.
Angles
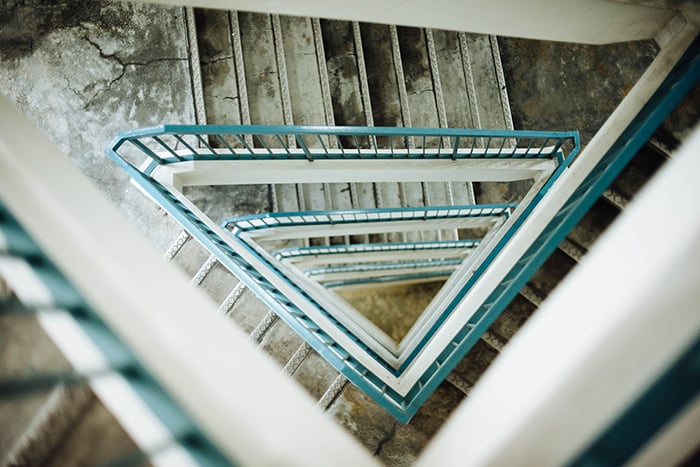
The staircase photo uses a high camera angle to show several levels at once. The overlapping rails, repeating pattern and shaded surfaces make the structure's depth visible.
You don't need an unusual viewpoint for every photo. Walk around a subject and compare a straight-on view with a view from one side. Choose the position that reveals the curves, faces or layers you want the viewer to see.
How to Use Form in Photography
Start with a subject whose contours are easy to see, such as a flower, a cup or a piece of fruit. Then change one thing at a time: light direction, camera position or aperture.
Experiment With Side Light
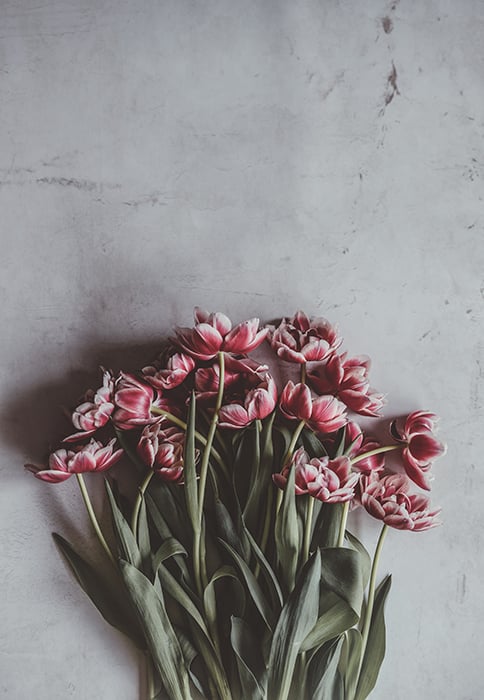
Place your subject beside a window or turn it so the sun lights it from one side. Watch where highlights turn into shadows. Those transitions reveal its form.
Soft light gives gradual shadow edges, while hard light produces more defined ones. Either can show form. Choose the light for the effect you want, rather than avoiding direct sunlight as a rule.
If the shadow side loses the detail you need, try a white reflector or a piece of white card to bounce some light back onto it. Keep enough difference between the lit and shaded areas to describe the subject's contours.
You can also try side lighting during golden hour. Check the direction of the sun relative to your subject; the time of day alone doesn't decide how the light will look.
Choose the Aperture for Your Subject
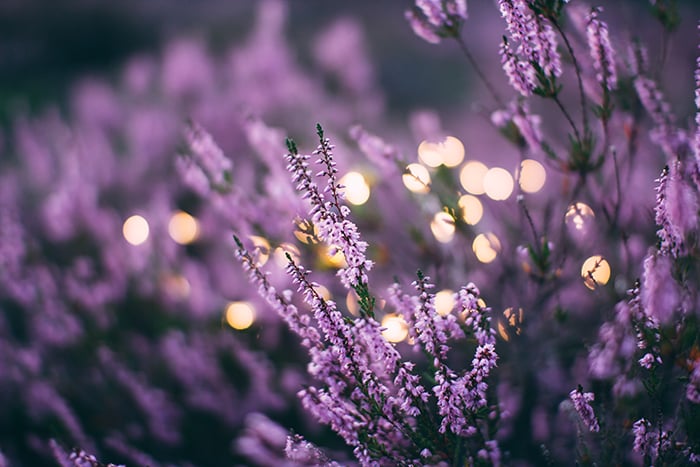
A wide aperture, shown by a low f-number such as f/2.8, can keep a flower sharp while softening its surroundings. With the same lens and focus distance, opening the aperture reduces depth of field.
Background blur also depends on your lens, camera-to-subject distance and subject-to-background distance. Moving the subject farther from the background can help it stand out. You don't need an f/1.8 lens to show form.
Focus on the detail that matters, then check the image at a larger size. If too little of the flower, face or object is sharp, use a smaller aperture, such as f/5.6, and compare the result. Treat these settings as starting points, not rules.
For buildings or scenes with several layers, you may want a deep depth of field. Keep those layers sharp when they help explain the subject's structure.
Compare Color and Black and White
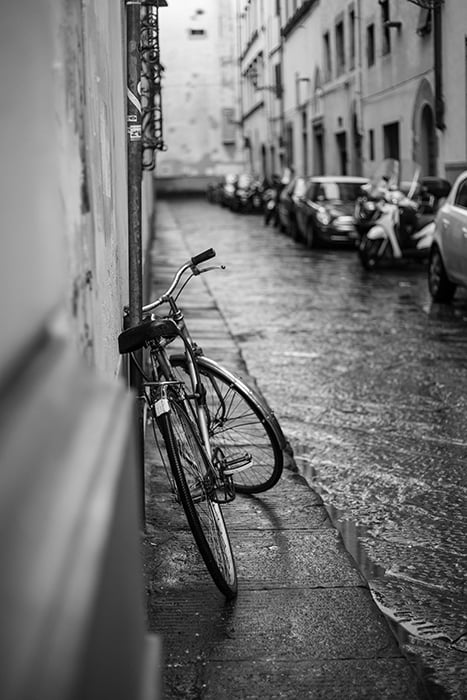
Try a black-and-white version when you want to study highlights, shadows and the subject's outline without color competing for attention. Compare it with the original and keep the version that shows your intended subject best.
In Lightroom Classic, use the B&W controls to change how colors become gray tones. Then adjust exposure and contrast while checking that important light and dark details remain visible. Adobe's grayscale instructions explain these controls.
If you use Photoshop, compare the color and monochrome versions before making further adjustments. Neither conversion nor extra contrast can reveal details that the original photo failed to capture.
Shoot From Different Angles
Look at the swing photo below. The side view separates the girl's hair, body and the swing's supports. Those layers help us read their positions in space.

For your own subject, try a view from the front, then move to one side and change your camera height. A bottle may reveal its rounded side, while a building may show two faces instead of one flat facade.
Check the background as you move. Avoid lining up important edges so that separate parts merge. You can use the camera angle to clarify the subject's structure without making the view difficult to recognise.
Practise Seeing Form
Photograph a cup or piece of fruit beside a window. Take one image with the window behind you, then move so the light comes from the side. Keep the subject and camera settings similar and compare the shading across its surface.
Next, change your viewpoint. Look for the position that shows its curves or more than one side. Once you can spot those differences, use the same approach with portraits, flowers or architecture: choose the light and angle that reveal the form you want to show.