What is an Intervalometer? (How to Choose and Use One)
The term intervalometer sure sounds intimidating for a beginner. But an intervalometer is an essential tool in long exposure and time-lapse photography.
The good news is that it’s quite easy to use and we’ll show you how.
What Is an Intervalometer?
Intervalometers are a particular type of timer. They trigger cameras to take a series of photos in a specified length of time.
Now you’re probably wondering, your camera has a timer too. So why not use that instead?
As the name suggests, you can set intervalometers to take pictures in intervals. And that’s one feature that regular built-in timers can’t do. Intervalometers allow you to take hundreds of images without touching the camera shutter. That’s why they are perfect for timelapse photography.
Some high-end cameras now have built-in intervalometers. The best ones right now are the 5D Mk IV for Canon and D850 for Nikon.
So what if your camera doesn’t have a built-in interval function? Then external intervalometers are your next best option.
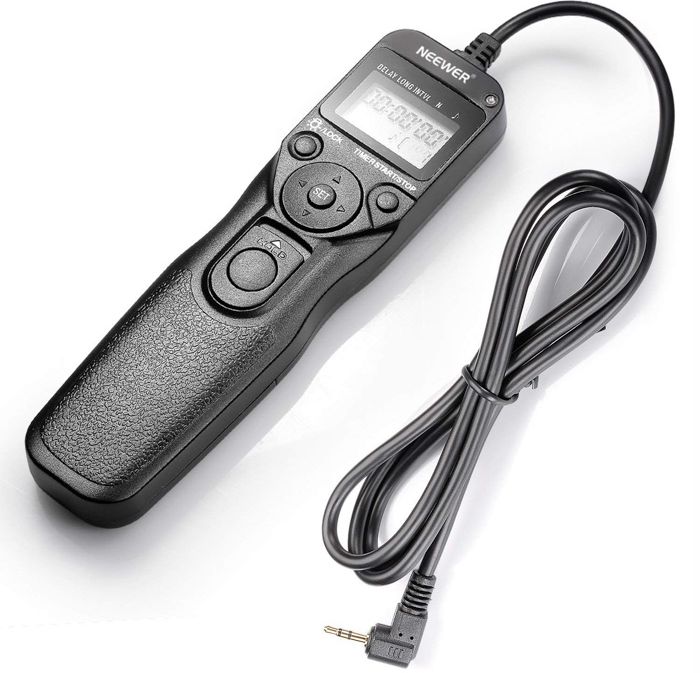
Below is a typical intervalometer Canon Neewer LCD Timer Shutter Release Remote.
What Does an Intervalometer Do?
You can think of intervalometers as beefed-up timers. They can do all sorts of tasks that a regular self-timer can’t accomplish. Let’s take a look at some of their best features.
- Locking Mechanism – Holds the shutter for minutes or hours at an end.
- Self-Timer – Sets the time for the shutter to go off.
- Shot Interval Timer – Sets the time between shots.
- Number of Shots – Allows you to take up to 999 images in one session.
- Reduced Camera Shake – Functions as a remote to prevent camera shake and motion blur.
All the features we mentioned above are useful in long exposure photography. That’s why intervalometers are indispensable for photographers who use slow shutter speeds all the time.
When Should You Use an Intervalometer?
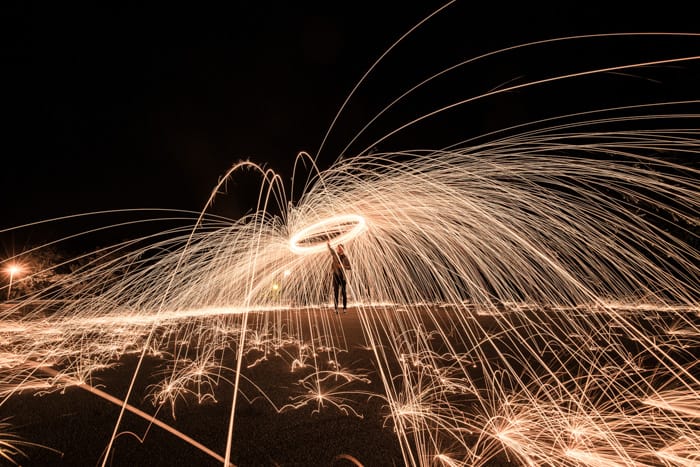
Long Exposures
As we mentioned before, Canon or Nikon intervalometers are essential for long exposures.
When using slow shutter speed, even slowly pressing the shutter can cause camera shake. So even if you’re extra careful, you could quickly end up with a blurry image.
To avoid that problem, you can quickly turn on your camera’s built-in self-timer. That way, the shutter goes off by itself without you even touching it.
But what if you’re using a really slow shutter speed or even Bulb Mode? Now that’s when intervalometers come in handy.
With intervalometers, you can activate the self-timer and ‘press and lock’ the shutter mechanism. Doing so keeps the shutter open without you physically touching the camera and cause motion blur.
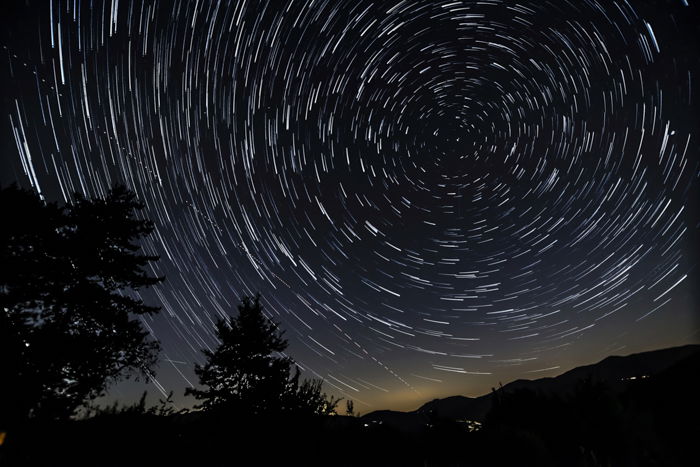
One perfect use for intervalometers is star trail photography.
Time-Lapse
Time-lapse photography involves taking a series of photos over a specified period.
Cinematic videos come to us at the frame rate of 24 images a second. So, if you want to create a 10-second time-lapse video, you will need 240 images. Now that’s almost double for slow-motion videos!
To create a time-lapse without intervalometers is difficult. Without their help, you’ll need to click the shutter 240 times precisely at every few seconds.
By using an intervalometer, you can freely set the number of images and intervals. It will then start taking pictures without you having to hold it.
What’s great about using this device is that the intervals stay constant. And it stops once it reaches the number of images you set.
Studio Photography
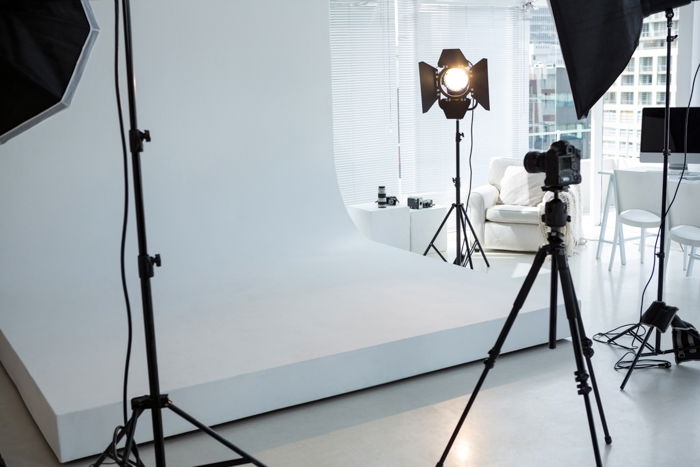
Remember that intervalometers also have a remote shutter release function. That means you don’t even have to be close to the camera to take pictures in the studio.
You see, studio photography often requires you to be precise. There are times that even accidentally slightly moving your camera can ruin a photo.
But using remote lets you take pictures without even having to touch the camera. Consequently, you can be confident that every one of your shots would stay the same every time.
How Do You Set up an Intervalometer?
Now we know a lot about intervalometers. But how exactly do you use a Canon or Nikon intervalometer?
If you already have an interval function in the camera, all you have to do is look for it in the menu.
Once you activate it, you can set the time between each shot. You can choose between one second to a few hours. Then, you can set the number of images you’d like to take. It could be from one to 900 photos or more depending on the camera.
What if your camera doesn’t have a built-in interval timer? Then, you’ll need an external intervalometer like the one below.
![]()
To set it up, simply plug one end of the cable into the intervalometer and the other into the camera. Once you turn it on, you can then select the mode you want to use.
The first one is Delay, which is another term for ‘self-timer’. The other one is the ‘interval timer’.
To set the Delay, simply key in the time you want before the shutter goes off. For the ‘interval timer’, select the intervals and the number of photos you need. That’s it!
Some intervalometers also have wireless remotes. That way, you can activate your camera from afar.

Conclusion
Intervalometers are surprisingly affordable. You can get one for as cheap as 30$. That’s cheap, especially considering what it can do.
If you’re thinking of learning long exposures, consider getting one of these devices. It will make your life a little easier while taking pictures.
Want learn how to shoot breath-taking time-lapse photography? Why not check out our course Total Time-Lapse next!
