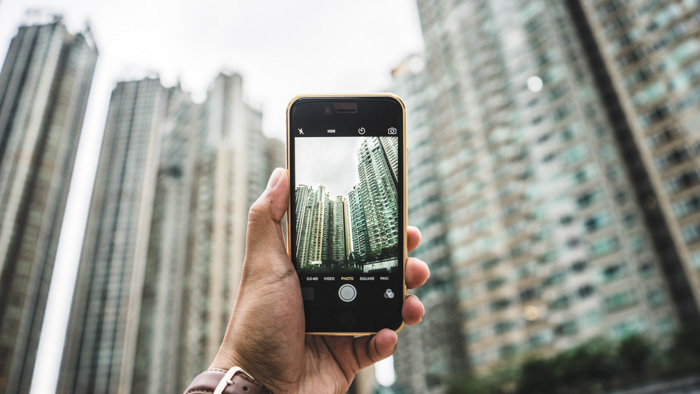
If you want to take a photo but you have your hands full, use your iPhone photo timer.
Haven’t tried it yet? We’ll teach you how to use this versatile tool it with these simple tips.
Using the Iphone Photo Timer: When to Utilize the Iphone Camera Self Timer

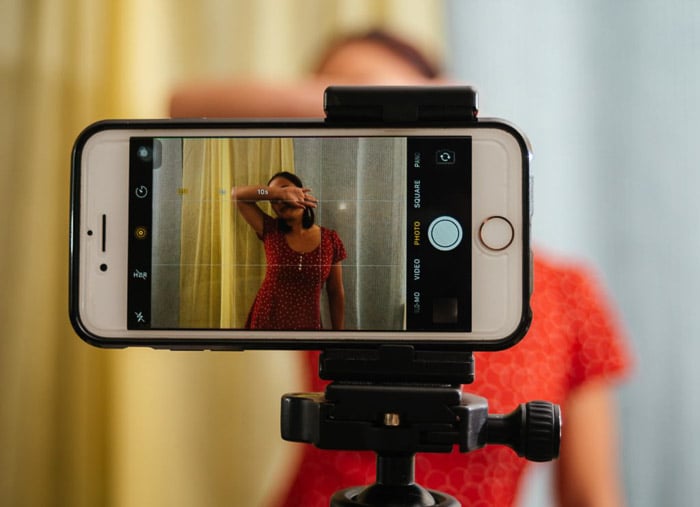
One of the self-timer’s most popular uses is in portraiture. If you don't like selfie sticks getting in the way of your shot, this is your best choice.
Set it on a table or any stable surface, pose, and wait for the camera to click. It doesn't matter if you want to do a self-portrait or a group shot. It’s perfect no matter how many people you have in the photo.
Your iPhone photo timer is also useful for landscape photography. You can use it to keep your camera stable when capturing the perfect scenery.
Since you don't have to hold your device, you don't have to worry about camera shake that causes blurry shots.
The timer is also perfect for macro photography. Macro lenses have a focusing distance of a few inches. That’s why it's essential to place your phone in a fixed position and use a timer. You don't have to move the camera and throw off the focus while taking pictures.
And if you want to shoot at night? Self-timer is your best friend. Like landscape photography, keeping the camera stable for nighttime shots is crucial.
The shutter has to stay open longer than usual when it’s dark. You’ll want to keep your hands off it to avoid camera shake.
How to Set the Self-Timer
Learning how to set the iPhone camera timer is easy. First, open your native iPhone app.
At the top of the screen, you'll find several icons. Look for the one that looks like a clock and tap it. You'll then see three options: Off, 3s, and 10s.
Use 3s for shooting landscapes, long exposures, or anything that doesn’t include you. It allows you enough time to let go of the phone before it goes off. As a result, it prevents camera shakes that cause blurry pictures.
If you want to shoot portraits that involve you in the picture, then 10s is your best choice. It gives you enough time to hit the shutter button and get in the frame before the shutter opens.
The longer duration also gives your subjects enough time to prepare for the shot.
Choose the option that you think is appropriate for the situation. Once you're finished taking timer photos, make sure to turn the iPhone photo timer off.
That way, you don't set it off when you don't need it. You might miss some critical shots that way.
How to Pre-Focus Your Shot
Before you set off your iPhone photo timer, make sure you select a focus point first. Pick an area on the screen that you want in focus and tap it.
When a white box appears, keep your finger on for a few more seconds until it turns yellow to activate the AE/AF lock.
The AE/AF lock ensures the Automatic Exposure (AE) and Auto Focus (AE) don't change when you shoot. That way it doesn't hunt for something to focus on before you take the picture.
This function is especially useful when you have to get in the frame for a portrait. Since it's in a fixed position, it won't follow your movements and focus on the wrong area.
But pre-focusing doesn't apply only to portraits. It's also useful when and non-moving objects.
Remember that you use your timer so you don’t have to touch it to take photos. So select a focus area before shooting so you don't have to touch it once the camera goes off.
Composing When Using an iPhone Photo Timer

Your hands should be off the phone by the time the timer on iPhone camera starts. So it's ideal to check your composition before you press the shutter.
To help you compose your shot, turn on your camera's grid line. It uses the Rule of Thirds to guide where you place your main point of interest.
All you have to do is position your subject wherever any of the lines intersect. It doesn't only bring balance to the image, it also makes it look more pleasing.
You should also inspect the edges of your screen. If you see any unnecessary visual elements in the photo, get rid of them. At the same time, you should also make sure that your subject's head, hands, and feet are in the frame.
Otherwise, they'd look decapitated. You definitely don't want that to happen.
If you want to include yourself, know exactly where to go by the time the countdown camera starts. That way you don't waste your time figuring out where to stand.
Also make sure that you’re in the frame or you’ll get cut. Ask a friend to be your stand-in to help you judge where to place yourself in the photo.
If you’re by yourself, take a few test shots and adjust your position until you get the composition right.
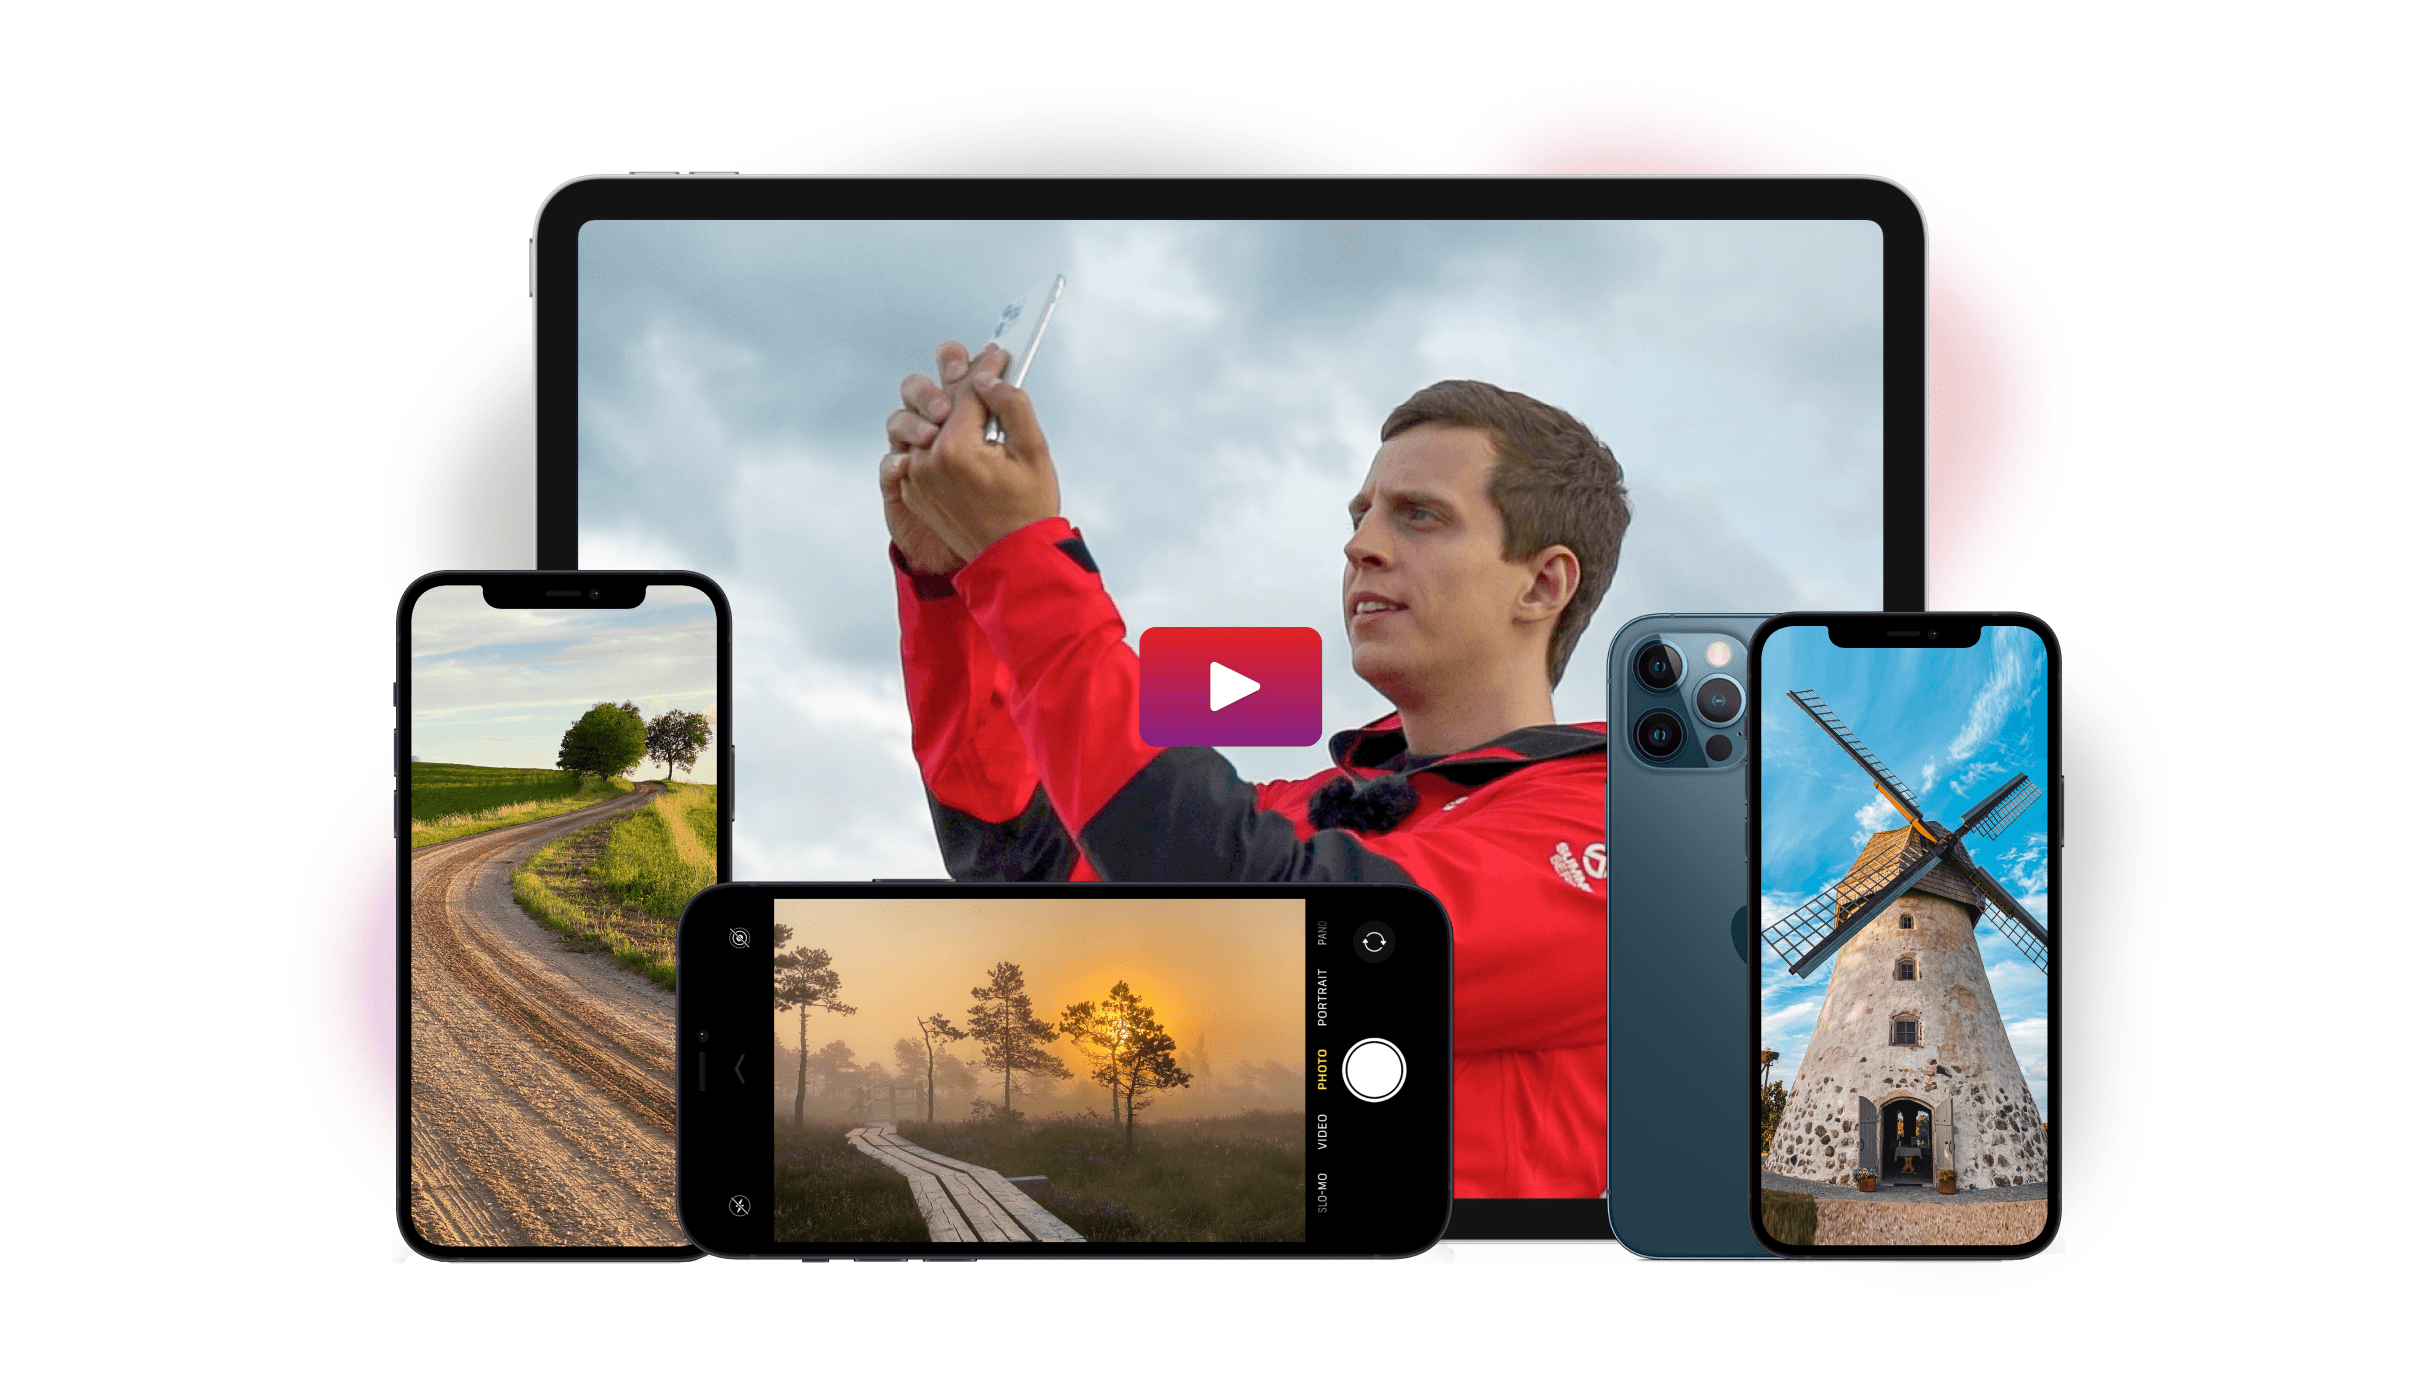
How to Stabilize the Shot
The whole point of using an iPhone timer camera is shooting hands-free. So always bring a tripod with you in case you need it. A tabletop tripod would work in most situations. Prop it up on a table or any surface that's high enough and you’re good to go.
If you want to use your phone for landscape photography, then it's still best to use a standard tripod. Most options can extend up to four and a half feet.
You’ll find its adjustable height useful when you can’t find any surface to prop up your camera. And it allows you to pan and tilt your camera with more control than a tabletop option.
Finally, you’ll also need a mount to install your phone to a tripod. Most tabletop versions (or even selfie sticks) come with one. If you don’t have any lying around, you can always buy one online for less than 10 dollars.
Choose the option that lets you mount your camera vertically or horizontally. You should also check if it has a standard screw mount that’s compatible with regular tripods.
Should You Install Third Party Apps

Your iPhone timer is good at capturing portraits and landscapes in the daytime. But if you're planning to shoot a lot at night, then we recommend using third-party apps, instead.
The most popular third-party apps out there are Adobe Lightroom and Camera + 2. Unlike your native camera, these apps let you take long exposures when shooting at night.
So how does long exposure work? It keeps the shutter open for a long time. This allows the camera to gather the light it needs to expose the image. It’s perfect for shooting in places that aren’t well lit.
Once you're in Manual Mode in either Lightroom or Camera + 2, select any shutter speed between 1/15th to 30 seconds. You can start with 1/15th if there's still some light.
As it gets darker, you should choose lower values to compensate for the lack of illumination. Take some test shots to figure out the right shutter speed you need to create the right exposure.
If you’re having trouble figuring out which shutter speed to use, switch to Aperture Priority. You’ll see the exact value you need to shoot the image.
If the result is underexposed or overexposed, go back to Manual Mode. Adjust the shutter speed based on your camera’s exposure reading.
Your camera might choose a shutter speed of 2 seconds to capture an image but end up underexposed. You can adjust it to 3 or 4 seconds to get a better exposure.
You should also use a tripod when taking long exposure photos. Since the shutter is open for a long time, any movement it captures will be blurry. So it's important to stabilize your phone before shooting.
Mistakes to Avoid When Using iPhone Photo Timer
The iPhone timer may be easy to use, but that doesn't mean you won't encounter any problems using it.
Read our list of common mistakes below and find out how to avoid these issues.
Timer’s Off Too Soon or Too Late
You need to figure out whether you need to use 3s or 10s. 3s should be for landscapes and 10s should be for portraits.
Your Frame’s Crooked
As soon the iPhone photo timer starts ticking, some people panic and forget to check if the phone is straight. When you take portraits, take a second or two to adjust your camera before rushing to get into the frame.
10 seconds on your iPhone 6 camera timer should be enough time for you to prepare for the shot.
The Foreground’s Ugly
Beginners often prop up their phone without composing the picture. As a result, they capture the edge of that surface in the foreground which ruins the shot. This can happen with anything, from tables to benches to trees.
When you set up your camera, make sure the table doesn't show up in the frame.
Conclusion: Iphone Photo Timer
Using an iPhone photo timer may feel weird at first, but you’ll find it invaluable once you get used to using it. There are many tips and techniques you can use to capture the perfect self-timer photo.
But these are the first three steps to take: stabilize your camera, compose, and focus. Once you do all these, you can expect to get consistent results.