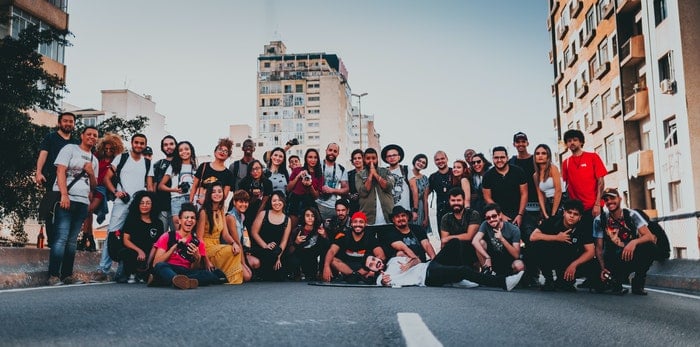
The more people are in a photo, the more complex the image. This means that a group photoshoot is a challenge, mainly if you photograph large groups.
You have to make each individual look good. But you also have to create a sense of cohesion and capture the group dynamic. Plus, you have to pay attention to sharp focus and good light.
It’s no wonder many photographers dread the group portrait. Here's how to take great group photos by understanding composition, posing, and light.
Composition Tips for Group Photos
A great group photo starts with composing the image. With large family pictures, it's a good idea to head into the shot with the composition already in mind. This way, you won’t have to build the frame on the spot.
Arranging a large group takes a significant amount of time. If you have a composition in mind, you can work more efficiently. And you’ll have happier, less impatient subjects.
Group photo composition starts with the location. Of course, the place needs to be large enough to accommodate everyone. But what else should you look for?
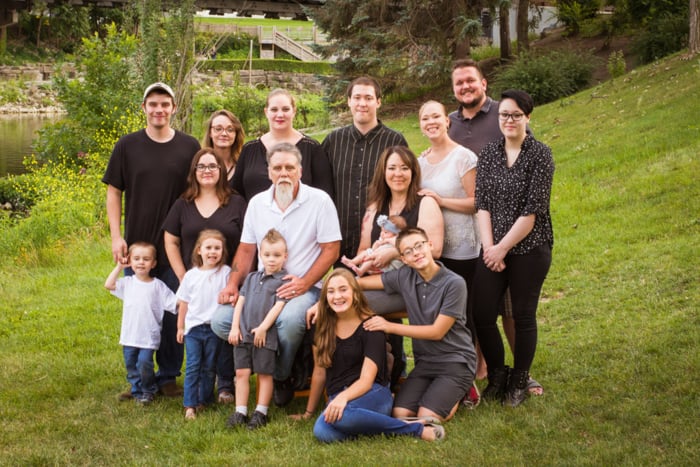
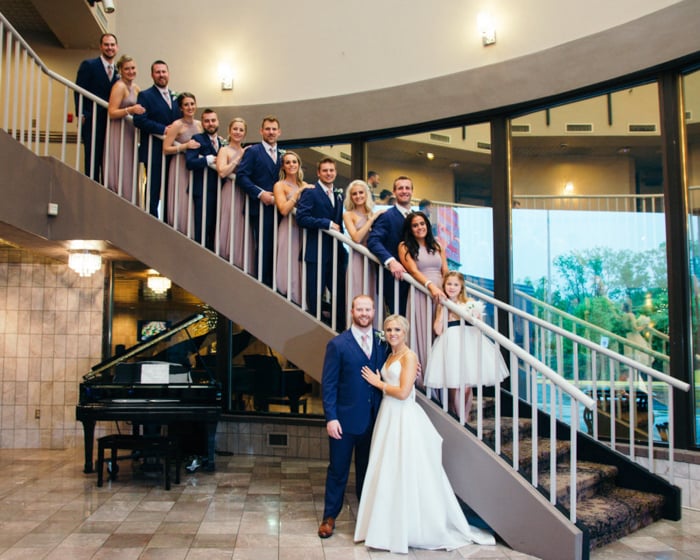
Consider elements in the environment that will allow the group to be on different levels. By having multiple rows, you can create a more exciting composition.
Things like stairs, benches, large boulders and other items can help fit everyone in. Props have the possibility of giving you the best help when it comes to group photoshoots.
You should also consider the background in group photography. With so many cheerful faces, the group shots are already going to be busy enough.
Avoid busy backgrounds, or the viewer's eye won't know where to look. Look for something with minimal distractions.
Most group photos use narrower apertures to get a proper focus. So set up the group shots far enough away from any objects in the background to still get some soft blur.
A location can have a perfect backdrop and details. But it can still be a bad location without good light. Make sure the group won't be facing into the sun. Otherwise, your subject will have closed or squinting eyes.
The shade is ideal for group photography. But it’s not necessary if you have the equipment to light a group of that size. We'll talk about this in a bit.
Height is also a consideration when composing group photos. Shooting from a taller position can help fit more faces into the frame.
Sometimes, shooting from a higher angle can also help reduce distractions. The last thing you want is a tree appearing to grow from the top of someone's head.
When composing the group photo, keep empty space in mind as well. This is one of the best tips on how to take large group photos.
Think about where the focal point will be. Is there a family member you should show more importance with? A family reunion would place everyone as important as each other.
You don't want to have too much space, or faces will be tiny. But be sure to leave some space to lead the eye in. This will also allow the photos to be printed in different sizes.
Best Poses for Group Photos
Posing a single person can be challenging enough. For groups, you have to multiply that challenge by how many people are in the image.
First, before you attempt to pose a large group for a photo, make sure you understand how to pose a single person.
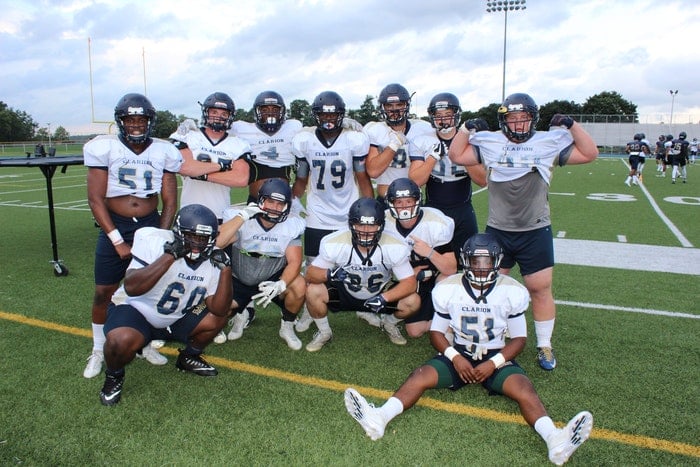
Posing the person's shoulders parallel to the camera will make them look their largest. This is fine if you're trying to make a football team big and menacing. But it isn't ideal for every person and body type.
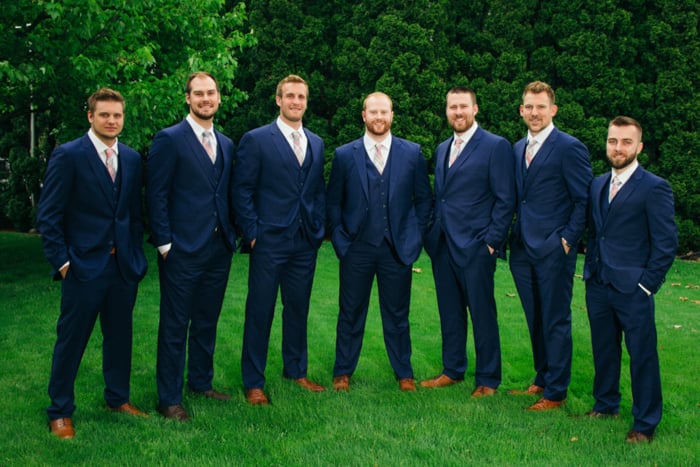
 Directing the group to stand at an angle can be more flattering. And will also help fit more people into the shot.
For women, encourage them to create curves by popping a knee out or putting a hand on a hip.
In group pictures, many guys tend to gravitate towards crossing their hands in the front. Instead, try for hands in the pockets, crossed in front or at their sides.
There are two approaches to posing group pictures. You can pose all the people in the same position. Or create different poses for each person in the group.
The former tends to be the fastest, most efficient way of photographing groups. The latter tends to be more visually interesting.
Sometimes you’ll have 20 minutes to pose a dozen groups for formal family photos after a wedding. You won’t have the time to direct that many people into a unique pose.
Take multiple shots quickly, but effectively. The continuous shooting mode or burst mode can work wonders.
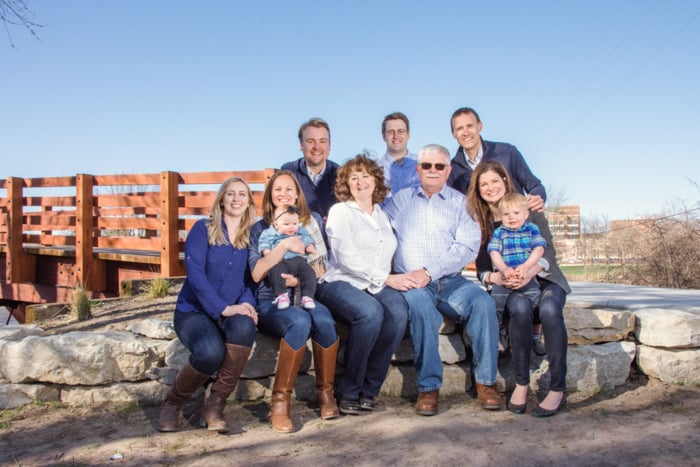
When you have an hour to pose for small family photos, you can create more exciting poses by posing each individual.
Posing both types will follow a similar process, though. With the first option, you'll direct everyone into a pose at once. For the second, you’ll be working with each individual.
For large groups, I work in rows. For smaller groups, I create different poses for each group member. They still have to work together in the end for a stronger group pose.
Start by directing everyone into where they need to be. Once the group is in position, you'll create a triangle shape. Creating a triangle leads the eye through the image and creates a strong pose.
Not all group photos need a triangle. Some groups will be an inverted triangle. Others will be straighter lines like a traditional team photo.
Triangular poses tend to create strong compositions, especially in group photography.
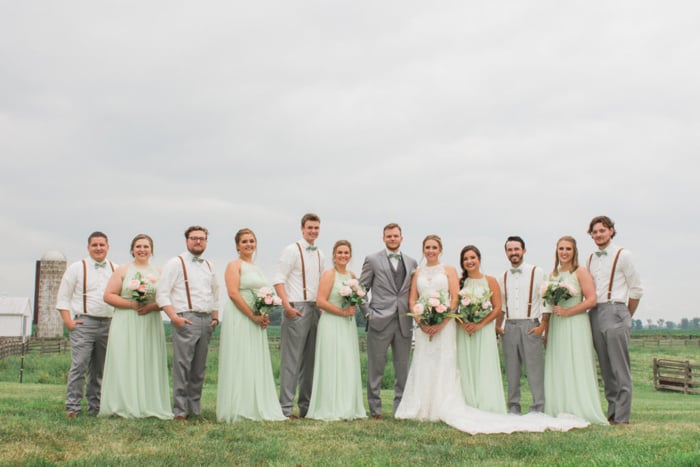
For large group photos with a limited amount of time, arrange the group in rows. In general, it's best to stick the tallest individuals towards the center. That way, you'll still get a slight triangle.
Depending on the type of group you are working with, you may need to keep some individuals together. When photographing extended families, I try to keep husbands and wives near each other. And kids near their parents.
Once the group knows where to stand, direct them on how to stand. Ask them to stand at a 45-degree angle if you need to fit a lot of people into the shot or for a more slimming pose.
Watch their feet. Creating a bend in the knee is more flattering for women. Men can stand with the toes slightly pointed out, or with one foot turned out a bit.
Watch the hands too. Avoid crossing the hands in front. Or leaving the hands straight at the side with no gap between the torso and the arms.
Instead, ask for hands in the pockets, crossed over the chest or behind the back for men, or a hand on the hip for women.
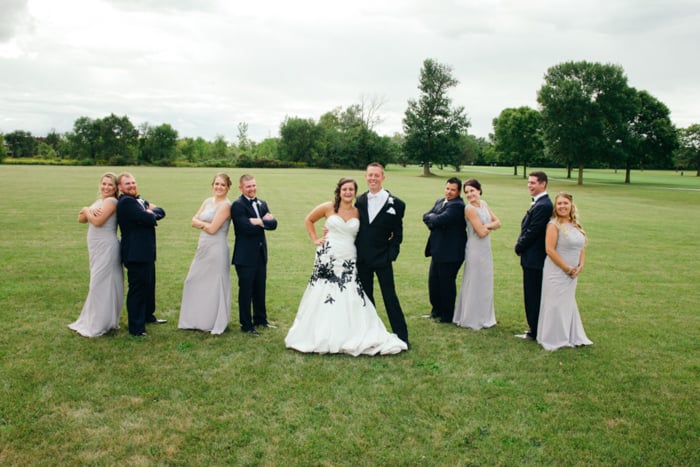
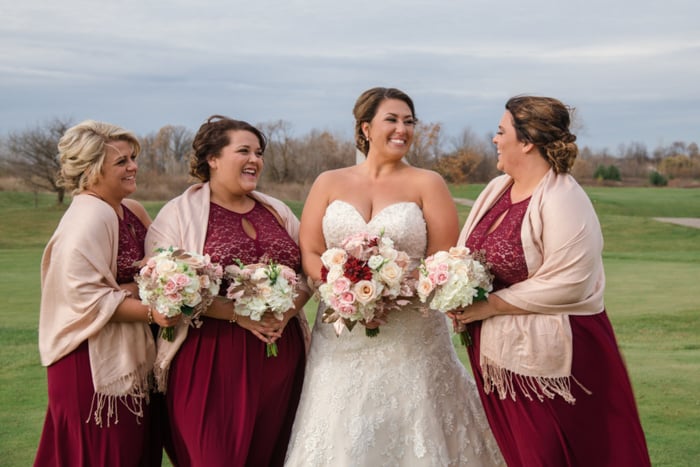
With tight-knit groups, you can also use hand placement to create points of contact. This helps people appear closer.
For example, you can have a group of bridesmaids wrap their arms around each other's backs. Or a parent can rest a hand on a child's shoulder.
Finally, before you shoot, check the faces. Make sure no one's face is covered up by another. Check for double chins and direct the people to stand up straight and stretch their chins out a little bit.
Lighting for Group Photos
A group photo can have fantastic composition and an excellent pose. But it can still fall flat if the light’s off. Lighting is important in keeping the ISO, aperture and shutter speeds to optimal quality and usage.
Ensuring light falls on every face in the photos isn't always easy to do. Here are a few ways to master group photo light, depending on the gear you have and the size of the group picture.
One of the easiest ways to light a group photo is to arrange the entire group in the shade. This doesn't have as much contrast, and the lighting is a bit flat.
But you'll capture everyone without squints or weird shadows.
When taking a natural light group photo, look for a shade that isn't dappled. You don't want a spot of the sun shining through the leaves on one face but not the other.
Another option for lighting a group photo without the flash is to arrange the group with the sun to their backs. The essential trick here is to set the exposure for the faces.
The background will be blown out without a flash. But it's a set-up that still flatters skin tones. Again, the results may not be as nice as shots with more elaborate set-ups.
But it is possible to take flattering group pictures without a flash. Photographers who often work with groups should have at least one flash or two for lighting group photos.
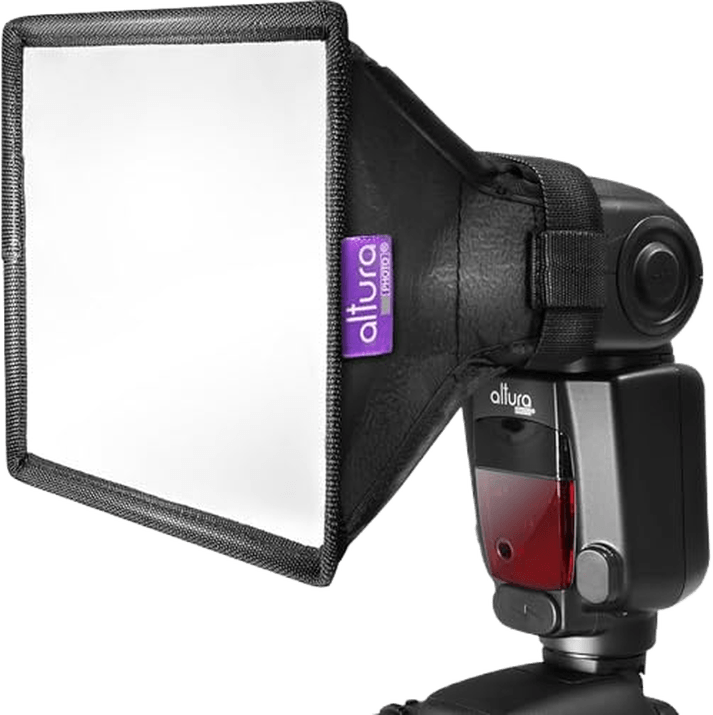
With a single on-camera flash and a diffuser, you can add more pop. Use manual flash mode and a diffuser to keep the light soft and flattering. I start with the flash on 1/4 power than adjust up or down from there as needed to light the entire group.
Take the flash off-camera, and the light becomes even more visually appealing. On-camera flash will create catchlights and fill in the shadows. But it’s not as interesting as directional light.
This is possible when moving the flash off the camera. When using an off-camera flash, I place the flash on a 45-degree angle from the group.
I also add a shoot-through umbrella or a more portable diffuser like the MagMod. The height is about face-level or higher.
For larger groups, you'll need two flashes to light each person within the group. Two flashes can help fill in the shadows for smaller groups as well.
Traditional large group photography lighting with two flashes is similar to one. Place both flashes at a 45-degree angle pointing towards the center. Point one flash towards each end of the group.
A diffuser and manual flash mode are essential to getting flattering light here as well. This combination is a big step towards taking amazing group photos.
For more interest, you can also set the second flash at lower power than the first. I the first or main light is at 1/4 power, try 1/8 or 1/16 for the second flash.
With the flashes on different powers, you'll get depth. But the shadows won't be as dark as with a single flash.
When lighting a group picture, what you don't do is important too. Look for the common large group photography lighting pitfalls as you shoot. So that you can correct for a better shot.

First, make sure your light source covers the entire group. Make sure the flash spreads both wide enough and deep enough to evenly light the entire group.
If the person closest to the flash is overexposed and the person farthest from the flash is underexposed, move the flash farther away from the group.
The farther away the flash is, the wider the coverage because there's less fall off. Of course, there's a balance to how far away the flash is. Too far away, and the light won't be bright enough.
While many groups can be photographed with a single flash, large groups cannot. If the group is larger than your lighting equipment will cover, stick to natural lighting.
The flat shade is better than only lighting a portion of the group with a flash.
Watch the way the shadows fall and make sure a shadow isn't falling across someone's face. This is very important when using off-camera flash.
Take a test shot and check the LCD. Adjust the pose to keep faces out of shadows, or move the light to change where those shadows fall.
There are several different ways to light a group picture. Anything from natural light to using multiple lights works.
The method you choose will depend on your style, experience level and the size of the group. Even how mobile you need to be is a factor.
Some professional photographers have a light and airy style. They could choose to backlight the group without a flash. This is because the look fits with that style.
If you've never even shot a single portrait with a flash, start with natural light. Work to add in a flash once you've mastered the basics.
Conclusion
Great group photos need a strong composition, a flattering pose and good light.
The opportunities to photograph great group pictures are everywhere. From family portraits to sports teams to the formal portraits at a wedding.
Great group pictures help freeze that group dynamic in time. Try as much as you can to get it all correct in-camera, as Photoshop can’t save a bad image.
Eager to learn more? Don't forget the trick to focus a group photo.
Take a look at our eBook: Profit from Portraits. You will find all the secrets to building a successful portrait photography business!


