Light leaks can add an interesting and creative touch to your photos, but they can be difficult to create. Here are three ways to create amazing Photoshop light leaks.
What are Photoshop Light Leaks?
The term comes from film days. It’s caused by a small hole or breach in the body of a camera. Light leaks into the camera where it’s not supposed to and exposes the film with extra light.
Cameras developed leaks between their various interchangeable parts or in their old leather bellows.
The light leaks were usually a soft light but parts of the camera would cast a hard shadow. Light leaks were always treated as a problem for photographers but in the last decade, they’ve become a popular creative technique.
They give your photos an extra dimension or dreamy effect.
You can create light leaks on purpose by removing the lens, for example. But you can also create them in digital photography with Photoshop.
How to Create Light Leaks in Photoshop
Step 1: Open the Photo
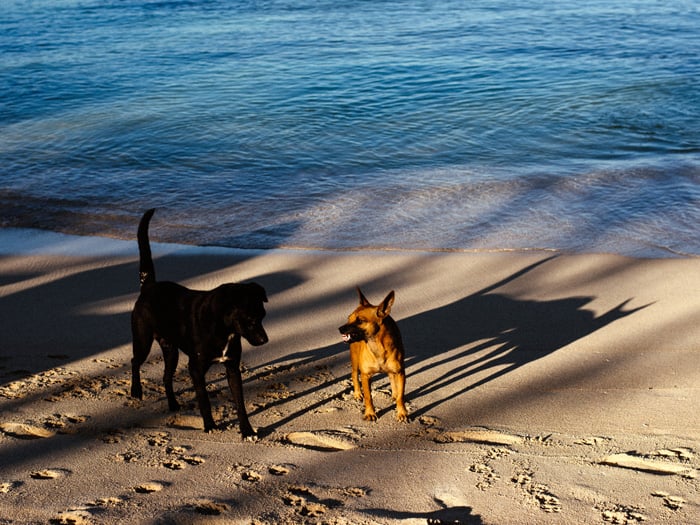
Open the photo you want to use and determine the direction of the light. For the most natural result, you need to create a light leak in the same direction that the light is coming from.
In my example, the light is clearly coming from the left.
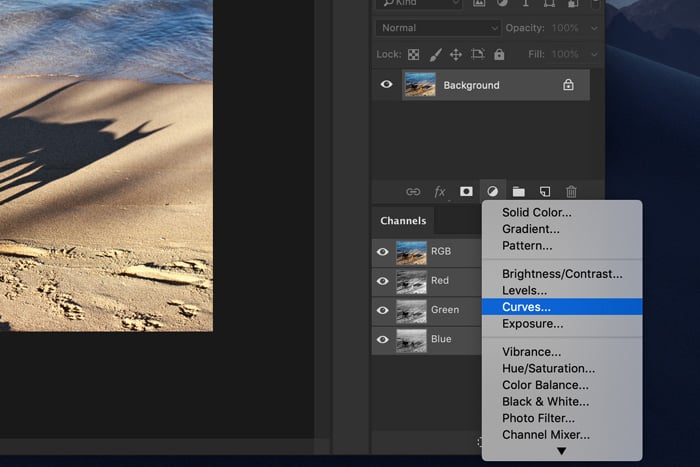
Step 2: Add More Highlights
Click on the "Create new fill or adjustment layer" icon and select "Curves…".
![]()
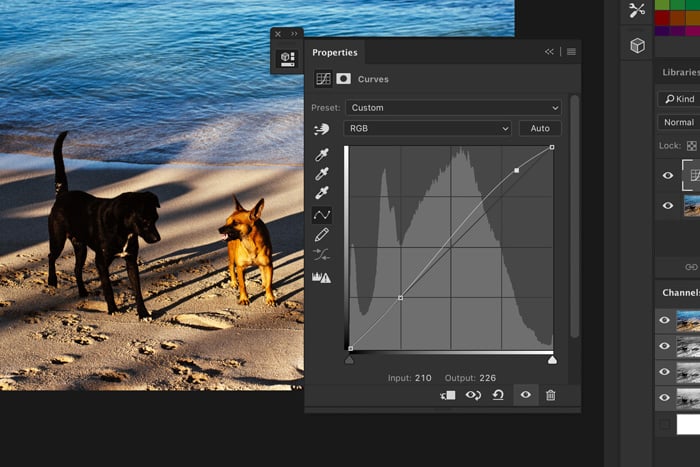
Click the diagonal line in two different places to create anchor points.

Now, drag the points like this:
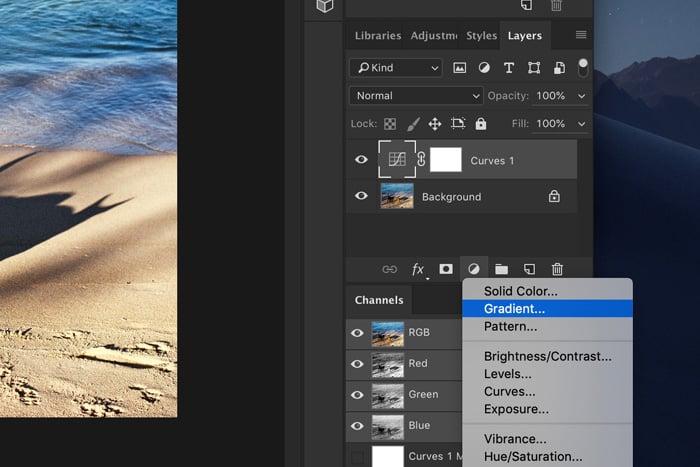
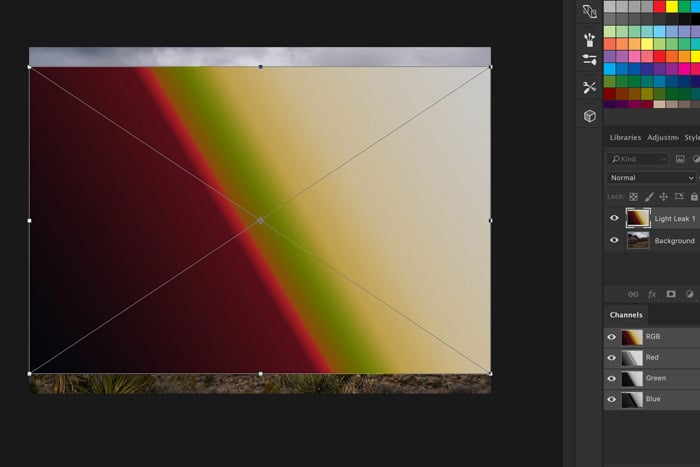
Step 3: Add a Gradient
Light leaks can have different colors. Usually, it’s a warm red or yellow glow.
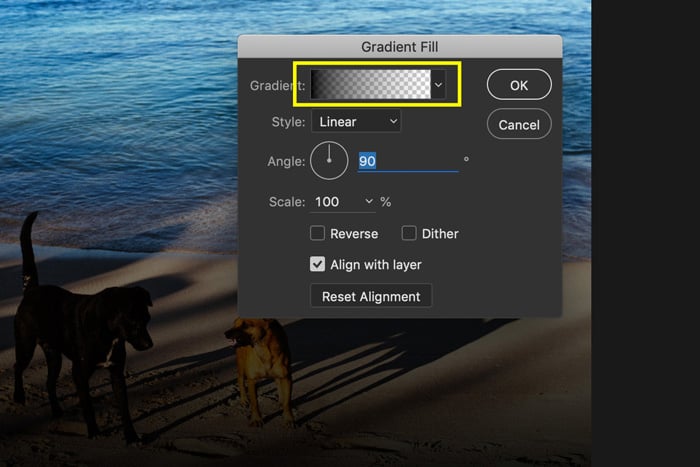
Click on the "’Create new fill or adjustment layer" icon again and select "Gradient…".
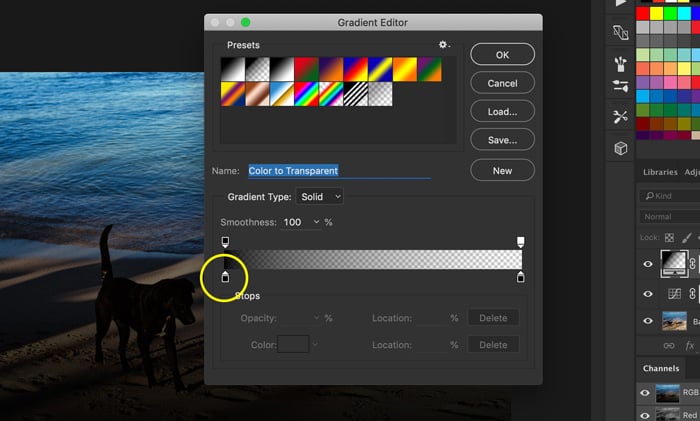
Click on the gradient preview. The gradient editor will appear.
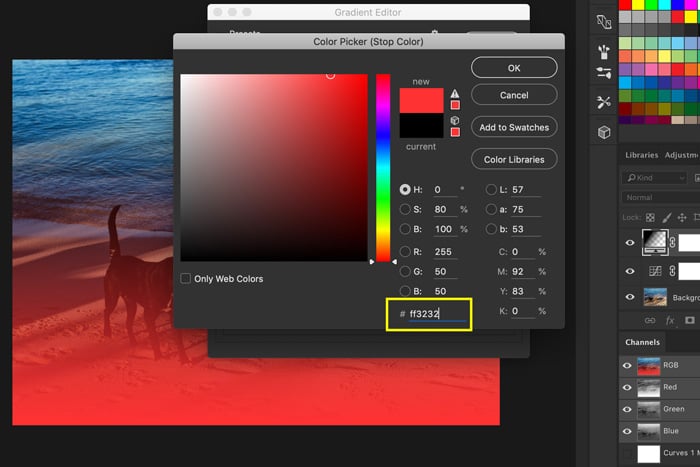
Double click on the bottom left slider to pick a color.
"ff3232" is a good shade of red to start with.
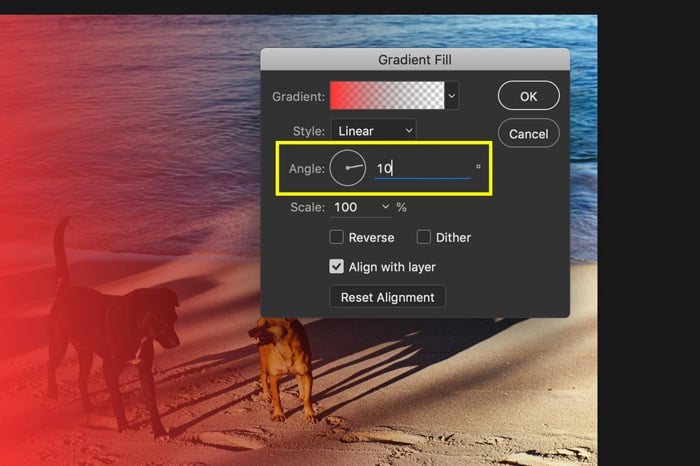
Click "OK" two times. Now, change the angle by dragging the arrow around the dial. You can also type a number. For my example, I’ll choose 10°.
Step 4: Change the Blending Mode
Change the Blending Mode of the layer with the gradient to "Screen".
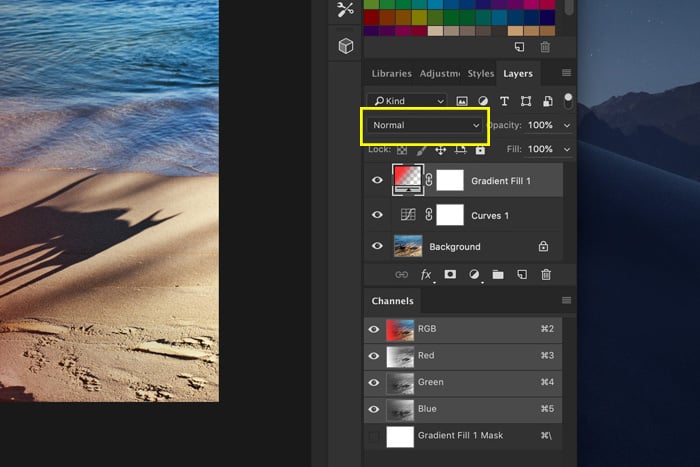
That’s it, a beautiful light leak. You can now experiment by changing the color and opacity of the light leak.

How to Use Light Leak Overlays in Photoshop
You don’t have to create the light leak yourself. You can download tons of light leak overlays and they’re super easy to use. There are light leaks that you have to pay for but also a lot of free ones.
Step 1: Save the File
Save the light leak overlay file to an easy-to-find location.
Step 2: Add the Light Leak overlay
Open a photo in Photoshop.
Open the folder where you’ve saved the light leak overlay. Drag and drop a file onto the photo.
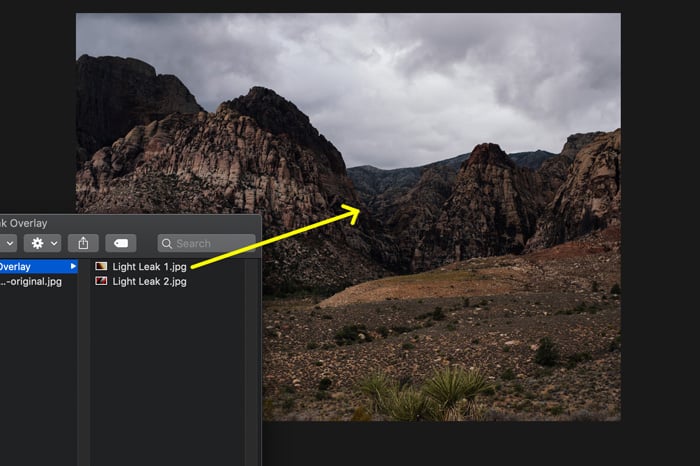
It will automatically appear in a new layer. Resize or reposition if needed and double click on the photo to confirm.
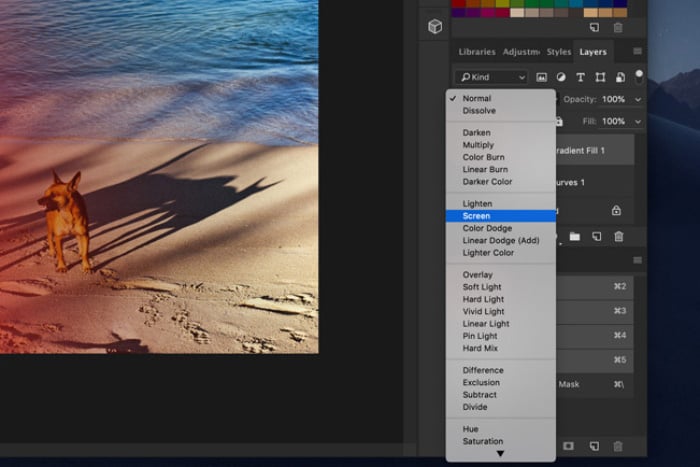
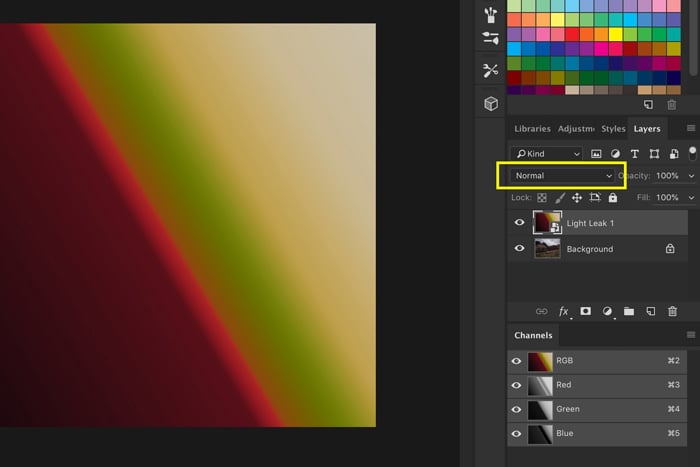
Step 3: Change Blending Mode
Click on the Blending Mode dropdown menu and select "Screen".

Step 4: Change the Color of the Light Leak
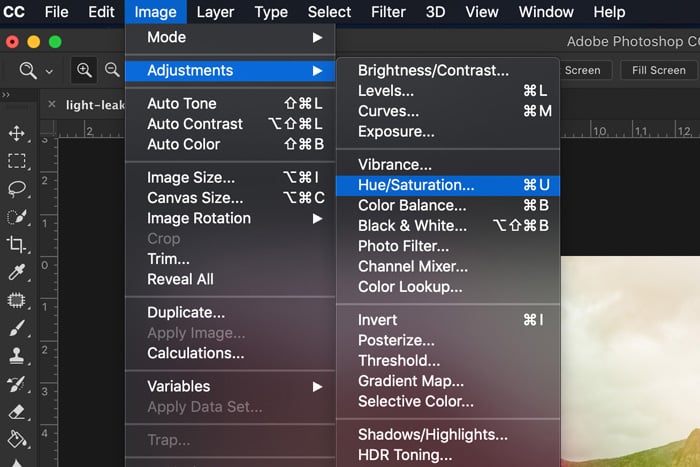
Select the layer with the light leak overlay.
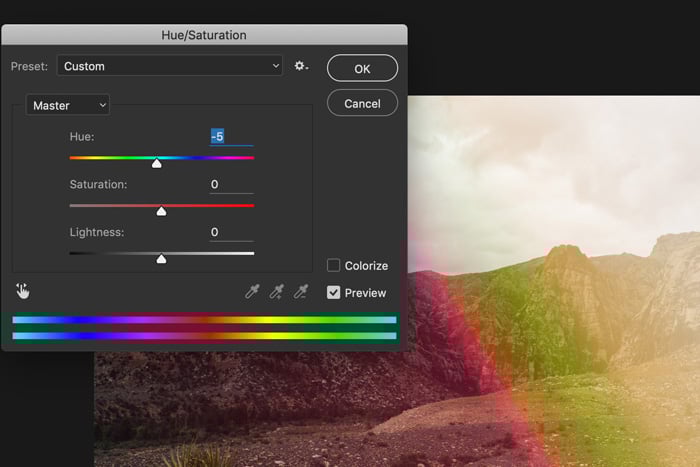
Go to Image > Adjustments and select "Hue/Saturation…". A new window will appear.
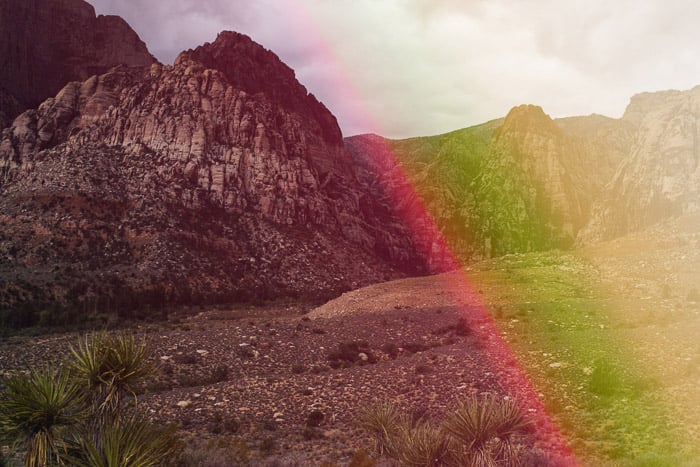
Drag the Hue slider to the left or right to change the color of the light leak.
Now, save the photo and that’s how you use light leak overlays in Photoshop.
Conclusion
You can find free light leak overlays all over the internet. They’re easy to add and adjust but if you want something really special, create your own light leak in Photoshop.
Experiment with different colors, gradients and blending modes to create something unique.
We have a post on creating light leaks in Lightroom too!


