Do you want to learn how to layer photos on an iPhone? Your iPhone's native camera app doesn't have a function that lets you superimpose images, but the good news is, there are tons of photo editing apps you can download to let you do that. The Superimpose X app is the best one out there for iOS devices including iPhones and iPads.
Layer Photos On An Iphone With The App That Lets You Overlay Pictures
You can download Superimpose X from the Apple iTunes store. This photo editor has tons of features that let you do anything from simple blending to masking.
At first, it’s challenging to familiarize yourself with all the functions it offers. But with the help of this tutorial and a little practice, you can expect beautiful results from it.
Additionally, you can also watch Superimpose X’s tutorial right on the app in case you’re not sure what to do.
How to Choose Which Photos to Use
When using an app to superimpose pictures, you need to be picky about which files to use. We'll show you the criteria you can follow to increase your chances of creating unique works of art.
The first factor you need to consider is negative space. Your images need to have blank areas, so the resulting superimposed photos don't look too busy.
Apart from that, it also makes your main subject pop because there are fewer distractions.
If you're feeling adventurous, ignore negative space and opt for patterns instead. You can make a beautiful backdrop out of anything. And I do mean anything. From a bed of flowers to repeating lines and wallpaper designs.
No matter what you do, be mindful of how the background image and the main foreground blend together. You need to come up with a theme that tells a story about both of your images.
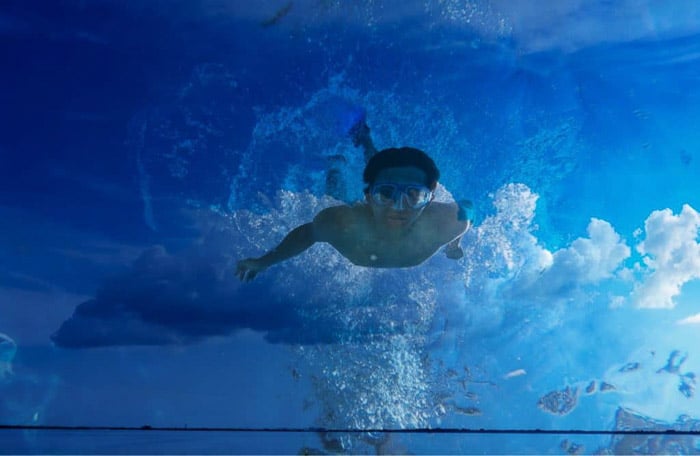
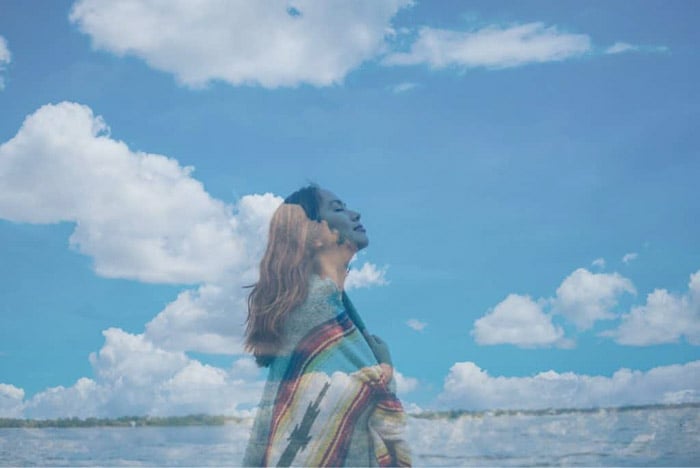
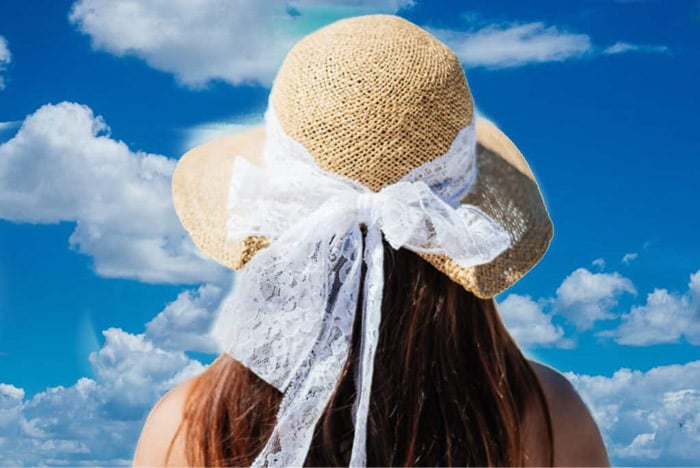
For instance, you can place an image of a girl in front of palm trees. Or you can superimpose someone swimming in a pool with a photo of clouds for a dreamy effect.
Of course, that doesn't mean you can't experiment with combining random photos. Sometimes, ignoring the rules can yield unique images for your photo library. You don’t always have to stick with similar colors.
As long as the end result makes sense to you, then stick to it. After all, what matters is that you get to exercise your creativity.
"Sandwich" Two Photos for Double Exposures
Overlaying images isn't exclusive to digital photography. Back in the days of film photography, people loved doing multiple exposures.
They would either do it in camera or place two negatives in the darkroom on top of each other to create a "sandwich.”

Once you create a print from the sandwich, you'll see the images from both negatives appear in one frame. It's simple to do, and you can recreate the same process using the Superimpose App.
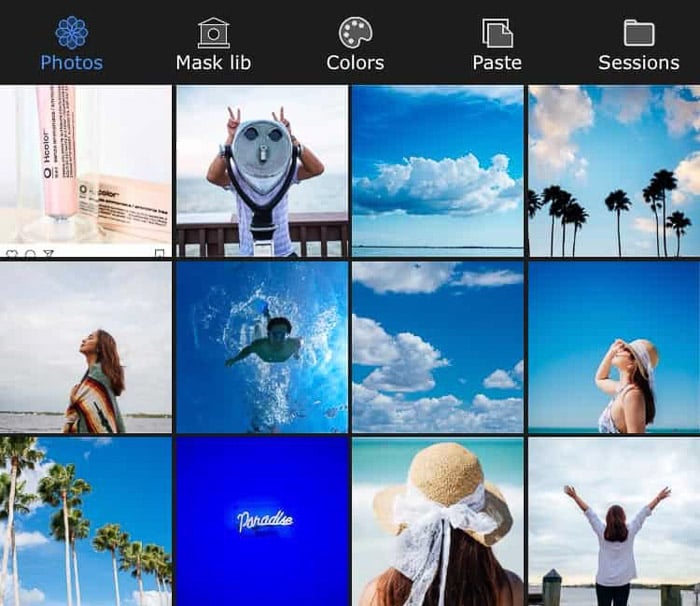
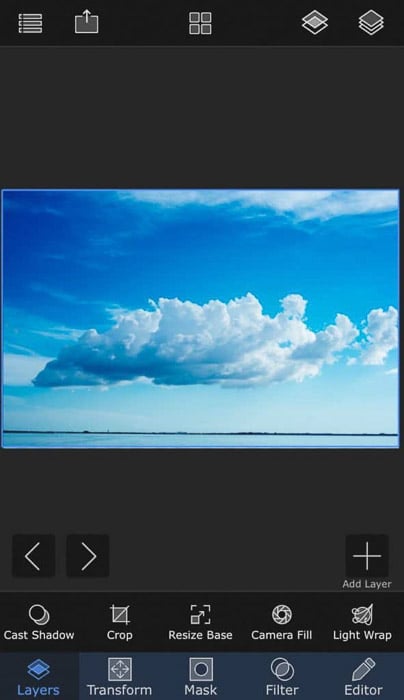
To blend your photos together, first, upload a background. Simply tap Photos at the top left corner of the screen and choose the picture you want.
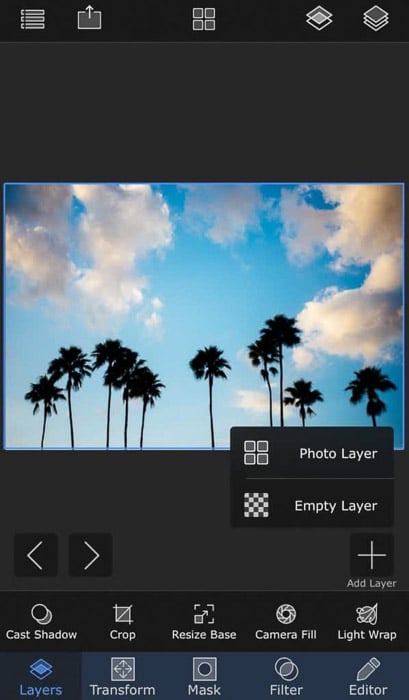
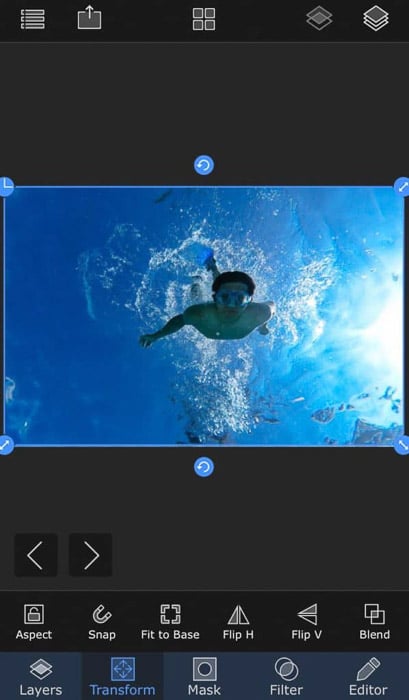
Next, you’ll need to add the foreground image. First, tap Transform, then Blend. Now tap Add Layer at the bottom right corner of the screen. Select Photo Layer and choose a file from your gallery.
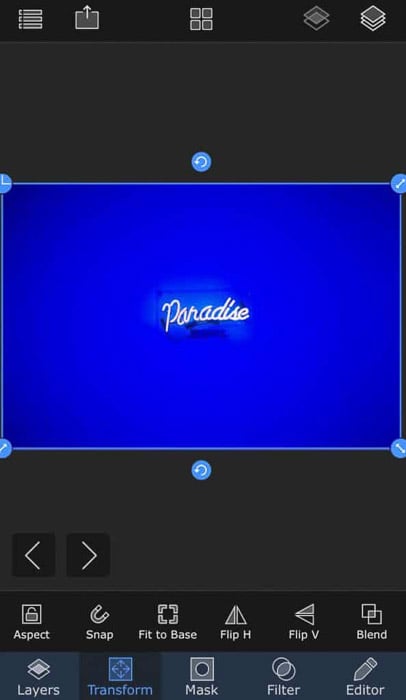
If the picture is smaller than the background, resize it by tapping Fit to Base so you don't see what's behind it.
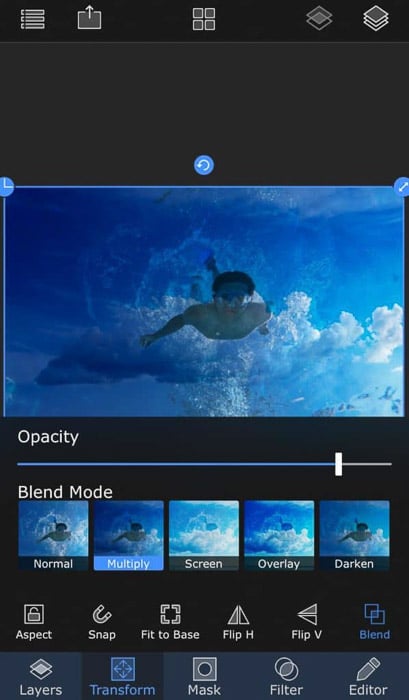
Now change the opacity by moving the Opacity slider to the left. Doing so makes your main image translucent (like a negative).
As a result, you'll see the background showing through the foreground.
It’s preferable to use images with a lot of negative space to make it easy for people to distinguish what's in the frame.
But feel free to experiment with all sorts of photos and surprise yourself.
How to Use Blending Modes for Creative Images
The sandwich method was a simple way for you to understand the basics of combining pictures. Now you can finally try blending modes.
Instead of using Opacity to create a double exposure, you can combine them in many other ways.
To access Blending modes, tap the Transform icon at the bottom of the screen. There you'll find the blending mode button beside opacity.
By default, the mode is set to Normal. But you can also choose different options. These include Multiply, Overlay, Darken, and Lighten.
The most common mode people use is Multiply. It uses the luminosity and contrast of different layers when superimposing.
Meanwhile, Overlay retains the darkest parts of the foreground. The background shows up in the lighter areas of the image.
Darken and Lighten Modes detect the dark or the light areas of each layer to blend them together.
Of course, there are plenty more options other than the blending modes we mentioned.
You don't have to memorize how each one affects your image. All you have to do is tap each one and see what it does in real time.
If you like the effect, then keep it.
Cut Out Your Main Subject With Masking
Now that you know how to overlay pictures on an iPhone, it's time to get more technical by masking your images.
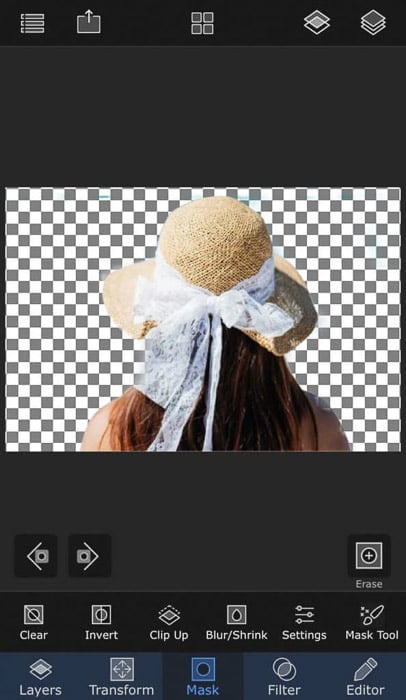
But what is masking in the first place? It's a term for cutting out areas in the foreground so some parts of the background show up.
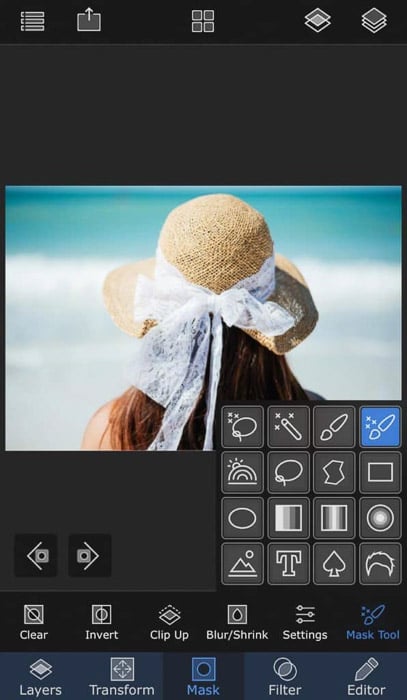
To cut out your subject from the rest of the image, select the Magic Brush tool. Paint over the object with your finger. Adjust the brush size and brush strength to make sure you get the details and the edges.
To make the process quicker and more precise, you can also use other masking tools such as Lasso and Magic Wand.
They automatically detect the edges of your main subject so you don’t have to do it manually.
Now that you have the mask, you can then load it onto the app and superimpose it on any background.
Tap Fit to base to resize it. If the colors don't match the backdrop, then tap the Editor icon at the bottom right part of the screen.
Now you can change the exposure, saturation, and other adjustments to blend the colors.
How to Color Correct Your Image
You’ll need to color correct your layers to match them. But editing doesn’t stop there.
Even after superimposing, you should still retouch the final image so it doesn’t look fake.

After you merge the layers, tap the filter icon at the bottom of the screen. It will then show the sliders the colors and exposure settings. If the blending mode you used made your photo lighter or darker, fix it by readjusting Exposure.
Next, change the contrast to make the elements in your image pop more. To add mood to your picture, consider applying a filter. It will help the colors from the background and the foreground appear uniform.
While editing, keep your eye on the details of your image. If it all starts to look fuzzy, you're most likely overediting. So dial back your adjustments if that happens.
It doesn’t matter if you’re doing abstract photography. You should always strive to keep everything looking natural.
You can also use Light Wrap to automatically match the colors of the foreground and background.
To access it, tap Layers then Light Wrap. You can choose several effects including Spread, Opacity, Ambience, and Blend.
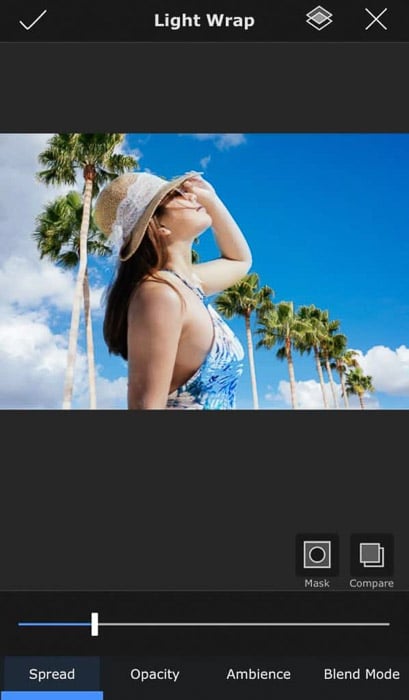
Use Spread to let the colors of the background hit the edges of the foreground. Use Opacity to control how much you want the colors to bleed into the foreground.
Use Ambiance to make the colors in the background affect the entire foreground. And use Blend if you want to apply Multiply, Overlay, and other blending modes to your image.
Use More Third-Party Apps for Even Cooler Images
The Superimpose X does an excellent job of creating cool photo effects. But if you want to make the most out of your photos, consider using other apps as well.
As mentioned, the multiple exposure effect first came from film.
So if you want to create a vintage look to your superimposed images, use VSCO. This app lets you add presets (filters) that emulate film, and even film grain to make it appear authentic.
If you want to get creative with your images, you should try Mirror Lab. It has several features that include fractal art and kaleidoscope effects.
If that’s not impressive enough, it also lets you tweak the filters to create unique results.
Before enhancing your superimposed photos, save your work from Superimpose X first. Then load it onto your preferred editing app and edit it like you would any other image.
Once you finish, you can save it to your phone and share it on social media.
You don't need to limit yourself to those two apps. There are plenty of options to try out there. You can also play around with Adobe Lightroom or Snapseed which works like VSCO.
Then, there are innovative photography apps such as Lens Distortions. This features filters that emulate light flares and other optical imperfections. These can add a creative spin to your images.
Always scan the app store for new releases and try them out. The more third-party apps you use, the more unique results you'll get.
Make Sure Your Subject Stands Out
You may now know how to use the app to superimpose pictures, but how do you make your work consistent?
Since you're editing on a small screen, you’ll need to adopt the “less-is-more” mindset.
When there are fewer visual elements to work with, you spend less time editing it. One factor to always remember is to keep everything simple.
Since you're blending photos into one image, you don't want it to look too cluttered.
No matter what you do, make sure that your main subject stands out in the frame. If it doesn’t, you’ll need to try a simpler background.
Apart from that, only use visual elements that complement your main point of interest. If they don’t, look for other options.
Conclusion
Superimpose X may be a mobile app, but it's a powerful tool for any photographer willing to experiment. Instead of lugging along your laptop when editing, you can now do it on your tiny phone screen.
It has a somewhat steep learning curve. But once you get used to it, it’ll help you create more fun, eye-catching images.
Check out our Effortless Editing with Lightroom course to master all kinds of photo editing techniques.