Choose VueScan Professional if you want one program for several supported scanners or need Linux support. Choose SilverFast if your scanner is supported and you want its guided workflow and negative conversion tools. SilverFast SE can scan film; SE Plus adds Multi-Exposure on compatible hardware, while Ai Studio adds tools such as IT8 calibration. Neither program is the best choice for every scanner or every film.
This comparison keeps the scan examples from our original review, first published in September 2022. They were made with the Epson Perfection V850 Pro, a flatbed scanner with a film transparency unit. The original review did not record the exact software builds, operating system or complete scan settings. Treat the screenshots and observations below as that earlier experience, rather than a test of today's releases.
If you are new to scanning film photos, check your scanner and computer first. The right software cannot add a film holder or infrared channel to hardware that lacks them. Our film scanner guide explains the hardware choices.

© Matt Moloney (Unsplash.com)
VueScan vs SilverFast: The Main Differences
| What matters | VueScan | SilverFast 9 |
|---|---|---|
| Edition for film | Professional | SE, SE Plus or Ai Studio |
| Computer platform | Windows, macOS and Linux; check the scanner's support page | Windows and macOS; check the model and OS combination |
| Scanner licence | Any number of supported scanners under the applicable licence | Scanner model specific |
| Negative colour conversion | Film settings and colour balance controls | NegaFix film profiles; Ai Studio can create custom profiles |
| Dust removal | Infrared Clean requires an infrared scanner and suitable film | iSRD requires infrared hardware and suitable film; SRDx works through software |
| Extra exposure tools | Sampling, passes and Multi exposure have different purposes and hardware limits | Multi-Exposure in SE Plus and Ai Studio, where the scanner supports it |
The edition details come from Hamrick's comparison and LaserSoft's SilverFast 9 feature chart. A feature listed for the software may still be unavailable on your scanner.
© Markus Spiske (Pexels.com)
Editions, Licences and Updates
VueScan offers Standard and Professional plans with subscription or one-time payment options. Hamrick recommends Professional for film and slides; Standard is for photo and document scanning. A new one-time licence includes one year of updates and continued use of eligible versions after that year. A scanning subscription works while the subscription is active. Do not confuse it with the separate Update Program for an existing one-time licence.
For personal use, Hamrick's licensing policy allows Standard or Professional on up to four computers you personally own, with any number of supported scanners. Business and scanning-service use has separate terms, including a licence for each computer. Older Professional licences can have different update rights, so check your purchase record.
SilverFast is made by LaserSoft Imaging. Its scanner software is sold for a specific scanner model and edition. SilverFast 9 is not restricted to one computer: its First Steps guide allows activation on up to three systems through MySilverFast. It needs internet access for activation and at least once every 90 days for continued offline use. The account provides downloads for your purchased software and separate upgrade options; do not assume a licence includes every future major version or edition.
If your scanner came with SilverFast, check the supplied edition before buying another licence. Compare the features you need, rather than assuming one program always costs less.
Check Your Scanner and Operating System
Start with the exact model name. Hamrick lists the Epson Perfection V850 as compatible with Windows, macOS and Linux, including film scanning and its infrared lamp. LaserSoft also lists the V850 Pro among its SilverFast 9 supported scanners.
For another scanner, check its own listing. SilverFast's system requirements do not replace the model-specific compatibility check. Some combinations need a manufacturer driver, and an older supported scanner may have different OS limits from a current one. Try the demo on your own scanner and computer before you commit.
How Easy Is Each Interface to Use?
VueScan
In the original review, VueScan's list of settings was easy to work through from top to bottom. The screenshot below shows that approach. Choosing the input, crop, filter, colour and output settings in turn helped keep the process organised.
The earlier reviewer found small colour adjustments less comfortable than in SilverFast. That is an interface preference, not a limit on the quality VueScan can produce. Its current manual offers colour balance, film settings and, in Professional, colour profiles. Our separate VueScan review gives more context on the program.
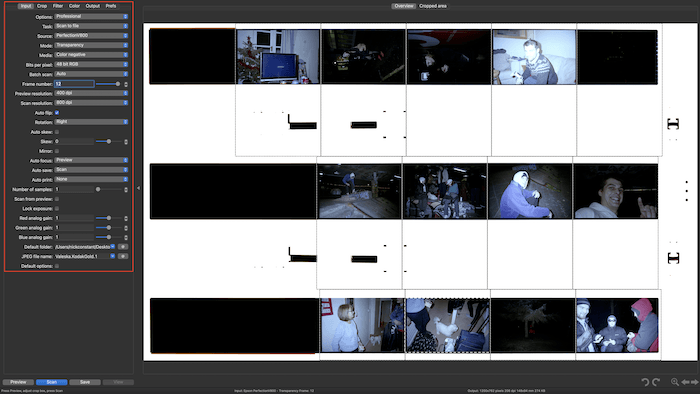
The red box highlights the list you will work through
SilverFast
The earlier SilverFast interface placed tools around the preview area. In that review, it took more care to see which adjustments were active. The reviewer liked the histogram and the visual colour controls, but found the workspace busier than VueScan's.
SilverFast 9 includes WorkflowPilot to guide you through scanning. Manual mode gives you more direct control. The available tools vary by edition, so the original screenshots below should not be used as a checklist for every current licence.
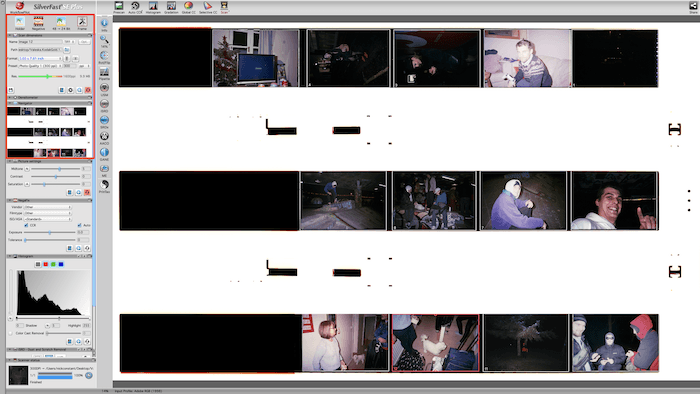
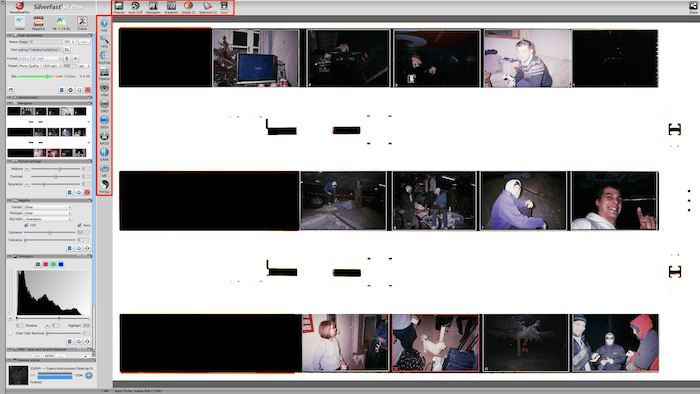
How Does Each Program Handle Colour?
Colour negative film needs conversion to a positive image, including compensation for the film base. VueScan has film and colour balance settings; SilverFast uses NegaFix profiles. These are scanning tools, rather than creative film simulation presets. A profile is a starting point, not a guarantee that every frame will need no adjustment.
The two dog scans below came from the original comparison, which reported using no film colour compensation. It did not document all other colour settings. They show why settings matter, but they cannot establish that one program always gives more accurate colour.
VueScan's Original Sample
The reviewer described this VueScan result as cooler and less saturated. That was a description of this scan, not a colour signature you should expect from every VueScan file. A low-contrast appearance alone does not prove that more information was captured.
SilverFast's Original Sample
The SilverFast result was described as more magenta and saturated. The reviewer preferred its appearance and liked making small adjustments in the program. Film profile, colour balance and output settings can change that result.
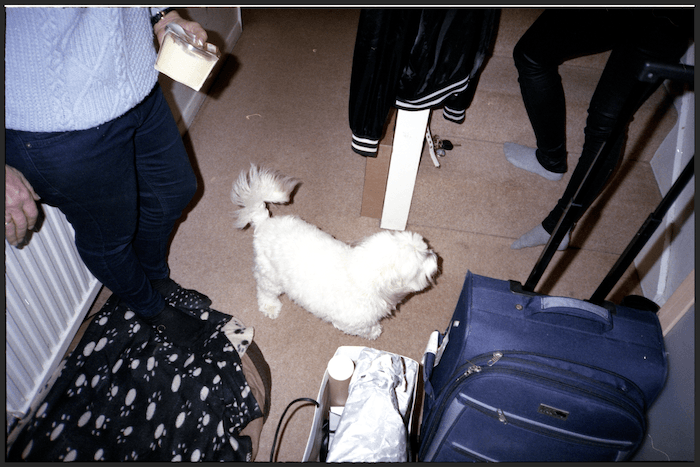
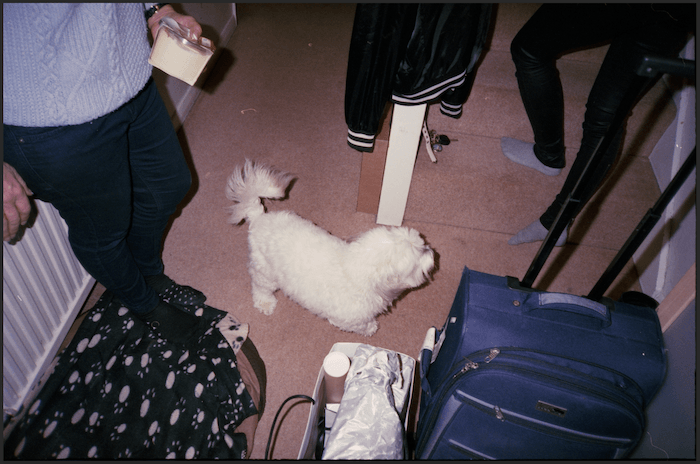
For a fair comparison on your own film, use the same frame, crop and scan resolution, then check which automatic corrections are enabled. Compare neutral areas, skin tones and shadow detail after each program has been set up properly. You can make final adjustments in Adobe Photoshop, but neither program requires Photoshop to produce a usable scan.
How Good Is the Dust Removal?
Both programs can use an infrared channel to identify dust and scratches on suitable film. VueScan calls its control Filter > Infrared clean; SilverFast calls its infrared tool iSRD. These features require a scanner with an infrared lamp. SilverFast's SRDx is a separate software-based correction tool, so it should not be confused with iSRD.
Turn infrared cleaning off for conventional silver-based black-and-white film. Its silver image interferes with the infrared scan and can cause damage to the result. Kodachrome also needs care: use the vendor's scanner-specific guidance and inspect a sample rather than assuming standard colour-slide settings will work. See Hamrick's V850 notes and LaserSoft's iSRD guidance.
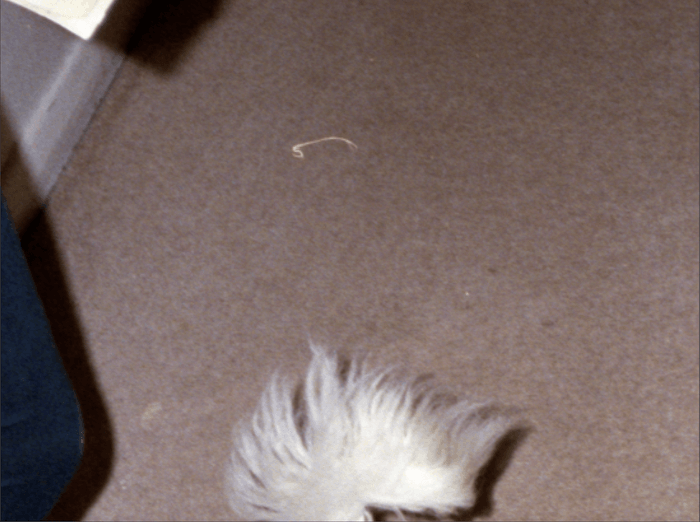
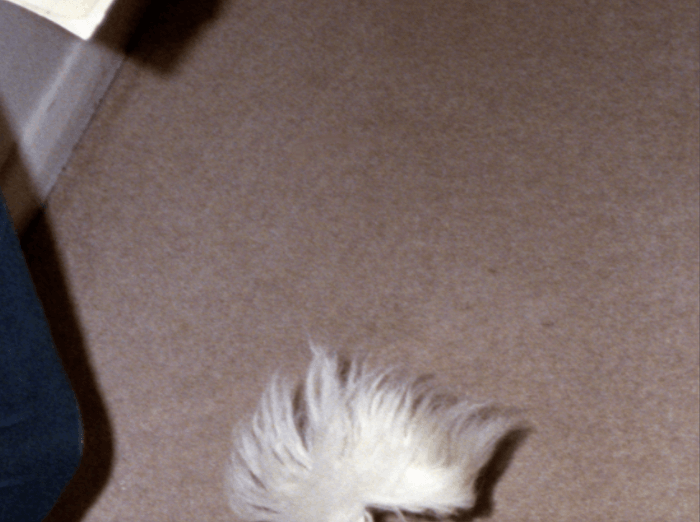
VueScan's Original Dust Sample
The original review used medium-strength infrared cleaning. The reviewer found that it blended a larger strand of dust into the background well at normal viewing size. The retained comparison below shows the untreated and cleaned versions.
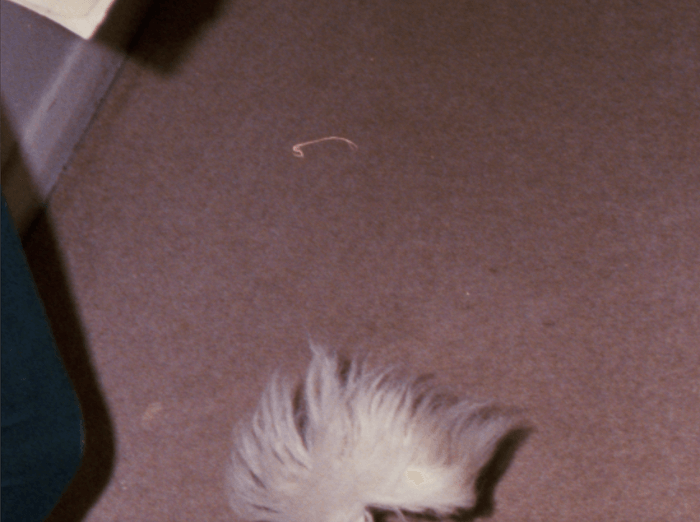
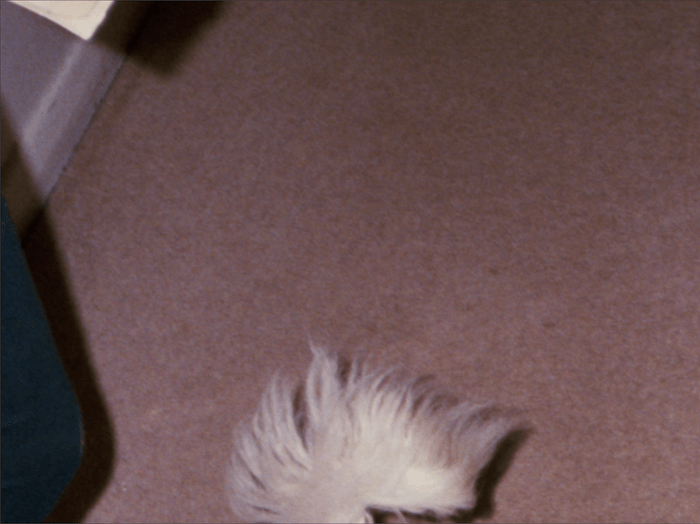
SilverFast's Original Dust Sample
The earlier reviewer also found SilverFast's correction difficult to notice at normal viewing size. At a reported 600% enlargement, the repaired area looked different from the surrounding grain. That observation applies to this example and its settings.
Clean the scanner glass and film carefully before scanning. After correction, check faces, hair, fine edges and smooth backgrounds. Dust removal can save editing time, but inspect the result at 100% and at your intended print size before using stronger settings across an archive. Software cannot restore detail that a deep scratch has removed.
Sampling and Multiple Exposure Are Different
The original article grouped these features together, but they solve different problems:
- Sampling or repeated passes average readings to reduce scanner noise.
- Multiple exposure combines different exposure times to capture more detail in dense areas of film.
Both can increase scan time. The useful gain depends on the scanner and film; neither should be enabled just because it sounds like a higher-quality mode.
VueScan's Original Sampling Example
The original review reported a sampling setting of 10 and found little visible change in this crop. Keep that result in context: it is an earlier sample, not a recommended setting for the V850 or every supported scanner.
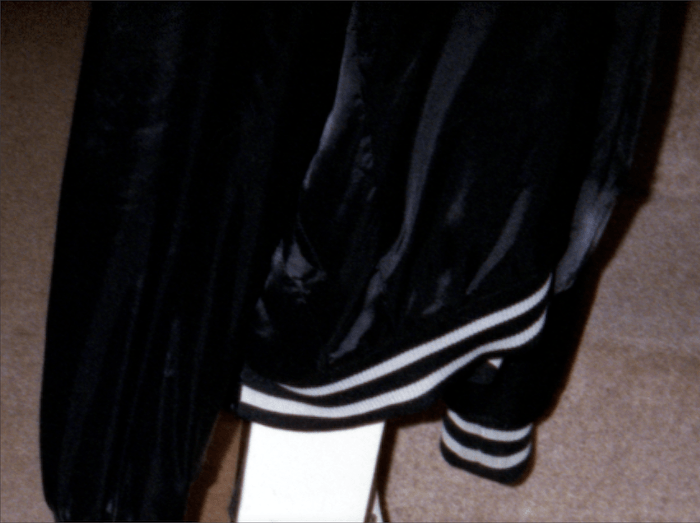
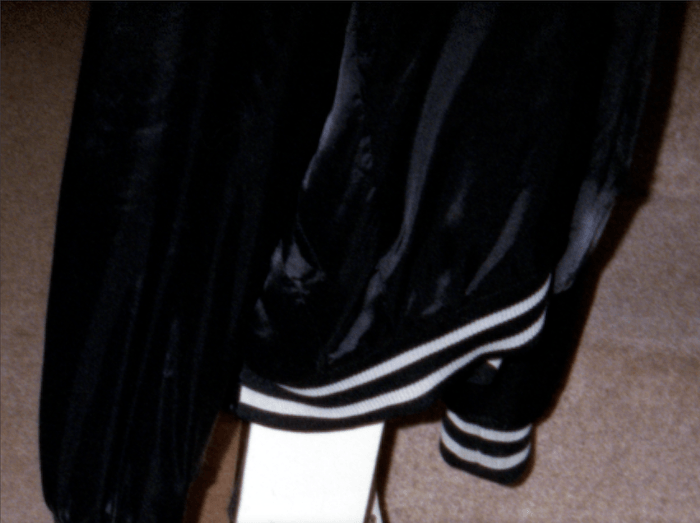
The current VueScan Input manual distinguishes Number of samples from Number of passes. Samples require hardware support; passes repeat a complete scan and can blur the result if alignment is poor. Its separate Multi exposure option requires exposure control and is shown for slide film, not Colour negative or B/W negative modes.
SilverFast's Original Multi-Exposure Example
The original SilverFast comparison also showed little visible change in this crop. It does not prove that Multi-Exposure is ineffective on all film.
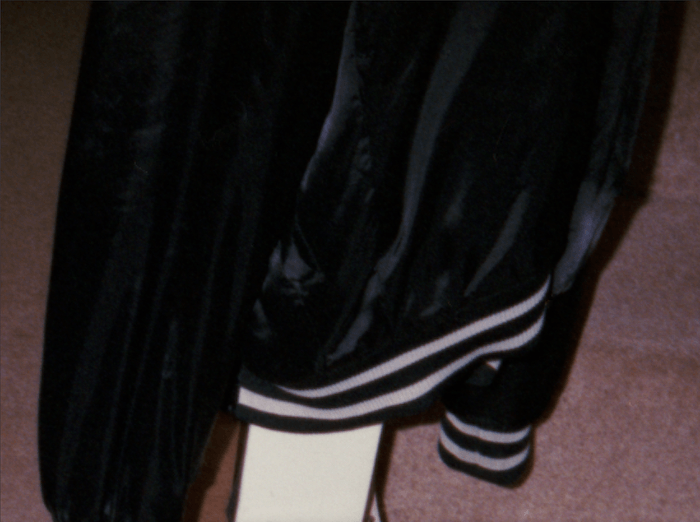
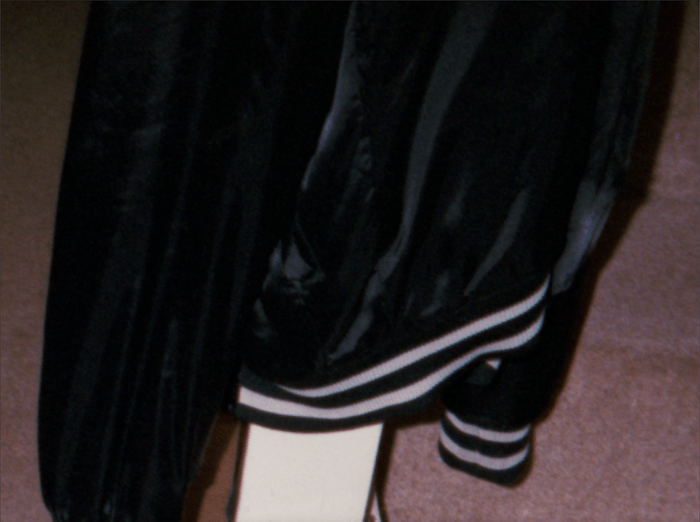
SilverFast 9 includes Multi-Exposure in SE Plus and Ai Studio when the scanner supports it. SE does not include this feature. For an important dense slide, compare a normal scan with Multi-Exposure; for a batch, weigh any visible improvement against the extra scan time.
Choose Your Output Before Scanning a Whole Archive
Neither program has to save every scan as a RAW file. A scanner raw file also differs from a camera raw file. Decide whether you want a finished positive image to edit now or scanner data to process later.
VueScan Professional can save raw TIFF data, with a DNG option. Its Output manual explains which processing is applied and how to reprocess a raw file. A TIFF extension alone does not tell you whether a file is raw or already colour corrected.
SilverFast offers HDR/HDRi raw capture. HDRi retains the infrared channel when the hardware provides it; LaserSoft's feature chart specifies SilverFast HDR or HDR Studio for processing HDRi files. Check that workflow before treating an HDRi scan as a finished image.
For edits in Adobe Photoshop or another editor, first confirm that your chosen TIFF opens with the expected colours and bit depth. Keep your master scan, and make a separate JPEG for sharing. Test a few frames before you repeat those settings across a box of negatives.
Is Epson Scan an Alternative?
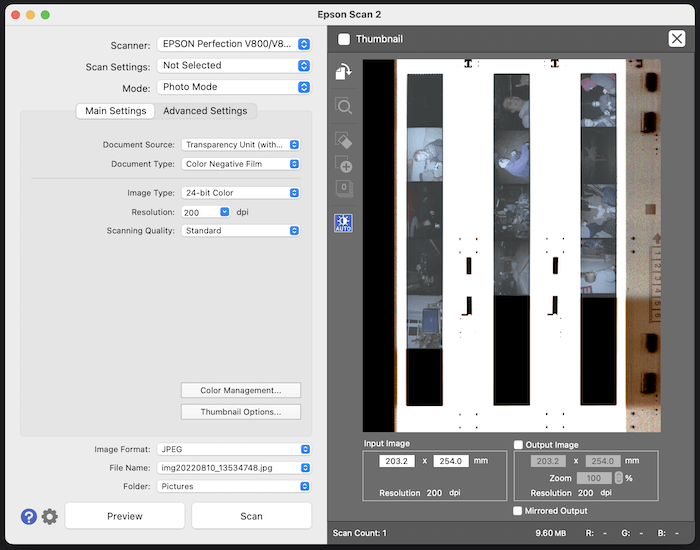
For an Epson scanner, try the software offered on Epson's support page for your exact model and OS. The V800/V850 user guide describes film scanning in Epson Scan. The available download and interface can differ by operating system, so check the current support listing.
The screenshot below remains from the earlier review. The original article favoured Epson's scan speed, but did not publish timings or matching settings. That is not enough evidence to call it the fastest current option. If it gives you the controls and results you need, there is no need to replace it merely to follow a comparison verdict.
Which Should You Choose?
Choose VueScan Professional if you want a consistent workflow across supported scanners, need Linux, or prefer its tab-based controls. Choose SilverFast if your model is supported and you prefer WorkflowPilot, NegaFix and its visual controls. SE Plus or Ai Studio is needed for Multi-Exposure; Ai Studio is the relevant edition for automatic IT8 calibration.
The original reviewer found VueScan easier to learn and enjoyed SilverFast's colour controls. Those preferences still help explain the two approaches, but the deciding test is your own scanner and film. Check compatibility, choose the right edition, and try a difficult frame as well as an easy one before you start the full archive.