Unless you’re over the age of 150, you’re unlikely to be familiar with wet plate photography! It’s one of the oldest types of photography. But it’s making a bit of a comeback.
A lot of photographers think they’re pretty retro shooting film with their vintage SLRs. Well, wet plate photography takes retro to a whole new level.
If you’re in the dark when it comes to traditional photography procedures, we’re here to help you out. In this article, we’ll help you understand and get started with classical wet plate photography.
In a world of digital sensors, even film photography seems like a niche indulgence. It’s something outdated, something for the enthusiasts. But if you think a 35mm camera is analog, wait until you see the wet plate collodion wet plate process.
With wet plate collodion photography, we have to go back to when photography was in its infancy. The earliest cameras didn’t have digital sensors. And you didn’t have rolls of film. Instead, the image is captured on a plate made of metal or glass.
The term wet plate photography comes from the photographer covering the plate with a light-sensitive emulsion. In doing so, the photographer creates a photographic sensor that captures the image.
The emulsion contains silver halides. These react when exposed to light. It’s similar to the emulsion still found on camera film today.
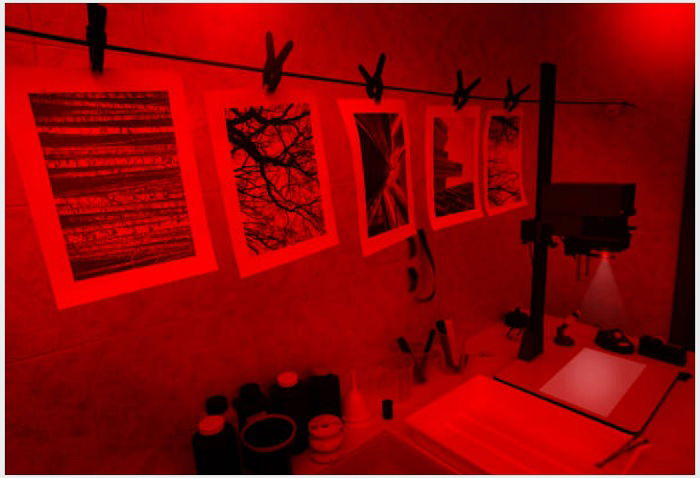
But unlike rolls of film, you can’t send your plates off for development. The plate has to be developed at the time. For landscape photography, it required a portable darkroom.
The photographer needs to develop the photograph where they are. They need to mix the chemicals and bathe the plate. It can be a bit complicated and requires the right knowledge. Get the mixture wrong, and you might accidentally end up with an explosive cocktail.
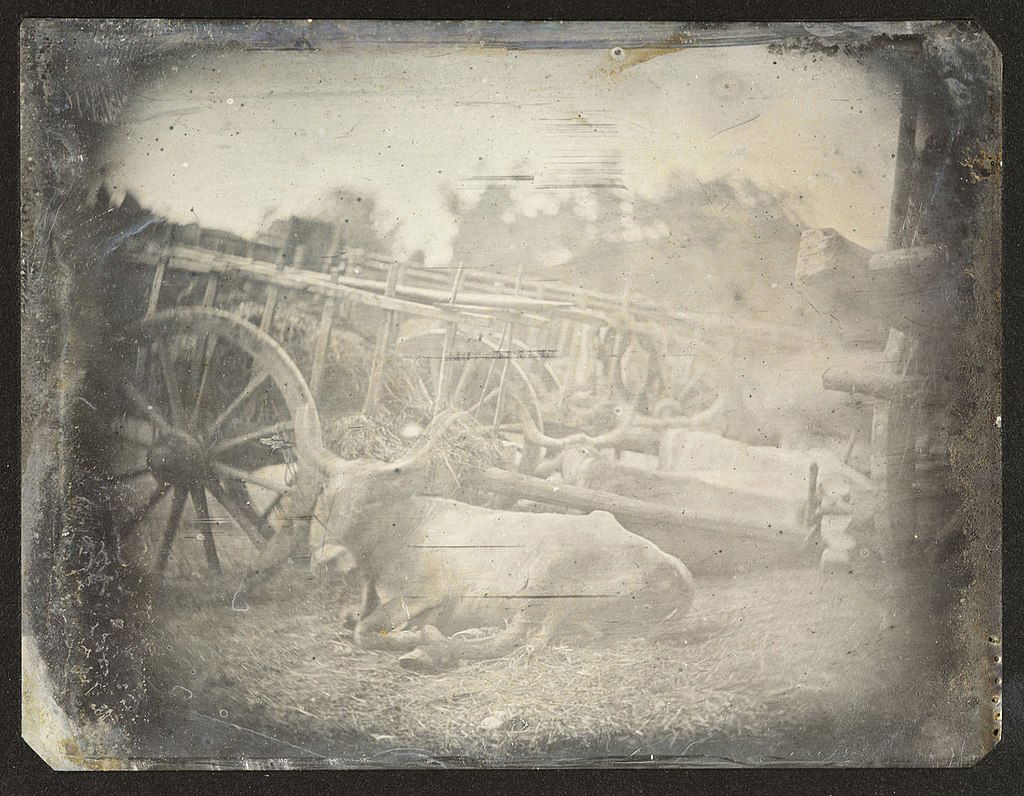
The wet plate collodion process went through three stages. These stages are called daguerreotype, ambrotype, and tintype.
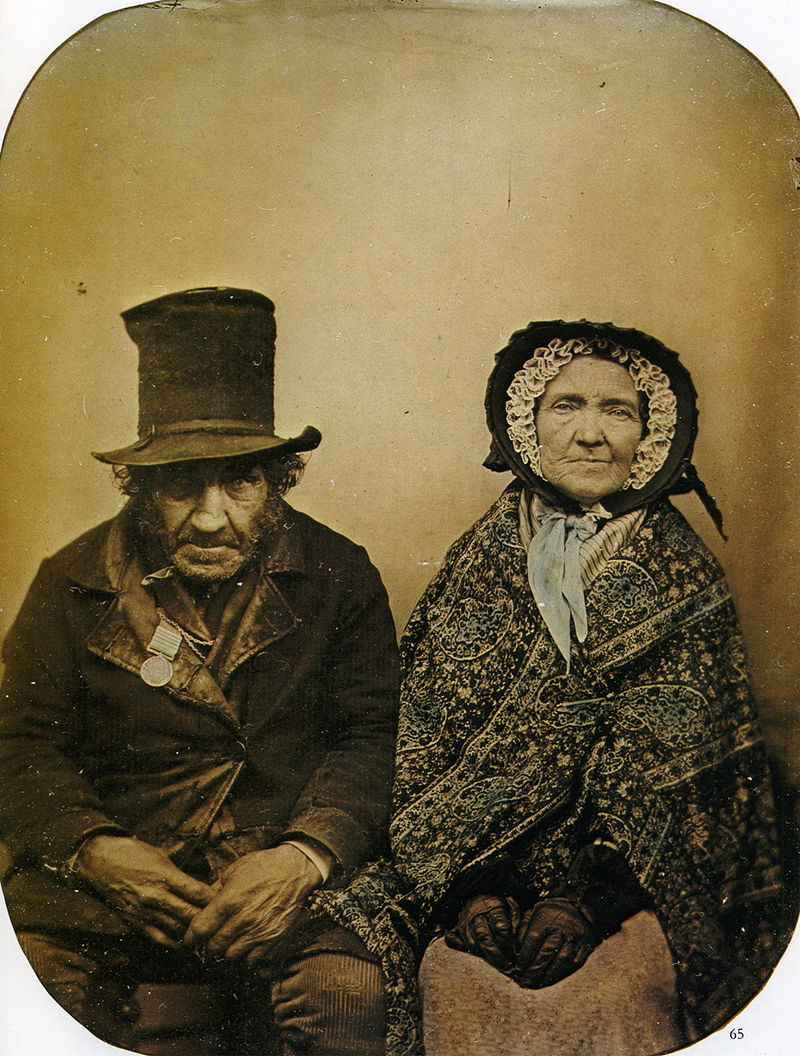
The daguerreotype was the predominant form during the 1840s and 50s. The plates used were of polished silver. Or sometimes a silver coating on a copper plate. The image capture and development processes were complicated. And they involved dangerous chemicals, such as mercury and chlorine.
The next variant was the ambrotype. This wet plate process uses a glass plate and needs fewer toxic chemicals to develop. The main problem with ambrotype is that the prints can’t be duplicated.
The tintype quickly superseded the ambrotype process. The tintype process was the cheapest and easiest of all the wet plate methods. The plate is only a thin piece of metal with a layer of dark lacquer.
The tintype process gave photography a broader appeal. It was popular from the 1860s into the early 20th century. But camera technology moved on, and by the 1930s, the wet collodion process was all but forgotten.
Tintype photography is now having a renaissance. Photographers in the 21st century are using this classical method to great effect. There are even courses that teach the technique.
The wet plate process is complicated. If you’re looking for convenience, then stick with your DLSR. But many photographers love the antique quality of a wet plate image. It creates timeless images with beautiful golden tones.
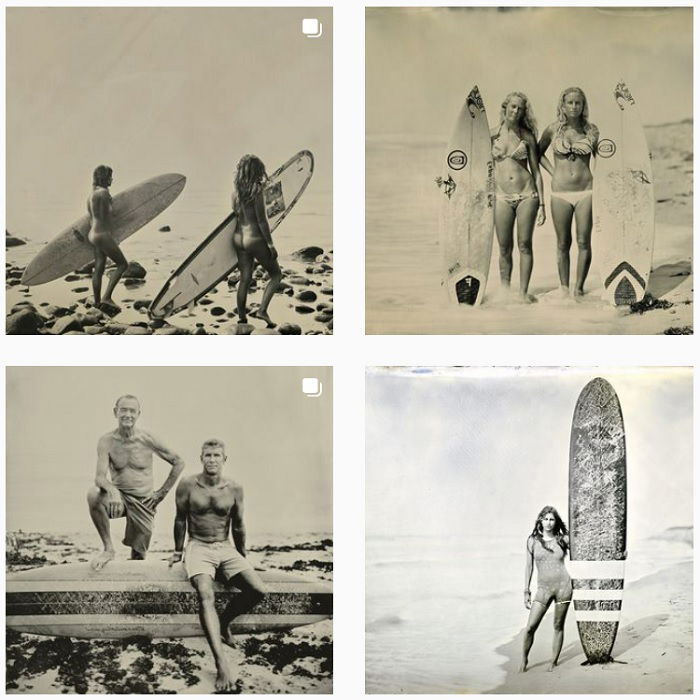
One photographer that has really embraced wet plate photography is Joni Sternbach. Her surf portrait photography using the tintype process are deep and rich. She’s mastered the technique, and her work is a celebration of wet plate photography.
In 2013, Photographer Ed Drew took a tintype photograph in Afghanistan. He was the first to take a tintype photograph of a war zone since the American Civil War.
Victoria Will created a series of portraits at the Sundance film festival in 2014. Her list of subjects included Kurt Russell, Ewan McGregor, and Anne Hathaway. The collodion process definitely brings a new dimension to the celebrity portrait.
The history lesson is over. Now it’s time for the practical.
Wet collodion photography is complicated. And the decision to try it should not be taken lightly. You’ll need a lot of equipment, and there’s a lot to learn.
But it can also be great fun. And the results can be amazing. The photos will be unique and something out of the ordinary.
We will now take you through the tintype collodion process of wet plate photography. Here’s the equipment you’ll need.
In terms of tintype wet plate photography equipment, you will need:

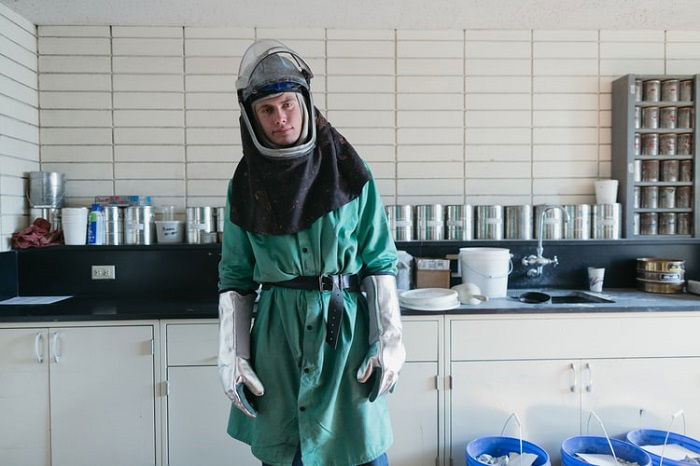
The most important thing is to be safe. You’ll be working with toxic chemicals, so you will have to wear protective gloves at all times.
Your workspace also needs to be clean and clear. You want to avoid any possible accidents. You can cover all work surfaces with newspaper in case of spillages. Silver nitrate stains everything.
Make sure you have all your equipment ready before you start shooting. This includes sourcing all the metal plates you will need.
You will need your three trays ready. You need one for silver nitrate, developing, and fixing.
Fill the silver nitrate bath with silver nitrate and dilute the crystals in water. This is your first fix bath (fixes the silver with the collodion).
Next, pour collodion (cellulose nitrate) onto the plate. Move the plate around to ensure the collodion covers it evenly and completely. Pour the collodion back into the bottle.
At this point, you need to change to your red safelight. Once the plate goes into the silver nitrate solution, it will become light-sensitive.
Place the plate in the silver nitrate solution and leave it there for five minutes. This forms silver iodide.
After 5 minutes, remove the plate from the bath. You now put the plate into your film holder. You may see the plate change to a creamy color.
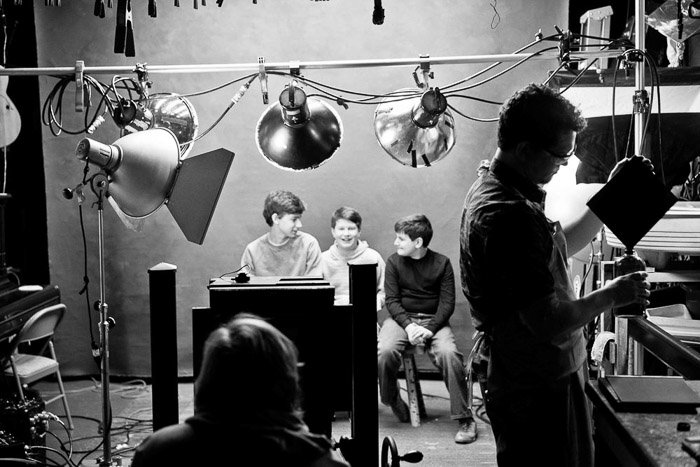
Now it is time to shoot.
Once the plate is loaded into the camera, you’re ready to capture your image.
The main thing to consider is the ISO. The ISO of a tintype plate is 1. Not 100, just 1. This means you’ll need plenty of light. And you’ll need to know right the camera settings.
It’s best to use a light meter. But some light meters won’t go as low as ISO 1, so you’ll need to compensate for that in your settings.
You can get a light meter as a mobile app on your smartphone. Pocket Light Meter is a popular option. And it does have an ISO 1 setting.
Make sure you’re using your light meter as close to the camera as possible.
Once you have your settings, you take the picture as you would with any large format image.
Once the exposure has been made, return with your plate to the safety of the red light.
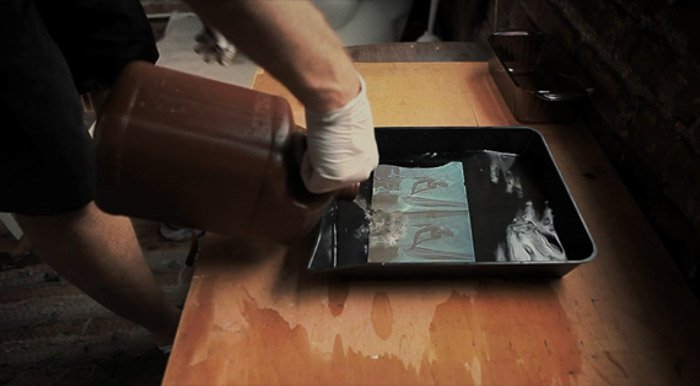
Place the plate into the second empty tray and pour over the developer (pyrogallic acid). Once you’re happy with the contrast of the image, remove it. Then place it into the tray with the fixer (potassium cyanide).
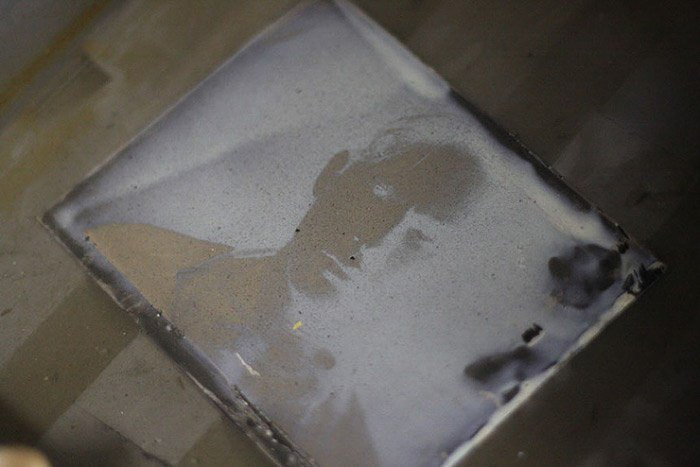
Keep the fixer moving over the plate so it works evenly. After a few moments, your image will be revealed.
Once you remove the image from the fixing solution, you will need to leave the plate to dry.
Once dry, you’ll see the image in its final form. You can check for any areas with a loss of detail. Pale areas are a sign of over-exposure.
If you can see streaks on the image, this is a sign of underdevelopment. The remedy for this is to keep the plate in the developer for longer. But next time, of course. Once the image is in the fixer, you can’t go back. The image is fixed.
Issues like this are all part of the process. You might not get it right the first time. But you can learn from every plate you develop. You’ll be a wet plate master in no time!
Wet plate collodion printing has had a long and storied history. It developed through the 19th century. And the tintype collodion process became the most widespread photography technique in the world.
In the 20th century, it came close to being completely forgotten about. But now, in the 21st century, photographers are renewing the art form. And with great success.
And it’s not only for professional photographers. It does take some practice, and you’ll need a lot of equipment. But you can try it yourself. You’ll have fun, and the results will take your breath away.
Why not try the wet plate technique to make your portrait photography more unique? Check out our Profit from Portraits eBook and see if you can transfer some techniques to the world of wet plate photography.

![P31 [Lead gen] sidebar banner Related ebook](https://expertphotography.b-cdn.net/wp-content/uploads/2021/09/P31-Lead-gen-sidebar-banner-Related-ebook-300x295.jpg)
![P31 [Lead gen] Sidebar Banner](https://expertphotography.b-cdn.net/wp-content/uploads/2021/09/P31-Lead-gen-Sidebar-Banner-300x245.png)
![P31 [Lead Gen] Sidebar Banner 2+](https://expertphotography.b-cdn.net/wp-content/uploads/2021/09/P31-Lead-Gen-Sidebar-Banner-2-1-300x245.png)