If you’re looking to add a bit of excitement to your photography, then high-speed photography may be just what you need. Our article discusses eight tips for taking great high-speed photos. So, if you want to learn more about high-speed photography, keep reading!
- Learn to create stunning images with simple, affordable gear.
- Gain access to 30 unique, creative photography projects.
- Benefit from detailed behind-the-scenes setup and execution training.
8 High-Speed Photography Tips
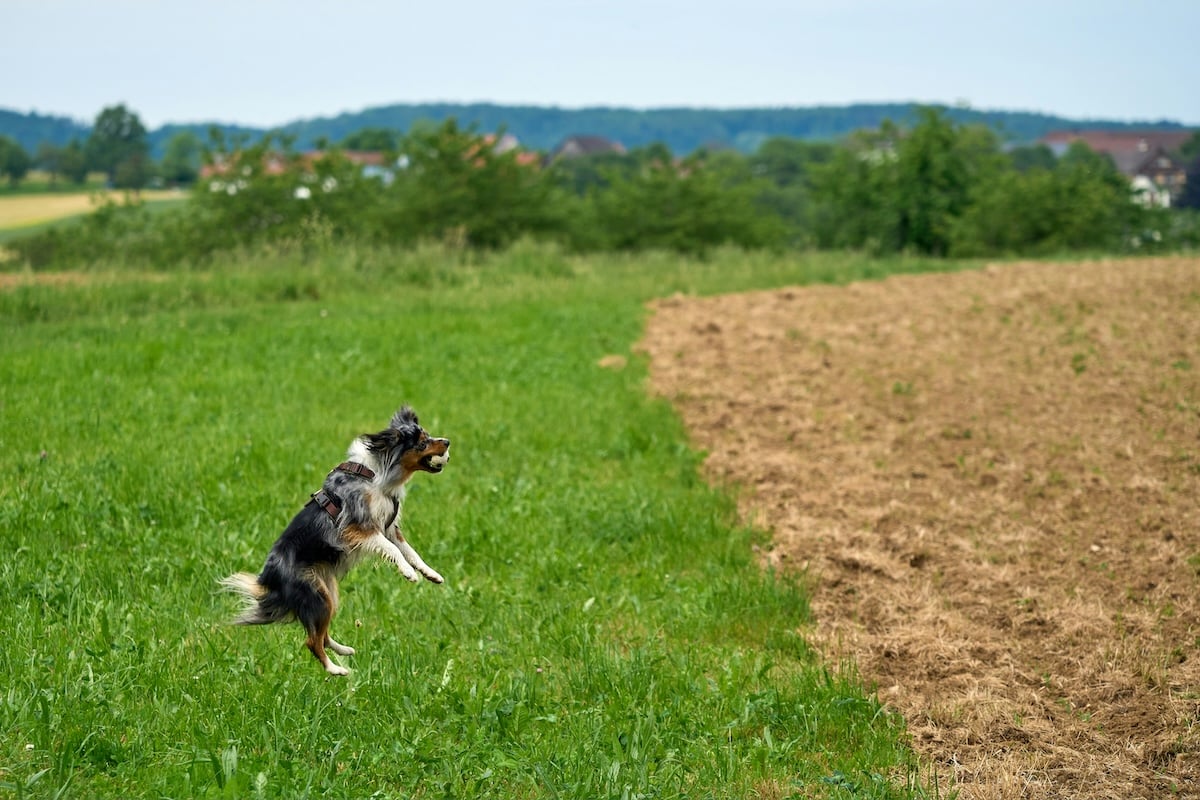
We start with an example you can try at home. We then move on to high-speed photography tips you can use with sports, pets, and any other action photography you may encounter.
1. Practice High-Speed Photography at Home
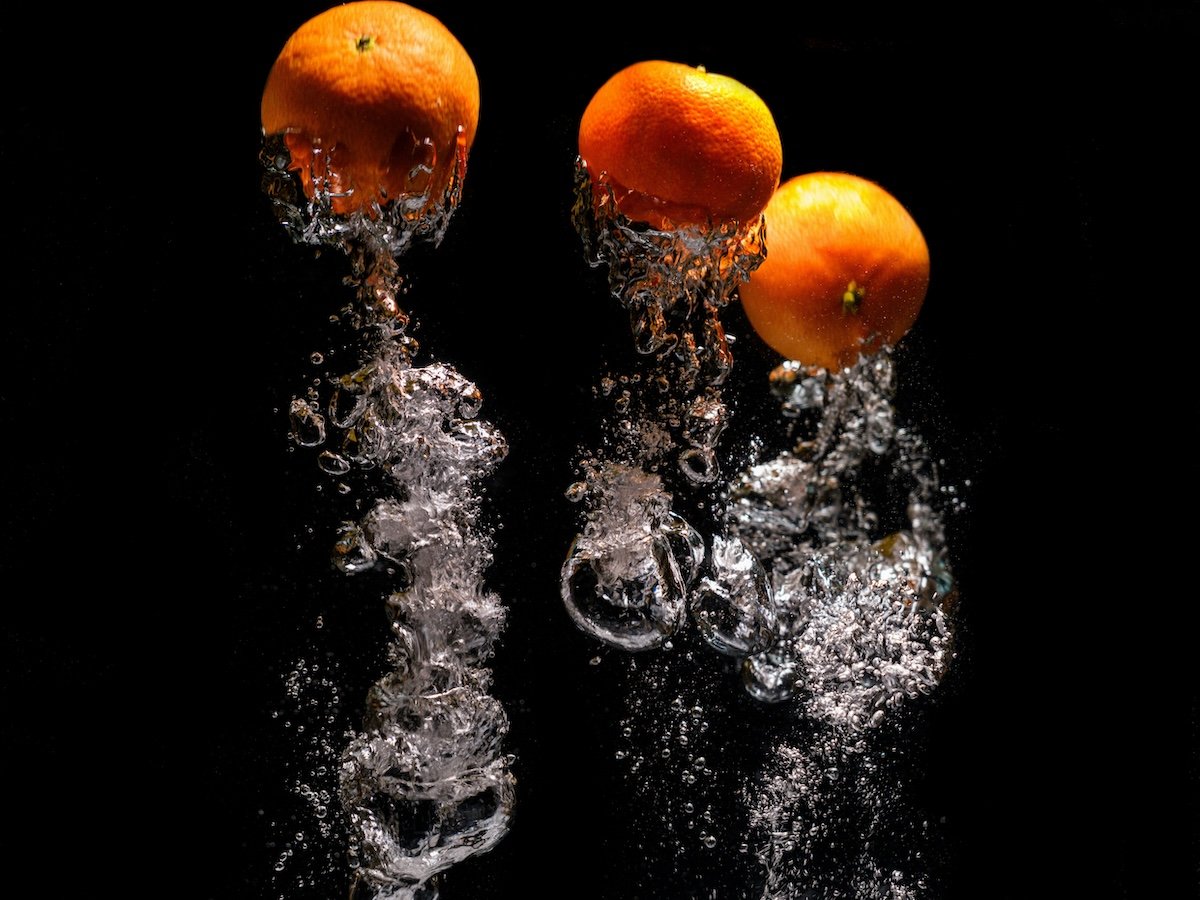
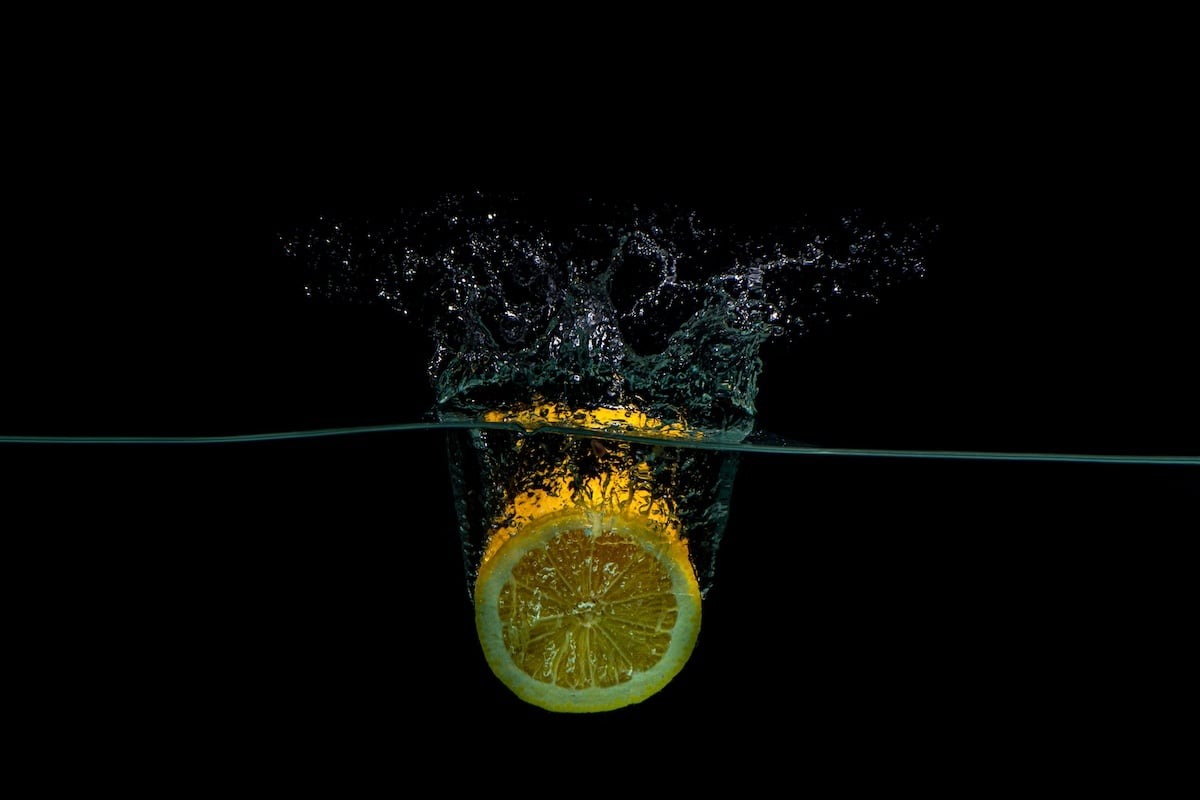
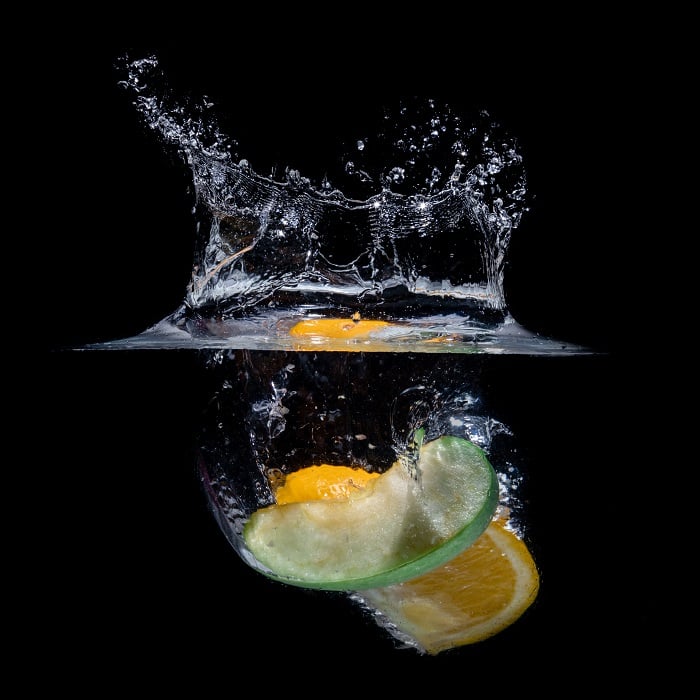
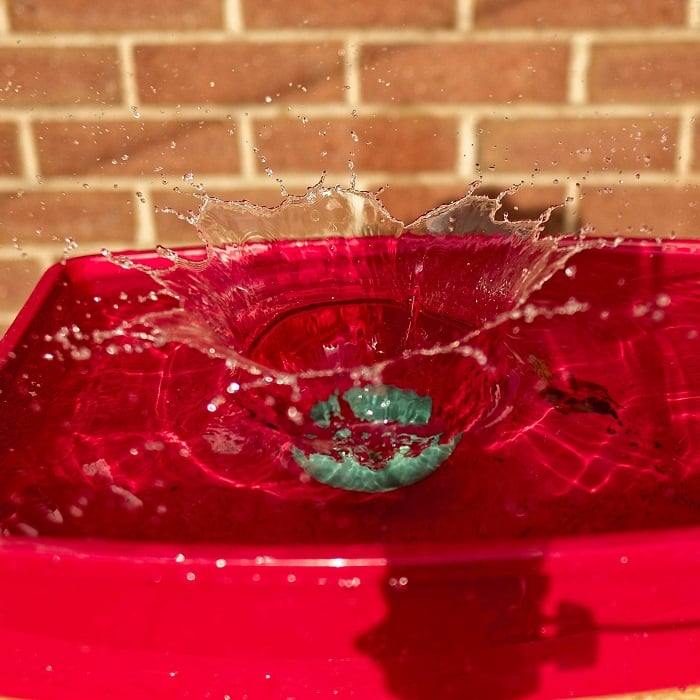
Start with the basics at home before shooting fast-moving animals, motorbikes, or motorsports. Practice splashing objects or popping balloons. These are the best ways to understand high-speed photography.
You only need a few things to get started:
- A tripod or two very stable hands
- A subject like a glass full of water or a balloon filled with paint
- At least one wireless external flash, like the Godox V860III
- A black backdrop, like a black cardboard sheet or anything that won’t reflect light
- Colored gels and a camera remote (both optional)
It’s best to have something that creates the action, like fruit dropping into the water or a needle popping the balloon. Having a helper can be useful for these high-speed photography sessions.
The good news is that most modern digital cameras are suitable for high-speed photography. To capture a fast-moving subject, you have two basic options. You can shorten the shutter speed time or use a flash that minimally illuminates the subject.
Remember to have enough light as you increase your shutter speed. Always think about the exposure triangle. If you change one of the variables, you must balance the other two.
The speed and direction of your subject also influence the settings. So, how should you start?
Shot with a Fujifilm GXS100S. 200mm, f/6.4., 1/800 s, ISO 1,600. Engin Akyurt (Unsplash)
How to Take High-Speed Photos at Home
You must shoot in a dark room with a narrow aperture and Bulb mode for high-speed photos with fruit or balloons. You don’t want any extra light to influence your photograph.
Set your subject in front of a black backdrop and position your camera. Set up your external flash to point towards the subject’s side. Keep the flash out of your viewfinder.
Put your camera in a manual mode. This way, you can control the aperture, ISO, and shutter speed. Use the lowest ISO possible. Start with 100 and only increase it if your flash doesn’t provide enough light.
You want to use a small aperture for the largest depth of field. Set the power of your external flash to the lowest. The reason for that is simple—the less power your flash uses, the shorter the flash duration.
This is the key to high-speed photography indoors. The less power you use, the more you can freeze your scene. Shutter speed is not even critical here because your flash is making the exposure.
First, take a shot without the flashes. You should get a completely black image. If not, change the ISO or the aperture until you get a black photo.
Then turn on your flashes and start taking some test shots. You can still adjust the flash duration. Set your camera on Burst mode to get more chances for a good photo.
Remember, you need a bit of luck for high-speed photography. It takes a while until you get your first perfect shot. Keep trying until you feel comfortable with the settings at home, and then take it to the next level.
Shot with a Nikon D7200. 105mm, f/18., 1/250 s. Ralph Mayhew (Unsplash)
2. Choose the Right Lens
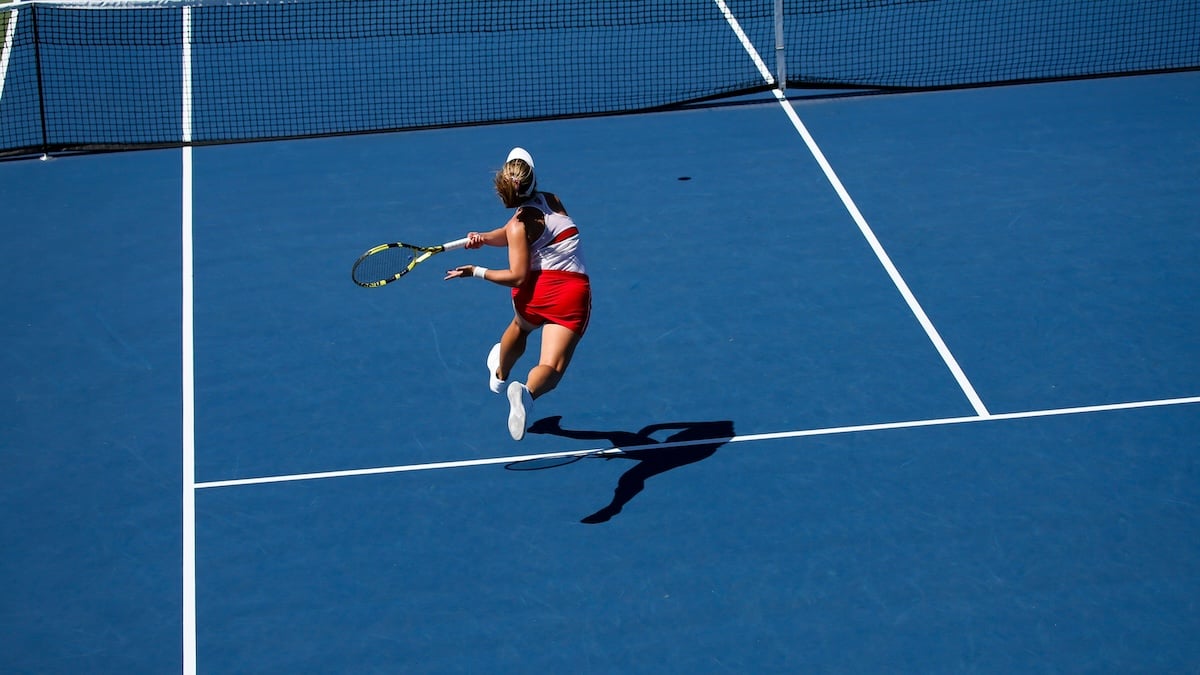
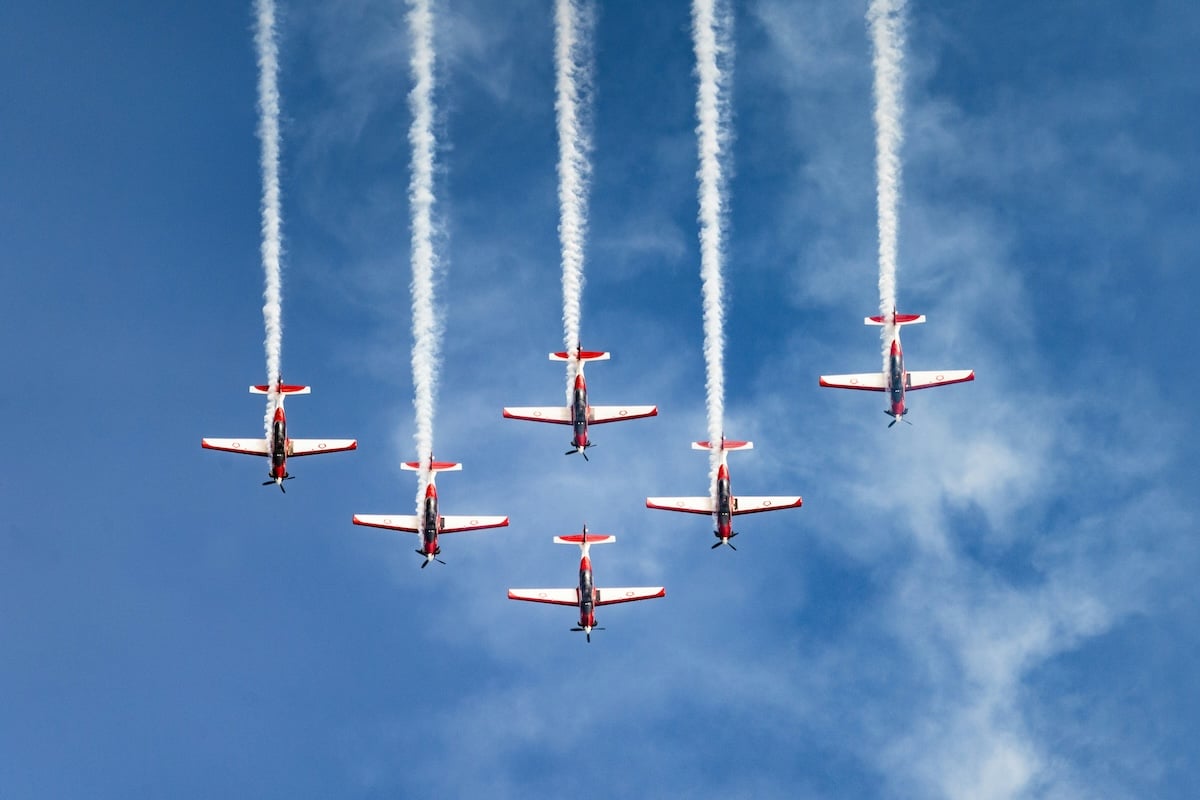
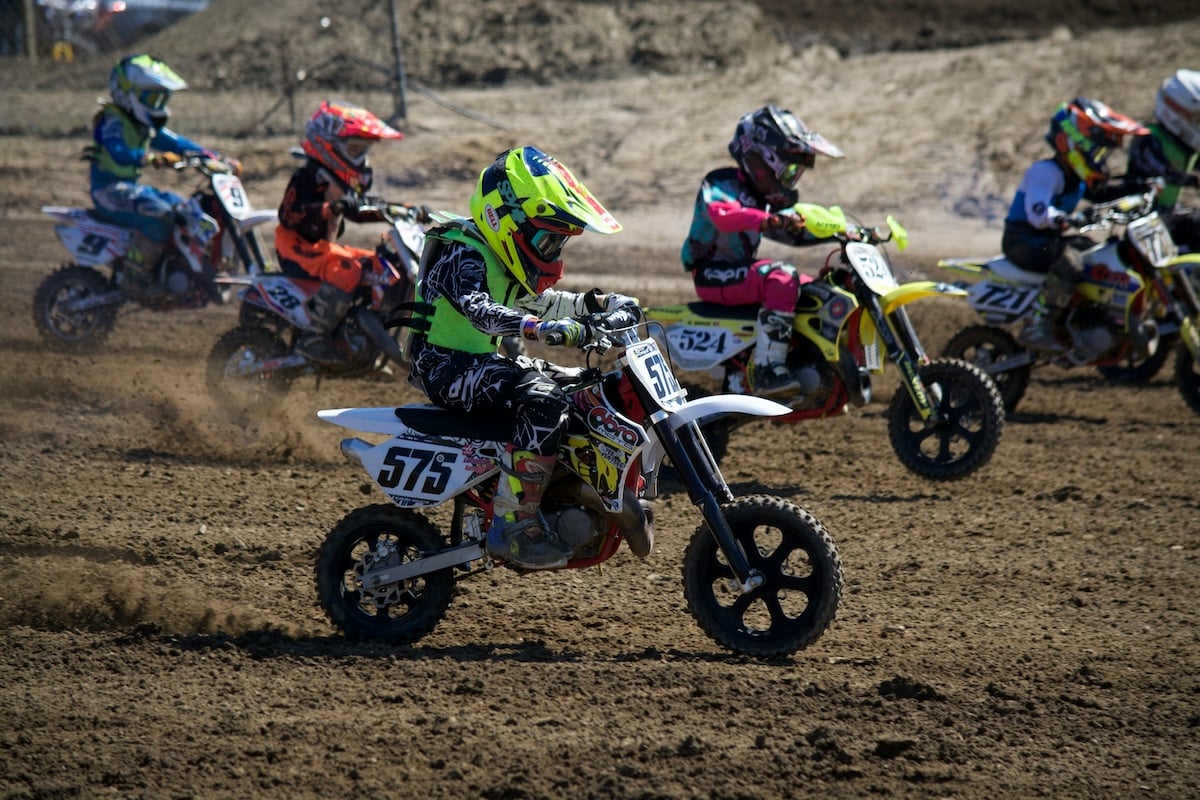
High-speed photography outdoors means preparing for lots of action. A sporting event is the most common example. You can’t get very close to the moving subjects most of the time, so using the right lens is very important.
Even from the bleachers, it’s possible to capture frame-filling action shots. The most helpful photography equipment for sports photography is a longer lens. You can cover the entire field from your seat with a telephoto zoom between 70 and 300mm.
This lets you photograph subjects that are further away. It also means you won’t have to jockey for a place in the front row. You may even want to stand higher from the playing surface to get a different perspective.
For the best options, read our full article on the best lenses for action photography. We also have posts recommending the best Canon, Nikon, and Sony Lenses for sports photography.
You are often prohibited from using flash because it can disturb the participants’ attention. If you’re not using a flash, adjust the exposure triangle.
Shot with a Canon EOS 5D Mark III. 100mm, f/6.7, 1/2,000 s, ISO 400. Jim Weatherford (Unsplash)
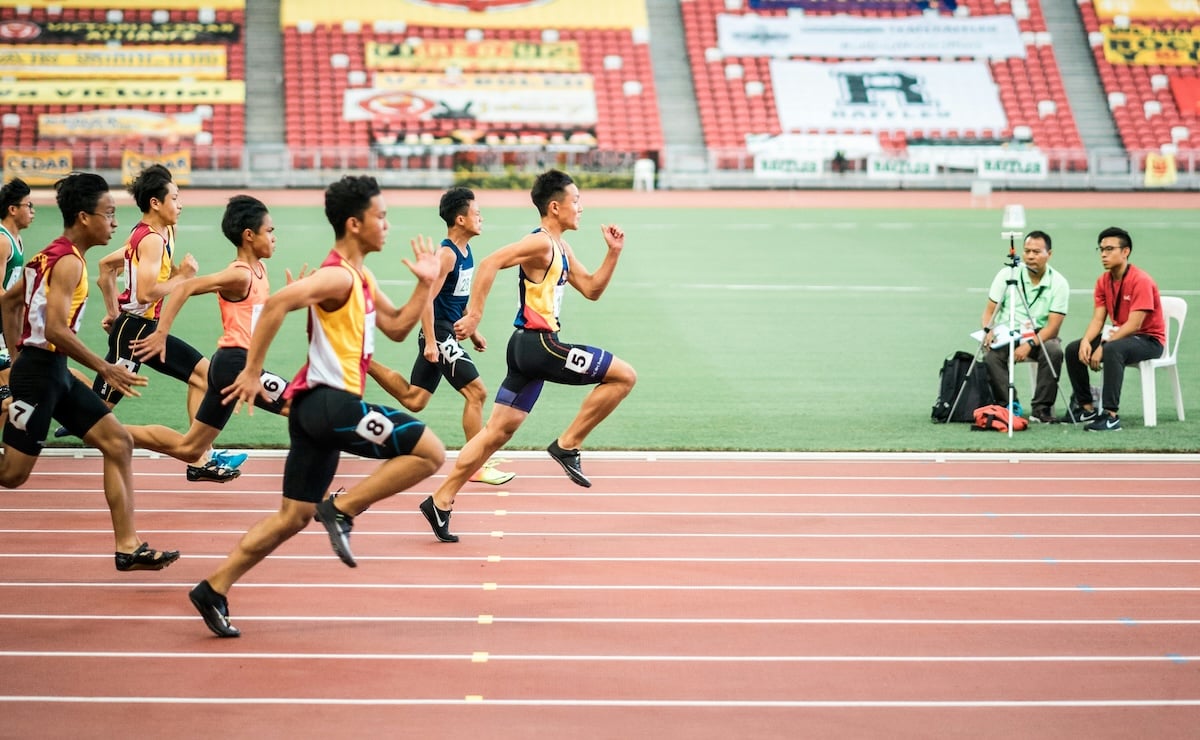
3. Use a Fast Shutter Speed to Avoid Blur
You must set the shutter speed very fast when photographing any high-action scenarios. I took many of my favorite action sports shots at 1/500 s. It’s quick enough to freeze an athlete sprinting down a field without showing any motion blur.
It’s essential to understand how a fast shutter speed affects your exposure. Since the shutter is only briefly open, it does not let much light reach the sensor. A raised ISO, along with a wider aperture like f/4.0, helps to compensate.
A lightning-fast shutter speed like 1/1000 s lets us pause life. Thanks to advanced camera technology, we capture instances that the human eye can’t catch. I use this setting for the heart-pounding action at air shows or extreme sports.
To get a sense of how fast this is, a 1/1000 s shutter speed freezes the spinning blades of an industrial-strength room fan. It also stops an F-22 jet as it zooms past at 500 miles per hour.
Shot with a Sony a7 IV. 400mm, f/6.3., 1/3,200 s, ISO 320. Isaac (Unsplash)
4. Use a Wide Aperture for a Shallow Depth of Field
Have you ever flipped through the pages of any sports magazine? You’ll notice that the players are in sharp focus, but sports fans in the back are out of focus. As such, it’s possible to freeze the action.
If you are serious about sports or high-speed photography, a lens that opens to f/2.8 is worth the investment. You may even hear people refer to them as “fast lenses.” This describes the speed at which the wide aperture lets light into the camera.
Set your lens to the widest possible aperture. Depending on your specific lens, this is likely between f/2.8 and f/5.6. This throws the background out of focus, bringing full attention to the players.
You don’t want details in the distance to distract from the action. Besides creating a shallow depth of field, a wide aperture lets in a great deal of light. This helps to achieve proper exposure even in areas with poor light.
Shot with a Sony a7 II. 85mm, f/1.8., 1/2,000 s, ISO 2,000. Jonathan Chng (Unsplash)
5. Use the ISO to Your Advantage
You may be surprised to learn that a high ISO can even be helpful on a bright, sunny day. If you photograph sports, the shutter speed can be no slower than 1/500 s to prevent subject motion. As noted before, you’ll also use a wide aperture around f/2.8.
After making these two decisions, you may take your photo only to find it too dark. This is where ISO comes to the rescue. Double the ISO number and watch as the photo gets brighter. Do you still need more light? Double the ISO again.
This way, you incorporate ISO control into your image-making process. The exposure is no longer limited only to aperture and shutter speed. Using this new technical knowledge also increases your photo opportunities.
With the ability to shoot anywhere, the possibilities are almost endless. Use the ISO to your advantage, and you’ll see a definitive improvement in your craft. Problematic scenes that were once too dark are now well within your reach.
Shot with a Canon EOS R. 45mm, f/6.3, 1/3,200 s, ISO 400. Greg Rosenke (Unsplash)
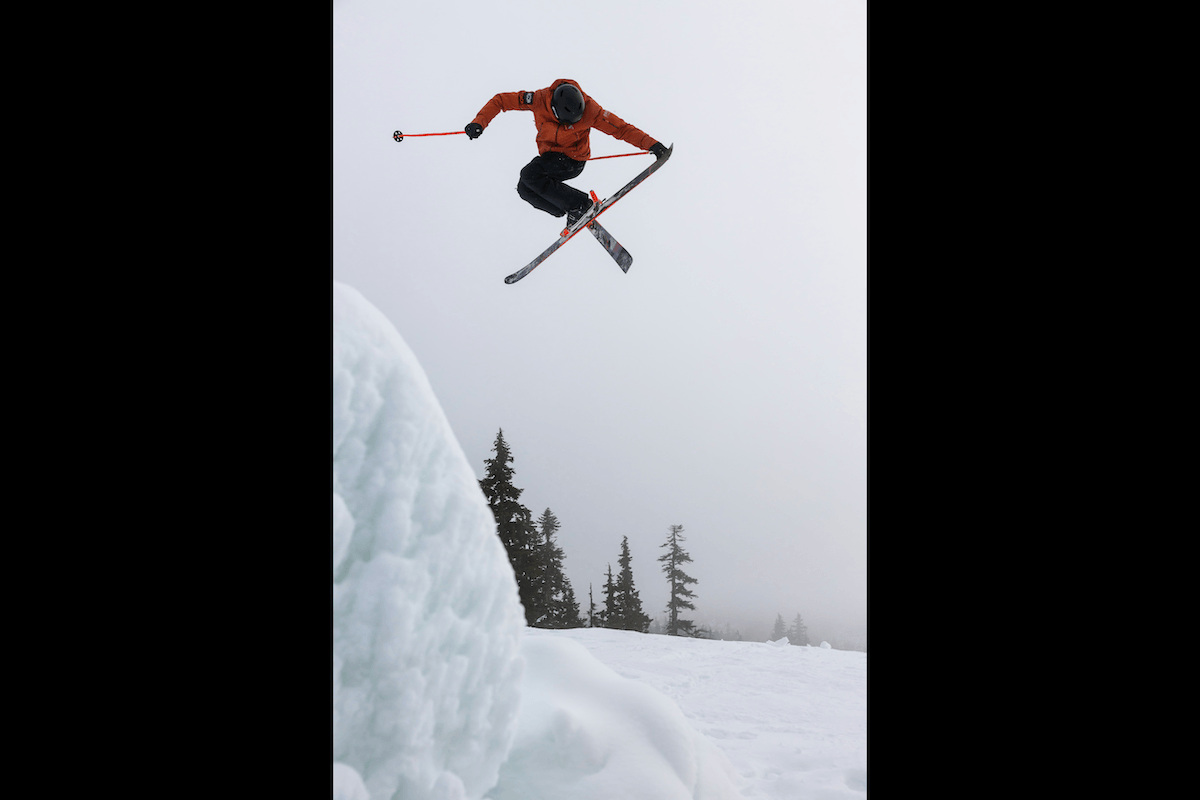
6. Keep Focus With Continous Focusing Modes
Most digital cameras feature continuous focusing. This is also known as AI Servo with Canon cameras or Continuous AF with Nikon. These autofocus modes let you track moving subjects.
Keep your center focusing point on the subject with your shutter held halfway down. You can follow the object through your viewfinder, and the camera will adjust focus automatically.
When you are ready to make an image, press the shutter all the way down. As mentioned, you can even change the burst mode from “single shot” to the continuous high-speed option. This offers more frames per second to capture even the fastest action.
Try to anticipate the action for snapping the best photo possible. Be ready to shoot one second earlier than the actual action.
Shot with a Sony a7 IV. 136mm, f/5.0, 1/2,000 s, ISO 500. Wolfgang Hasselmann (Unsplash)
7. Choose the Best Photo File Format
Shoot in RAW format whenever possible for the best control and photo quality. If you are short on memory cards, you may want to consider shooting in the Large or Fine JPEG format. This lets you fit more images on the card than RAW.
There are some fast-paced situations in which shooting RAW is not possible. For sports photography, I prefer the JPEG Large or Fine setting. This affords a bigger buffer size, making it possible to shoot more frames before filling it up.
For example, a modern DSLR can shoot 31 RAW shots consecutively but a whopping 1090 in JPEG. This is a huge advantage for those who never want to miss a moment. By starting with a JPEG file, you also cut the extra step of RAW photo processing when you get home.
With all this fast-paced action, you need many memory cards. I used to bring a portable hard drive and download the card’s contents while continuing to shoot. This is no longer necessary, as large-capacity cards of 128 GB (and higher) are now reasonably priced.
Shot with a Nikon D7100. 135mm, f/4.8., 1/2,000 s, ISO 400. Christopher Puma (Unsplash)
8. Try the Rule of Thirds for Better Composition
When you look through your camera’s viewfinder, you see a faint outline showing the center of the frame. This is how people learn to compose their pictures. They aim, center their subject, and capture a photo.
Many composition rules work. But you can definitely produce artistic photo results using the rule of thirds.
The balance is off in the picture below, but it’s still striking. The key to making this work is the direction the quarterback is looking. Having his head facing the open space, we witness the play unfolding.
The surroundings outside the frame are a mystery, leaving us to wonder what happens next. Had the player been centered, none of this drama would exist, and the image would be much more static.
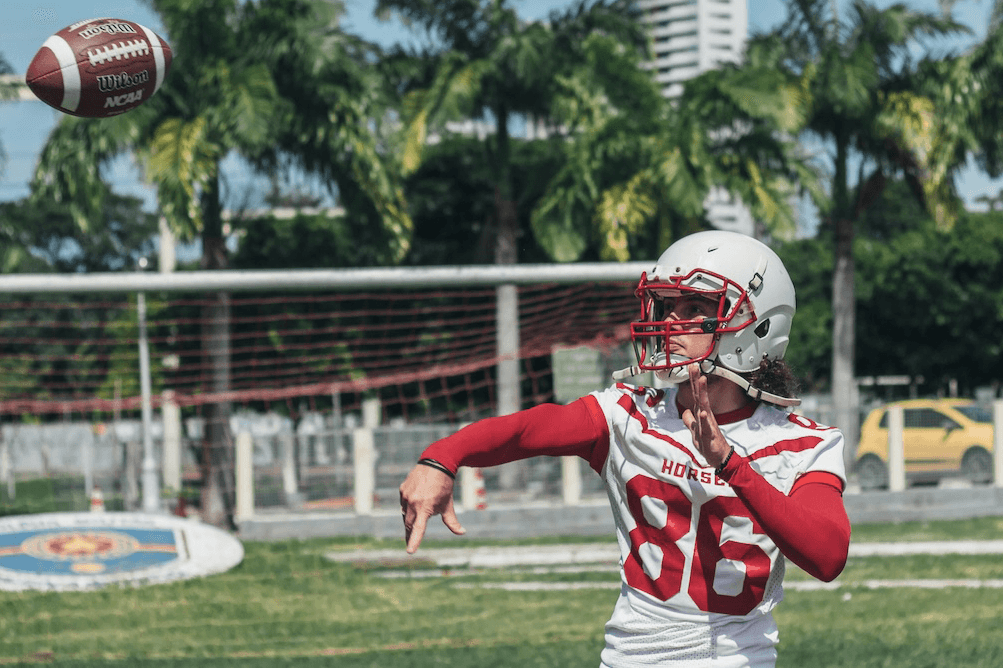
Shot with a Canon EOS Rebel T6i. 50mm, f/2.8., 1/4,000 s, ISO 100. João Victor Xavier (Unsplash)
Conclusion: High-Speed Photography
High-speed photography is about finding the ideal settings and capturing the right second. The tips above can help you start practicing and improving your skills.
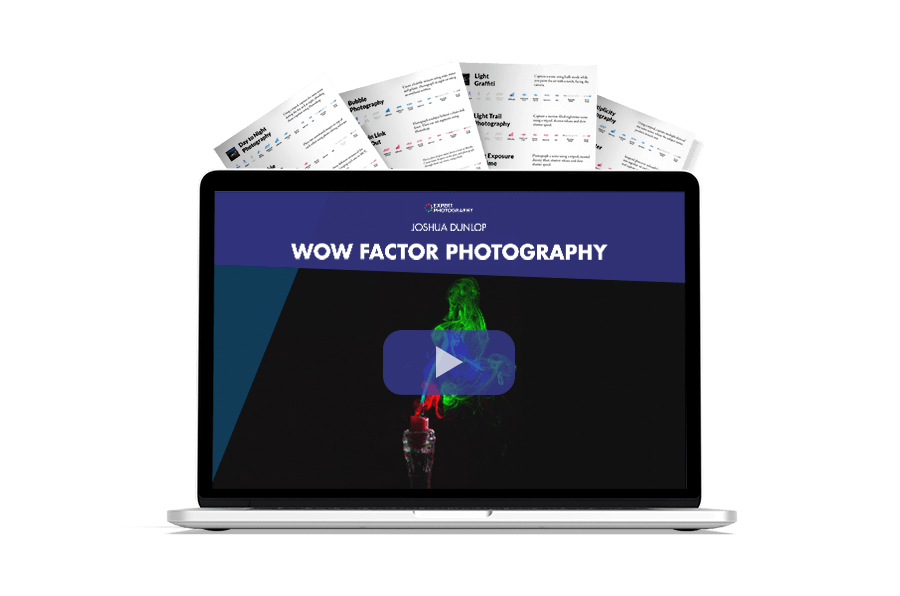
High-speed photography is one of the topics we cover in our creative photography course, Wow Factor Photography. Below are some of the photos taken by our students. If you’d like to learn more, check out the course here.
- Learn to create stunning images with simple, affordable gear.
- Gain access to 30 unique, creative photography projects.
- Benefit from detailed behind-the-scenes setup and execution training.


