The buzz of jets screaming past at 1000 km/h, the simple beauty of a glider silently navigating thermals, the classic ‘sound of round’ from a radial engine – airshow photography is an awe-inspiring experience.
Ready to pit your camera skills against the speed and tenacity of aircraft and aviator? Here are my top 25 tips for amazing airshow photography.
25. Airshow Photography: 25 Ways to Get Inspired
Preparation is paramount. Checking out other photographers’ work for inspiration is a good way to plan for any shoot. Even Instagram can help! Have a look at the #aviationphotography and #planespotter hashtags to get you started.
Reading up on how-to guides (like this one!) to pick up a few tips and tricks is also just as important!
24. Research The Airshow
Will there be fast jets? Warbirds? Stunt planes? Which way is the runway orientated? Where will the sun be? How many runways are there? How many aircraft hangars are on site for static displays? The more information you have pre-airshow the more prepared you’ll be.
Usually, airshow organisers will release a list of the aircraft that will be performing. Use it to familiarise yourself with the aircraft that are going to be flying on the day.
Looking up the layout of the airshow is a good idea too. Airshow organizes may release a map of the event early, or you could just have a look at the airport or museum site with Google.
23. Make a Checklist
Pilots rely on checklists to get them from point A to point B safely. Aviation photographers should do the same.
Here’s a look at what’s on my airshow checklist:
- Tickets
- Camera
- Lens/es
- CF cards x 2
- Lens wipes
- Radio
- AA batteries
- Earphones
- Earplugs
- Notepad, pens
- Sunglasses (aviators, of course), sunscreen, hat
- Snacks
- Water bottle
- Keys, wallet, phone, ID
22. Follow These Rules and Regulations
It’s common sense, but for your safety and others’, it’s important to follow the rules and regulations of the event at all times.
That means no sharp objects, no laser pointers, no drones and no trespassing in off-limit areas. It’s also good practice to have your photo ID with you at all times.
21. Prepare for the Weather
As an outdoors event, weather is a big factor at airshows. It’s important to dress for the conditions, including a hat and sunscreen. Don’t forget to fit your lens hood to your lens to cut down on lens flare on bright sunny days.
If luck isn’t on your side, you may be faced with wet or overly windy conditions. But don’t chuck your ticket away just yet. Depending on the airshow, static displays of aircraft may still be available for viewing and photography.
Occasionally, if improve over the day, flying may resume too. I once attended an airshow where flying stopped due to spectacularly strong winds. I stuck it out till the end of the day and was rewarded with the most spectacular F/A-18 display I’ve ever seen.
Weather also affects how the airshow will be conducted. Aircraft always try to take-off into the wind, so depending on the wind direction, you may want to adjust your seating plan.
On cold days the air is denser, so aircraft will require less of a run-up to take-off. Aligning yourself with this take-off point will allow you to take photos just as the aircraft leaves the ground.
20. Be an Early Bird
Airshows are surprisingly popular. If you want to stake out a good spot right against the guard rail, you’ll want to be at that gate bright and early, tickets in hand.
Having said that, don’t stay in one spot for the duration of the airshow and forget to investigate the static aircraft and other interesting things on display.
You’ll want a variety of perspectives to cover the event!
19. Speak the Lingo
At most airshows there will be an announcer talking you through the day. Here are a few phrases to keep an ear out for:
- Pass – when one or several aircraft fly parallel to the crowd.
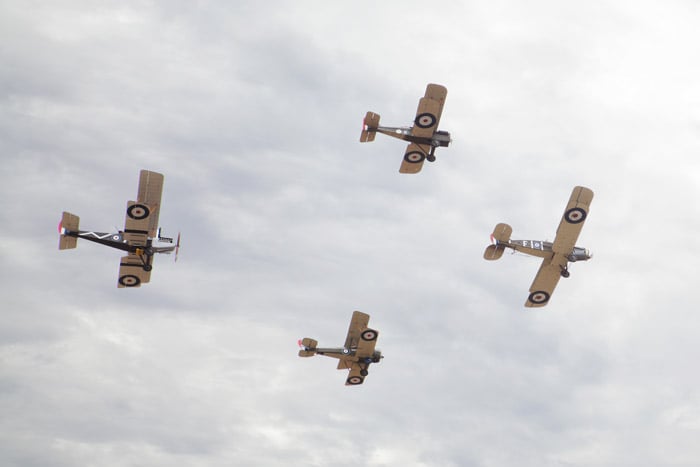
- Dirty / dirty pass – aircraft will perform a pass un-aerodynamically, that is, with wheels and flaps down as well as cargo doors open and in-flight refuelling booms out. For a dirty pass, the aircraft usually flies much slower, good for photographic opportunities.
- Knife-edge pass – an impressive and photogenic manoeuvre where the pilot flies parallel to the crowd orientated almost vertically so the topside or underside of the aircraft is visible. This is usually performed by vibrant stunt planes.
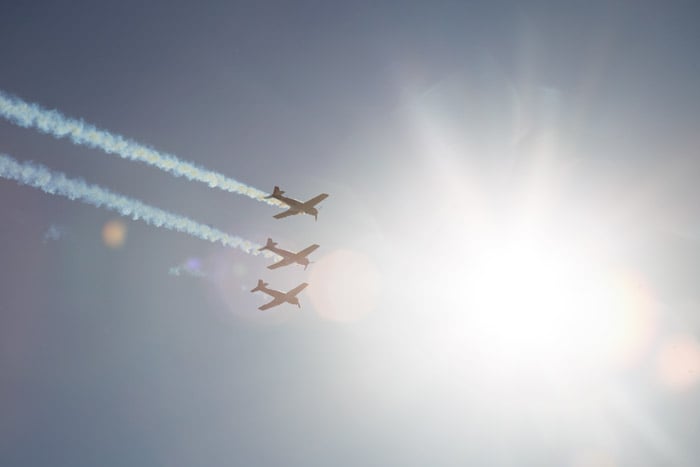
- Break – Several aircraft fly towards the crowd then quickly pair off in different directions at the same time, creating a starburst effect.
- Low n’ slow – as the name suggests, one or several aircraft fly parallel to the crowd at a much slower speed, great for photography.

A dirty pass is great for photographic opportunities
18. Track the Aircrafts
Airshows may look a little chaotic, with aircraft approaching from different directions at different speeds and altitudes. But there’s method to their madness. An announcer will usually keep the crowd informed, but there are ways you can track the aircraft yourself too, to plan for upcoming photo opportunities.
Flightradar24 is a handy website and app that allows you to monitor aircraft traffic in real time. However, not all aircraft appear on Flightradar24, especially military, light or more unusual aircraft.
Instead, you’ll want to keep track of what’s happening with ATC (Air Traffic Control). Sometimes there are live-feeds of aviation communications available on websites such as LiveATC.net, which you can access with your phone. However, this only works if the airshow is located at an airport using the standard airport ATC frequency for the show.
17. Clean Your Camera Sensor
DSLR sensors are dust magnets. And dust and specks show up most prominently on areas of flat color, like the sky. Especially when shooting with a narrow apertures, which you will likely be using.
Before you head out to an airshow, save yourself some editing time and give your sensor a once-over with a blow-brush or sensor swab. Here’s a handy step-by-step guide for keeping your camera clean.
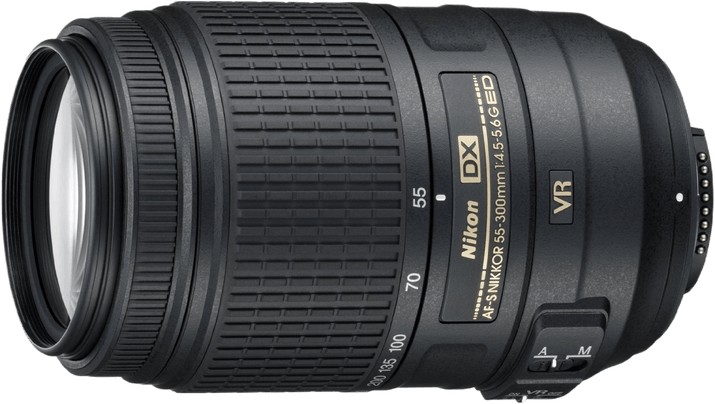
16. Lenses
You don’t need a giant lens to pull off great shots. My lens of choice is actually a Canon EF 24-105 F4/L. It’s versatile enough to get good flying shots as well as detailed close-up images.
Like many photographic fields, airshow photography is about recognising opportunity and making the most of it.
Airshows have an abundance of static aircraft displays that you can photograph up close and personal.
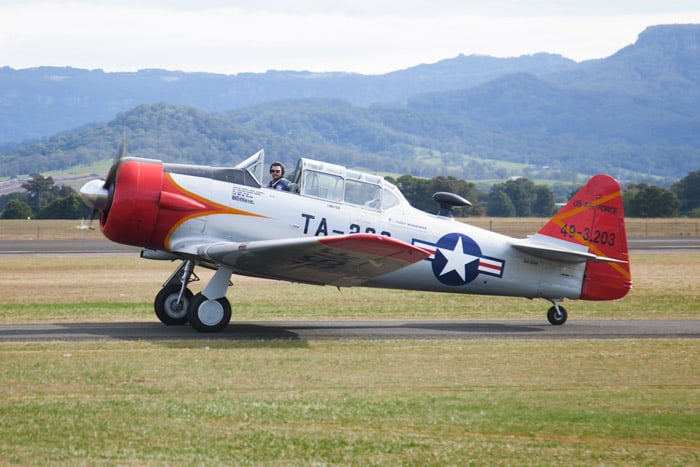
Don’t forget to keep an eye out for taxiing aircraft
15. Stock Up on Memory Cards
If you’re anything like me you’ll be taking shots left, right and center practically non-stop the whole day. Don’t get caught short, always pack an extra memory card or two.
14. Shoot in RAW
RAW produces better detail, smoother tones and images that respond better to post-production.
Although the images take up more space on a memory card, the sacrifice is well worth it. Shoot RAW.
13. Metering
Metering is how your camera figures out the correct shutter speed and aperture combination for a given situation. These days, every DSLR has an integrated light meter that automatically measures reflected light to attain correct exposure.
However, there are several different types of metering modes available depending on your camera. The most common are Matrix or Evaluative Metering, Centre-weighted Metering and Spot Metering.
At an airshow, Centre-weighted metering is the way to go. This metering mode calculates exposure by reading the reflected light coming from the center of the frame. This means that the center of the image (which will usually be where your aircraft is located in the frame) will be prioritised in determining exposure, delivering a correctly exposed image.
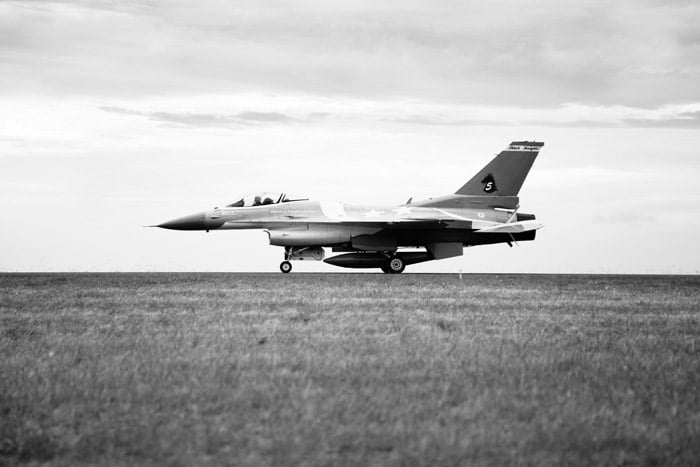
12. Shutter Speed and Aperture
Airshow photography requires shooting under a range of conditions. One minute you’re photographing a static Tiger Moth in a dark hangar and the next you’re trying to shoot an F/A-18 buzzing the crowd at high speed!
This is why I work in shutter priority mode. Shutter priority allows you to quickly change your shutter speed while the camera automatically selects the appropriate aperture for a good exposure.
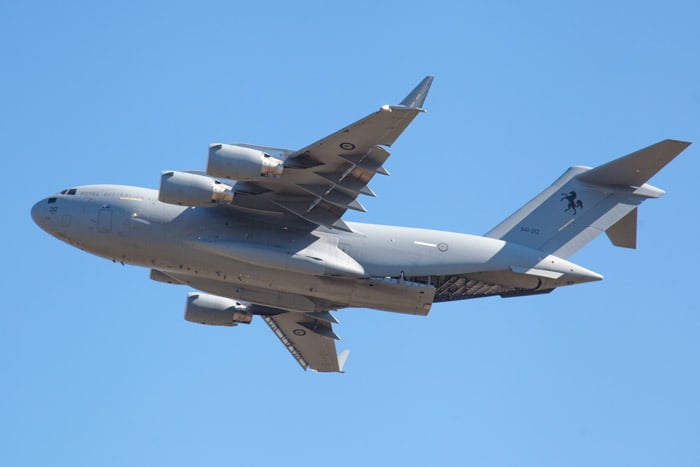
When photographing airborne aircraft, shutter speed is also tied to the nature of the aircraft. Depending on whether the aircraft is a jet or a prop (propeller-driven aircraft), there are two different courses of action. For fast moving jets, a faster shutter speed will minimise camera shake while panning, giving you a nice, sharp image.
But for an aircraft with propellers, you want to use a slower shutter speed so that the propellers are slightly blurred. An aircraft with completely frozen propellers can look unnatural or broken. Because prop aircraft are slower, you can afford to lower your shutter speed while you pan to get some nicely blurred blades.
A good starting point for blurring props and rotors is around the 1/125 mark. Adjust from there if necessary.
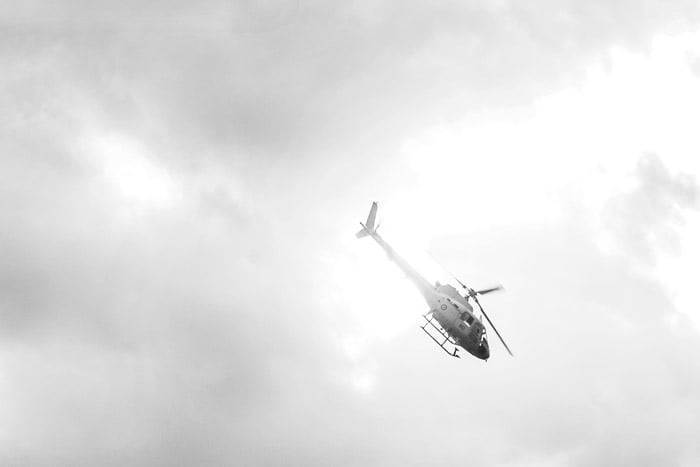
On helicopters, the main rotors rotate slower than those on a conventional aircraft. Blurring may not be as pronounced, but a little movement is much more realistic than none at all.

Notice how the propellers are slightly blurred
11. Exposure Compensation
Often in aviation photography, the sky takes up at least half of a scene. This can confuse the camera’s built-in metering system. When the camera’s metering system takes an average of all the tones in the image and ‘sees’ an expanse of bright sky, the actual aircraft can be under-exposed.
To combat this you can use the Exposure Compensation function on your camera to adjust your exposure from -2 to +2 stops. Adjust it incrementally and take a photo to test the outcome until you’re happy with the overall exposure.
10. ISO
The use of ISO is heavily dependant on the lighting conditions at the time of shooting. For a bright and sunny day outdoors you will only need an ISO of around 100-200. On cloudier days you may need a higher ISO, like 400-500 for example.
Although you’ll encounter more grain, it’s better to get those details sharp rather than sacrifice them with a slower shutter speed.
9. Drive Modes
On an airshow photography day, I almost always have continuous shooting engaged. Keeping up with fast-moving aircraft requires precision and technique. Shooting in continuous mode ups your chance of getting nice, sharp images.
8. Panning
Panning is the use of a slower shutter speed combined with a ‘sweeping’ motion of the camera so that your lens tracks the subject at roughly the same speed. A good panned shot will put your main subject in sharp focus while the background is blurred.
To pan with your subject, put your camera in shutter priority mode and select a slower shutter speed like 1/60th of a second. The slower the shutter speed, the more the background will be blurred.
Next, align your body so your hips are parallel to the flight line (this is usually the runway) with your feet a shoulder’s width apart. Place your left hand under your lens to support its weight. Use your right hand to hold the right side of the camera, finger ready to depress the shutter button.
Point your lens toward the approaching aircraft and start moving your camera in sync to keep it within the viewfinder. Once the aircraft is close enough, depress the shutter, keeping it depressed until the aircraft has passed.
7. Autofocus Tracking
Trying to manually keep a flying aircraft in focus can be a real pain. Autofocus is the way to go for photographing aircraft in the air. There are several autofocus modes on a DSLR, AF-S (Nikon) or One Shot AF (Canon), Continuous/AF-C (Nikon) or AI Servo (Canon) and AF-A (Nikon) or AI Focus AF (Canon).
When I’m photographing aircraft in the air, I use Continuous/AF-C or AI Servo because it constantly readjusts to maintain focus as long as I keep the shutter button half-depressed.
For aviation photography on the ground I usually use AF-S/One Shot AF to save battery power.
6. White Balance
Usually an airshow will last the entire day. This gives way to a multitude of lighting conditions and temperatures. Setting you camera to AWB (auto white balance) should be fine on the tarmac – your camera will automatically adjust depending on daylight, cloudy or shady conditions.
AWB should be OK for interiors like hangars too. Just make sure you periodically check your images. Some hangars are illuminated by tungsten or fluorescent light and you may need to manually set your camera to act accordingly.
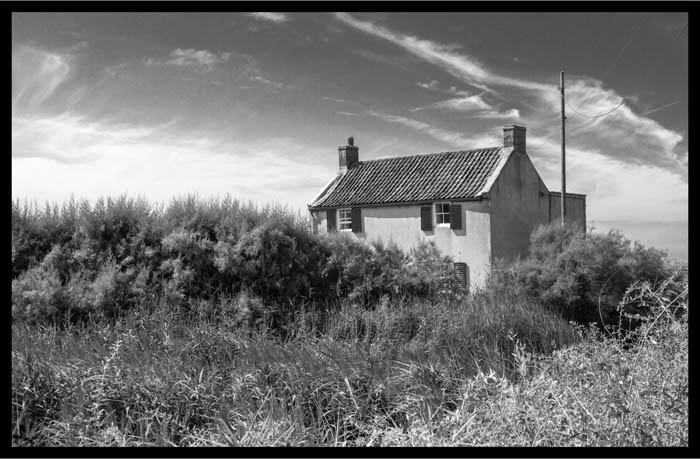
5. Get Close
As I mentioned before, airshow photography isn’t just about photographing aircrafts in the air. There is plenty to photograph along the rest of the tarmac and inside hangars too.
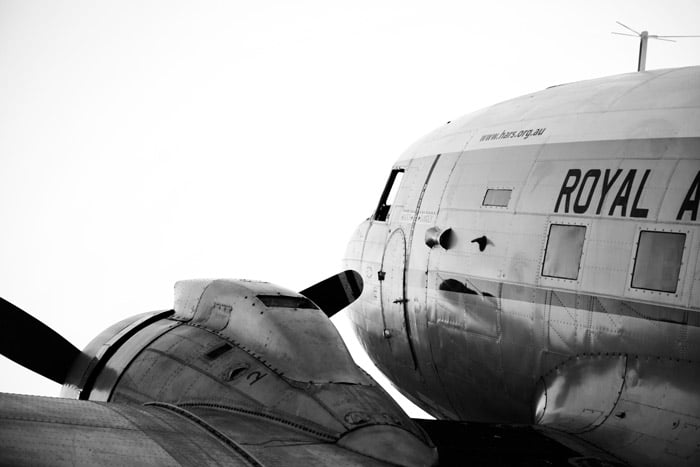
Static displays allow you to photograph aircraft at interesting and unusual angles. Oftentimes you’ll be able to look inside some of the aircraft too.
Take the opportunity here to hone in on compositional details like line and form.
4. Perspective
This may be a little difficult with aircraft in the sky, but changing up your perspective of static aircraft can add a creative edge to your airshow photography. Try taking photographs of aircraft from a vantage point. Or try placing your camera on the ground and taking a photograph down the tarmac.

3. Plane Identification
Knowing what aircraft you encountered will be useful if you need to refer back to them for publications or blog posts.
Usually the announcer for the day will let you know what kind of aircraft you are looking at. You can also buy a programme with lists and additional information about each flying aircraft as well as the static displays.
If you want to know more about a particular aircraft or have any questions, there are plenty of airshow staff on hand to provide you with insights into the industry.
2. Enjoy the Moment
As a photographer, this next point may be counter-intuitive. But it’s important not to view your whole day through the frame of your camera.
While you’ll want to be constantly documenting the amazing sights and sounds around you, taking a camera break to enjoy the experience gives you some time to relax and refresh your focus.
1. Join the Community
Why not show-off some of your top photographs with fellow aviation enthusiasts? Joining Facebook groups for local aviation activity in your area is a great way to share photos and swap stories.
Plus, local aviation groups will keep you up to date with any up-coming events!
Conclusion
Airshows are a unique, high-decibel opportunity to encounter aircraft usually only viewed as a dot in the sky. With impressive military and general aviation displays as well as incredible feats from high performance stunt-planes, airshows provide a rare insight into contemporary aviation.
While it may take a little preparation, airshow photography is a fun and rewarding experience.
So next time you hear about an upcoming airshow, get your aviation photography gear together and head on out. The sky’s the limit!