

Bird’s-eye view photography shows a subject from above, revealing shapes, patterns and relationships that are hard to see at eye level. A directly overhead shot looks straight down; a more angled view can also show the sides of buildings or a distant horizon.
You do not need a drone to try it. A phone held above a still-life arrangement or a camera at a safe lookout can give you a fresh viewpoint. Below, we explain the term, show eight ways to use it and give you a simple starting method.
What Is Bird’s-Eye View Photography?
A bird’s-eye view is a view from above, as though you were looking down at the scene while flying. In photography, the term is used for both straight-down views and wider elevated views.
The terms overlap, but these distinctions help when you plan a photo:
- High-angle shot: The camera is above the subject and points down at an angle. You may still see the subject’s sides and the background beyond it.
- Overhead or top-down shot: The camera is directly above the subject and points straight down, perpendicular to the surface below. In film, this is commonly called a bird’s-eye shot.
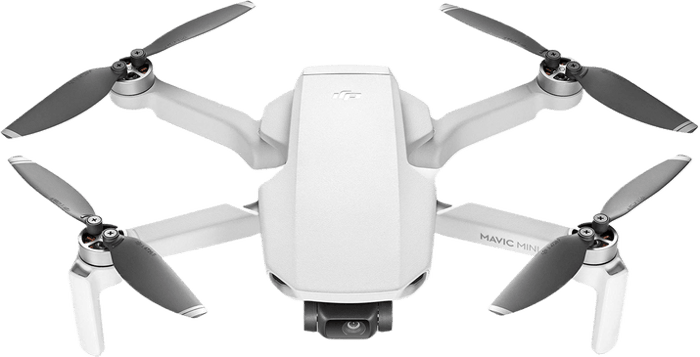
- Aerial photograph: The camera is airborne, for example on a drone or in an aircraft. An aerial photo can look straight down or across the scene at an angle.
The opposite viewpoint is a worm’s-eye view, made from below while looking up. Choose the position that shows what matters in your subject.
You can photograph from above with a drone, from an aeroplane or from a permitted elevated viewpoint. At home, try a flat lay of objects on the floor with the camera above them.
For an overhead shot, point the camera straight down. For an angled view, adjust the tilt until the important shapes and distances are clear.
This approach works for landscapes, cityscapes and many other photography genres. The examples below include both overhead and angled views from above.

Photo by sergio souza from Pexels
8 Ways to Use a Bird’s-Eye View
1. Change the Viewer’s Relationship to the Subject
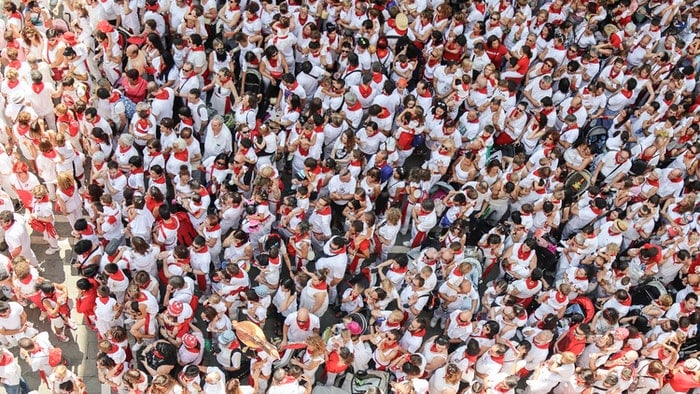
Looking down can make a person appear small within their surroundings. This can suggest vulnerability, distance or the scale of the scene. The meaning depends on the subject, framing and context; the angle does not guarantee a particular emotion.
Use this viewpoint to tell a story. A single person within a large crowd creates a different impression from a close overhead view of two people together. Before taking the photo, decide whether the setting or the individual should get most of the viewer’s attention.
2. Reveal Patterns in a Landscape
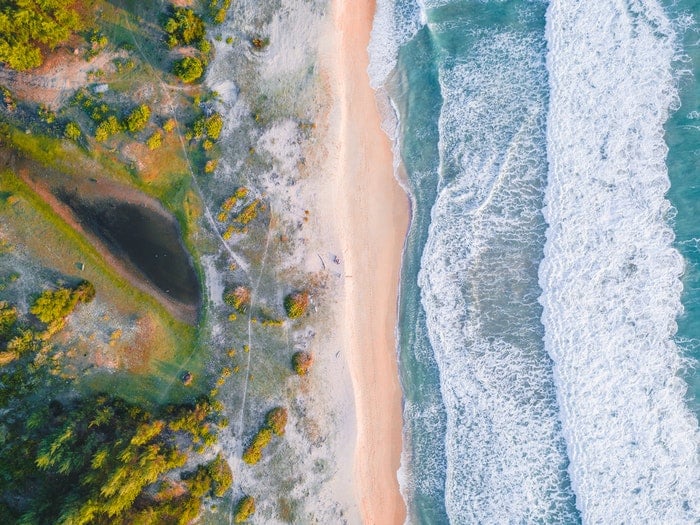
From inside a forest, you see trunks and branches. From above, the trees can form a repeating pattern. At a beach, an elevated view can reveal the shapes made by waves, sand and shallow water.
Use these patterns to make abstract aerial photographs. Look for one clear pattern, then check the edges of your frame. Exclude distractions where possible. A small area with a strong arrangement can be more effective than a wide view that includes everything.
You can find more expert tips for landscape photography in our Simply Stunning Landscapes course!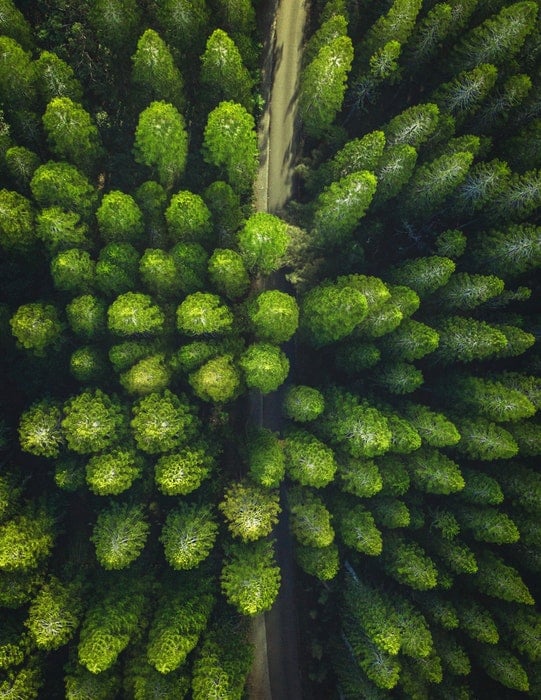
3. Show the Shape of a Building
An elevated viewpoint can reveal rooftops, courtyards and the layout around an architectural structure. These details may be hidden when you stand at street level.
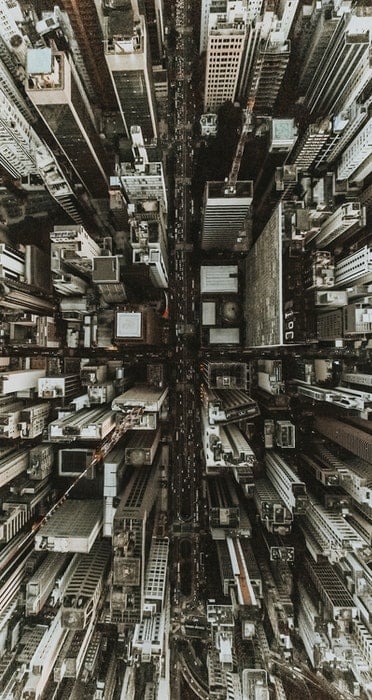
Compare a straight-down view with an angled view. Looking down emphasizes the footprint and surrounding geometry. An angled view can retain the building’s height and show how it fits into the city. Use a permitted lookout and choose the view that best describes the structure.
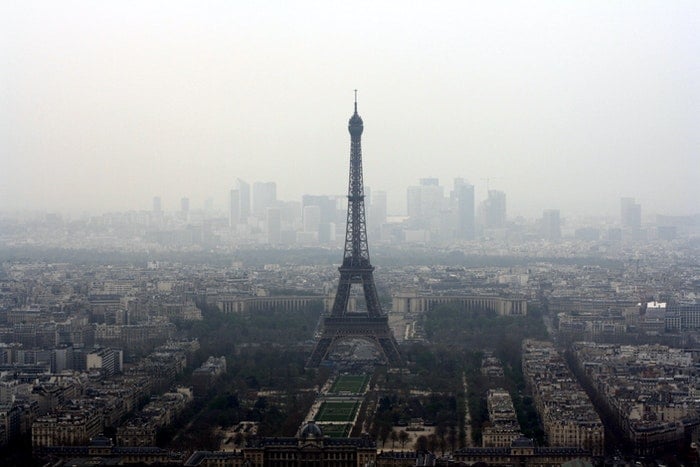
Photo by David McEachan from Pexels
4. Find Order in a Cityscape
Not every city is symmetrical, but street grids, rooflines and plazas can reveal patterns from above. Look for symmetry, repetition or radial balance where roads or paths spread from a central point.
A public observation deck can be a useful place to photograph a cityscape. If you plan to use a drone, first check whether you can fly at the location. Access to a viewpoint and permission to fly are separate matters.
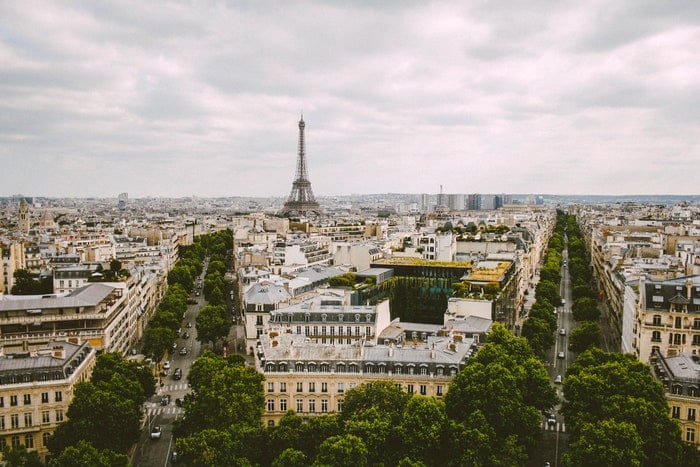
Photo by Viviana Ceballos from Pexels
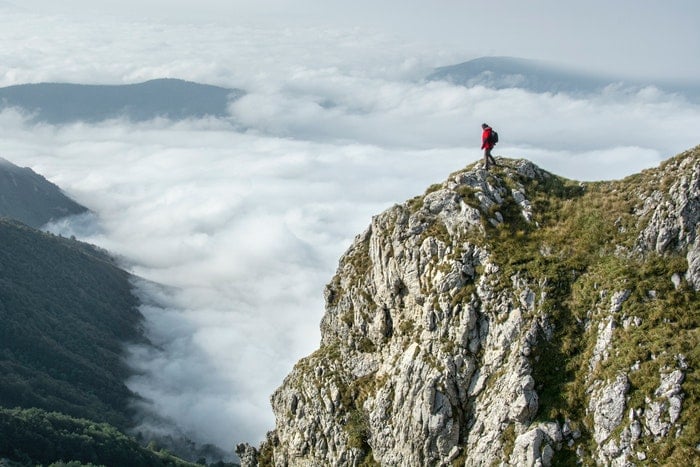
5. Show Scale and Depth in a Landscape
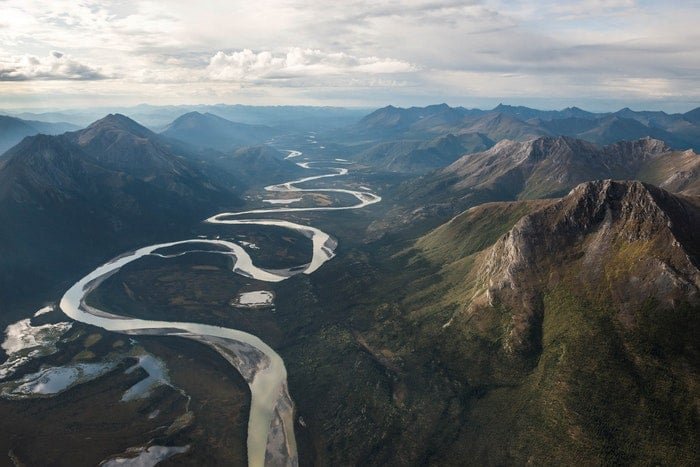
In mountain photography, a high viewpoint can show nearby ridges against distant peaks. Those overlapping layers help create a sense of depth and show the shape of the terrain.
This visual depth is different from depth of field, which describes how much of the scene appears acceptably sharp. Including foreground and background peaks does not, by itself, make both sharp.
A person, building or road can give the viewer a familiar size reference. Include one when it helps explain the scale, but do not let it distract from the landscape.
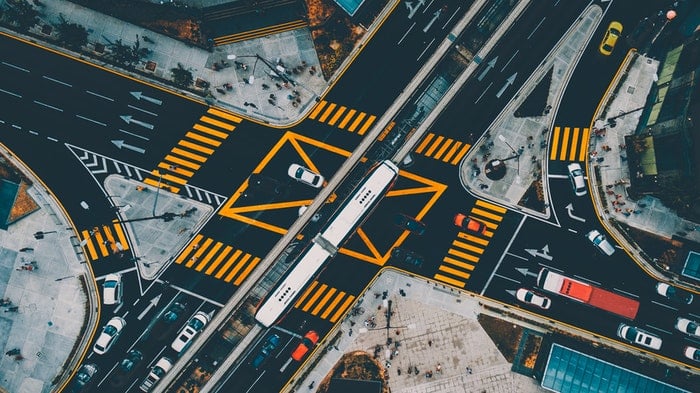
6. Turn Everyday Scenes into Graphic Compositions
Road junctions, basketball courts and parks can look very different from above. A new viewpoint reveals patterns, leading lines and forms that are less obvious from the ground.
Try framing a curved road so it leads through the picture. Or use the lines of a court to divide the image into simple shapes. Start with one strong feature and build the composition around it.
7. Give a Familiar City a Different Look
Well-known locations such as New York City or London offer more than their familiar skyline views. Looking down can place the emphasis on rooftops, shadows and the spaces between buildings.
Watch how building lines run through the frame. Decide whether you want a dense arrangement or a single structure surrounded by open space. Changing the framing can be as useful as finding a higher viewpoint.
8. Take the Viewer Beyond Eye Level
A view across a valley or over a coastline can show a place from a position the viewer rarely experiences. Photographs made from an aeroplane, a hill or an observation deck each offer different possibilities.
Choose what you want the viewer to notice: the route through a landscape, a distant peak or the contrast between land and water. A clear subject gives the unusual viewpoint a purpose.
How to Take Your First Bird’s-Eye View Photo
- Start with an accessible subject. Arrange a few objects on the floor, or use a permitted lookout above a scene. Stay behind barriers and keep your footing secure.
- Choose the camera angle. Point straight down for a top-down arrangement. Tilt toward the distance when the sides of objects or the horizon help explain the setting.
- Simplify the frame. Look for a clear shape, pattern or subject. Check the corners for distractions and unwanted shadows from you or your camera.
- Keep the camera steady and check focus. For a flat lay, a suitable support can help you keep the camera level. Take a test frame and enlarge it to check the detail that matters.
- Compare two compositions. Try a tighter crop and a wider view from the same safe position. Keep the one that makes the subject easiest to understand.
Conclusion
Bird’s-eye view photography is a way to explore a subject from above. Use a straight-down shot to emphasize a layout or pattern, or an angled view to show depth and surroundings.
Start with a scene you can photograph safely. A useful change in viewpoint does not have to be dramatic: it only needs to reveal something that your eye-level composition missed.