There are a lot of ways to get creative with street photography! One way is with reflection photography. The more you look around for interesting scenes to photograph, the more you realize the power of reflections. And they’re everywhere, so it’s easy to incorporate them into your photos.
Reflections can take your photographs to a new level of visual interest or ruin them by getting in the way of what’s important. This post gives you some ideas on how to creatively capture reflections when out on the streets.

9 Creative Urban Reflection Photography Tips
Grab your camera for street photography and head outside. These nine tips will show you how to discover and take reflections.
1. Search for Reflections
This tip sounds simple, but it is very important to start with. Stop yourself while photographing so you can begin to notice the reflections. If you don’t, it can be very easy to miss them.
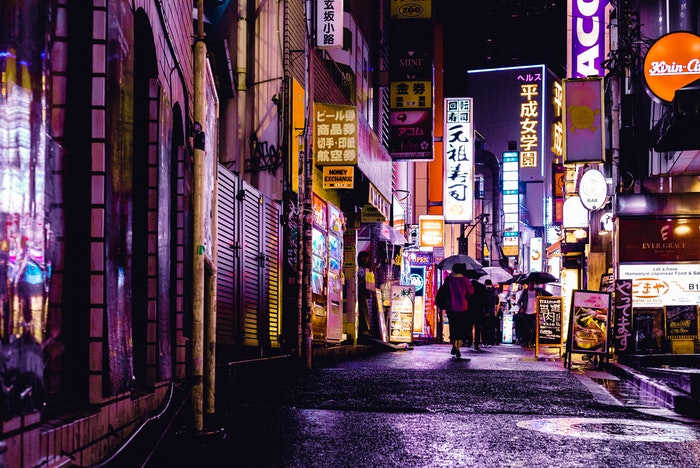
Look at windows or reflective surfaces such as metal or water. Take note of straight and curved glass, as each has different effects. And shooting in wet weather is great for shooting reflections in puddles.
Rain is some of the best weather to photograph because it can make all types of surfaces reflective. Training your eye to first notice them eventually makes it second nature.
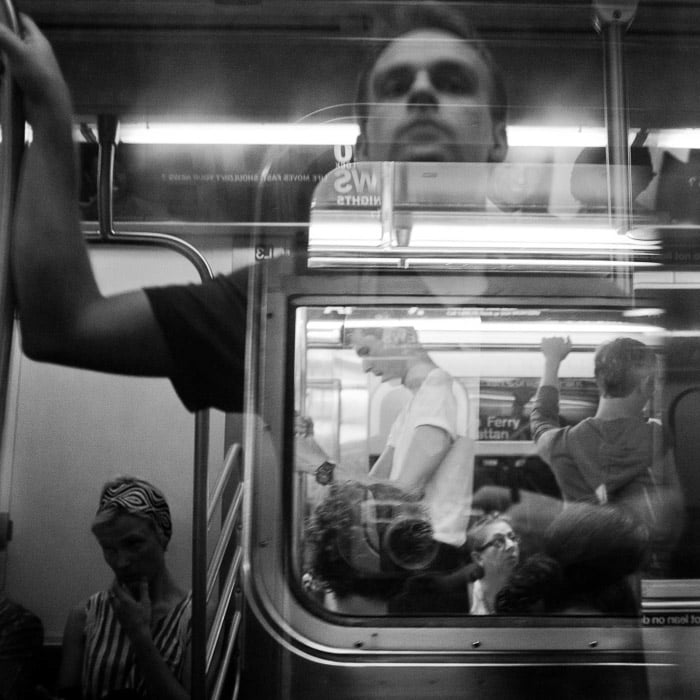
2. Look at Every Element in the Scene
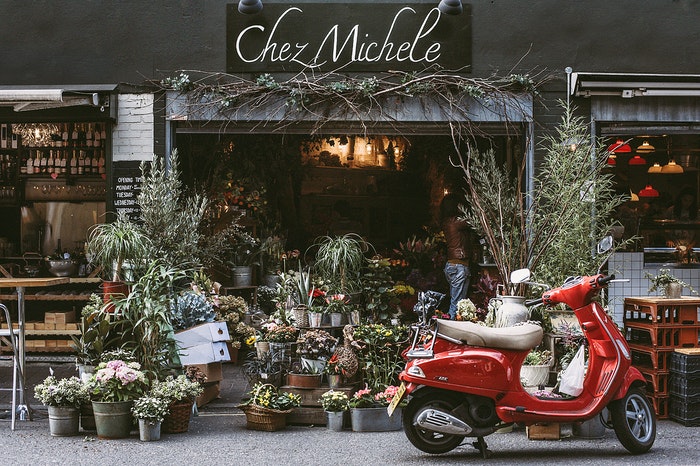
Some reflections can be simple to work with. But the more reflective a surface is, the more potential there is for improving your image. But there’s also more potential to overcomplicate it because of how many elements are in the reflection.
Every element counts, so put each object in the right position. When working through glass, combine elements behind it with reflected elements. This will create unique, complex, and interesting scenes.
Change your angle. Move up, down, left, right, and back and forth to find the perfect angle. A slight movement can remove a distracting element or place the reflections in a more pleasing organization.
The more complex the scene, the more important subtle movements can be to create a pleasing composition.
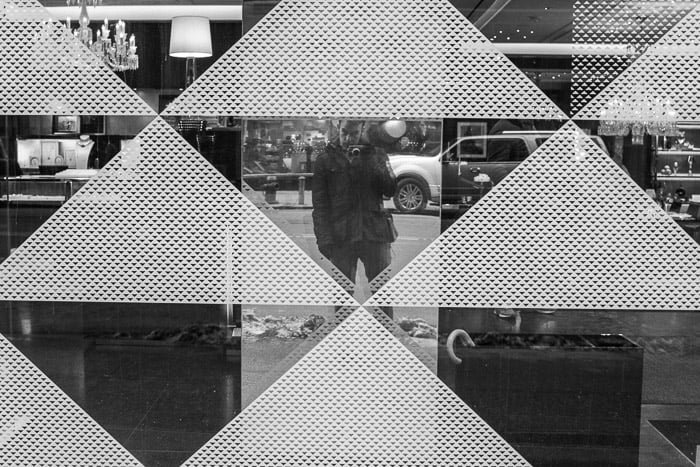
3. Watch Out for Your Own Reflection
Don’t be afraid to include yourself in the image. You can take after the famous street photographer Lee Friedlander, who used himself in the reflections.
The possibilities for interesting self-portraits are endless. But in some photographs, you will want to remove your presence.
Make sure to notice when you are being reflected. Sometimes, your reflection will be more obvious in the photograph than in the real scene.
If you face the reflective surface, you will be in the reflection, so move to a slight angle to one side to remove yourself. What you wear matters as well. Dark clothing often looks great for creating an interesting silhouette of yourself.
If you are wearing dark clothes, find a window with a brighter background to stand out more. The opposite applies if you are wearing a light-colored outfit. The contrast will help you stand out if that’s your desired effect.
Experiment with shooting from chest height with the camera to show your face. It can be difficult to get everything in the frame correctly since you will not be looking through the viewfinder. It just takes a bit of luck with framing.
Consider whether you want to look directly at the reflection or off to the side to seem more candid and natural.
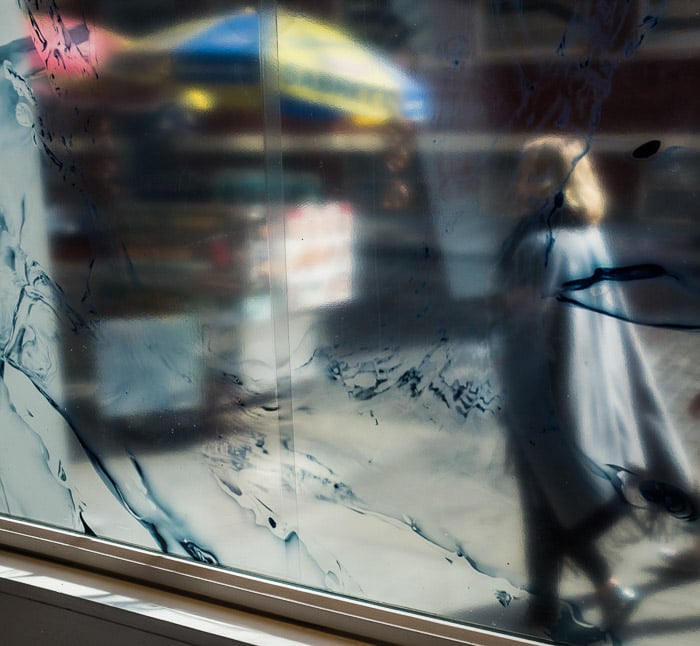
4. Wait for People to Walk By
If your shot seems to be missing a point of interest, a good solution is to wait for an interesting person to walk by to add to the reflection. Wait for something to happen to complete your scene, but don’t just wait for any person to walk by.
If you are going to include a person in your scene, they have to fit with the image and stand out in some way. Maybe they have an interesting silhouette or article of clothing. Maybe they have a great stride or a great facial expression.
If you wait to include a person in your photograph, make sure the person fits with the theme.
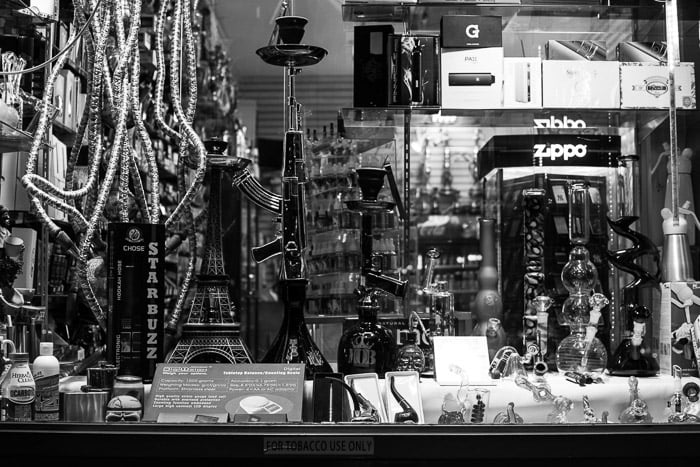
5. Take Control of the Reflections
Sometimes, you don’t want reflections in your scene. Occasionally, there will be nothing you can do to avoid them. But sometimes you can fix the situation. Polarizing filters are very effective for removing reflections in water, windows, or any reflective surface.
You can also control the highlights reflected in the background. Unless the image is very white, highlights will usually stand out. People with white shirts, white cars, and anything with white will stand out. Angle yourself so they don’t show up in your reflection or are out of the way.
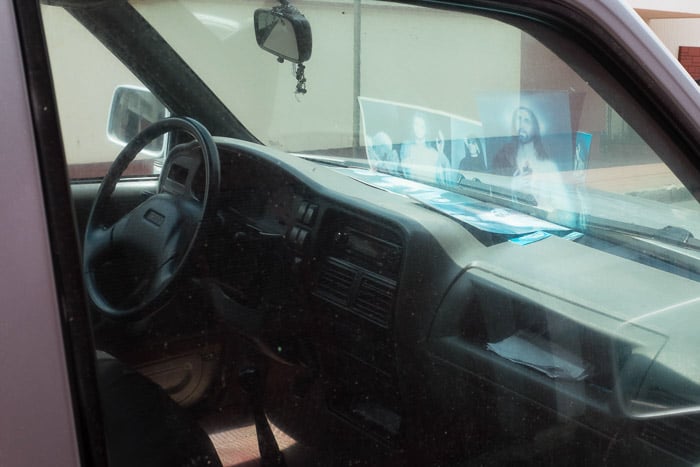
If you are photographing a scene through a window, reflected lighting and white objects from the interior will often annoyingly get in your way to ruin the image. Angle yourself so these highlights will not be shown in the scene. If you can, shut off all the lights in the room, which will help with the reflections.
Finally, be careful about reflecting text in your photos. Our eyes are naturally drawn to words in an image, which will be flipped around when reflected. This can distract your viewer. Sometimes, it adds something interesting to the image. But avoiding large words in the reflection is generally a good idea.
6. Alter Your Depth of Field
Test out both a shallow and deep depth of field in your reflection photography. A shallow depth of field will blur the reflection more to create a pretty pattern. A deep depth of field will show the reflections closer to their true form.
Both can be beneficial depending on the type of scene you are creating. Always think about what aperture is best for creating the type of image you want.

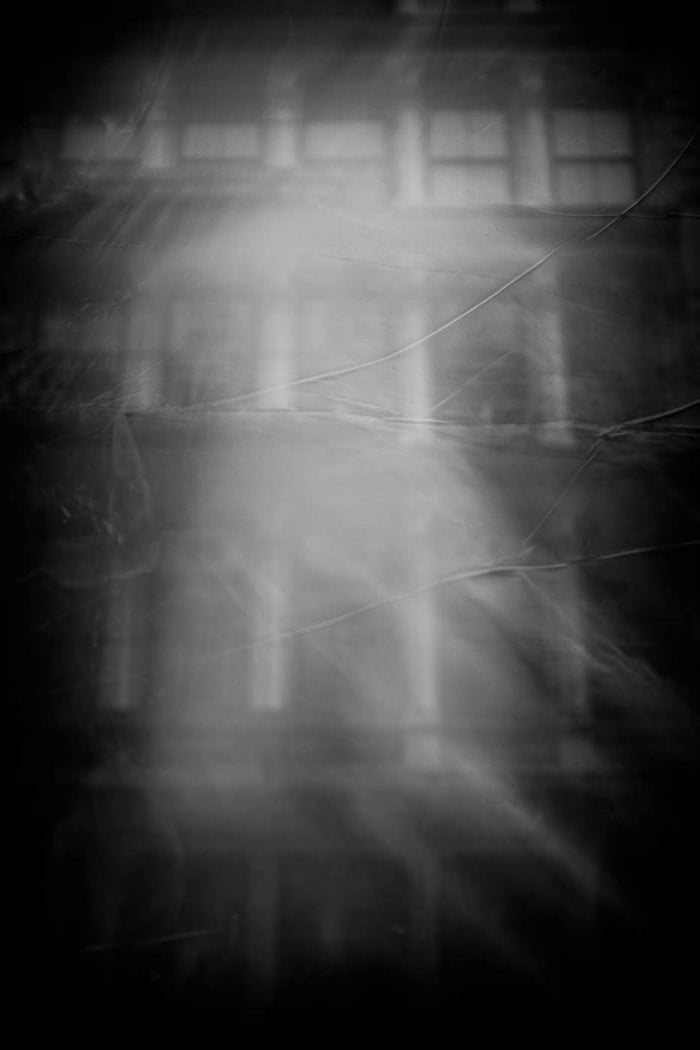
7. Take Some Weird Images
Reflection photography can look weird. They might be unique in a way that isn’t traditionally thought of as “pretty.” Embrace this.
Create mysterious, ambiguous, and flat-out strange images using reflection. Don’t shy away from creating something that goes beyond the traditional. Strange can be good.
Look for reflective surfaces that aren’t completely flat. A warped surface will create an image with warped reflections. Using this reflective technique is a great way to get some weird photos—especially portraits.
8. Get Creative Reflections With Post-Processing
Photographing a reflection will sometimes give you a flat image that lacks contrast. When objects reflect through glass, they usually stand out less than they would if you were looking directly at the subject.
Use Lightroom or your favorite editing program to bring these objects out. Increase the contrast or the highlight and white levels, play with the shadow and black levels, and use the Clarity slider to sharpen everything up.
This will create a punchier image that will offset the muddy nature of reflection negatives.

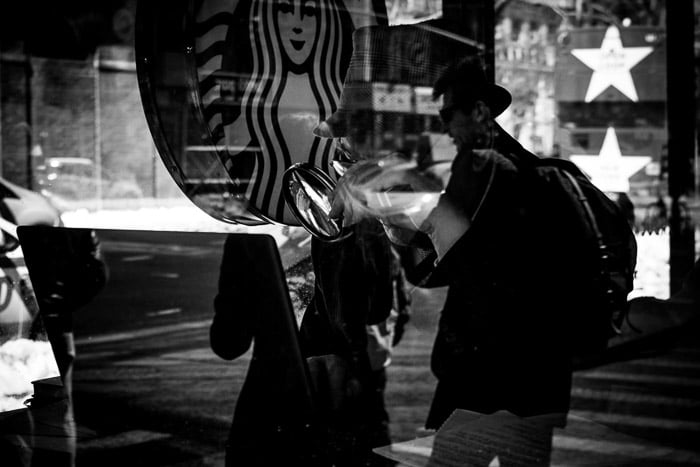
9. Try Black and White
Reflection photography in black and white often looks much better than in color. This allows the highlights, shadows, and tones to come together to create an interesting scene.
Many reflection images will look fantastic in color, but lots will look good in black and white.
Experiment with editing your pictures in black and white. This will help improve both the impact and the interest of the photograph.
Conclusion: Using Reflections in Photography
If you don’t use reflections in your photos carefully and intentionally, they can distract from your image. But using reflections in photography can add visual interest and dynamism to your photos. The good news is reflections are everywhere, so they’re easy to incorporate into your photos.
Next time you go out on a photo shoot, look around for reflective surfaces that produce shadows. You can use them in all types of photography, from portraits to landscape shots! And practicing including shadows in your images will help you improve your skills as a photographer!