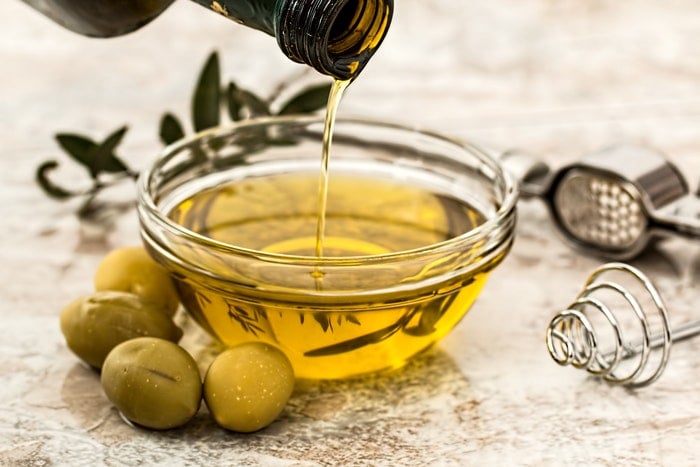
Food photography is a popular and growing genre of photography. It can be as simple as photographing food on a plate to create a beautiful still-life photo. Or it can be more complex, like an entire holiday feast. And you can use props, lighting, and styling to create professional-level food photos.
Whatever you’re shooting, the principles of good composition are essential for creating successful food photos. Here are 10 essential tips for food photography composition.
[courses category="Composition"]
10 Essential Food Photography Composition Techniques
Continue reading for our top 10 ways to perfect your food photography composition.
1. Arrange Elements to Maintain the Viewer’s Interest
To use compositional theory most effectively, we must understand how our eyes move through an image. In the West, we read from left to right.
This means our eyes travel through an image similarly. We first go to the most significant point of interest and then work our way around the scene.
2. Use Angles and Orientation to Complement the Food
In food photography, your camera angles and orientation are crucial. They not only affect how the dish is presented but also shape how people perceive your image.
There are three main camera angles for food photography. They are 90 degrees (overhead), 45 degrees, and straight-on.
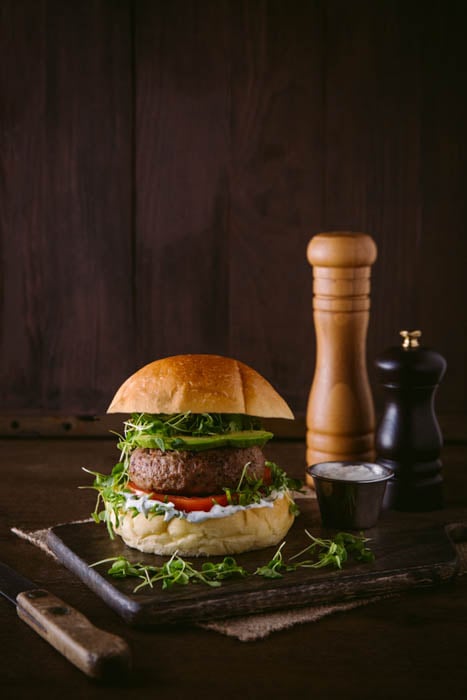
Tall foods, like hamburgers, look best using a straight-on angle. It not only emphasizes the food’s height but also shows its layers.
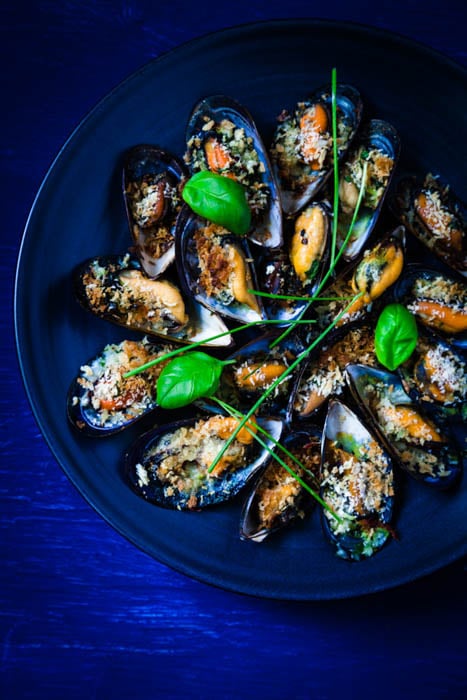
In food photography, the overhead view is a popular angle because it creates visual order. It also helps minimize height issues when there are several elements in the image.
Of course, it’s best not to shoot overhead when dealing with several layers of elements not visible from above. I shot these mussels overhead instead of capturing them in a bowl. This angle shows the breadcrumbs and garnishes better than from a low viewpoint.
Viewers react best when you shoot your food photos at 45 degrees. This is because it replicates how they usually see their meal when eating at a table.
But what about orientation in food photography? Professional food photographers use both portrait and landscape orientations. In most cases, they prefer portraits when working on magazines, ads, and cookbooks. This is because their pages tend to be vertical.
I chose a portrait orientation for this burger shot to emphasize its height and ingredients.
3. Improve the Composition With a Focal Subject
Even if your photography food style isn’t minimalist, it’s best to use only one item as your main subject. Of course, you can have more than one main subject. But in general, having one point of interest makes your composition much more focused.
Use one primary subject and a couple of supporting elements when composing your shot. Your main point of interest should also dictate the placement of the other items in the frame to create depth in your composition.
Include props of different sizes so that they counterbalance each other. This concept also applies when portioning your food.
4. Create a Focal Point to Emphasize the Main Subject
The focal point refers to the specific spot on your subject that you want to emphasize. You can create focal points with light, color, isolation, or contrast. It can be anything from a raspberry on a cake to the tip of a knife.
You’re free to have two or three focal points within the grid. But it’s best to have one that’s more dominant than the others.
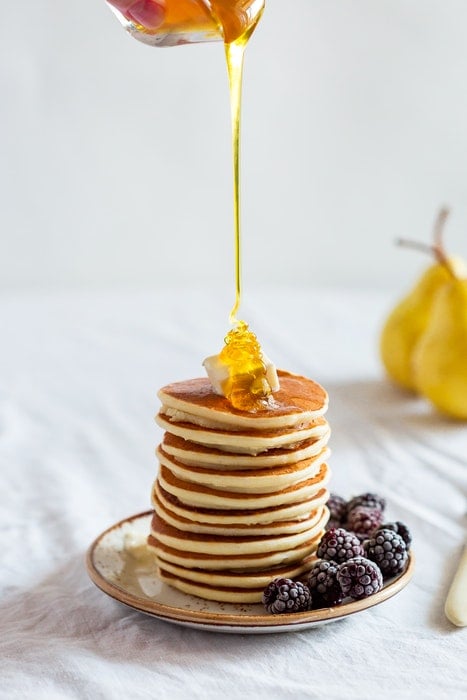
In most cases, it helps to ensure that your main point of interest is the sharpest part of the image. You can do this by widening your aperture. This creates a shallow depth of field.
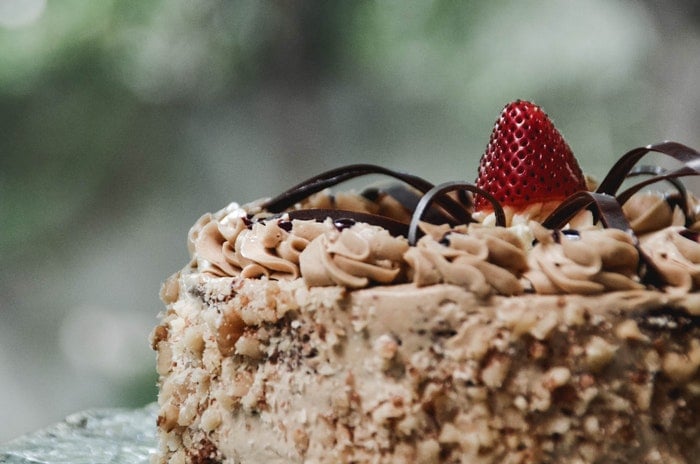
Notice how the sharpest point of the image is the strawberry on the top, creating a focal point.
5. Use Negative Space to Provide Balance
Positive space is the area of the photo your food and props take up. Negative space is the empty space around your main subject. It provides balance, breathing room, and emphasis on the subject. Because it’s mostly blank, it brings your attention to the details of the food.
Food photography also tends to involve a lot of empty spaces to create spots for text placement. You’ll notice this in magazine shoots, product packaging, or ad work. When too much is going on in an image, the viewer is unsure where to look.
If you use negative space, use patterns or backgrounds that complement your subject. This way, your main point of interest stands out more.
6. Use the Rule of Odds to Create Balance
When photographing a group of objects, use an odd number of elements in your image. Odd numbers create a sense of balance and harmony.
In food photography, the aim is to have three or five props. Of course, you can have more than five items. But the result won’t have the same compositional effect.
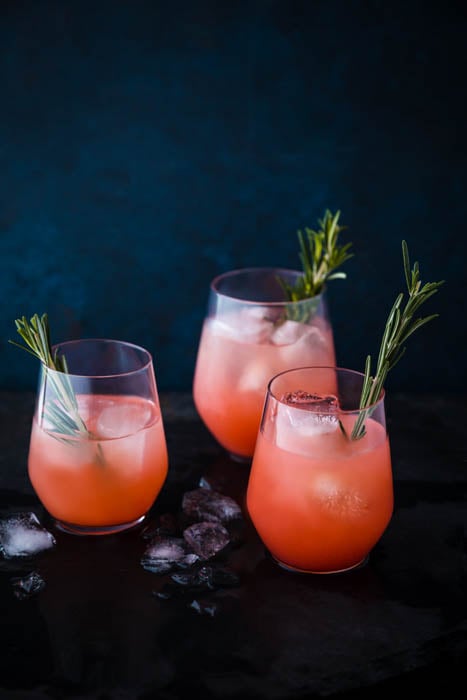
I shot these grapefruit cocktails using three stemless wine glasses instead of four. I also arranged them in a triangle to create harmony and balance in the image.
7. Place Main Elements Using the Rule of Thirds
When learning about food photography composition, you will come upon cropping guides. One of the most popular is the rule of thirds.
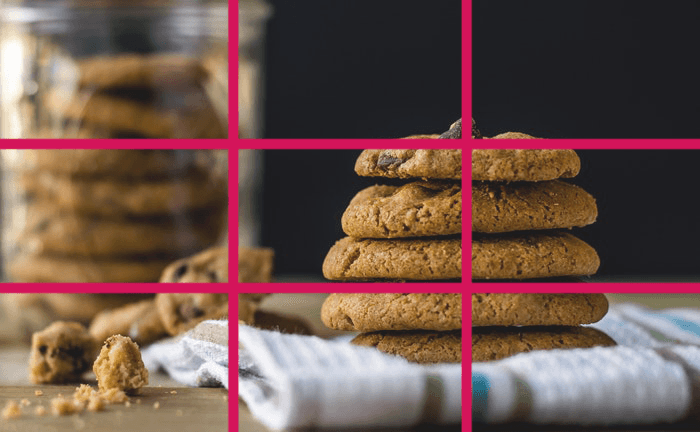
It’s a grid that divides the frame into nine equal sections. The crucial elements in the scene fall along the grid’s lines or at the intersecting points.
The rule-of-thirds grid helps you decide how to place the main elements in your food photos.
8. Visualize the Composition With Cropping Guides
Crop guides help you fix your composition when post-processing food photography. You can find crop guides in Lightroom, Photoshop, Capture One, or even on your phone! Use them to help you visualize your composition.
You can easily imagine your focal point on a rule-of-thirds grid. But visualizing a golden spiral can be much more challenging.
It can take years for a photographer to master composition rules only by imagining the lines. So these crop guides are invaluable. They show us exactly where to place our main subjects.
They can even speed up the process of learning to compose intuitively, which is the ultimate goal. Do you shoot food photography with your camera tethered to a computer? Then use the Live View function on your computer screen to help place your main subject.
You can use your mouse to click on the element you want to be sharp. Your computer then sends a command to your camera to focus on that specific point.
Once you take the image, check how it looks with the crop guide of your choice. You can always make adjustments to your composition if it doesn’t line up how you want.
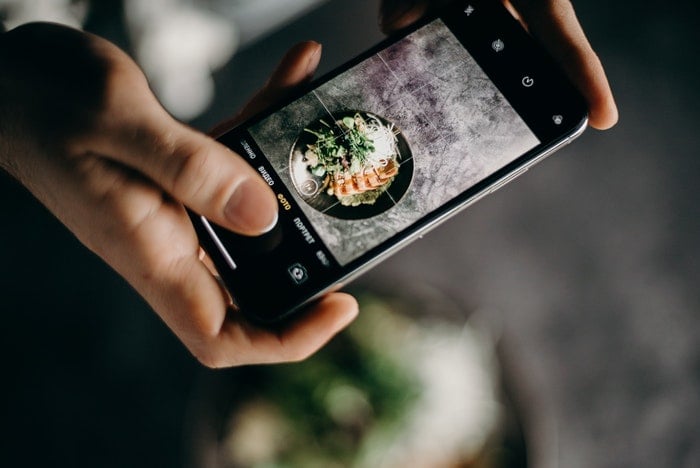
Phi-grid on a smartphone camera. © cottonbro (Pexels.com)
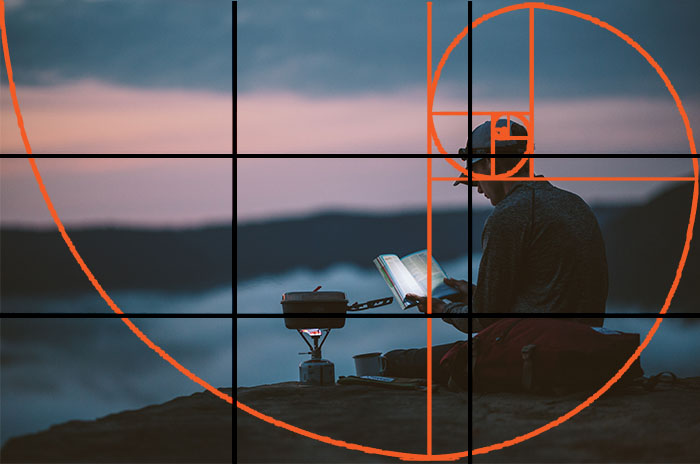
9. Make Creative Choices With the Golden Ratio
The golden ratio is a composition tool that’s a curved line with a 1:1.1618 ratio. This ancient mathematical concept creates a balanced and pleasing composition. We can incorporate the golden ratio in images to help our brains process visuals more easily.
The golden ratio means putting your subjects along a curved line rather than a straight line. Doing so creates flow and movement, guiding your viewer’s eye around the image. This composition technique works very well for overhead food shots. And it also creates balance when there are several elements in the frame.
For the picture of the curry below, the placement of the chili peppers leads the eye to the bowl. It then moves the eye to the top part. Finally, you look at the focal point—the green leaves and prawns on the top.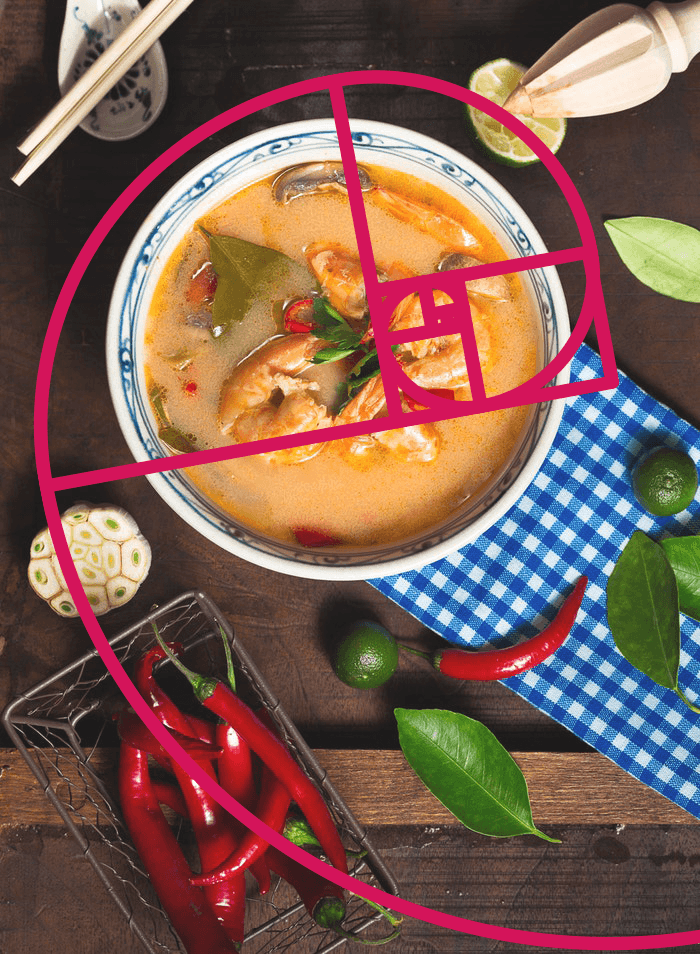
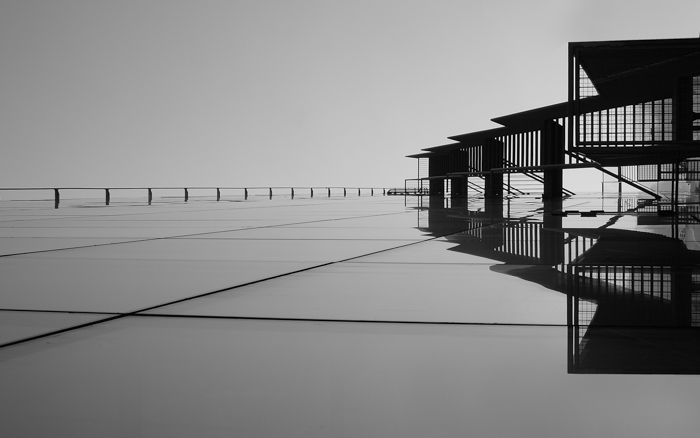
10. Use the Golden Triangle to Draw The Viewer’s Attention
Using triangles is another powerful approach to food photography composition. These shapes keep the attention of the viewer within the frame. This is because they move the eye from one point to another in an intentional way.
Triangles are also powerful composition tools when creating food photos because horizontal and vertical lines suggest stability. And it also helps that triangles have three points. Remember, odd numbers provide a sense of harmony and balance.
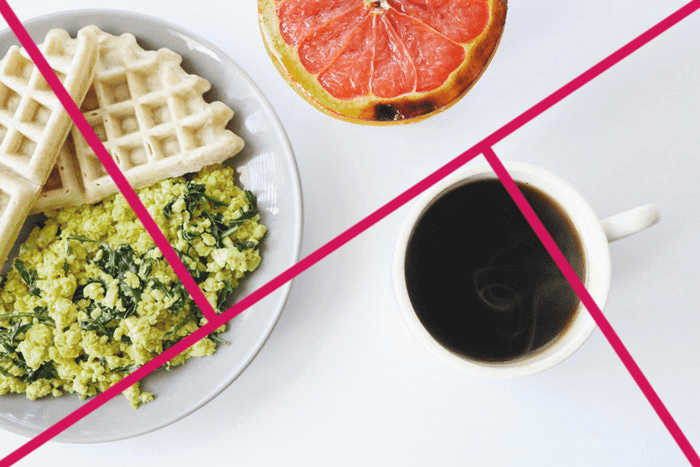
The golden triangle divides the frame into four triangle shapes to guide the viewer’s eye to different details in the picture.
Conclusion: Essential Food Photography Composition Techniques
Always consider the various composition tools to help you improve your food photography. Apply the crop guides to some images you have taken and analyze them.
You can use different food photography composition techniques to direct the eye or create negative space for text in the image. The stronger your composition, the more enticing your food photography will look!
[courses category="Composition"]