Ice cream photography is among the biggest nightmares of food stylists. Ice and melting food items are challenging to photograph.
If you work with real ice cream and frozen products, you only have a few minutes to nail the shot.
But there are several food styling tricks you can use to get the perfect ice cream pictures. Read our article for the best ice cream photography secrets.
10. Understand the Purpose of Ice Cream Photography
First, decide what the purpose of shooting ice cream photography is. Are you doing for a client’s brand? Then you have to adapt to their expectations and use brand elements. Or photograph the ice cream in series.
Or are you photographing for an editorial? In that case, you might have more creative freedom.
But maybe you are taking ice cream photos for your food blog. Or you want to experiment with something new and challenging in food photography.
Whatever is your purpose, you need to be clear about it. It will influence your choices of composition, lighting and the props you are using.
9. Use Real Ice Cream for Commercials
It might be tempting to use fake ice cream for any kind of photoshoot. But if the ice cream photo will be used for advertising purposes, you should use the real product.
You cannot mislead consumers with a fake dessert that looks completely different than the real ice cream. You have to work with the brand’s actual product.
To get the ice cream camera ready, lower the temperature of your freezer. Line a cookie sheet with parchment paper.
Scoop out some ice cream, more than you need for the shoot. Place the ice cream scoops on the cookie sheet and put them back into the freezer for half an hour at least.
Get the composition and lighting ready. Place one or two scoops of ice cream into a bowl or a cone. You can let it melt a little bit to make it look more inviting and delicious.
If it melts too much or doesn’t look right, you have several other scoops waiting in the freezer.
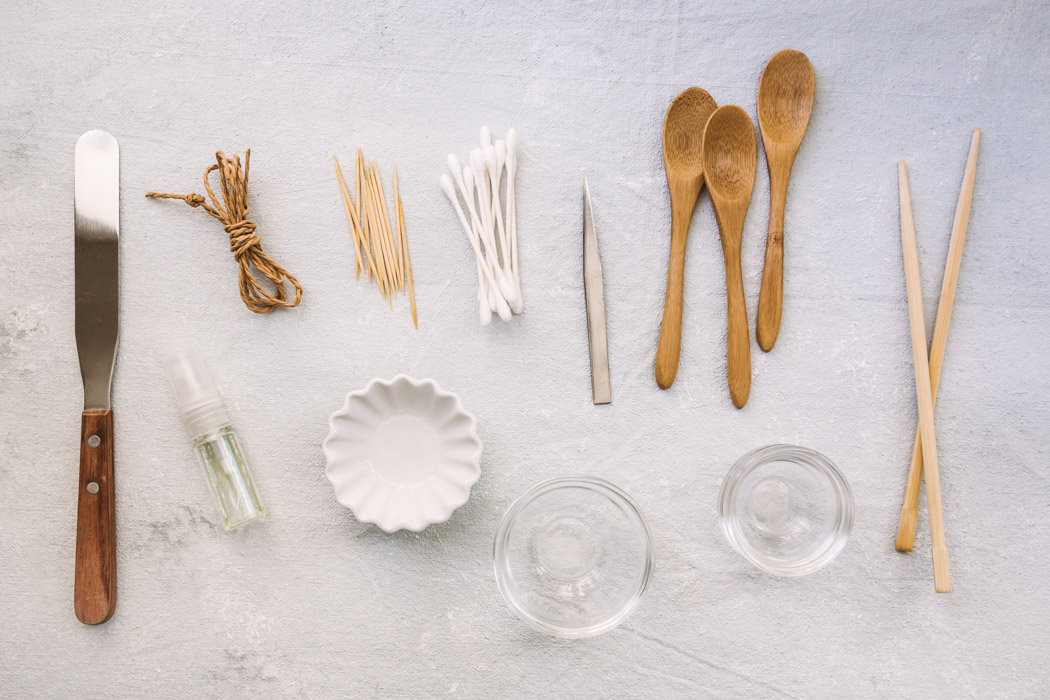
8. Set up Everything in Advance
If you are shooting real ice cream, you have a very short time window to work with. Set up everything in advance so that your only job is to press the shutter button.
Using natural light is always an excellent choice for food photography. You can shoot close to a window and diffuse the light if it is too direct. You can use a simple white piece of paper for this purpose.
If you decide to use artificial lighting, keep in mind the heat generated by the lights. The ice cream might melt even quicker in those conditions.
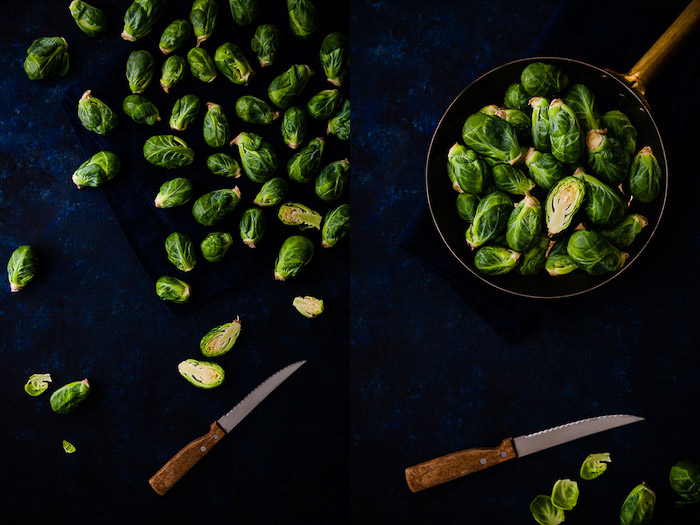
7. Use a Stand-in Ice Cream to Set Up the Shoot
Use a stand-in ice cream while you are setting up your composition and lighting to save the real ice cream from melting. This should look like the original subject, but it can have some flaws.
Don’t choose a stand-in that is very different from your original subject. For example, a chocolate ice cream shouldn’t be a stand-in for a strawberry ice cream. The two have different colors and textures, and they will act in a different way in the scene.
6. Create Fake Ice Cream for Your Shoot
If you are not creating an advertisement for a brand, you have more creative freedom for shooting ice cream photography.
Fake ice cream is fantastic because it looks like the real version, but it won’t melt during the photo shoot. You can change your scene, the setup and the props, and it will be waiting for you.
There are a few useful food stylist tricks to create fake ice cream. One of the most popular methods is using instant mashed potatoes and food colouring. When you see frozen milkshakes in a photo, it is often made with mashed potatoes in reality.
Another excellent way to create fake ice cream is to mix corn starch, food colouring and hair conditioner. First, measure out some conditioner and add a few drops of food colouring. Then you can mix it into the corn starch.
If it’s too runny, you can add more corn starch. You can achieve the perfect texture if you knead the ingredients together. This ‘recipe’ works well if you have to photograph individual scoops of ice cream.
The third method is to mix canned frosting with confectioner’s sugar. That will result in an ice-cream like texture that you can photograph in a container or as individual scoops.
Another popular fake ice cream recipe is the mixture of vegetable shortening, corn syrup and powdered sugar.
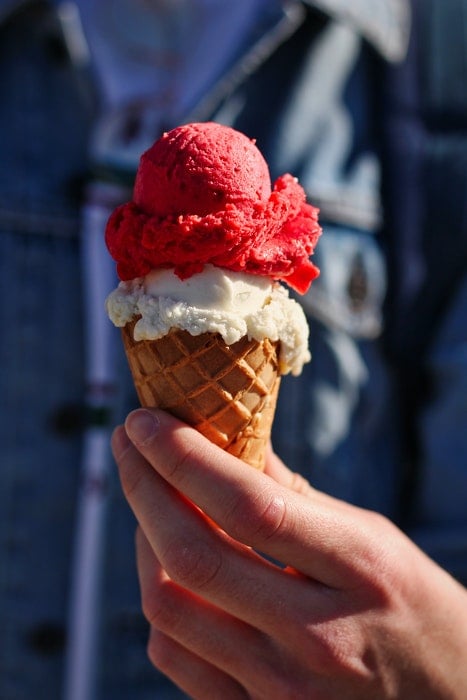
5. Add Human Elements
Adding human elements always enhances food photography. It makes it look more authentic and helps with storytelling.
In ice cream photography, including a hand holding the cone is a very popular solution. It gives the impression that the viewer could be the one holding that mouthwatering ice cream.
This might be obvious for many, but if you include a human hand, make sure it looks decent and groomed. Broken fingernails will kill the photo’s atmosphere.
You can also include someone serving a scoop of ice cream or a person eating with a satisfied face expression. A happy kid whose face is covered in melted ice cream while they are still eating it is also a fun concept.
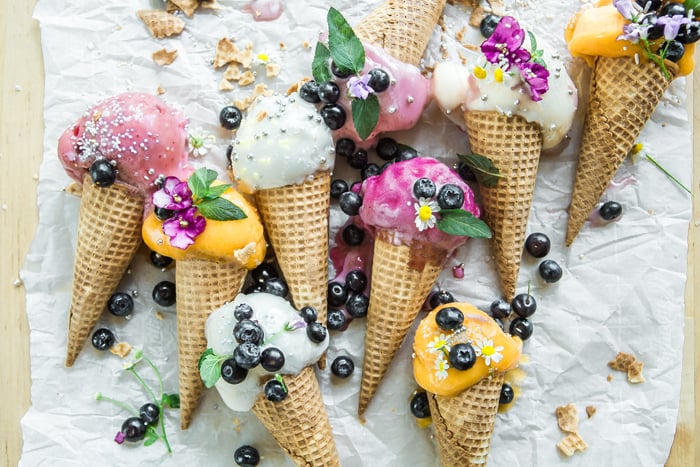
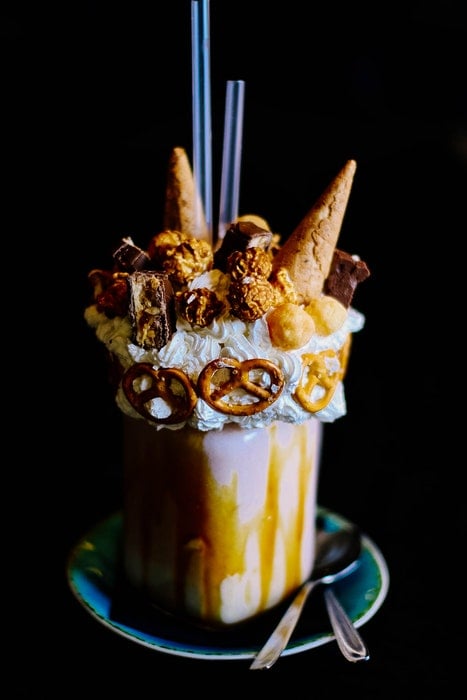
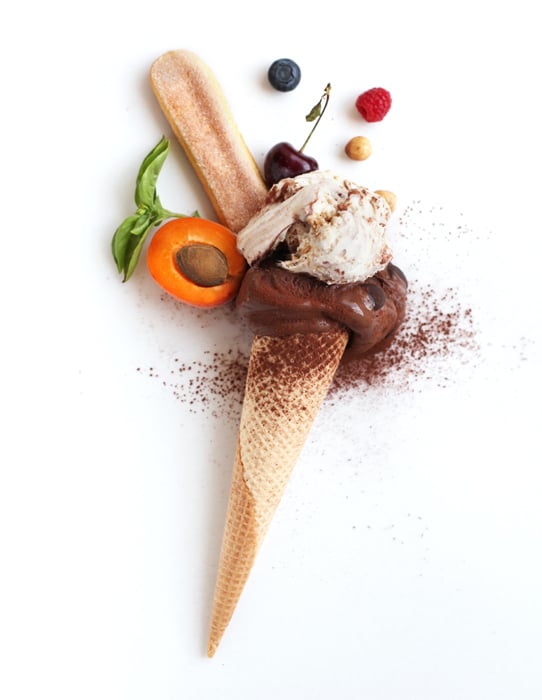
4. Add Toppings for Mouthwatering Pictures
Like other food photography, a picture of an ice cream cone gets even more mouthwatering with delicious toppings on it.
You can use colorful sugar sprinkles, chocolate drops or chopped nuts. An ice cream sundae wouldn’t look complete without whipped cream and syrup on the top.
If you can’t handle real whipped cream, shaving cream is always a good choice to replace it.
Toppings that have different texture make pictures of ice cream more interesting. They add extra depth and layers to the subject which makes it visually more appealing.
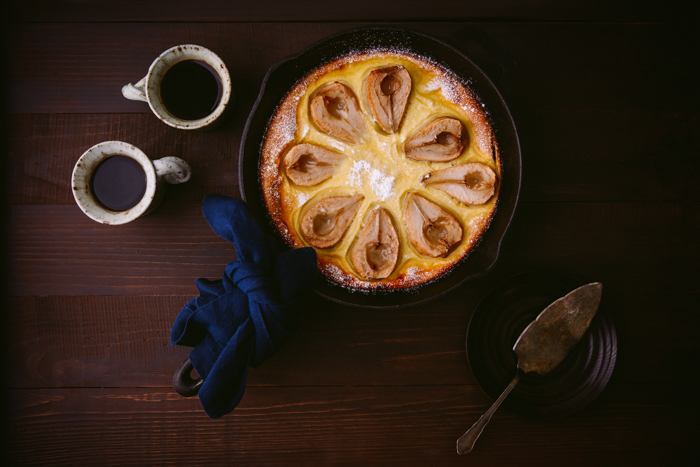
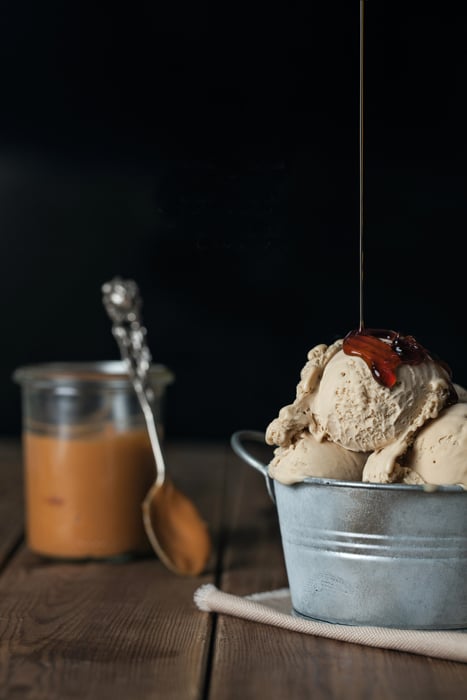
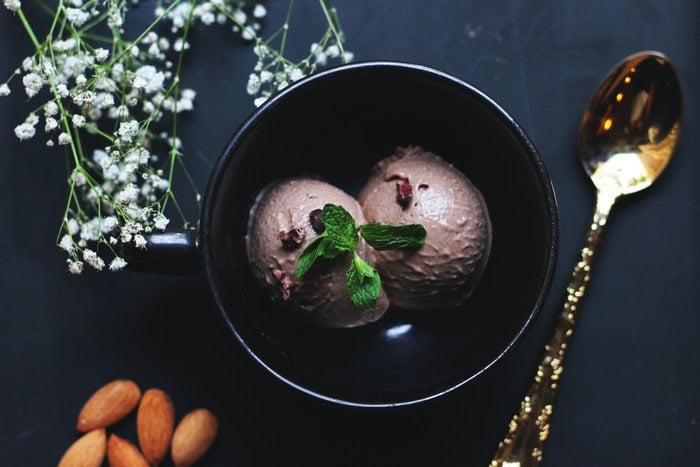
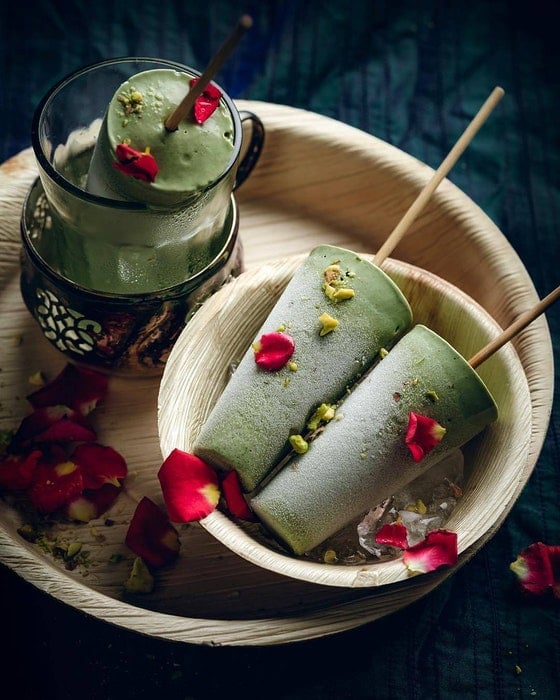
3. Tell a Story with Your Props
Use props to tell a story with your ice cream photography. Choose a backdrop that fits the atmosphere of your photos.
Include ice cream scoop, cutlery, fruits and sweets. If you photograph the ice cream in a bowl, make sure it looks appealing and fits the ice cream’s style.
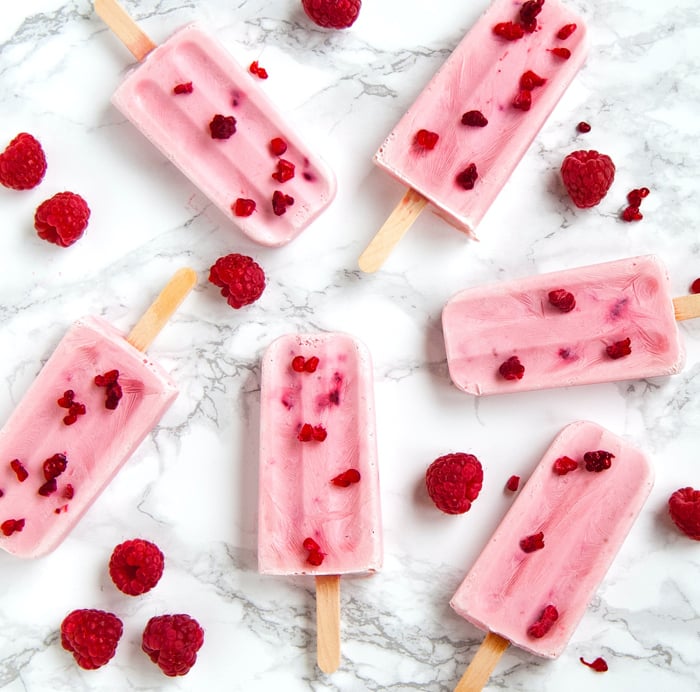
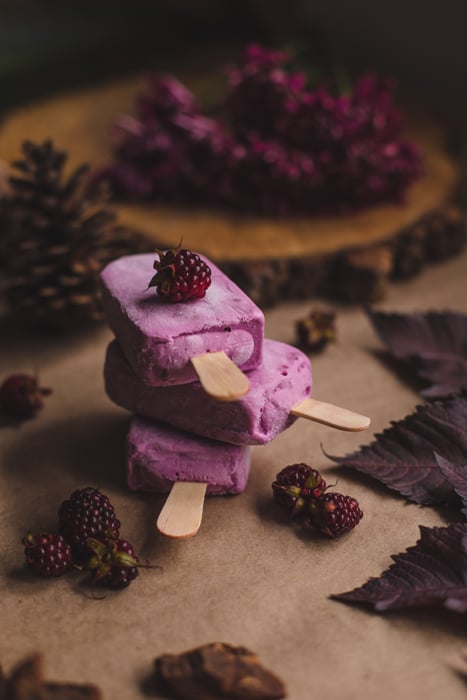
Use props that fit the style of the photos you create. A pink strawberry ice cream looks great with pastel colors. Darker ice cream can be the subject of moody pictures.
2. Make it Simple
Although photographing ice cream is difficult, your picture should look simple and easy. A professional food photographer knows how to take a picture that looks almost spontaneous.
Make the props and the ice cream look natural. It’s okay if the dessert melts a bit and even if it drips a bit. The props should be scattered all around in random positions. Even if a professional food photographer would know that nothing is random in your picture.
While you can make a high-end dessert creation look flawless, ice cream is a fun and simple food. The setup should convey a playful and simple message. Do not overcomplicate it!
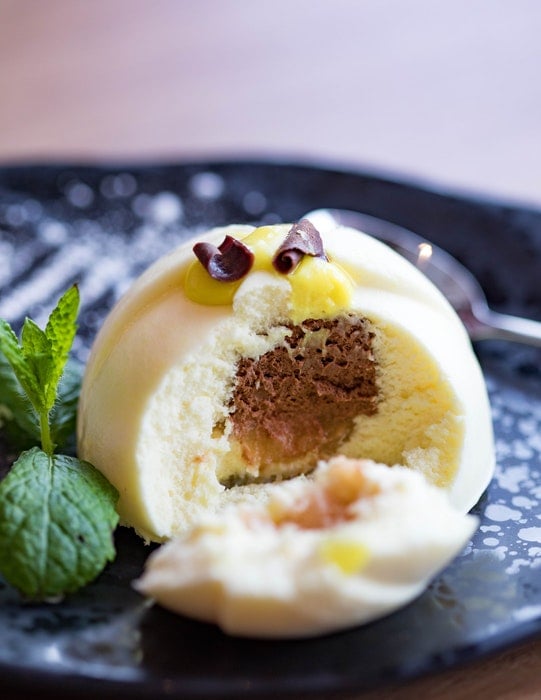
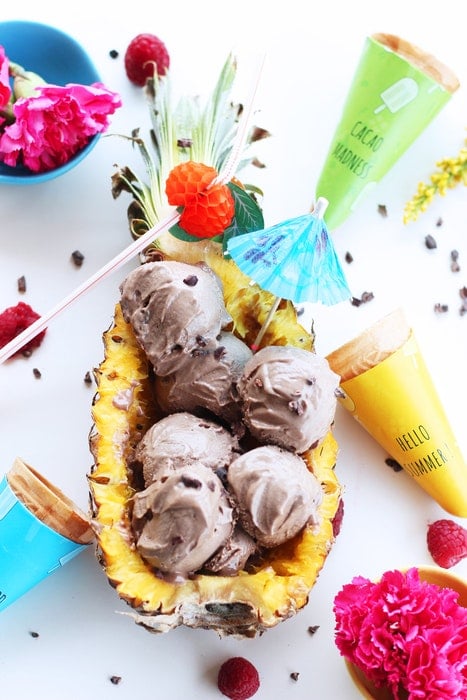
1. Think Outside the Ice Cream Box
In ice cream photography, there are mainstream setups that every food stylist and photographer uses: Ice cream in a bowl, in hand or as a sundae.
While it’s okay to use something that works well, try to be more creative if you have the freedom. Take closeups of the ice cream texture or photograph it in an unexpected setting.
You can also create miniature food landscapes of ice cream. Or use it for conceptual photography. You can even try flat lay ice cream shots if you want to challenge yourself.
Be creative and play around with ice cream photography!
Conclusion
A scoop of ice cream looks simple in a photo. But ice cream photography is among the most difficult topics in food photography.
Don’t give up after a few melted scoops! Eat the failed subject and start again till you get the perfect shots! Time and practice will improve your ice cream photography without a doubt.
If you love food photography, learn all the best tricks with our ebook – Edible Images!