Every photographer finds themselves in a creative rut from time to time, but these long-exposure photography ideas will help you find your passion once again.
Long-exposure photography is a great way to expand your skills and knowledge. It’s a creative form of photography anyone can try, and you’ll be able to produce unique, eye-catching images.
Whether you’re new to long-exposure photography or if it’s something you’ve tried before, these ideas will help you develop your skills. You’ll also have some stunning images as a reward for your hard work and endeavors.
Long-Exposure Photography Ideas
These long-exposure photography ideas are a great way to try something new with your camera. Even if you’ve tried long exposure before, these ideas will help you develop your skills and ideas even further.
If you’re new to long-exposure photography, this is when you take pictures by leaving the shutter open for long periods. The length of time depends on the conditions and your creative approach. You can have the shutter open for one second or several seconds—it all depends on what you’re trying to accomplish.
The article starts by covering the basics of long-exposure photography, looking at using slow shutter speeds and motion blur. We then look at creative ideas you can try using long-exposure techniques. The article closes with a look at capturing long-exposure images at any time of day.
Each section has a link to a full article on that subject, so remember to click the links if you want to learn more.
Long-Exposure Basics
Whether it’s long-exposure or portrait photography, starting with the basics is always a good strategy. That’s why we’re starting this article by looking at the basic elements that make up long-exposure photography. Those are slow shutter speeds and motion blur.
We explain what these are and how you can use them in creative ways. You’ll see plenty of terrific examples to inspire your work, especially if you click the links in the text.
Slow Shutter Speeds
Using a slow shutter speed is a great way to get creative with your photography. It allows you to capture motion blur, giving your photos a sense of movement and energy.
To achieve this effect, you’ll need to use a tripod to keep your camera steady during the longer exposure time.
Experiment with different shutter speeds to see how they affect the final image. A slower shutter speed will result in more motion blur, while a faster one will freeze the action.
You can also try panning your camera to follow a moving subject, creating a sharp subject with a blurred background.
Slow shutter speeds are also useful for capturing light trails at night or smoothing out water in landscape shots. With a little practice, you’ll be able to create stunning images using this simple technique.
To learn more about using slow shutter speeds, check out our in-depth article on the subject.
Motion Blur
Motion blur is a visual effect that makes moving objects appear blurred in photos. It happens when the camera shutter stays open for a long time, recording movement as streaks or light trails.
To capture motion blur, use Manual mode and a tripod. Set a slow shutter speed, like 1/60 s for fast subjects or several seconds for waterfalls. Experiment with different speeds to get the right amount of blur.
You can also use panning to follow a moving subject, keeping it sharp while blurring the background. Capture moving clouds for unique blurs in landscapes, or use long exposures at night for star trails. Rivers, seas, and car lights can also create interesting motion blurs.
Our guide to motion blur is the perfect place to start if you want to learn more.
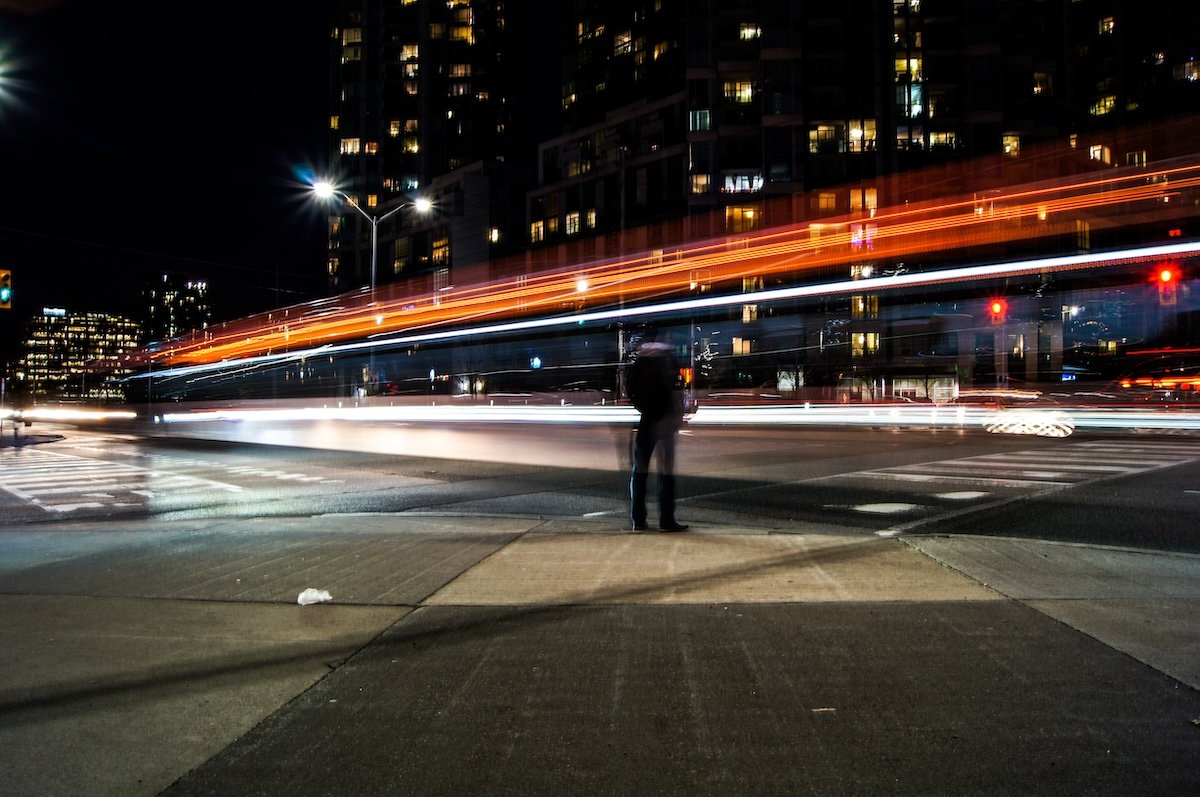
Motion Blur Examples
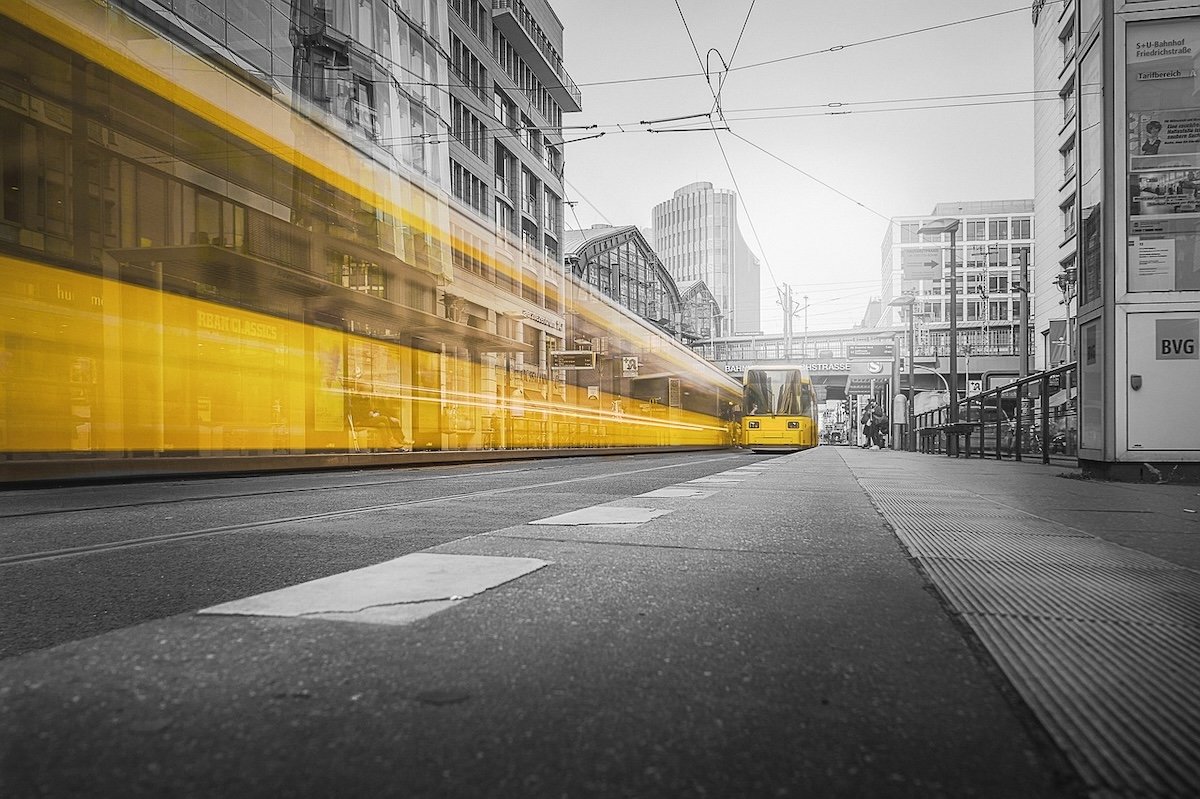
Motion blur photography captures movement in a still image, creating stunning and surreal results. By using a slow shutter speed, you can blur moving subjects like people, cars, and water. This technique adds a sense of energy and life to your photos.
To create motion blur, you’ll need a tripod and a camera in Manual or Shutter Priority mode. Set a slow shutter speed, such as 1/15th of a second or slower, and keep your camera still while the subject moves. You can also move your camera along with the subject, a technique called panning, to keep them in focus while blurring the background.
Experiment with different subjects and settings to create unique images. Capture the hustle and bustle of a busy city street, the graceful movements of a dancer, or the rushing water of a waterfall. With practice, you’ll be able to create stunning works of art that capture the beauty of motion.
To dive deeper into the world of motion blur photography, check out our comprehensive guide.

Intentional Camera Movement
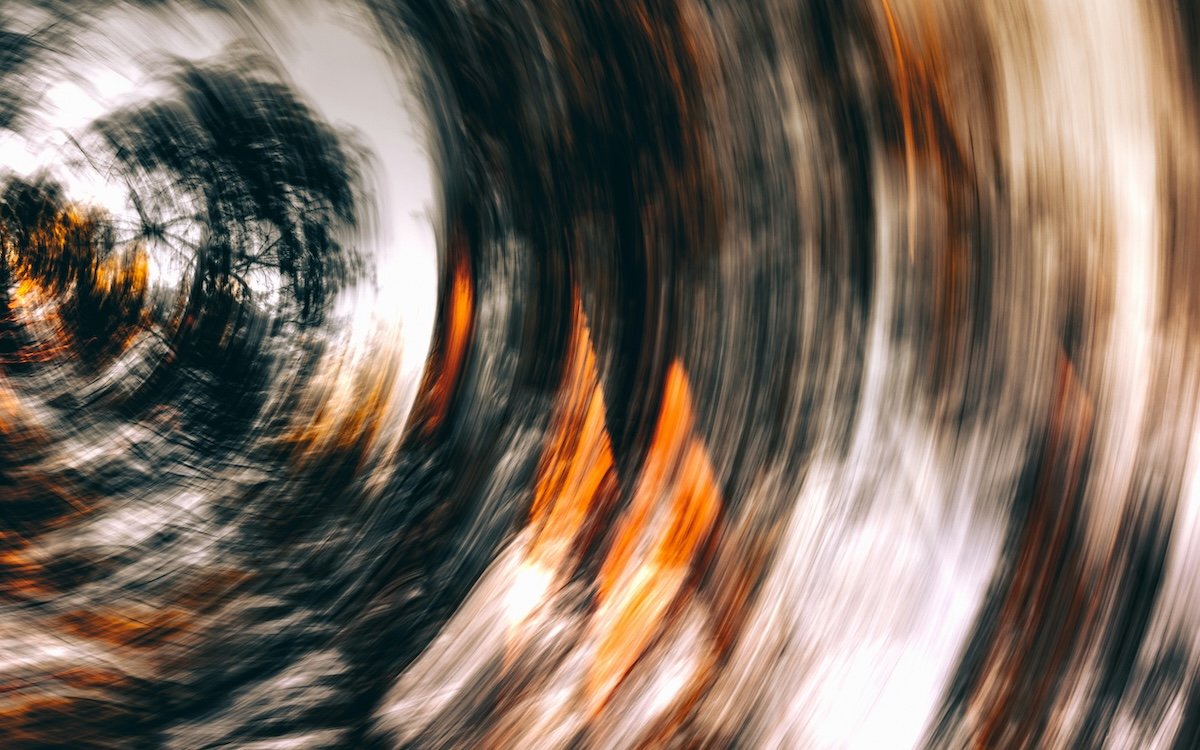
Intentional camera movement (ICM) is a creative photography technique where photographers move their cameras during exposure. This adds dynamic and unique elements to images, creating abstract or artistic effects that emphasize motion or blur.
To create a photo with ICM, use a camera that allows you to control the shutter speed and a few accessories like ND filters, a tripod, and a wide-angle zoom lens. There are several methods for ICM, including panning, straight-line movement, camera rotation, lens zoom, and random camera movement.
Experiment with different techniques to find what works best for your subject and desired effect. With practice, you can create stunning and surprising results.
Click on this link to find out more about intentional camera movement.
Panning
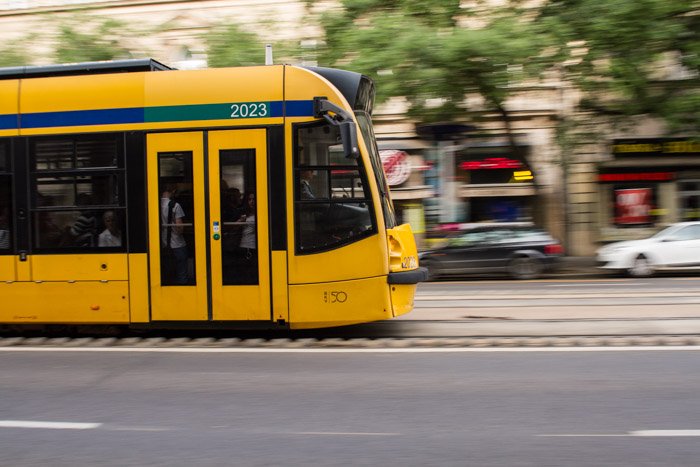
Panning is a photography technique that captures a moving subject while blurring the background, creating a sense of motion in the image.
To achieve this effect, you need to use a slower shutter speed, usually between 1/15th and 1/200th of a second, and move your camera along with the subject at the same speed.
There are two ways to focus when panning—using AI Servo (AF-C for Nikon) or manual focus. AI Servo keeps refocusing on the subject if it moves out of the original focal point. Manual focus requires you to pre-set the focus on where the subject will be.
When framing your panning shot, compose the image as if the subject is already in the scene. As the subject enters your frame, match its speed and take the photo while moving your camera. Keep the camera moving even after taking the shot to ensure a smooth panning effect.
Here’s our full-length article about panning photography.
Creative Long-Exposure Ideas
Now you have a good grasp on the basics, we can explore some way in which you can use that knowledge. The basics form the foundation on which we can build and experiment, so let’s dive into some long-exposure photography ideas.
Beaches
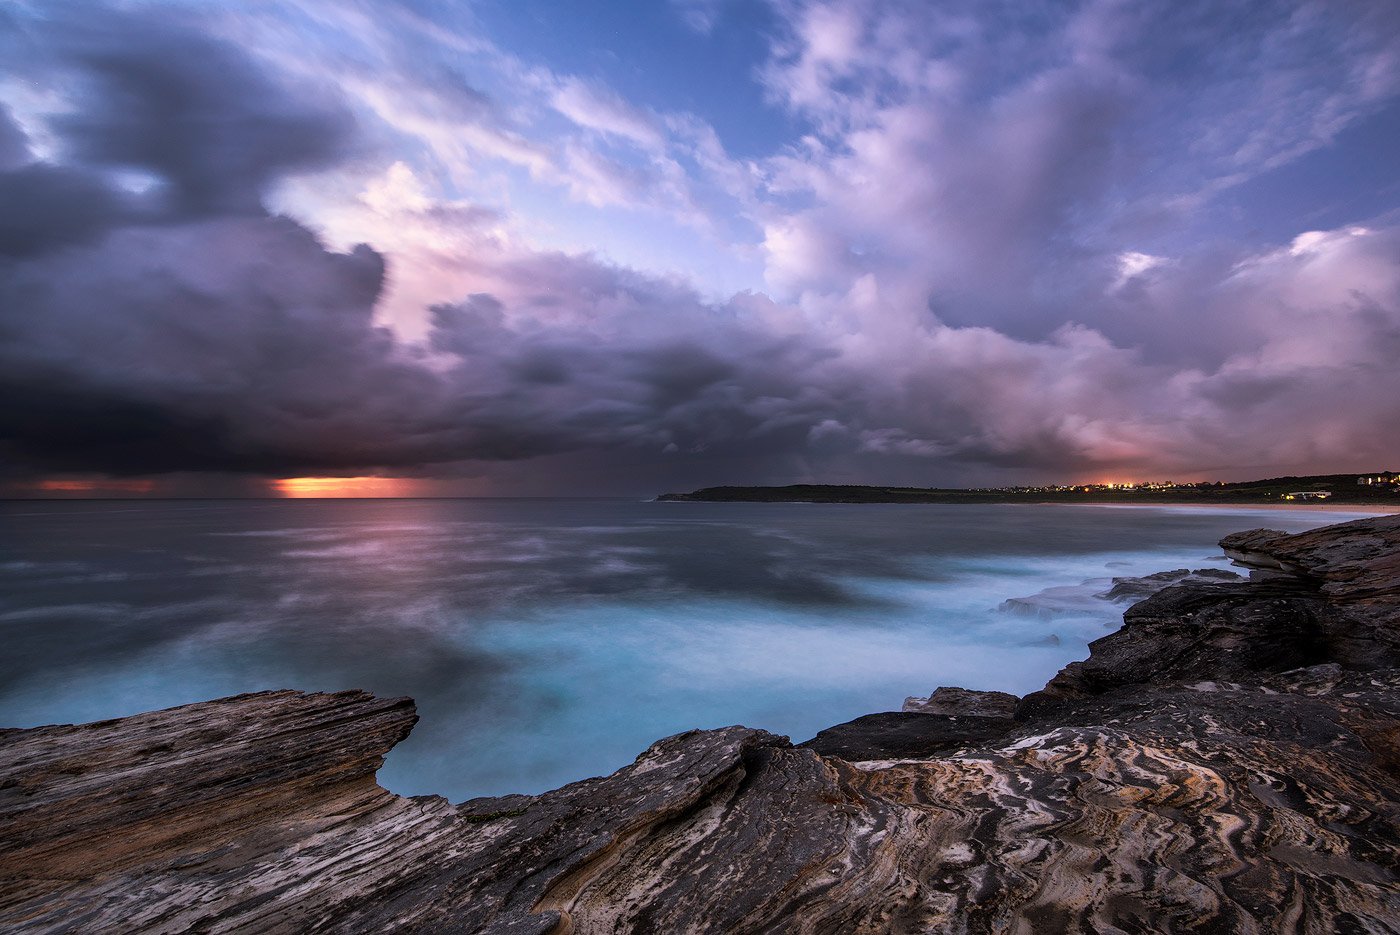
Long-exposure beach photography can create stunning shots that show off the beauty of the beach in a new way. A sturdy tripod is important to avoid camera shake from wind and waves.
Neutral density filters are a must-have to cut the amount of light coming in and allow for longer exposures.
Shooting from the top of a cliff can smooth out the waves and create a level sea with soft color transitions. This works best with something massive and rugged, like cliffs and fast-moving clouds.
Foggy water effects are made by averaging the waves over a long exposure of at least 20 seconds.
Water trails on the sand are made by shooting receding water with an exposure time of 1/2 to 2 seconds. Ultra-long exposures of 30 seconds or more can completely smooth out the water and clouds for a surreal effect.
Long-exposure beach photography is a great tool to take your art to the next level.
Landscapes
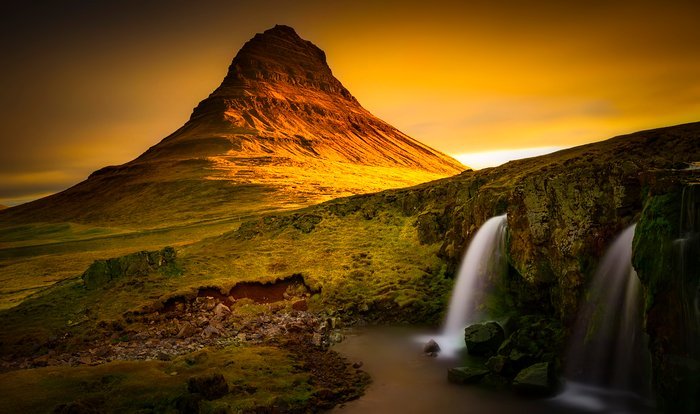
Long-exposure landscape photography can take your images to the next level. Overcast weather is ideal for capturing movement in the sky and adding interest to your photos.
Use apps like PhotoPills to track the Sun’s position and avoid overexposed areas in your shots.
Scouting your location beforehand is key to previewing your composition and understanding how elements like clouds, sunlight, and tides will affect your image.
When setting up your shot, focus about a third of the way into the scene to ensure sharp results. A sturdy tripod is essential for preventing camera shake during long exposures.
Lower your ISO to minimize digital noise and use the histogram to achieve a balanced exposure. An ND filter can help you achieve longer exposure times, but be sure to adjust your settings accordingly. Act fast when the perfect conditions arise, as they may only last a few moments.
To dive deeper into long-exposure landscape photography, check out our comprehensive guide.
Water
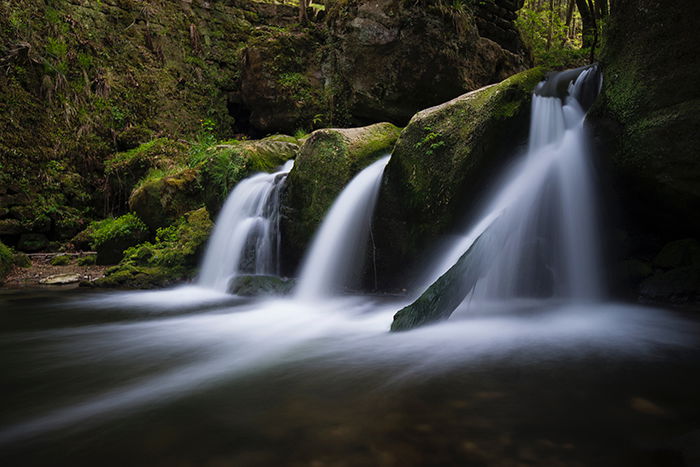
To capture that soft, misty water effect in your photos, you’ll need to master long-exposure photography. Start by finding a safe location with plenty of room to shoot from different angles.
Use a slow shutter speed to create a silky look, and experiment with various speeds to find what works best for you.
A neutral density filter is essential for preventing overexposure in your water photos. Always use a tripod and remote to avoid unwanted motion blur. Try shooting from unusual angles to make your images stand out from the millions of other water photos out there.
Our in-depth guide on water photography covers everything from the best settings to use to creative ideas for making your shots unique.
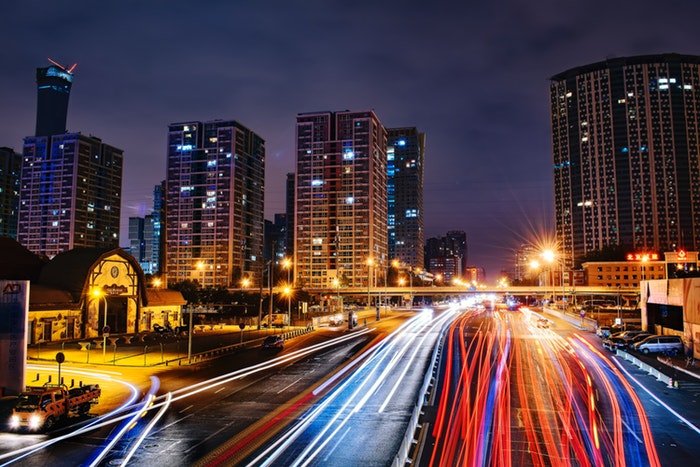
Light Trails
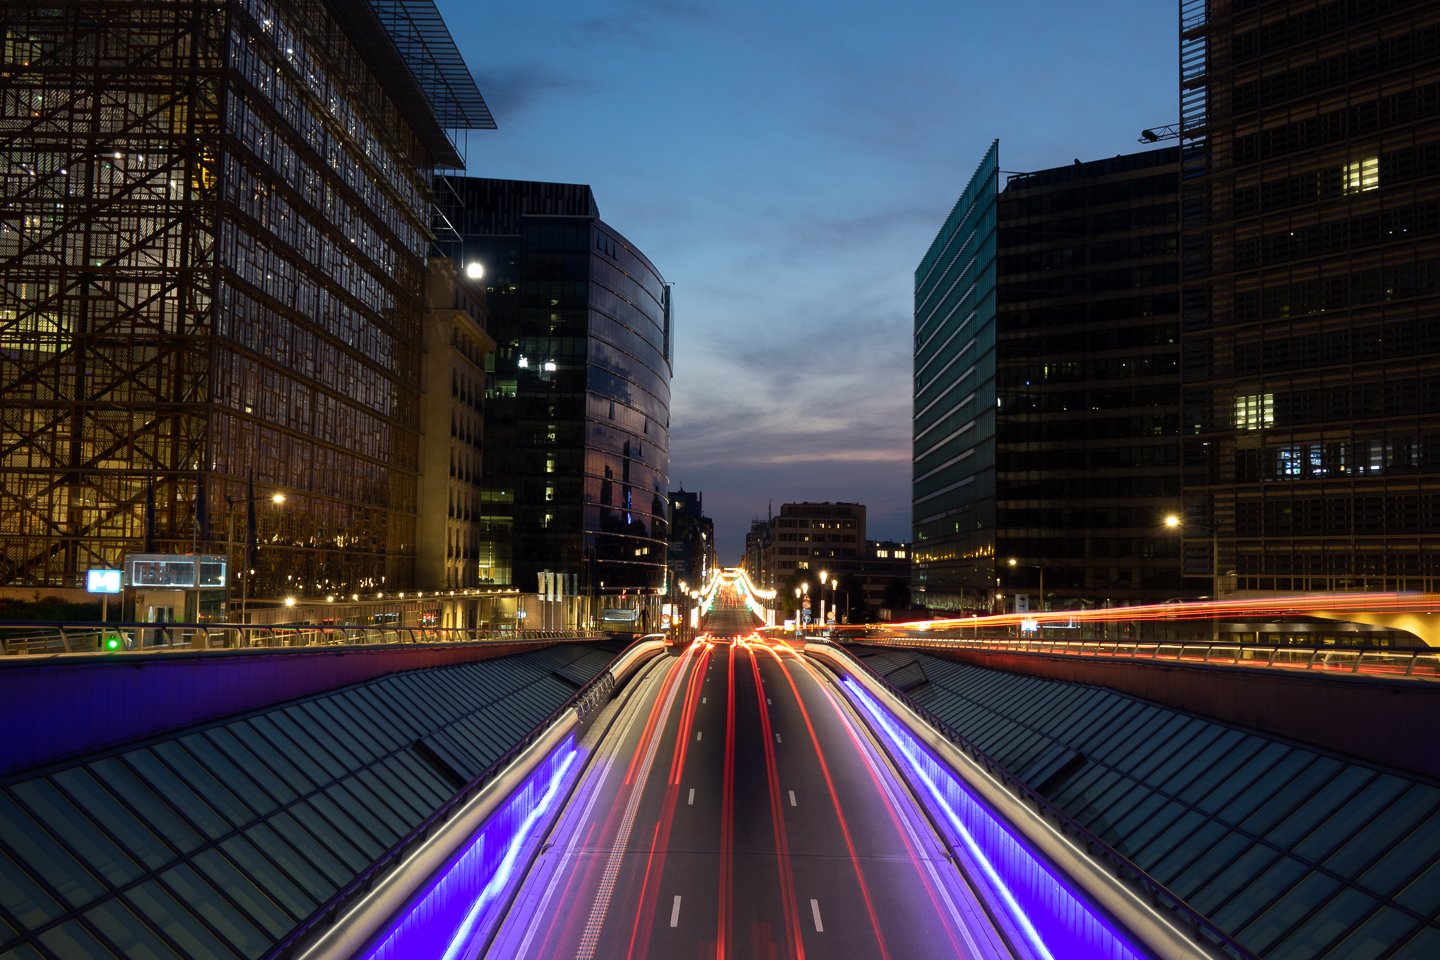
Light trail photography is a fun way to capture the movement of light at night. To create light trails, you’ll need a camera with manual settings and a tripod.
Set your camera to a low ISO, an aperture between f/4 and f/11, and a shutter speed of 10 to 30 seconds.
The best locations for light trail photography are busy streets, roundabouts, and bridges. Look for areas with a lot of traffic moving in the same direction. Including famous landmarks or buildings in your composition can add interest to your shots.
Any lens can work for light trails, but wide-angle lenses are great for capturing more of the scene. Telephoto lenses compress the perspective and make the trails appear longer.
With the right technique and a bit of creativity, you can create stunning light trail images that showcase the energy of the city at night.
To dive deeper into the world of light trail photography, explore our full article.
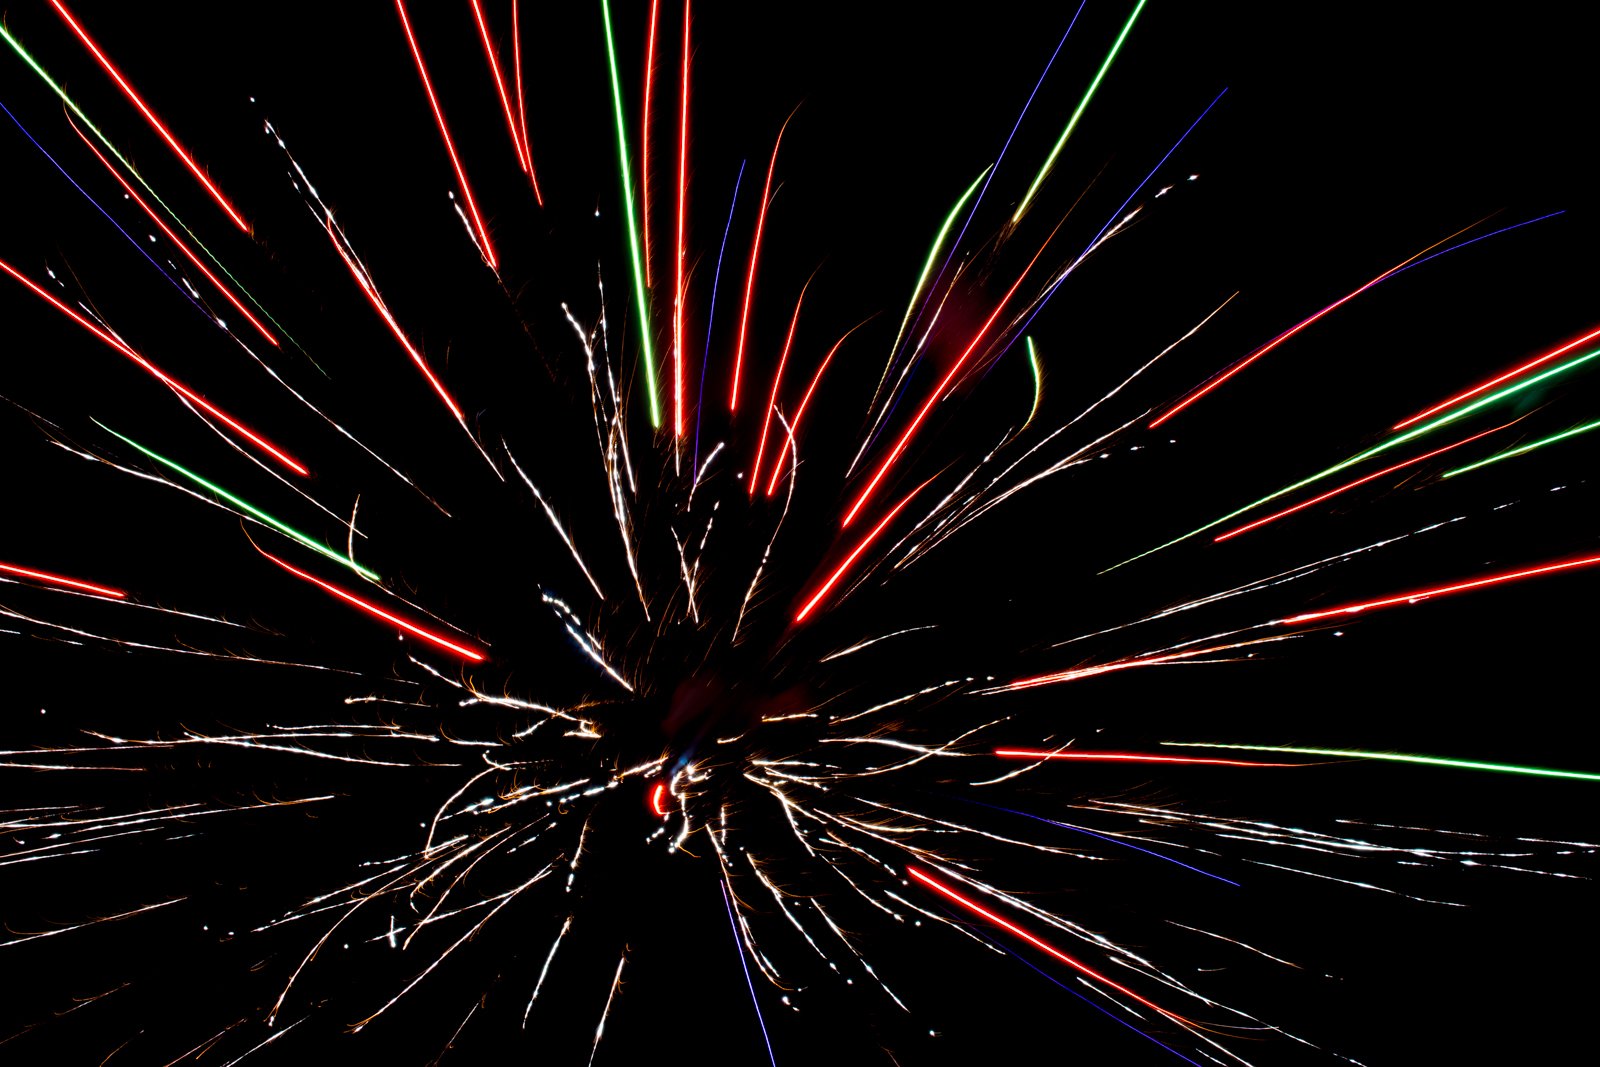
Fireworks
Photographing fireworks can be challenging, but with the right gear and techniques, you can capture impressive shots. Use a tripod to keep your camera stable during long exposures. Set your camera to Manual mode and shoot in RAW for the best results.
Start with an aperture of f/11 and adjust as needed. Use a slow shutter speed of at least 1/20 s or try Bulb mode to control the exposure time. Use a low ISO, such as 100 or 200, since fireworks are bright.
Focus manually and compose your shots creatively by varying your angle and including foreground elements. When editing fireworks photos, adjust clarity, contrast, highlights, shadows, and saturation to bring out the details and colors of the light display.
Our full-length article on firework photography has everything you need to know.
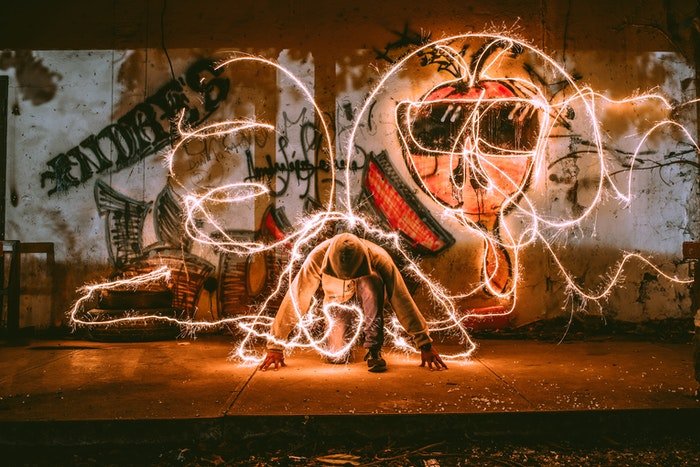
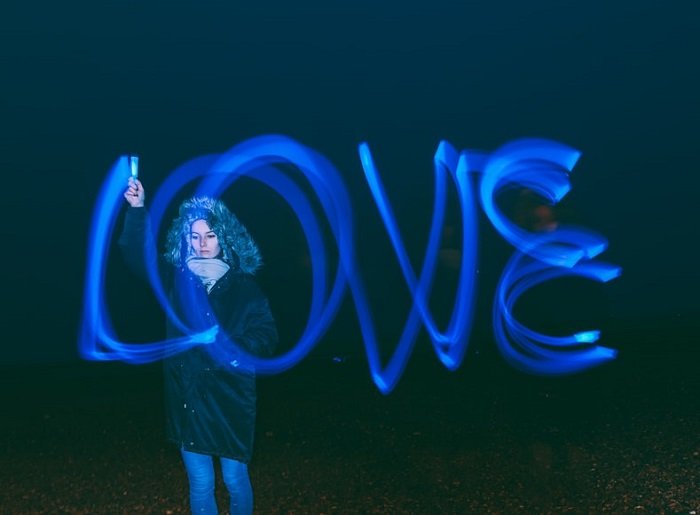
Light Graffiti
Light graffiti is a fun and creative way to experiment with long-exposure photography. To create light graffiti, set your camera to Manual mode and use a slow shutter speed.
This allows you to “paint” with light sources like flashlights, sparklers, or even your phone while the shutter is open.
Pay attention to your depth of field and use a narrow aperture, such as f/8 or higher, for sharp focus throughout the image. Manual focus can help ensure your graffiti is tack-sharp.
Get creative with your light sources and don’t be afraid to try different colors and patterns. Light graffiti is also a great activity to enjoy with friends. Try playing a game of Pictionary, where each person draws something with their light source for others to guess.
Our article on light graffiti is an easy and fun way to take your night photography to the next level.
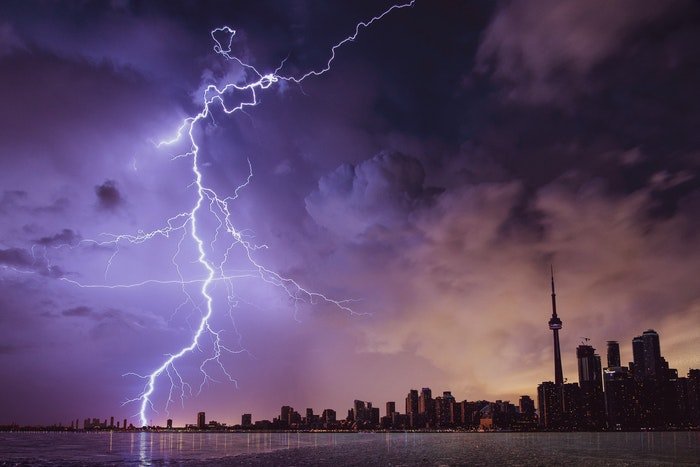
Lightning
Photographing lightning takes practice, but there are easy ways to improve your shots. Check the weather to predict when lightning will strike and choose a suitable location with a clear view of the storm.
Use a tripod to keep your camera steady and an intervalometer to take a series of photos without touching the camera.
Protect your gear from water damage by using a lens filter, rain sleeve, or even a plastic bag. There are two main approaches to capturing lightning: long exposure and using a specialized trigger.
With long exposure, you keep the shutter open and hope for a strike. A trigger detects changes in light levels and captures the lightning instantly. Whichever method you choose, stay safe and be patient. With practice, you’ll be able to capture stunning lightning photos.
To learn more about photographing lightning, check out our in-depth guide.
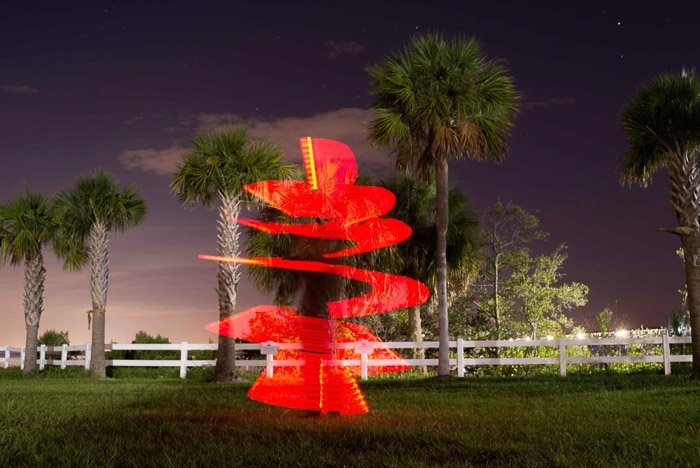
Light Spirals
Shooting light spirals is a fun and creative photography technique that involves using a moving light source to create colorful streaks and patterns in a long-exposure image. To create spiral light photography, you’ll need a toy lightsaber or a similar light source with a long shaft.
Start with your back to the camera, then turn on your light and point it downwards as the shutter opens. Slowly turn while lifting the light above your head, staying in one spot to keep the spiral looking neat.
Using manual camera settings is key for successful light painting photos. Set your ISO between 100 and 800, your aperture between f/8 and f/22 for a deep depth of field, and your shutter speed to match the time it takes to complete your light painting moves, which is typically 10 to 30 seconds.
A wide-angle lens works best to capture more of the scene around you.
Experiment with different light sources, colors, and backgrounds to create unique light spiral photography. Remember, it takes practice and trial and error to perfect your technique, so don’t get discouraged if your first attempts don’t turn out as planned.
Check out our full-length article on light spiral photography for everything you need to know.
Light Painting
Light painting photography is a fun and creative way to capture unique images. You’ll need a camera with manual settings, a tripod, and a light source like a flashlight or sparkler.
Set your camera to a slow shutter speed and low ISO, then focus on your subject in the dark using a flashlight.
Start by taking test shots to get your composition right, aiming for a slightly underexposed image. Then begin painting with your light source, moving it around the frame to create shapes and patterns. You can also use different colored lights or gels to add even more interest to your shots.
For the best results, shoot in a dark location with minimal ambient light and keep any additional movement to a minimum. With a little practice, you can create stunning light painting photos that are sure to impress.
You can read all about light painting photography in our full-length article.
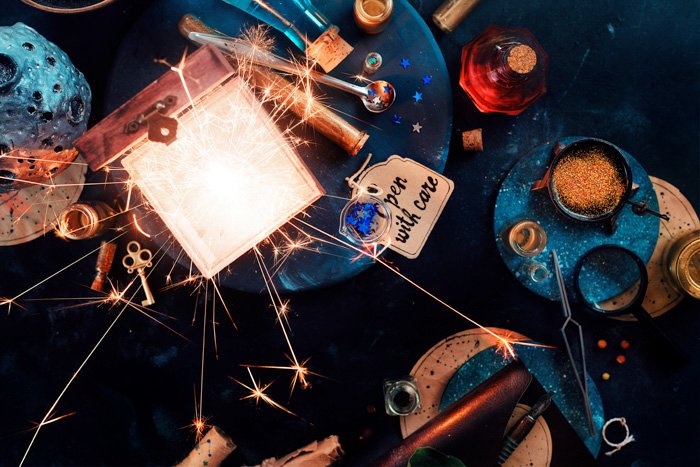
Sparklers
Sparklers are a fun way to add creativity to your still-life photography. To get started, gather your props like sparklers, matches, and a few interesting objects to photograph. Arrange your scene and use two light sources to illuminate it evenly.
When you’re ready, keep the sparkler steady to prevent motion blur. Adjust your camera settings for the best exposure, using a shutter speed between 1/100th and 1/10th of a second. Use Burst mode to capture multiple shots as the sparkler burns.
You can also photograph sparklers inside glass jars for a unique effect. Use long tweezers to drop small pieces of lit sparkler into the jars, then quickly snap a few photos.
With a bit of post-processing to adjust contrast and merge the best shots, you’ll have stunning sparkler still-life images.
Our full-length article on sparkler photography offers endless creative possibilities to explore.
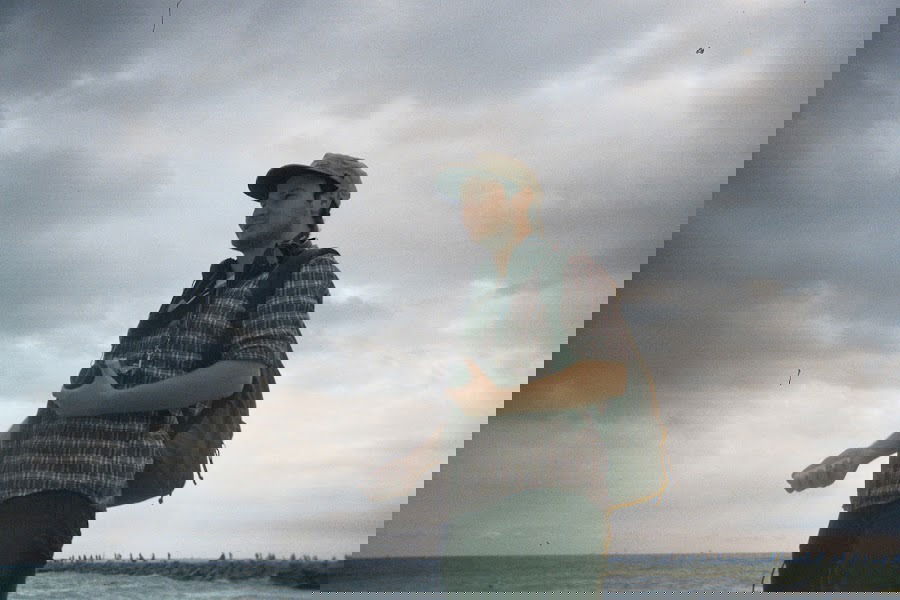
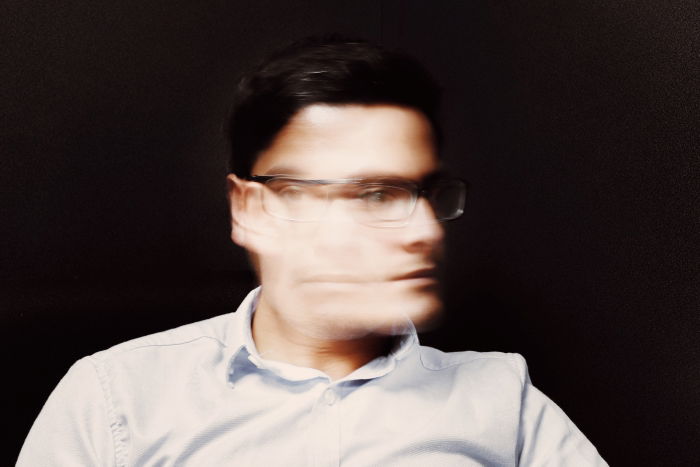
Portraits
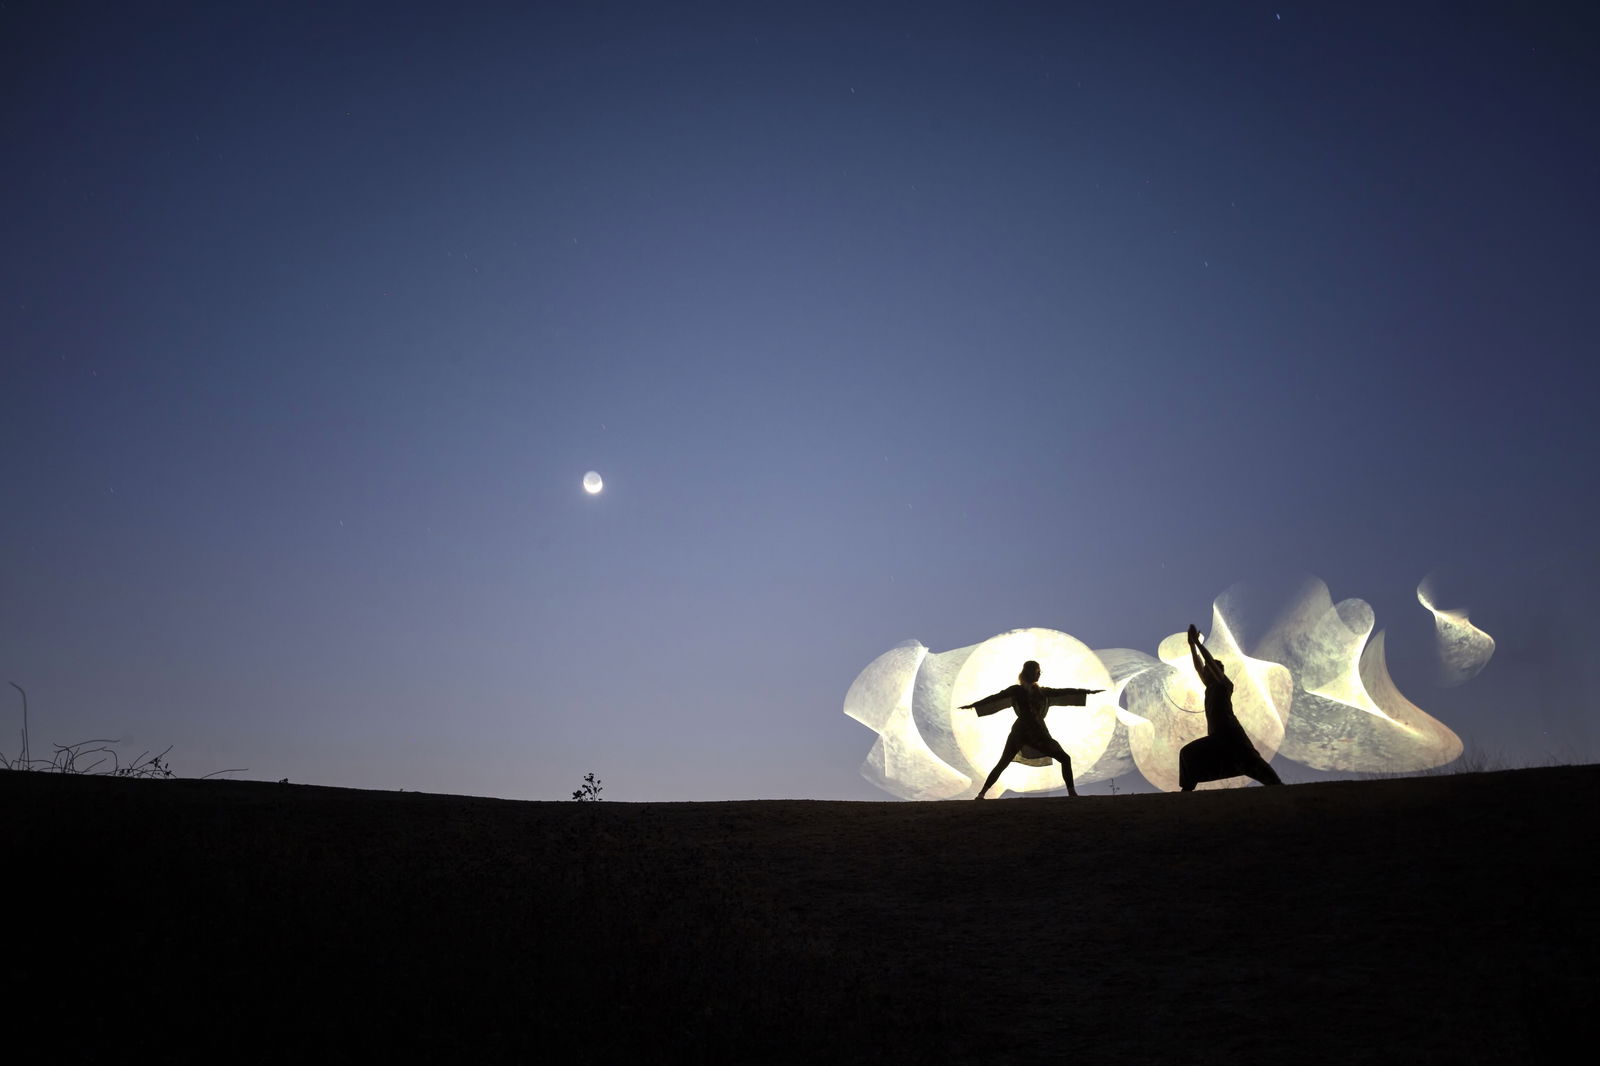
Long-exposure portraits create dreamlike effects by keeping the camera shutter open for several seconds or even minutes. This records movement as blurry streaks, perfect for surrealistic portraits.
To shoot long-exposure portraits, use a tripod and remote shutter to minimize camera shake. Find a dark location and choose a light source like lamps, strobes, or flashlights.
Set up your key light at about 45 degrees from your subject and experiment with additional lights. Use manual settings, starting with a wide aperture, a shutter speed of four seconds, and ISO 800. Focus manually and have your subject move, paint with light, or move the camera during the exposure.
Combine flash with ambient light for a mix of sharp and blurry elements. Long-exposure portraits take practice, so be patient and keep experimenting for magical results.
Check out our full-length article for everything you need to know about long-exposure portraits.
Long Exposure Timing
Long exposure is one of the few types of photography you can shoot at any time of day. You’ll have no problem shooting during the day, and sunsets are a great time to shoot long-exposure images. But you can also create long exposures at nighttime.
The next sections show you how to shoot long-exposure photography at any time of day.
Daytime
Daytime long-exposure photography captures the beauty of motion in well-lit scenes. To create this effect, you’ll need a camera with manual settings, a sturdy tripod, and neutral density (ND) filters.
ND filters reduce the amount of light entering your camera, allowing you to use slower shutter speeds without overexposing the image.
When composing your shot, look for moving elements like water, clouds, or crowds of people. Set your camera to Manual or Shutter Priority mode, and start with a low ISO and small aperture (like f/16) to limit the light. The shutter speed will depend on the brightness of the day, the strength of your ND filter, and the speed of the motion in your scene.
Experiment with different shutter speeds to find the perfect balance of motion blur and texture.
Follow this link if you’d like to learn more about daytime long-exposure photography.
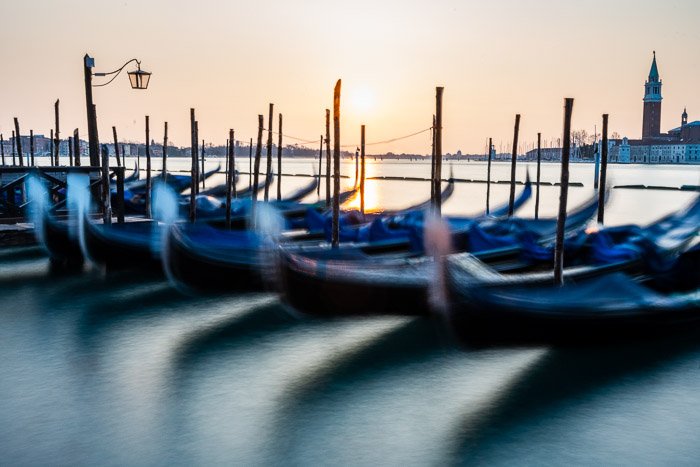
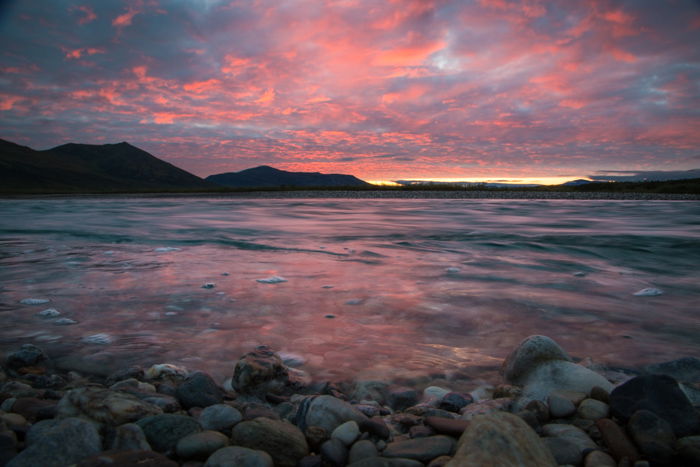
Sunset
Long-exposure photography is a great way to capture stunning sunsets. To get started, you’ll need a camera with Manual mode, a sturdy tripod, and a wide-angle lens.
Using a small aperture like f/11 or higher will create a deep depth of field, keeping both the foreground and background in focus.
Motion effects are important in sunset photography. Blowing grass, fast-moving water, or slow-moving clouds can add compelling elements to your shot.
The slower the subject moves, the longer your shutter speed will need to be to create a sense of motion. Watch out for blown-out highlights when using long exposures, and be careful not to bump your tripod during the shot. Use a remote shutter release or your camera’s two-second timer to avoid vibration.
To learn more about long-exposure sunset photography, check out our in-depth guide.
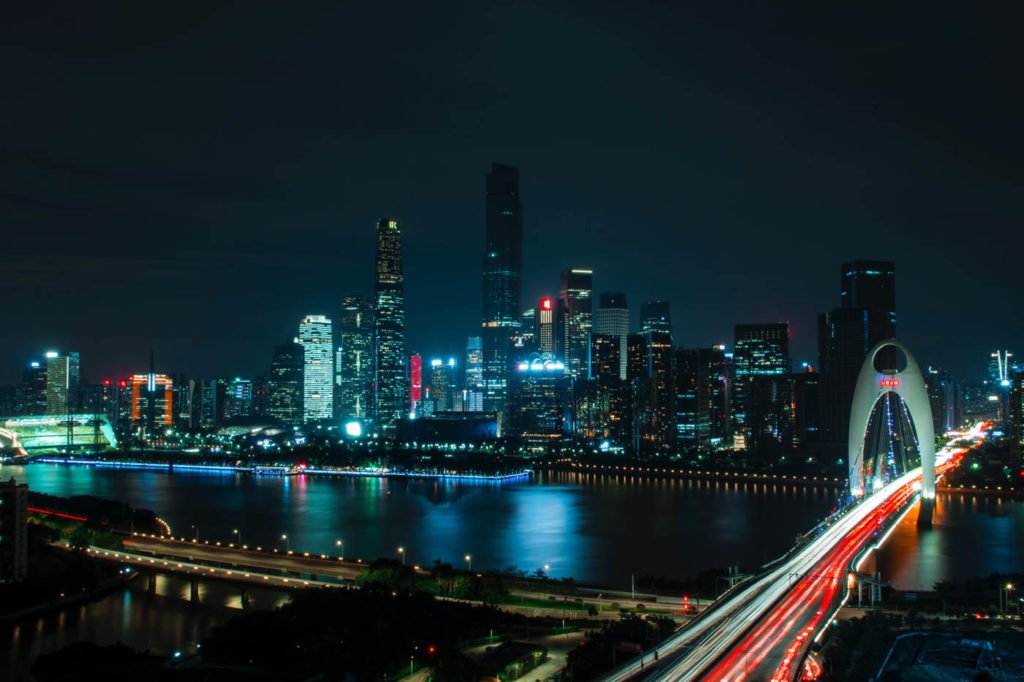
Nighttime
Capturing stunning cityscapes at night requires the right gear and techniques. A fast lens with a wide aperture like f/1.2 or f/1.8 is essential for letting in more light. Use a tripod and remote trigger to avoid camera shake and ensure sharp images.
Timing is key when shooting night cityscapes. Arrive at least 45 minutes before sunrise or sunset to capture the best light. For pitch-black skies, wait an hour or two after the sun has completely set.
Use a high ISO between 800 and 3,200 for optimal low-light performance without excessive noise. Compose your shot using the rule of thirds grid and focus manually using Live View.
Set your camera to Aperture Priority mode with the widest aperture setting, or use the 300/500 rule in Manual mode.
Learn more about long-exposure night photography in our detailed guide.