Nature photography is incredibly rewarding if you love the great outdoors. But it can be a tricky discipline for inexperienced photographers. A wide variety of subjects, unpredictable movements, and outdoor shooting all cause difficulties.
But don’t worry, we’re here to help you master the art of nature photography. With these practical tips, you’ll be able to improve your knowledge, camera skills, and nature photographs. We look at everything from lenses to composition techniques, so by the end you’ll be a proficient nature photographer.
Nature is a great subject for photography. Whether your subject is plants, animals, landscapes, or all of these things combined, it makes for eye-catching images.
The trouble is that nature photography requires skills, knowledge, and techniques from other genres, like landscape and wildlife photography. This makes it a tricky type of photography for beginners.
That’s why we’ve developed this list of helpful, practical tips to help you improve your nature photography. Let’s get started.
The first step when learning about any photography genre is to use the professionals for inspiration. And it’s no different with nature photography.
There are plenty of incredible professional nature photographers working today. Pick up any issue of National Geographic, BBC Wildlife, or Nature and you’ll see some of the finest examples of nature photography.
You can also look at specific nature photographers. As one of the all-time greats, Sebastiao Salgado is a great photographer to start with. But contemporary photographers like Ami Vitale and Art Wolf are also producing incredible nature images.
We have full articles dedicated to the best nature photographers and environmental photographers. They are the best place to start for nature photography inspiration.
Researching your subject is vitally important in nature photography. Knowing your subject well helps you capture better and more interesting photographs.
Perhaps there’s a specific plant you want to photograph. You need to know where it grows. But not only where it the world it grows, you also need to know what kind of environment it thrives in. For example, fungi like damp woodland, so you know where to look for mushrooms.
The same goes with animals. But you also need to learn about how animals behave. Understanding their patterns of behavior also gives you a better chance of finding them. Badgers are most active at dawn and dusk, so that’s when you need your camera ready.
You can also lure some animals close using a food they are particularly fond of. This makes it easier to capture animals shots of them in a more controlled environment.
While some types of photography have specific types of lenses that meet their needs, things are not so simple for nature photographers. This is because of the diverse subject matter.
If you’re interested in natural landscapes, a standard 50mm or 35mm prime lens will work fine. These lenses also tend to be affordable, so you don’t need to make a big investment.
But photographing animals is a bit more tricky. If you can get close, a standard prime will also work fine. But getting close isn’t always easy. In this case, you need a telephoto zoom lens.
Pro-level wildlife lenses are expensive. However, you only need one of these if you’re going on a safari or arctic expedition. Cheaper zoom lenses will still garner good results if you’re shooting in your back garden or local woodland.
If you’re interested in insects or flowers, you can try using a macro lens. A macro lens allows you to capture incredible close-ups of small subjects. They’re a specialist lens, so can be pricey. But they’re well worth the investment if that’s your style of nature photography.
Nature photography usually features a subject such as a plant, animal, or flower. But in a busy environment, your subject can get lost in the weeds (quite literally!).
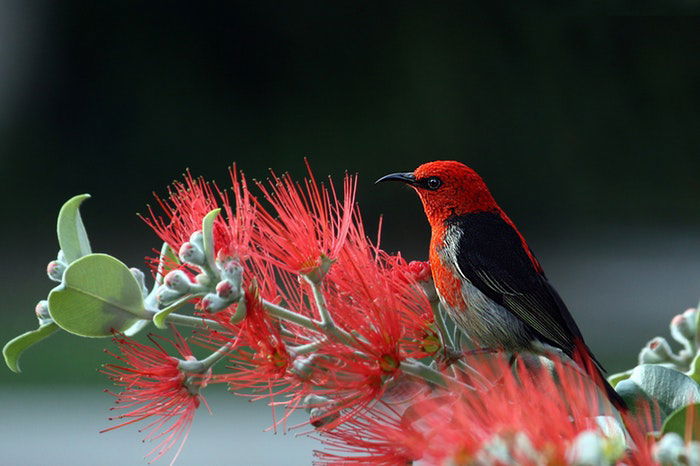
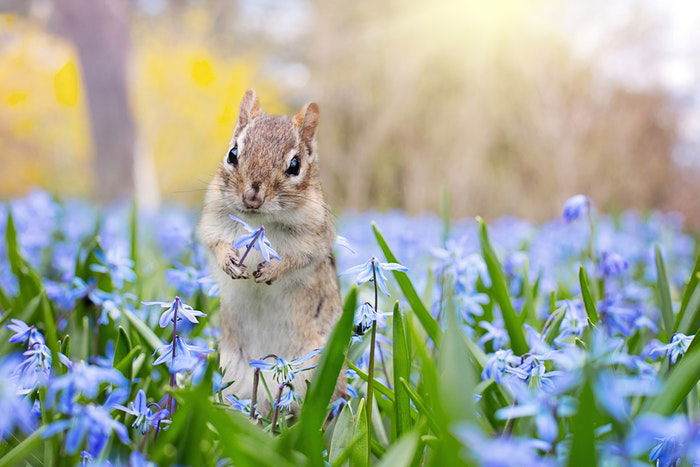
Using a shallow depth of field allows you to separate your subject from the background. Using this technique narrows the focal plane, blurring the background while keeping your subject in focus.
To do this, you need to use a wide aperture (large f-stop). The wider your aperture, the shallower the depth of field.
An aperture setting of f/2.8 gives you a shallow depth of field and a blurred background. But using an aperture like f/11 gives you a deep depth of field. This means more of your scene is in focus.
This means you should use a wide an aperture as possible when taking nature pictures of plants or animals. You should use narrow apertures for landscapes. But try using a shallow depth of field when taking pictures of specific animals or plants.

Texture is an excellent tool for making photographs visually interesting. And thankfully for nature photographers, nature is full of fascinating textures.
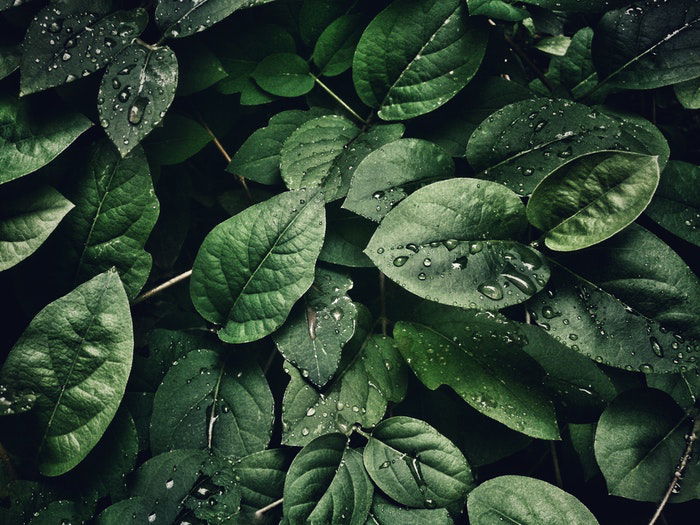
Look at different types of tree bark. You can also look at the grain of cut wood. Leaves and petals also have gorgeous textures. Any natural space is teeming with textures and patterns. Once you train your eye, you’ll see more and more.
The trick is finding interesting ways of capturing them. Macro-style close-ups are a brilliant way to document plant textures. But you can also shoot wider shots, perhaps capturing different variations of the same texture.

© Sohail Na
This isn’t a hard and fast rule, but rather, a guideline. If you’re going to shoot nature photography, try to keep everything in the shot natural.
There’s nothing wrong with taking a picture of the bird on a power line, or spider on the side of your house. It can make for some creative and interesting juxtapositions.
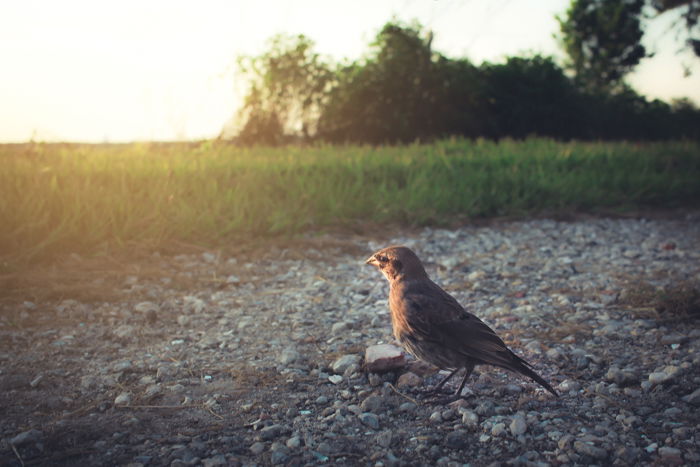
But if you’re after powerful nature photos, then photograph animals and plants in their natural habitat.

The majority of nature photography takes place outside. That means you can’t rely on studio lights, LED panels, or ring lights for illumination. That’s why understanding natural light is essential for nature photography.
Firstly, you need to master the exposure triangle. This is how your three main exposure settings, ISO, aperture, and shutter speed, interact with each other.
But you also need to understand the different types of natural light you’ll encounter shooting outdoors.
You have bright sunlight during the day, especially in summer. This can lead to overexposure, so you need to be careful.
Then you have the golden hour in the evening, which is great for nature photos. You get rich colors and long, dynamic shadows. Sunset and sunrise are also great for natural landscape shots.
You’ll be working with shaded areas when shooting in woodland, so you’ll have to adapt to those conditions. Forests also get dark quickly when the sun sinks, so your shooting period is reduced.

Every nature photographer needs a good tripod. They will add extra weight to your pack when hiking in natural environments, but tripods give you far more creative freedom.
We’ve looked at how important natural light is. But natural light can be limiting. Mounting your camera on a tripod negates that problem, allowing you to use a wider range of exposure settings.
With the extra stability of a tripod, you can use slower shutter speeds without the risk of blurry images. Camera shake is eliminated, so you get sharp images from longer exposures.
Tripods aren’t much good if you want to move around quickly. But if you’re shooting plants, trees, or landscapes, a tripod is the perfect accessory.
Learning a few basic composition styles and techniques is a great way to make your nature images more visually stimulating.
The rule of thirds is a great place to start. It’s a basic composition idea that helps you build interesting compositions. You can use it in any style of photography, but it works especially well with nature photography.
The rule of thirds is where you divide the frame up using two vertical and two horizontal lines. The lines should be evenly spaced apart, giving you a basic grid.
The idea is that you position interesting elements on the intersecting points of the grid. This gives your image impact, form, and balance.
You can also try the golden ratio, another useful technique for nature shots. There’s a rule of triangles, too. You can also look for leading lines, symmetry, and negative space.
Developing your photography style is important if you want your images to stand out. You don’t have to have a crazy, experimental style. But you do want something that represents your personality and creative vision.
You can introduce experimental techniques into your nature photography. Double exposures work especially when photographing nature. Long-exposure photography also works really well with natural landscapes.
Shooting in black and white can give your nature shots a unique edge. Black and white photography makes you look for different things, like lines and textures.
Film photography and nature are also a match made in heaven. The timeless finish of film photos adds an element of nostalgia to nature shots that warms the heart. You can experiment with 35mm or medium format film photography.
A photographer has to work to nature’s timetable, not the other way around. You can’t force the sun to rise or sink, nor can separate the clouds in the sky. You have to take your opportunities, which often involves waiting for the right moment.
Sometimes you have to wait until the right time of day to get the best shot. On other occasions, you might have to wait until tomorrow. And for certain events, you might have to wait until the next season or even the next year.
Patience is also a virtue when photographing animals. Often, you have to wait for long periods in the same place. Animals are easily startled, so a lot of movement with scare them away. The best strategy is to wait in one place until the animals come to you.
Any type of outdoor photography requires good preparation. We are all at the mercy of Mother Nature’s whims and wants, and that could leave us in a tricky situation if we’re not prepared.
Always check the weather forecast before you leave and pack for the worst-case scenario. It might be sunny when you leave, but the weather could change and leave you dripping wet by the end of the day.
Investing in a good waterproof camera backpack is a great step. This will keep your gear protected even if the heavens do open unexpectedly. But you should also take a rain covering for yourself, so take a waterproof layer with you.
Another accessory might be a head torch if you’re leaving early or returning late. You should also take a portable power bank. This will allow you to recharge your camera or smartphone when you’re out in the wilderness.
It’s impossible to explain this without using the phrase “leave only footprints”. As cliche as it is, it couldn’t be more accurate.
Be sure to take home any rubbish, even if you think an item is biodegradable. An orange or banana peel can take up to 2 years to decompose.
Respect the environment you’re shooting. You have to understand the importance of not disturbing natural environments.
We are photographing a sensitive world that is the home of many living things. We should make every effort to have a minimal lasting impact on that world.
Nature photography can be rewarding for photographers and viewers alike. It isn’t the easiest genre to master, especially if you’re a beginner. But we believe nature photography is something anyone can enjoy.
The nature photography tips in this article are the perfect entry point for anyone just starting out in this field. Even if you take it one tip at a time, your nature photography skills will definitely improve.
Whether learning about different flora and fauna or trying an experimental technique, you’re sure to get more interesting nature photos. Preparation and research are key, but you can also play with different composition ideas.
With nature photography, the more you put in, the more you get out. That’s why we’ve provided you with this article on how to improve your nature photography.