Double exposures are a great way to get creative with images in a simple way. It’s a technique that uses two photographs to create a new image. It can be a powerful way to present a concept or a fun way to combine two scenes.
Today, I will show you how to create your double exposure in Photoshop. I have been working with double exposures in film photography and digital photography for a few years. Here are the best tips I have picked up from these years of practice.
What Is A Double Exposure In Photoshop?
A double exposure in photography is when you take two exposures over the same section of film or digital sensor. This means that the film or image you get on your digital camera will have an overlay of two images on a single image.
A majority of digital cameras will not give you the option to make a double exposure, so you will have to do this on Adobe Photoshop. With film cameras, you have to rewind the film and then reshoot the whole film again! This means you will get a random double exposure (unless you counted your frames and remember your images well!).
Double exposure work by taking advantage of the dark sections in an image. If a specific section hasn’t been exposed, the second exposure is likely to fill in these areas. This means dark places will disappear in a double exposure, and light spots will punch through.
What is a Double Exposure Effect?
A double exposure effect is a technique you can do on Adobe Photoshop to achieve a double exposure but with added control. With a photographic method based on chance, control means the edit’s success will rely on your creativity alone.
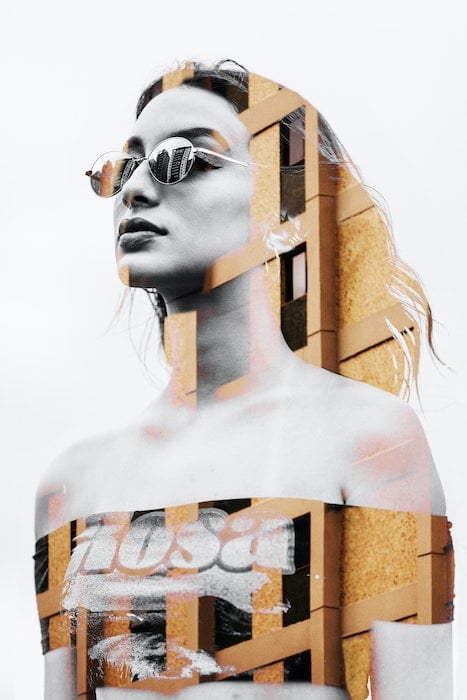
The control you have ranges from the images you choose to which part of the picture contains each image. Often, this comes in the form where a landscape is projected onto someone’s clothes or faces.
You can add gradients and even use two or more exposures for extra control. It all depends on what image you are trying to create and what feeling you want to convey to the viewer.
Why Create a Double Exposure?
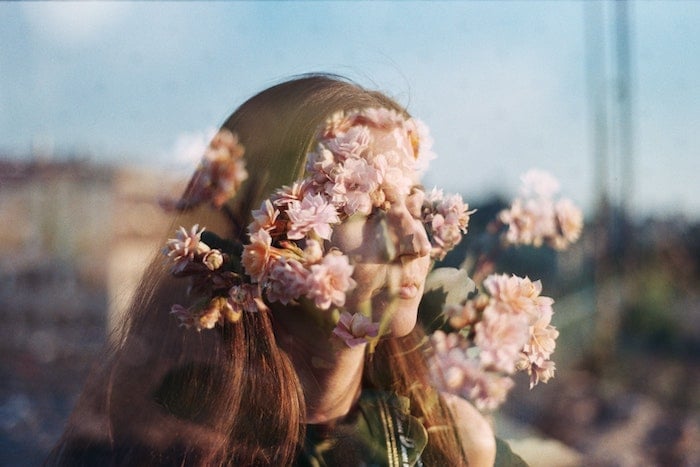
Double exposure photos create a great relationship between two images. They are great for making images that look like you are looking into the subject’s soul. A great example is when you use landscapes as the second image inside a model. We are presented with a scene and cannot help but link our feelings to the person depicted.
We can use this to our advantage. If we want to portray someone as calm, we could pick the sea as the second exposure. Similarly, if we wanted to depict someone as angry, we could pick fire as the second exposure.
Alternately, we could use an empty subject and fill it with people. This could work well for a picture of your family home. You can put a portrait of your family members inside this house!
How to Make a Double Exposure Effect in Photoshop
A double exposure effect can be tricky to get your head around. Trial and error will be a part of this process, but to help, I will guide you through an easy step-by-step.
Step 1: Selecting and Masking your Image
First, find the image you want to be the main subject of your photograph. This could be anything from your pet to a lamp! I have chosen this portrait from a stock image site, unsplash.com. Now, open your image in Adobe Photoshop.
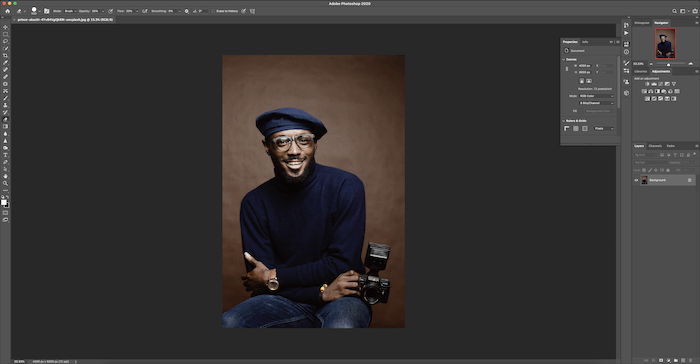
Crop the image to your ideal size.
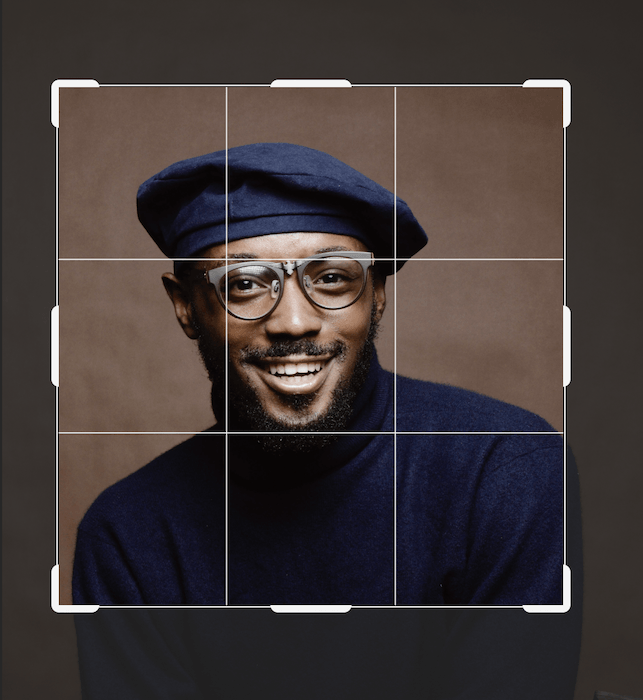
This is the suitable composition that I want for my final image.

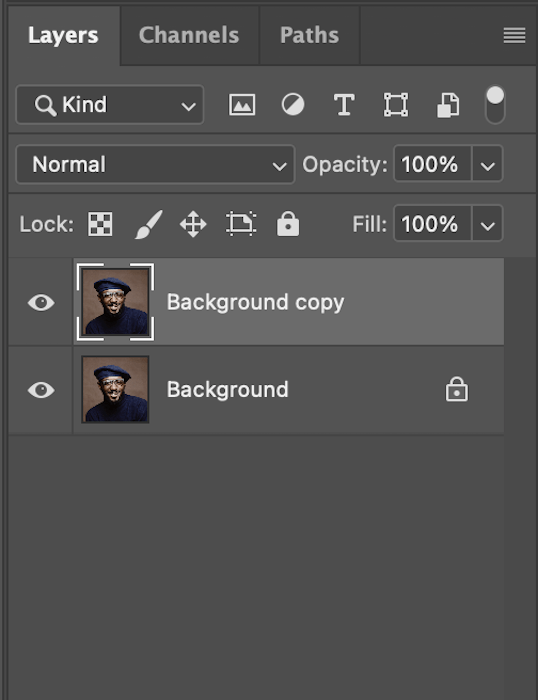
I will duplicate my background by dragging the layer to the bottom and dropping it on the “new layer” thumbnail.
Next, grab your Quick Select tool from the left-hand toolbar. Be sure the top brush has a + sign next to it.
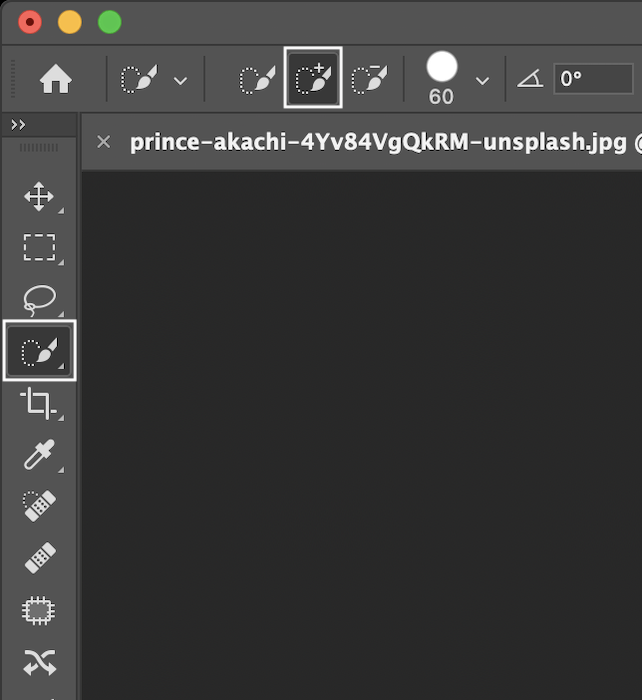
Now you can start slowly painting the subject you want to select.
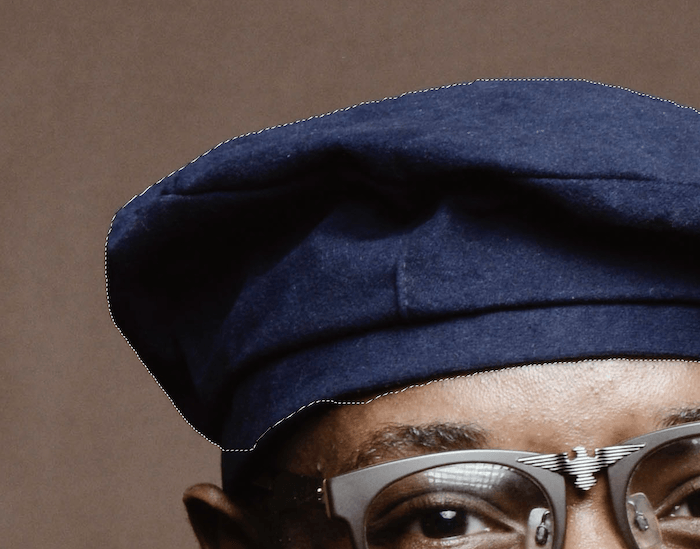
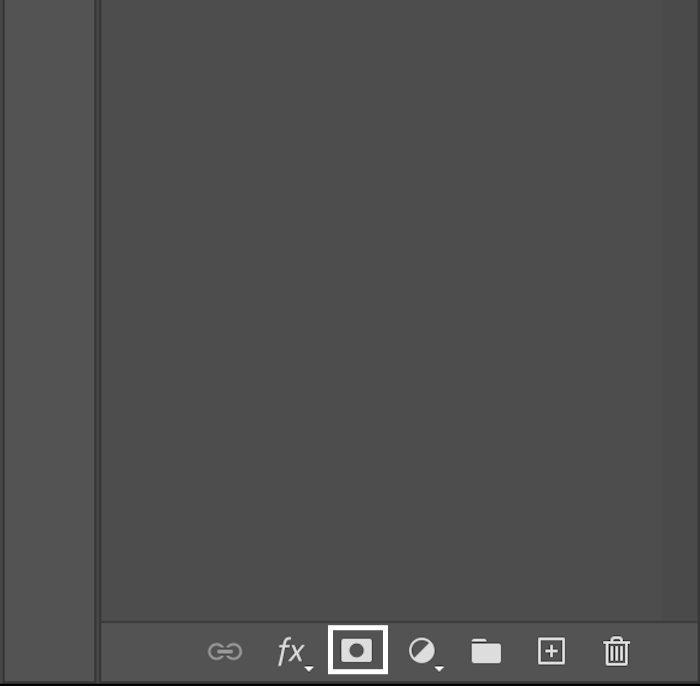
Once the whole body is selected, make sure you double-check the image to avoid missing any parts. Select “add layer mask” at the bottom of your layers toolbar.
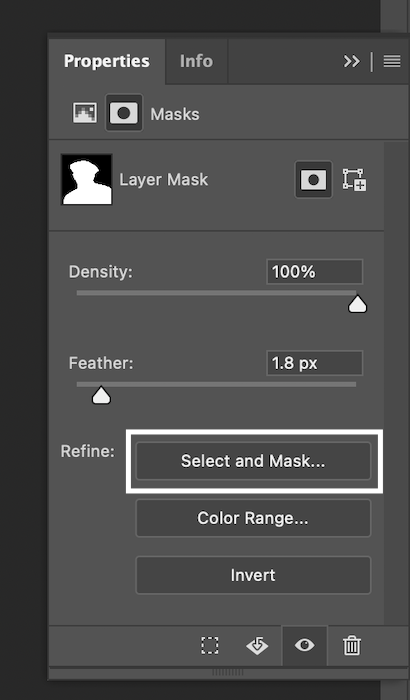
This new box will now appear towards the right of your screen. Click on “select and mask”.
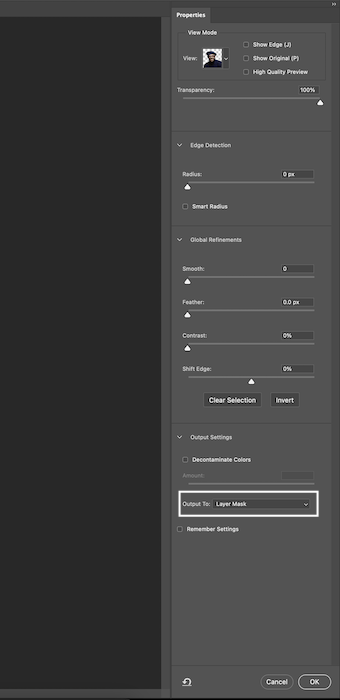
This will bring up this new page. Here you can feather the outline to about 2 pixels. Most importantly, under Output Settings, make sure you output to a Layer Mask.
Step 2: Prepping The Image
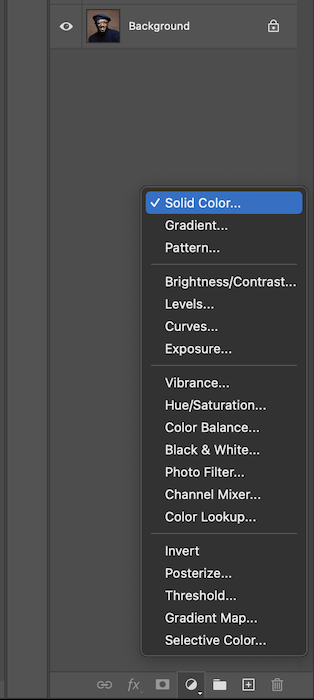
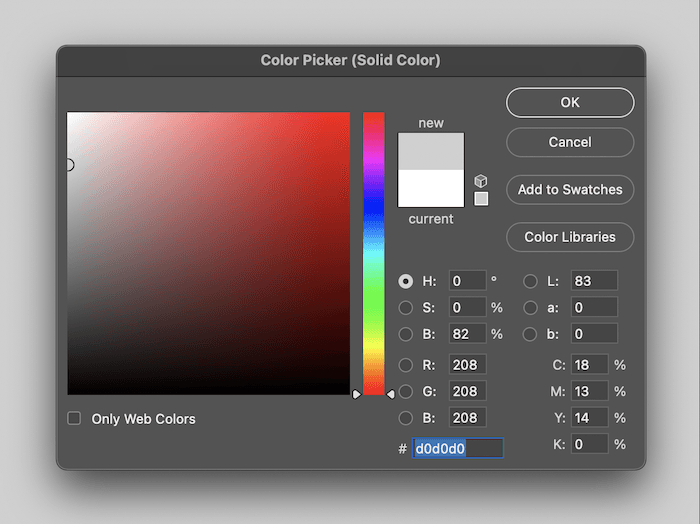
We will add a solid color layer to have a neutral background. Go to New Adjustment Layers at the bottom of the layers toolbar and select “solid colour”.
Here you can choose any color you like, but I will go with a neutral grey.
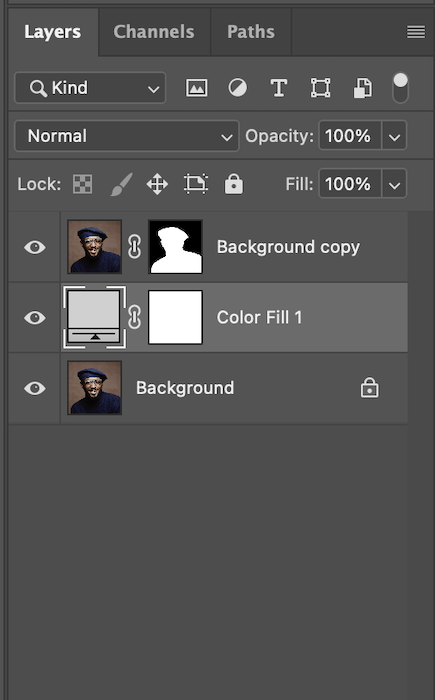
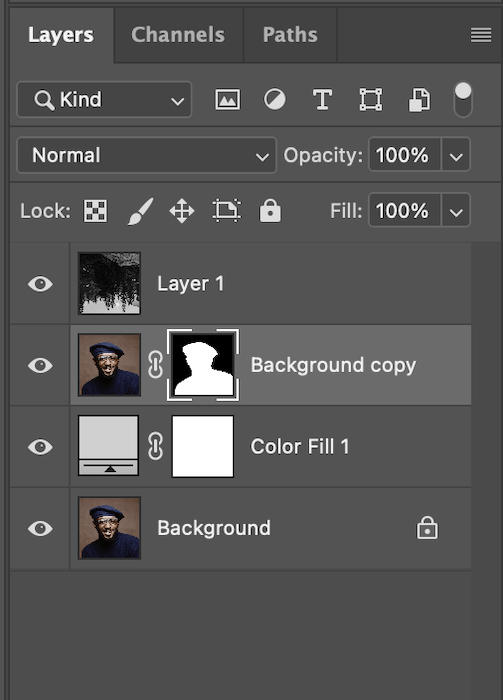
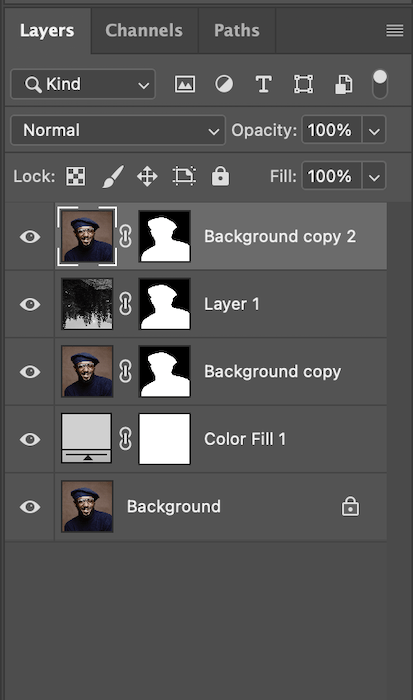
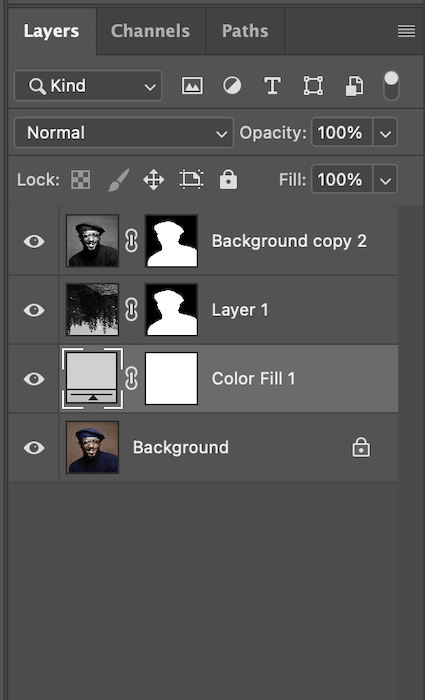
This is what your layers section will look like.
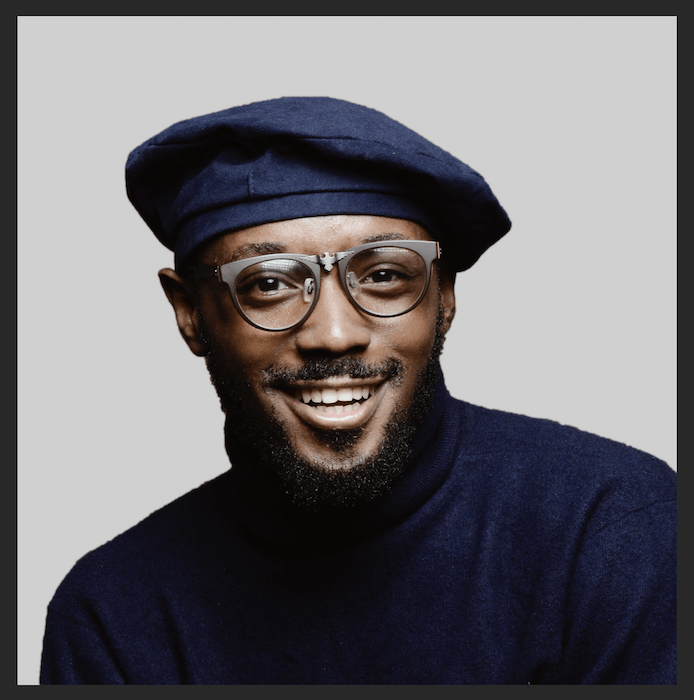
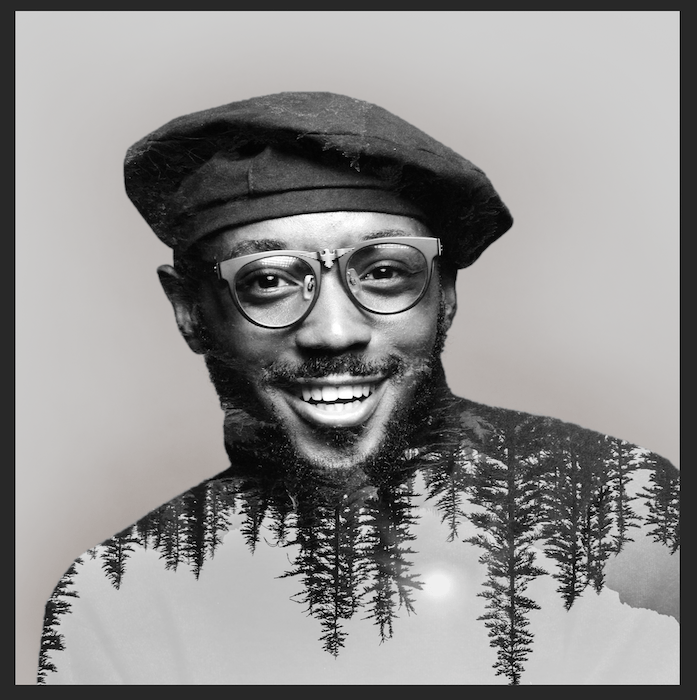
And this is how your image should currently look.
Step 3: Adding Your Double Exposure
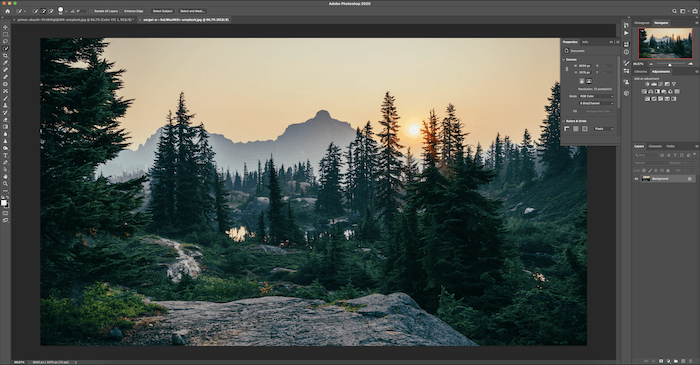
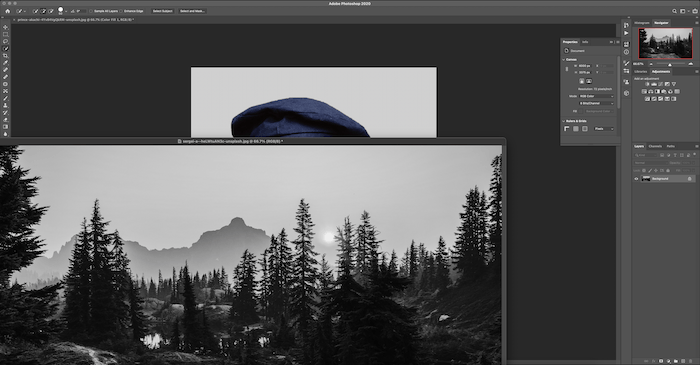
Now, let’s bring up the second image that you want inside your subject. I have chosen this forest scene.
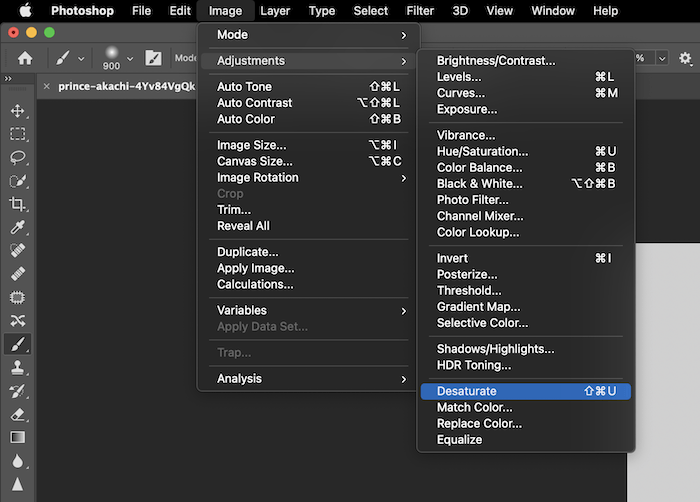
I want to stick with being monochromatic, so I go to Image > Adjustments > Desaturate.
Let’s move this image into the other photoshop document by dragging the layer across.
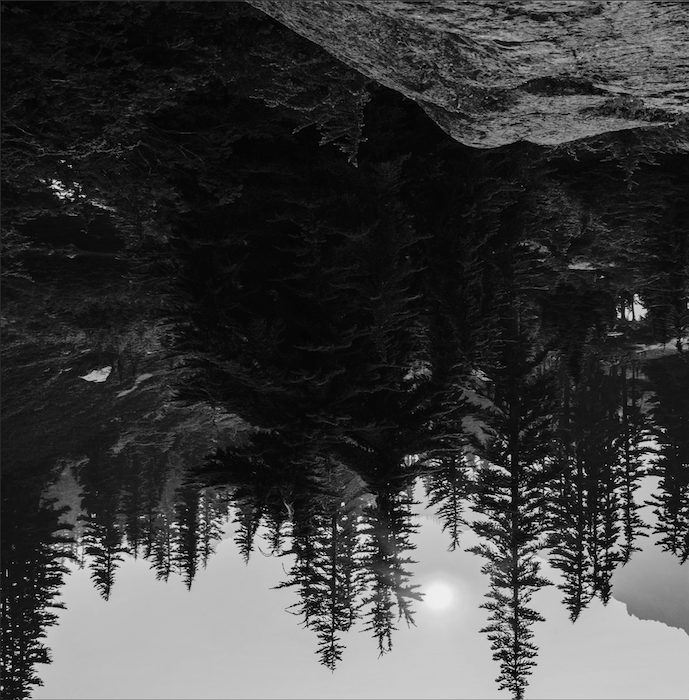
Use Command+T (Control+T for Windows) to adjust the image how you would like it. I have rotated the image to make the image a bit more interesting.
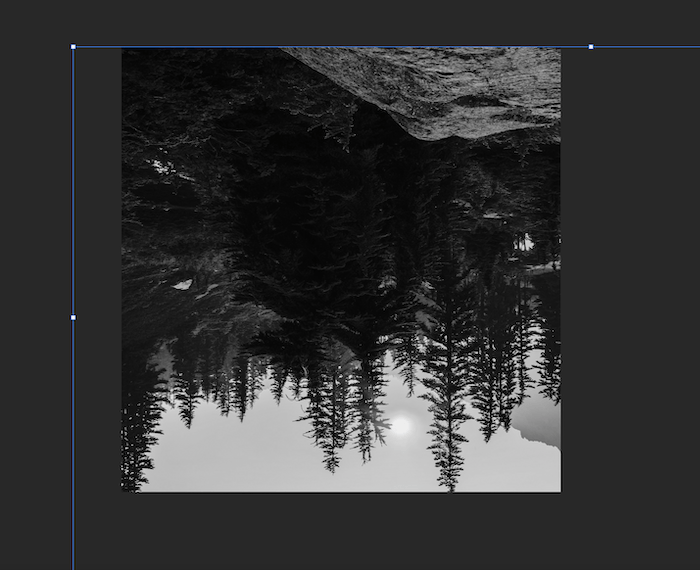
I am happy with this selection because the dark bit of the image is roughly where the model’s face will be.
Command+click (Control+click for windows) the layer mask of the model.
This will add the silhouette to your image. This is an excellent way to see how the image will look on your subject.
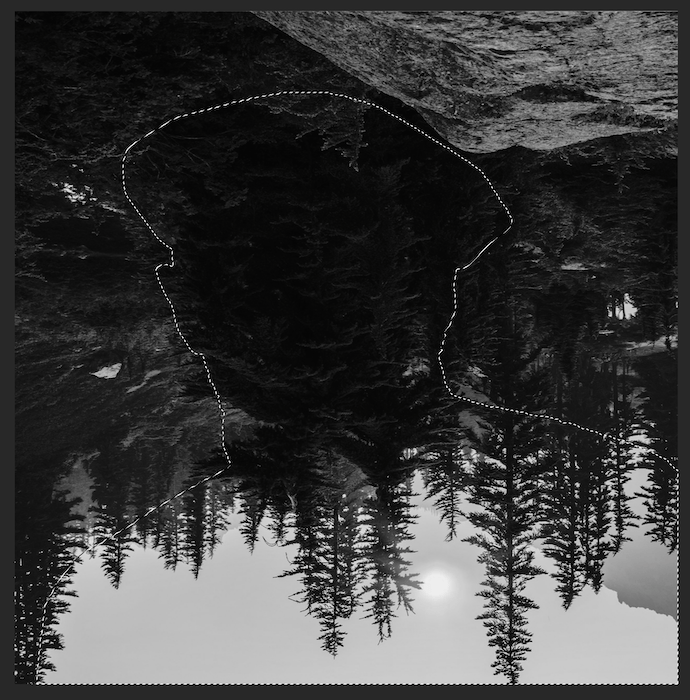
With the marching ants still over your image, select the new layer (the forest image) and click on “add a mask”.
This is how your image should look.
Select your original layer and duplicate it by dragging it to the bottom of the Layers toolbar and dropping it on Add New Layer. Then bring the new layer to the top.
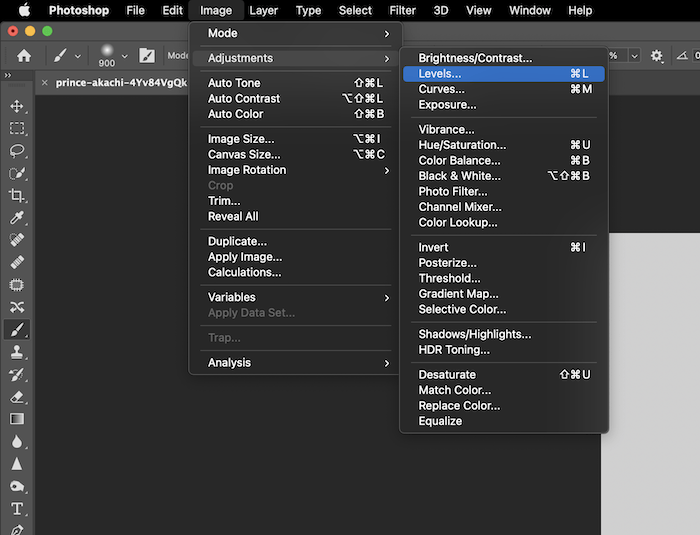
We will add contrast to this new layer to improve the double exposure effect. Go to Image > Adjustments > Levels.
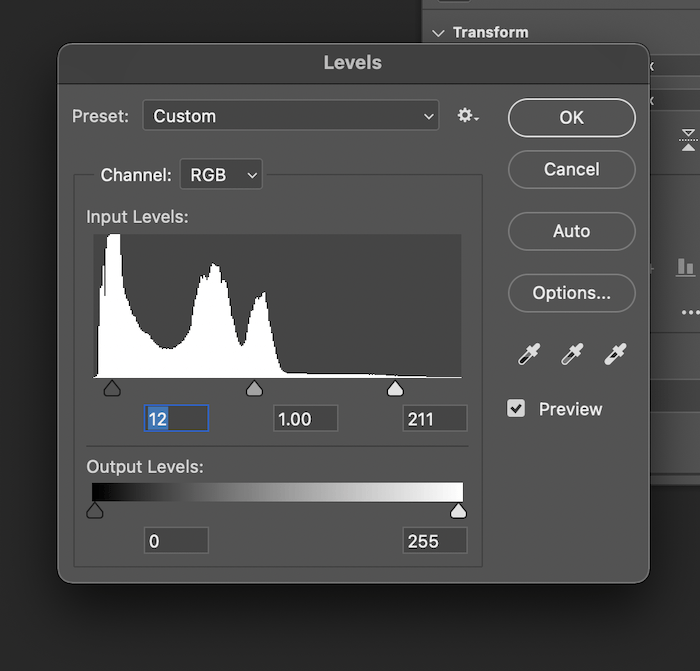
Use the Shadow and Highlight sliders to add more contrast to your liking. My image already has a bit of contrast, so I won’t mess with this too much.
Now desaturate this layer as well.
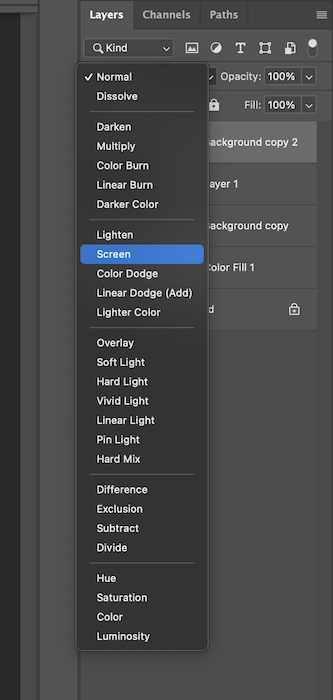
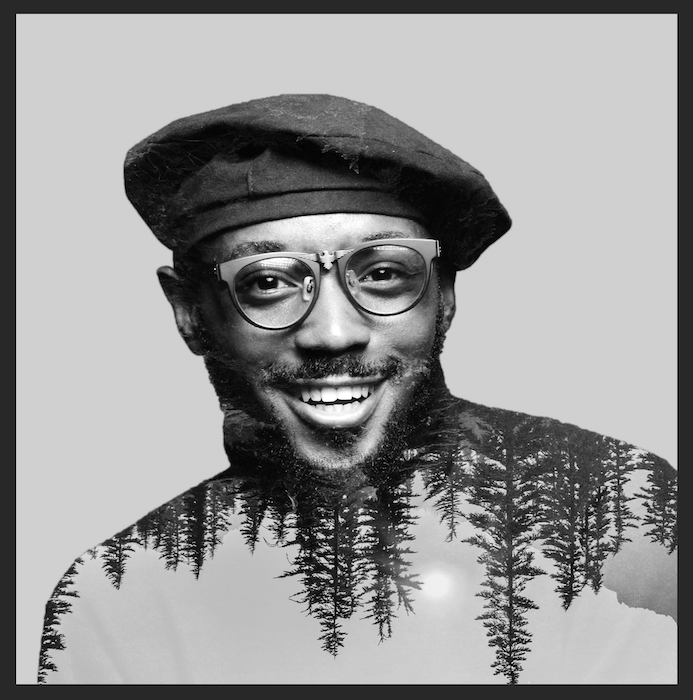
Finally, let’s go to the blending modes for our new top layer. You can select these to see which works best, but I have found that Screen replicates a double exposure best.
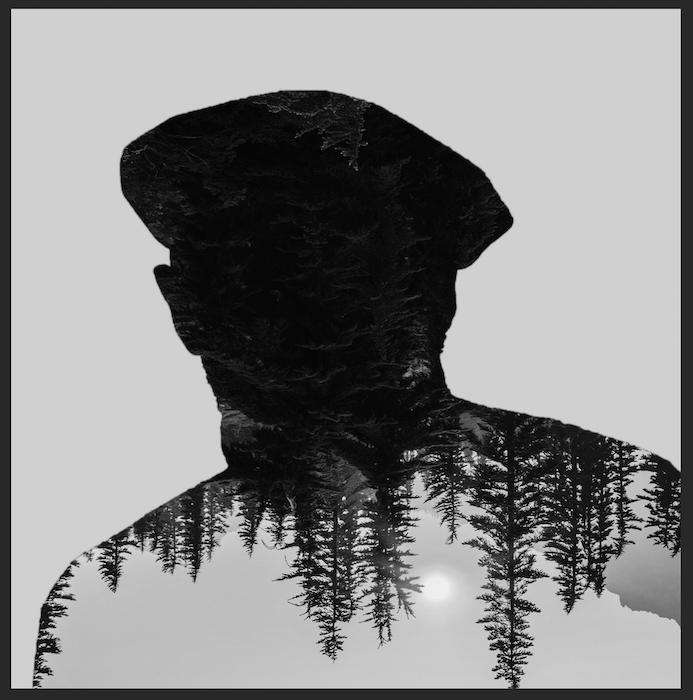
This is what your image should now look like.
Step 4: Extra Touches
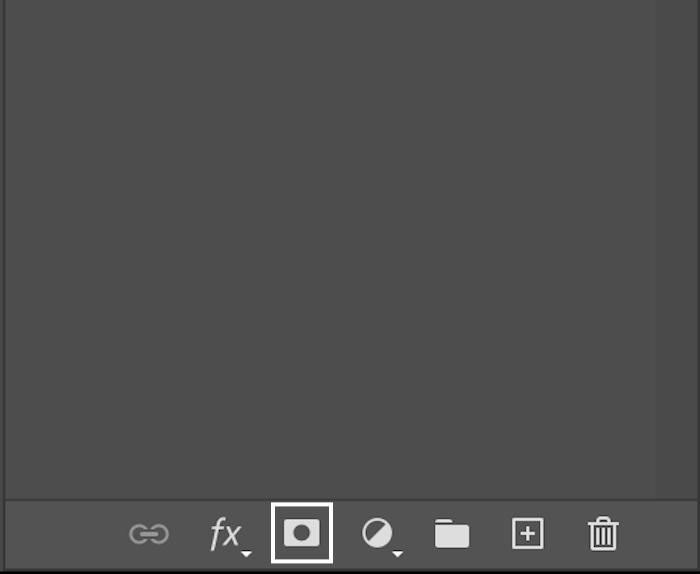
To give the image a bit more depth, let’s add a slight shadow behind our subject. First, select the “color fill” layer.
Now, grab the brush tool and set a low Opacity and Flow. Make sure your brush has soft edges, and you’re painting with black selected.
![]()
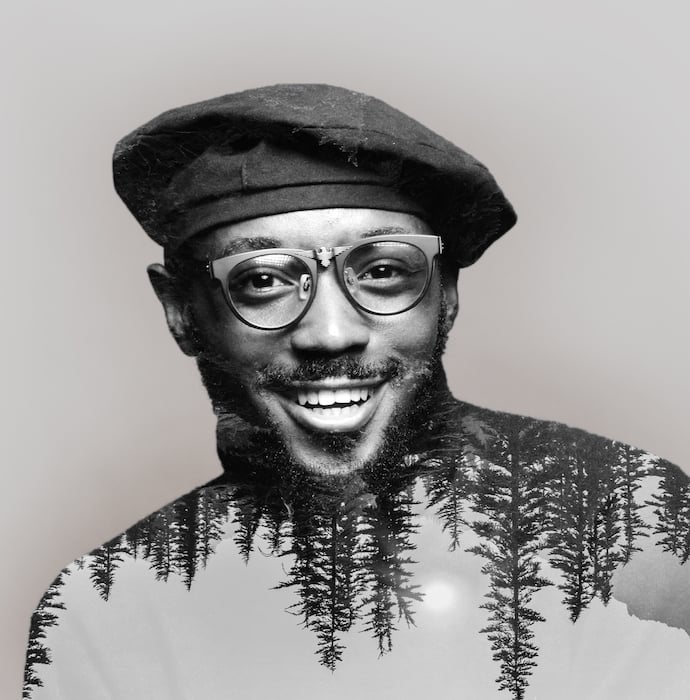
Slowly go around your image outline and add where you think the shade is necessary. This is what my image will look like.
If I were to Alt-click on the Color Fill mask, this slight shadow is what you will see. It doesn’t seem like much, but it helps the subject pop out the image nicely.

Now you have a simple double exposure!
Conclusion
Double exposure photos have a unique aesthetic to them. Using this aesthetic to your advantage can produce some impactful images. This allows you to make a double exposure in Photoshop that isn’t just aesthetically pleasing but also conceptual. Maybe you choose a landscape that is important to the subject? Or perhaps you make an object the subject and put a group image of you and your friends inside?
The opportunities to create an exciting photograph are endless. As I stated before, it can be a tricky technique to master. Go on Photoshop and have fun with it! You can even use the same stock images as I have to follow along even closer.
Check out The Creative Photography Cookbook for a ton of fun and unique photo inspiration!


