There are all sorts of ways to add color to your photography, but one of the easiest (and most fun) is to make your own colored powder. All you need is some food coloring, cornstarch, and a little imagination! Here’s how to use colored powder for photography.
Colored Powder for Photography Gear
- Flour
- Food coloring
- A clear bowl for mixing your ingredients
- Plastic covers to keep your gear safe
- A plastic cover to shoot on
- A broom
Consider the Risks to Avoid Accidents
DIY color powder is a controversial topic due to all the risks it comes with. You need to know the danger of using certain ingredients.
That way you can have a safe and successful photoshoot.
Don’t Use Fire and Flour in the Same Room
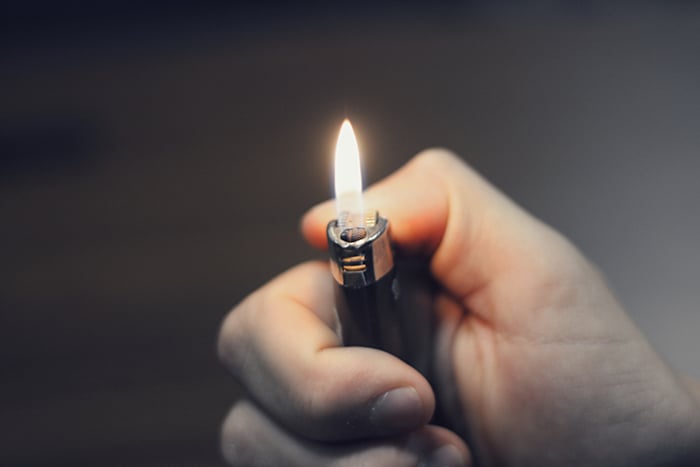
Flour is an explosive substance when it’s exposed to any kind of fire. There have been many examples of people getting burned by it in workplaces. Avoid using fire and too much powder during your photoshoot.
According to AweSci, “All it takes to cause a disaster is a suspended combustible powder and a little electric arc formed from electrostatic discharge, friction, or even hot surfaces.”
Avoid Getting Flour in Your Eyes

While flour isn’t toxic, it’s not something you’d like to have in your eyes, nose, or mouth. When throwing it in the air, make sure to keep your mouth closed.
If it gets in your eyes, you can use water drops or wash your eyes. Make sure your photoshoot location has a clean water source for this.
Cover Your Gear and Get Ready to Clean
Color powder will make everything in your studio messy. Shoot in a makeshift studio where there’s enough space to move and breathe.
This will help avoid suffocation and let the color powder fall on something you can clean it from.
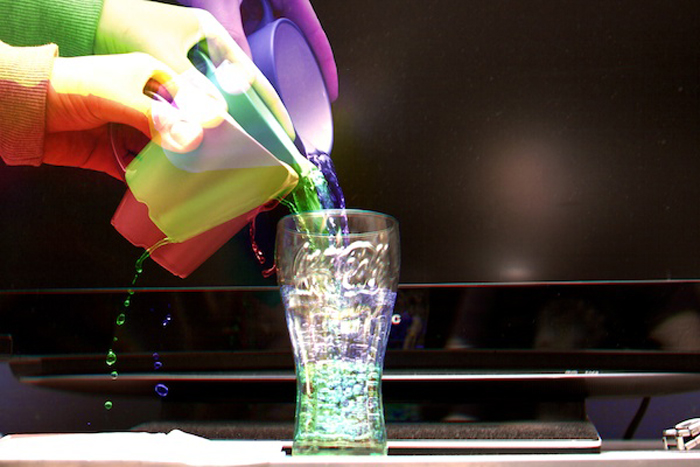
Because of the food coloring, the powder will stain clothes. Make sure to wear something you don’t mind staining.
Use plastic covers so that the powder doesn’t end up damaging your equipment. When it’s thrown in the air, keep a distance between the model and yourself so your lens doesn’t get stained.
You can use a zoom lens so you can take sharp photos without compromising their quality.
DIY Color Powder Instructions
Mix the Flour with Food Coloring
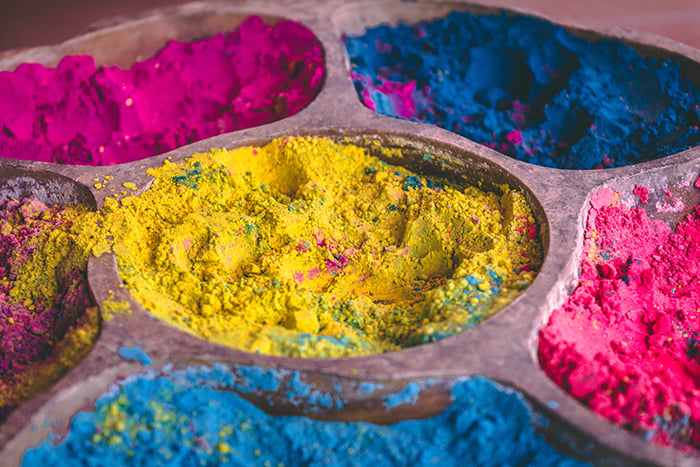
Add the flour to a clear bowl and mix it using your hands or a whisk. (You can wear gloves to avoid making a mess.) Then, start adding drops of food coloring to the flour.
The more you use, the more intense your color powder will look.
You can mix different colors or use a single color, depending on your photoshoot theme.
If you want to get extra creative, make different kinds of color powder in different bowls. You can then throw these from different directions during your shoot.
The amount of powder you make depends on how long your photoshoot will be. To avoid unnecessary explosion risks, don’t make too much.
Let the Mixture Dry
It’s likely that the food coloring will create clumps of flour. When this happens, mix it a little and leave it to dry.
You might have to wait from a few minutes to a few hours, depending on how much food coloring you added.
Once the mixture is completely dry, your color powder is ready!
Transfer the Color Powder to a Safe Place
Put the powder into a plastic bag or container. This way, you’ll be able to carry it without worrying about fire hazards or wind.
Color Powder Photography Tips and Ideas
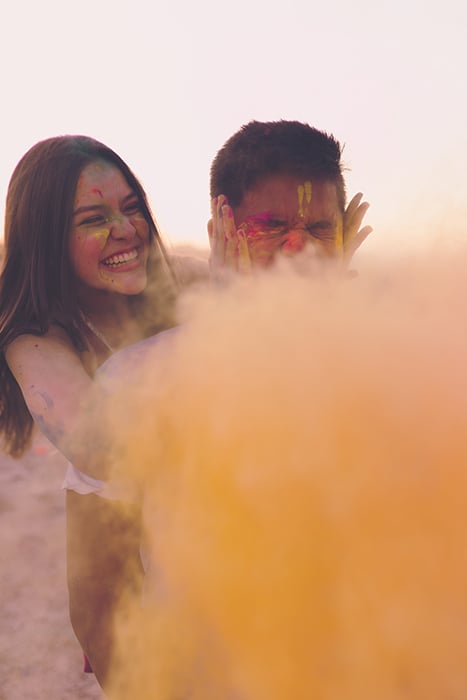
Hire an Assistant to Throw the Powder for You
Color powder photography can get very tricky if you handle it on your own.
If you throw the powder and take photos at the same time, you’ll end up staining your clothes. You might even damaging your equipment. If your model throws the powder, they won’t have time to pose in different ways.
To make the process much easier, ask someone to help you throw the powder. You can hire several assistants so they can throw it from different directions.
The more assistants you have, the easier it will be to take epic photos of flying color powder.
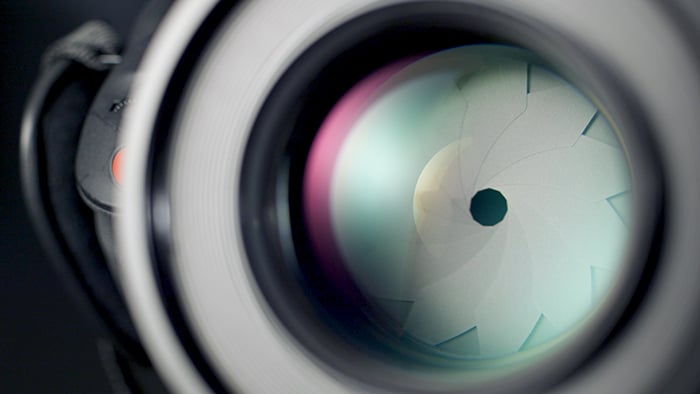
Use a Fast Shutter Speed to Capture Details Sharply
One of the most important aspects of color powder photography is shutter speed. To avoid blurry shots, make sure your shutter speed number is larger than the length of your lens.
For example, if you’re using a 50mm lens, your shutter speed shouldn’t be slower than 1/50th of a second. The faster it is, the sharper your results will be.
To compensate for the low light, increase your ISO number. You don’t need to worry about this too much if you’re shooting in a well-lit location.
If possible, use Burst mode while taking photos. This will allow you to take a series of photos as you hold the shutter. For unpredictable genres like color powder photography, this feature is very important.
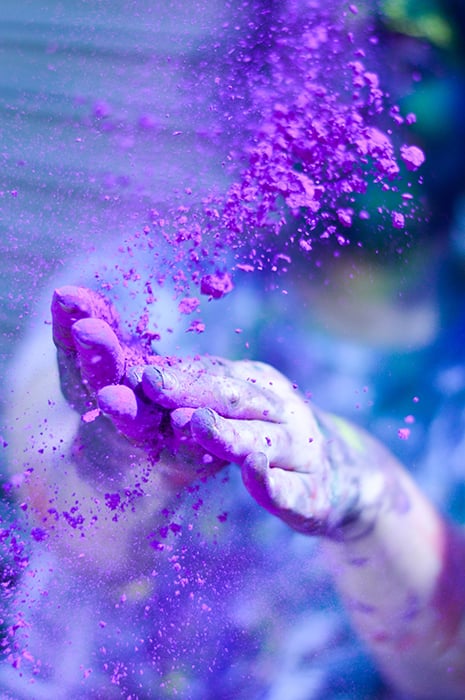
Use a Simple Background to Make the Powder Stand Out
If you shoot in front of any background, the color of the powder might blend with the background colors. It won’t look effective.
You can avoid this by shooting in front of a neutral background. For moody and surreal results, use a black background. For a minimalist feel, use a white background.
If you want, you can use neutral or pastel colors with textures. The simpler your background, the easier it will be to notice the texture and color of the powder.
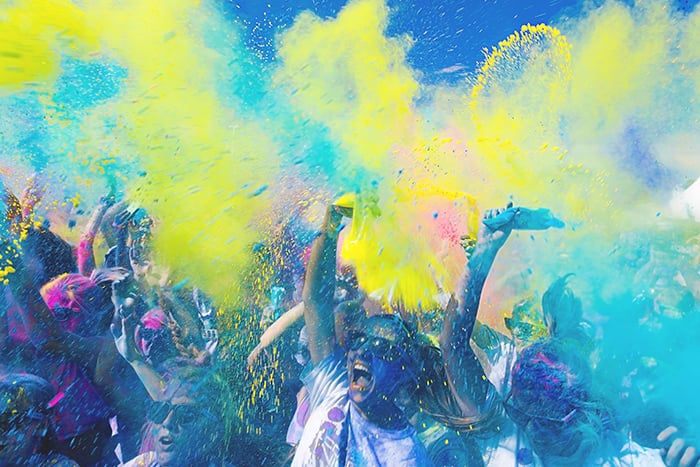
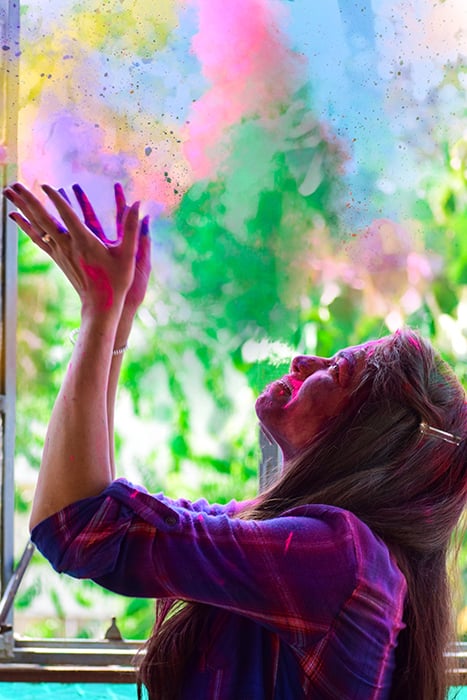
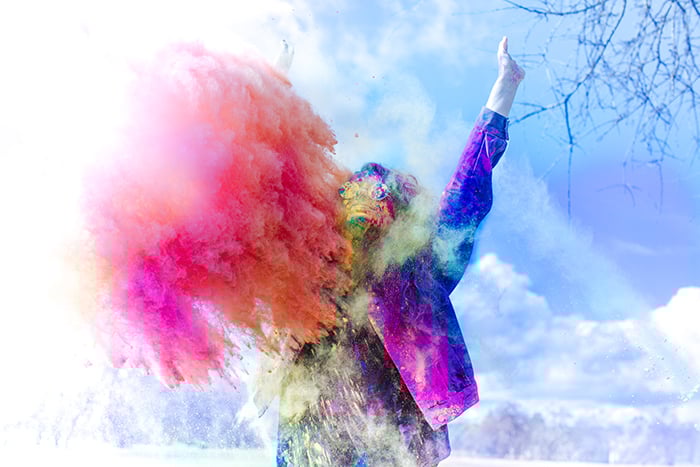
Ask Your Model to Dance and Express Themselves for Powerful Results
First, make sure you feel comfortable with your camera settings and background. After that, it’s time to focus on the emotional side of your photoshoot.
On its own, color powder is a tool for expressing yourself. If you use it with the right poses, movements, and expressions, it will enhance your work.
Ask your model to dance, jump, and flip their hair so that you can take as many photos of flying powder as possible.
Let them express themselves in any way they like. Your results are more than pretty pictures of color powder.
Use Props to Make Your Photos Stand Out
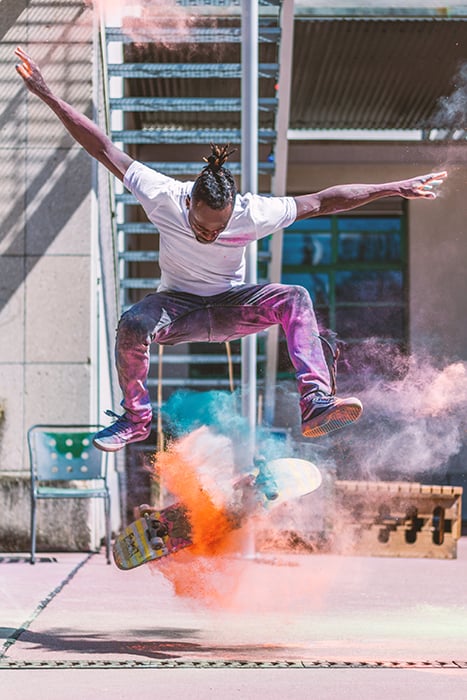
You can include props that go hand-in-hand with your theme. This is another way to make your color powder photography unique.
Make sure they don’t take the spotlight away from the color powder. As long as they don’t do that, they’ll complement your subject and the story you’re telling.
You can use antique items, accessories like hats, chairs, balloons, and so on.
Conclusion
Making color powder is an easy process with affordable ingredients.
Once you learn how to make and use it safely, you’ll have a new tool to help you take vibrant photographs.
It’ll enhance simple photos, and allow you to express yourself in unique ways.