Photography is such a great medium. It really can give you the flexibility to do many different types of photography pretty much from anywhere in the world.
This is why it’s also great to have a portable photo studio set up. Just in case your clients are looking for studio quality even when you don’t have an actual photography studio space.
Many photographers specialize in one type of photography. Others may do different types of photography. This is important to take into consideration when you are looking to build your kits for studio quality photographs.
If you are a still life photographer, you’ll need different equipment than say, a newborn photographer. You’ll also need to determine if you will be photographing in natural light or with off-camera lighting, or perhaps both.
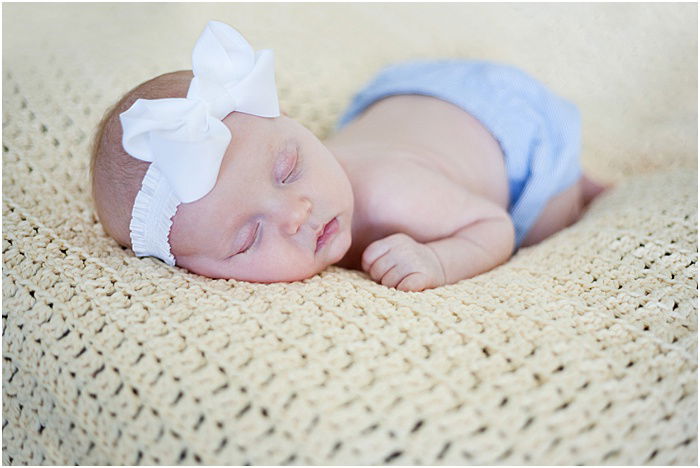
All of these things are important to take into account when you are building your photography studio kit. It will help you maximize the type of photographs you can take. And allow you to keep your studio quality high even when you don’t have a studio space.
You’ll also need to determine if you’ll be using a natural light portable studio or if you want to use artificial light or both. This will help you figure out what basic equipment you’ll need for your sessions.
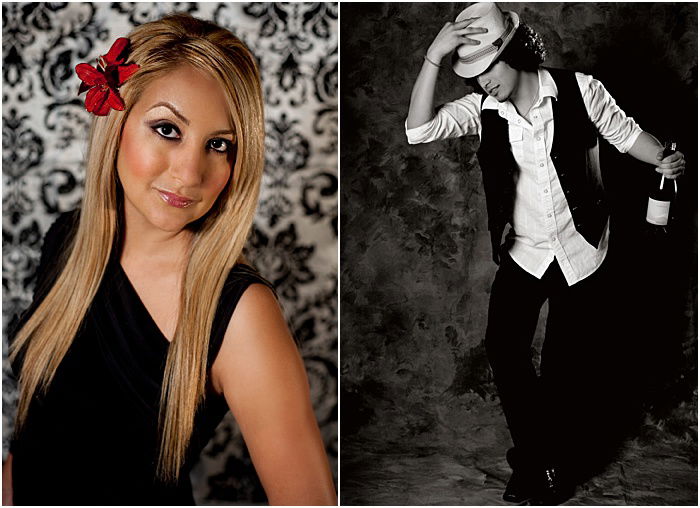
As mentioned above different types of photography will require different equipment. Most portable setups will have this basic equipment.
This basic set up will include some but not limited to the following:
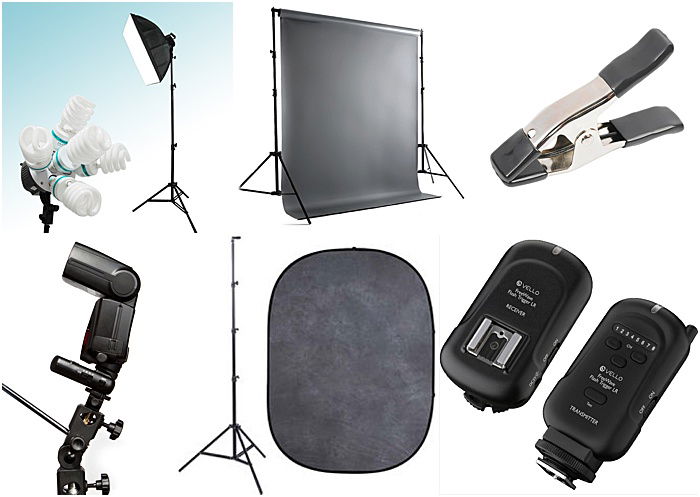
Keep in mind that a lot of the equipment can also be rented, bought used, or buying space saving and budget-friendly options.
A foldable background is a good space saving and convenient background to carry in your car to the location of your session. It can be used indoor or outdoor. And it’s pretty lightweight which makes a really good option.
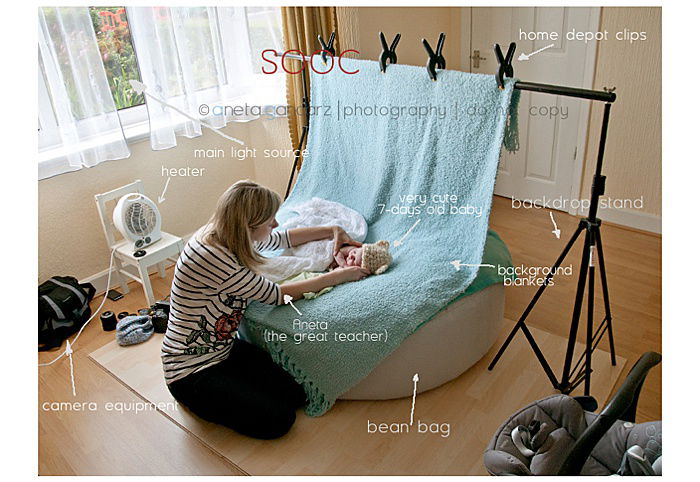
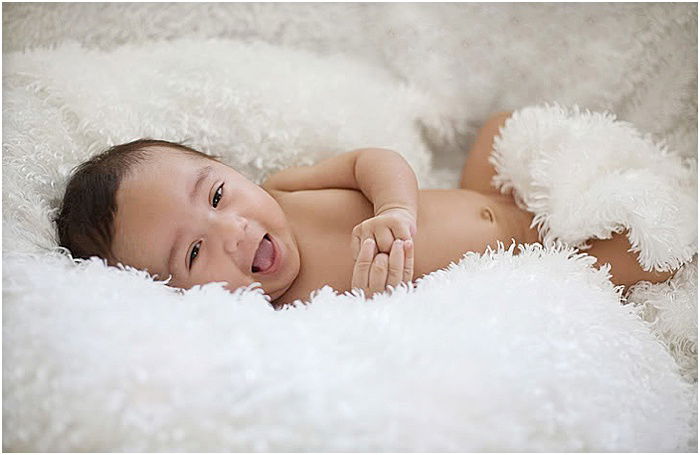
Additional equipment will be specific to the type of photography you do. For example, newborns will need a floor heater and a certain type of posing cushion.
For tabletop photography, you might need a lightbox, different background squares, and other styling products to help achieve the look you’re going for.
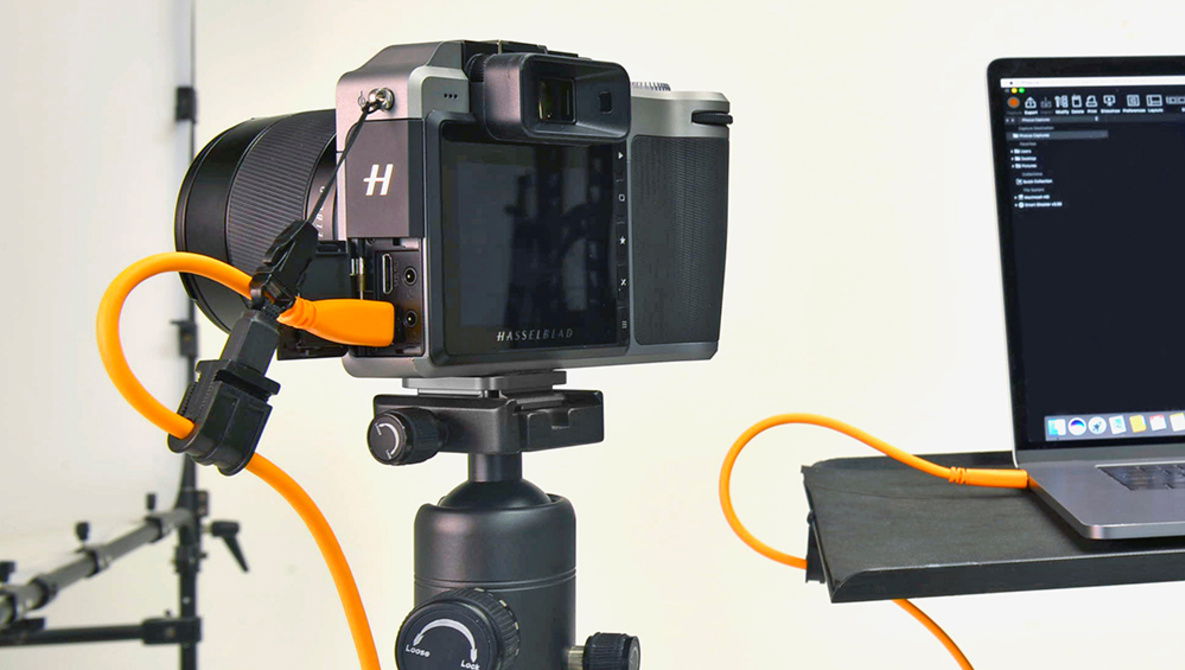
When you are photographing on location with your portable photo studio, it’s helpful to tether your camera to a device.
Be it a tablet or laptop computer, tethering lets you see your photo on a larger screen. This makes it easier to achieve what your client is looking for in the final image.
You can sync your computer via Wi-Fi or Bluetooth so that the connection is wireless. If you do this, be aware that your camera’s battery life will be shorter than normal. You might have to change your batteries more often.
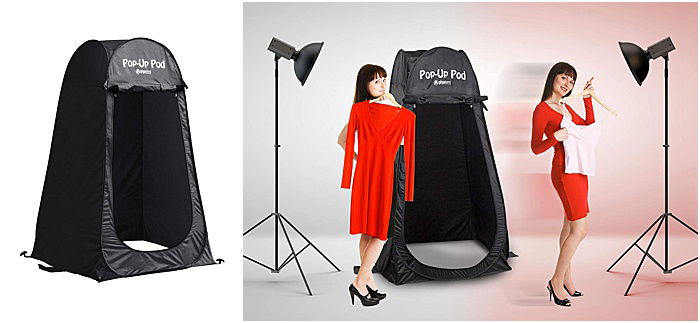
Having a portable studio can be convenient at times especially on location. But it can be quite difficult to find a location with an accessible changing room for your clients.
A portable changing tent is just that. It’s a foldable tent that can be expanded to offer space and privacy for your clients to change. They won’t have to find a bathroom or change in a car.
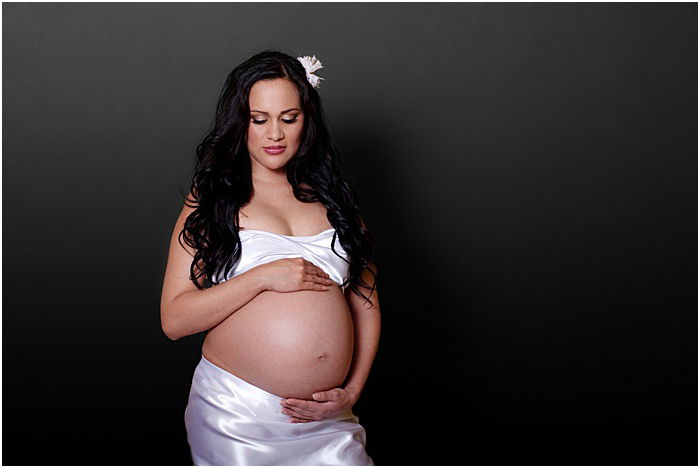
While it’s important to have business insurance, you’ll also want to make sure that your insurance provider covers equipment. Some places do not so make sure you ask!
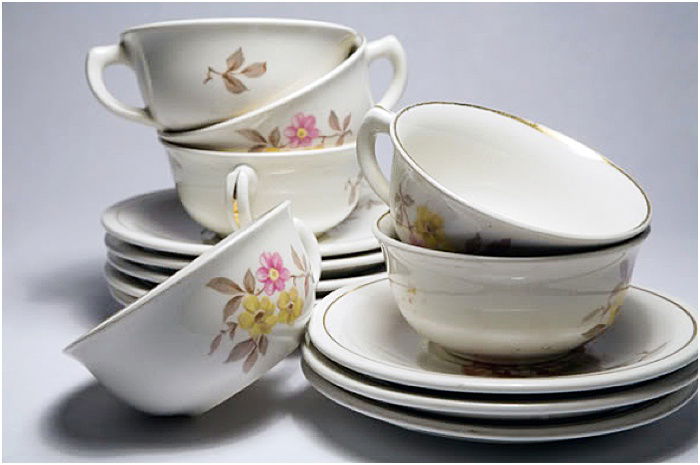
Having a portable studio means that you’re limited to the size of your car. This means that you’re also going to have to limit the types of props you can buy, keep, and store when you’re not using them.
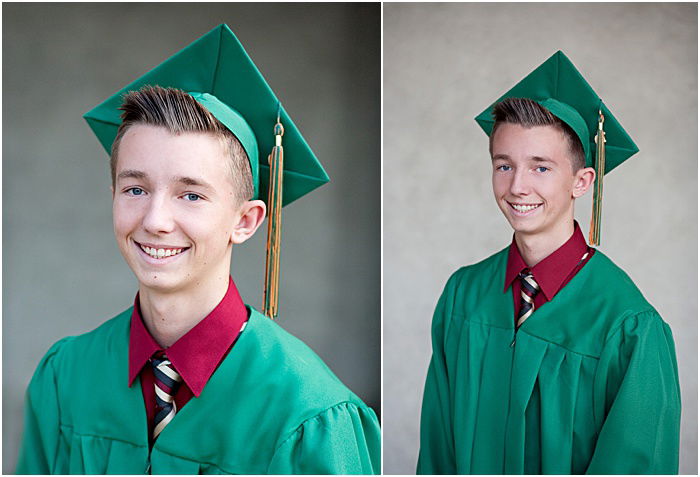
Given that your studio is mobile, this may also mean that your selling or proofing sessions may have to be mobile.
Even though you don’t have a designated space, you can still hold in-person selling sessions if that is how you run your selling part of the business.
It’s really important to keep a small cleaning kit handy in your portable studio kit. This is because you’ll be taking your studio out. It could get dusty, dirty, full of sand, or get wet.
A cleaning kit will help you pack up your studio quickly and ensuring that it’ll be in top shape for the next session.
Keeping your portable studio clean will also ensure it’s lifespan.
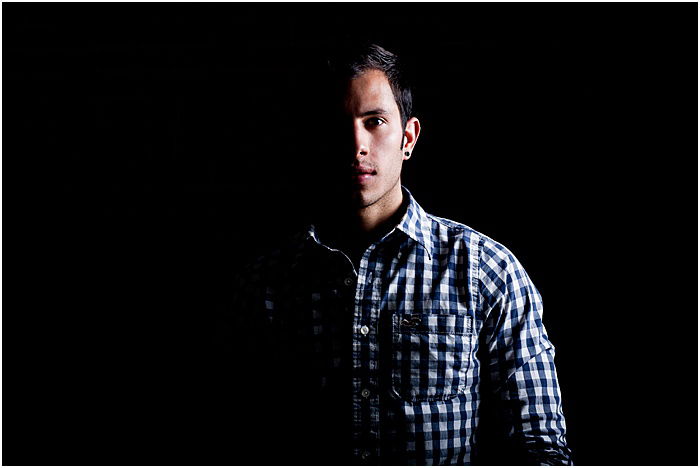
Having a portable studio can be useful for a photographer who doesn’t have a studio space and wants to achieve that studio quality.
Set up the perfect kit for the types of photos that you want to take, be it tabletop or portraits!
Do you have a portable photo studio? What tips would you include?
Looking for more tips? Check out our new post about how to take graduation pictures next!