When I first started indoor photography, I was afraid of the limitations. As a natural light enthusiast, I wanted to have as few restrictions as possible.
When I discovered the positive sides of this genre, I was able to pinpoint my creative weaknesses. It helped me strengthen the skills I already had.
Indoor photography is a flexible genre for several reasons:
- There’s usually some kind of artificial light to use it to take unique photographs;
- It doesn’t demand a massive budget; and
- It’s open to photographers of all kinds.
How do you take good indoor pictures? Here are 10 photography tips on how to get better at shooting inside.
10. Indoor Photography: Playing With High ISO Numbers
Indoor photography lighting can be very complicated. Especially when it’s almost dark outside. To take sharp photographs, you’ll have to increase your ISO number. As scary as it might sound, it won’t ruin your photographs.
So what is the best ISO setting for indoor photography? In general, ISO 100 or 200 can work well if you are using a tripod and you have enough brightness.
If you are shooting from your hand, you have to raise your ISO to 800 or 1000. Sometimes even higher, as you will notice from my camera settings below.
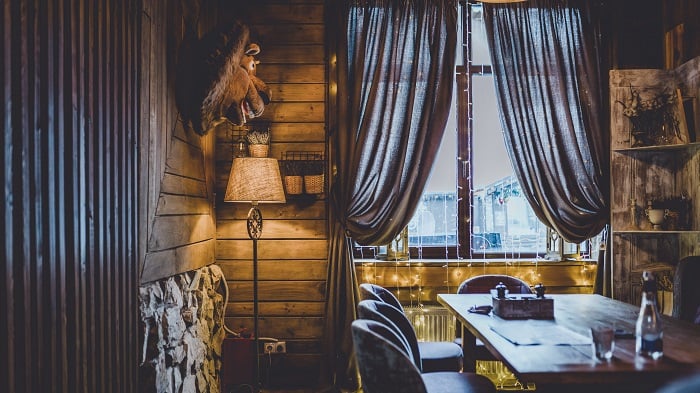
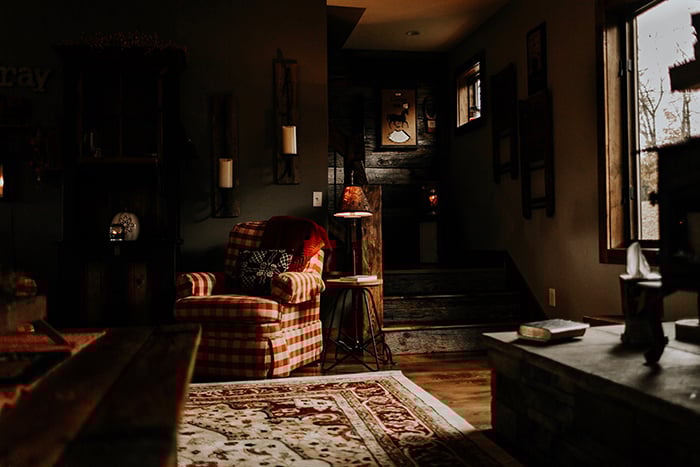
I took the photos above on a gloomy day. I used both natural window light and artificial one.
These are the camera settings I used:
- Aperture: ƒ/2.5
- Shutter speed 1/20
- ISO 5000
Though every camera is different, most modern ones have a high noise tolerance. Using my Canon 5D Mark III, I can take all kinds of indoor photographs without making them look too grainy.
The camera I used before this, a Canon 60D, produced a little more grain when I played with ISO. But this effect created a cinematic feeling that complemented my photographs.
9. Focus on Insignificant Details
Indoor photographs can look very simple, especially if you’re shooting in an empty or abandoned space. To make up for this, you can add eye-catching elements to your compositions.
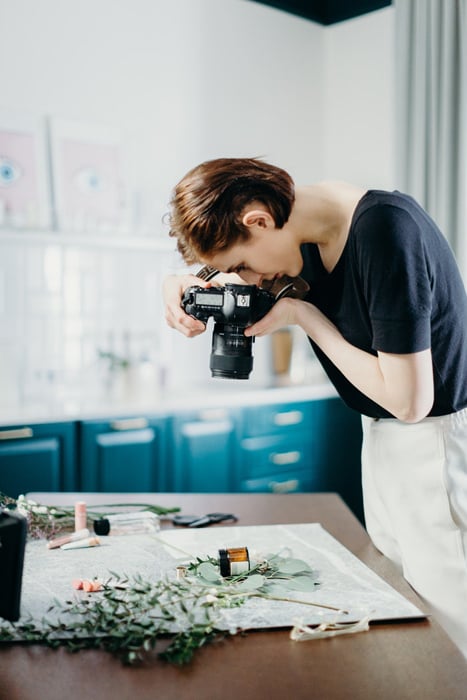
Many of us don’t have studios. But you can create your own using things you see every day. search vibrant objects that you could turn into subjects, foregrounds, or backgrounds.
Have a look at your surroundings. What do you usually take for granted? Could you use that item in a photograph?
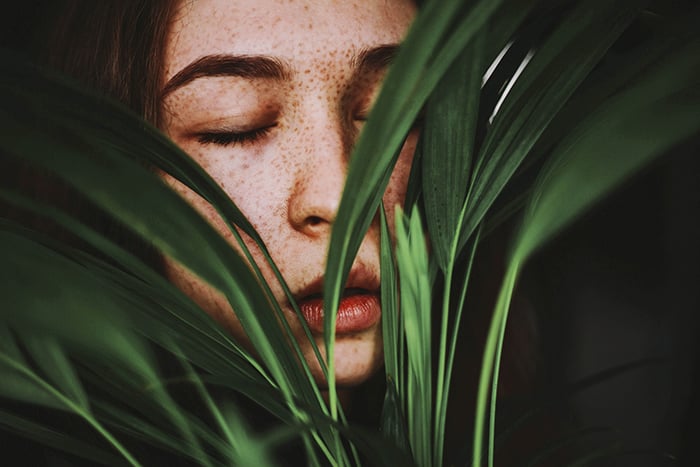
Here’s an example from my own life: I have a few plants on my table. I appreciate them for what they are or use them as subjects in my portraits.
Plants make amazing foregrounds, especially when it comes to simple indoor photographs.
8. Use Indoor Artificial Light Whenever You Can
What is the best lighting for indoor photography? Many photographers would say that natural lighting.
But I say that any indoor lighting you have can give you fantastic results!
My experiments with simple artificial light led to my favourite portraits. I’ve never used professional studio lighting in my life. But I believe in the power of simple light sources.
A few examples are lamps, torches, and phone screens. Regardless of their simplicity, these objects are great to add a spark to your photos.
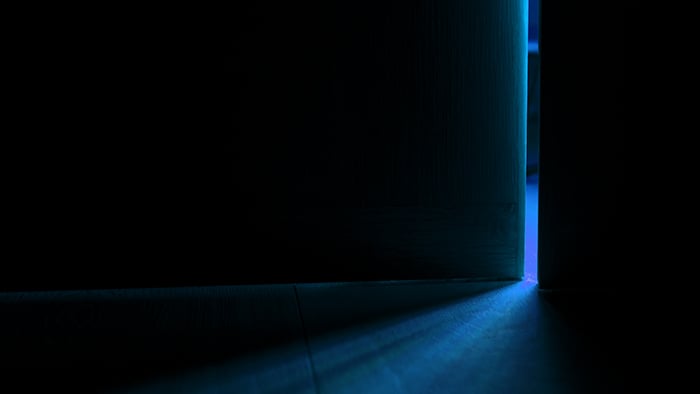
You can use artificial light not only for brightening your subject. It can also help you to focus better. When I take self-portraits in dark locations, I have to make sure that the autofocus feature captures the right details.
To do this, I flash a torch on my face until the camera finds me. Once this is done, I can take photos like the one above.
Use artificial light sources to get the right focus. It can add more depth to your photographs. It also helps to familiarise yourself with different lighting techniques.
And when you do get your hands on professional studio equipment, you’ll already know what to do!
7. Know the Best Times of Day for Shooting Indoors
Natural light is very limited at indoor locations. If you want to get as much light as possible indoors, shoot at these times of day:
- Midday: Shooting outdoors during this time results in very harsh and unflattering photos. But midday light looks fantastic indoors. Place your subject in front of a curtained window to get the most flattering results.
- Golden hour: You might already be familiar with this magical time of day. It is shortly after sunrise and before sunset. The diffused light is perfect for every photography genre.
- Twilight: After sunset, the sky takes on a pinkish hue. Combined with artificial lights, this can become the perfect background for mysterious silhouettes.
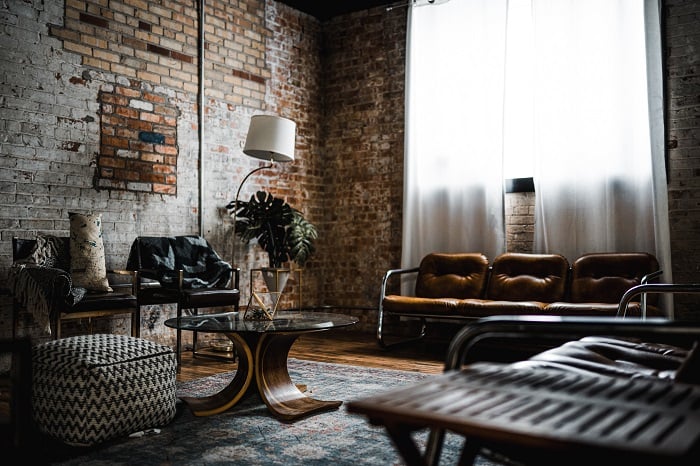
6. Make the Most of Every Room
Every room has its beauty. The white walls of an empty room can be used as backdrops for classical portraits or still life. A cluttered room can reflect your subject’s personality. It can add a touch of color to your background, or be the subject itself.
Every indoor location can be a great place for a photoshoot.
When you take photos indoors, observe every room. Find details to include in your compositions. Think about how to get good lighting in that specific room.
Sometimes, this might only mean taking photos next to a well-lit doorway. You don’t have to overthink it.
Train your eye to see potential in every indoor space. You’ll notice a great improvement in your work.
5. Create Your Own Indoor Photography Resources
DIY projects should be your best friends. Besides being fun, these projects are very helpful and budget-friendly. If you want to take your indoor photography to the next level, you must experiment with them.
If you don’t have the time for complicated DIY projects, stick to simple hacks. They change your photography in no time.
You can use foil to light up your subject’s features if you don’t have access to a reflector. If you want to add a dreamy look to your photos, you can cover your lens with cling film.
And if you want to create a studio of your own, you can put up a tablecloth behind your subject.
Another example is placing an object in front of a sheet of paper taped to a window. This will create a soft lightbox effect.
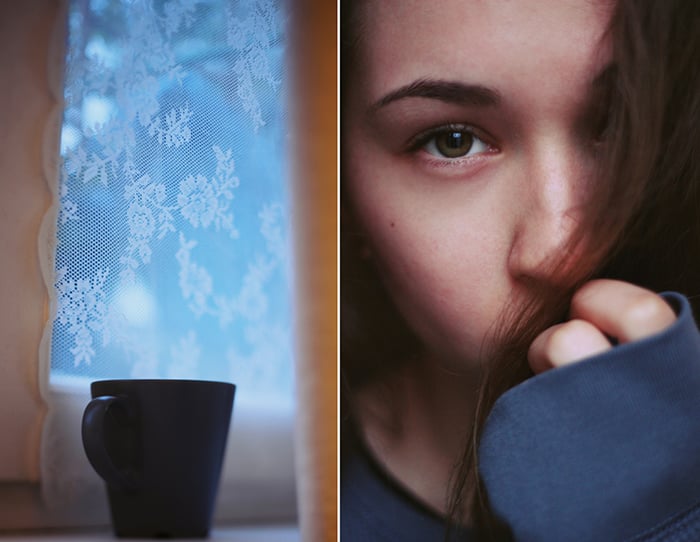
4. Describe Atmospheres Through Diptychs
Indoor photography is often associated with warmth and cosiness. If you are not shooting product photos, you might try to intensify the atmosphere in your work.
This is even more important in portrait photography. This genre relies on emotions to tell compelling stories.
One of the best ways to capture an atmosphere is to photograph various sides of it. When you have a few photos that you like, turn them into diptychs (a collage of two photos). They tell a more wholesome story.
This will give your photographs more personality and make them more relatable. It also gives your viewers a clearer idea of your subject.
Watching out for diptych-worthy moments will make you more appreciative of indoor photography. By wanting to tell deeper stories, you’ll be more aware of details, spaces, and subjects that most people would ignore.
Combined, these things will have a positive impact on your work.
3. To Fit Everything, Use a Wide-Angle Lens (Or Create a Panorama)
There’s only so much you can fit into your camera lens when it comes to indoor spaces. With a prime or zoom lens, you’re going to have to step back a bit. Then you can capture both your subject and their surroundings.
You might not be able to do so because of the room’s size. In cases like this, use a wide-angle lens.
If you can’t afford a wide-angle lens, make panoramas instead. Panoramas are a bunch of different photos stitched together in Photoshop. They’re great for people who want to create detailed compositions that resemble medium format photos.
They’re also great for those who enjoy taking landscape-like photos of indoor environments.
2. Use Backgrounds to Describe Your Subject
Besides complementing your subject, backgrounds should reflect their personality in some way.
This is much easier to do indoors because we associate buildings with homes. They have objects that play a big role in our personal lives.
If you’re planning to take indoor portraits, make sure you get to know your model’s space. Ask them what items they care about most. What part of their room do they love the most? What do they enjoy doing in the comfort of their own space?
Using this information, position your subject in a way that will reveal both their expression and their favourite items. Including these things in the background will make your photos stand out.
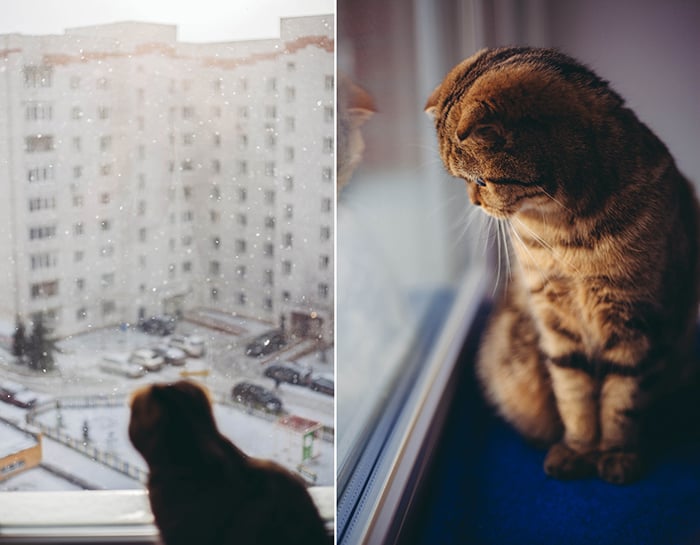
If you’re planning to take photos of objects, animals, etc., you can do something similar. For instance, my cat likes watching snowflakes while sitting on windowsills. To capture her curiosity, I took a closeup next to the window.
I also photographed the snow itself so that the viewer would have a better idea of what she’s so curious about. I made the two photos into a diptych to tell a short story.
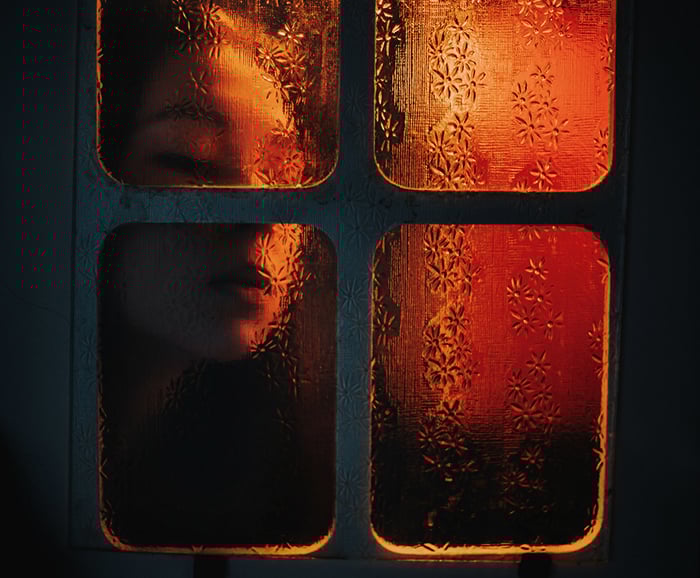
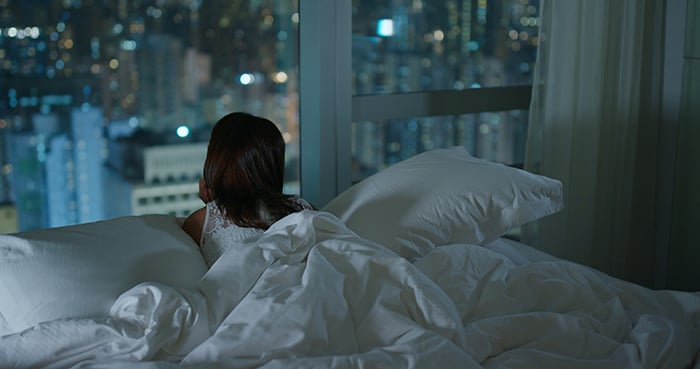
1. When All Else Fails, Use Windows
Indoor photography is often challenging. Especially when you don’t have a lot of experience with artificial light, backgrounds, and projects. If you start to feel frustrated, just take photos next to a window.
Windows are the best source of natural light. They also make fantastic foregrounds and backgrounds. You can never go wrong with them.
Here are ways you can use them to enhance your compositions:
- Foregrounds: place your subject behind a window to create beautiful reflections
- Backgrounds: place your subject in front of a window to create a soft, backlit look
- Subjects: on their own, windows can look very eye-catching, especially during the golden hour
Conclusion
Indoor photography overflows with frustrating obstacles that outdoor photography doesn’t have. When I began this genre, I was afraid of getting bored, taking silly photos, or not making the most of my creative time.
Then I realised how freeing those obstacles were. I found ways to make indoor photography both enjoyable and challenging. The DIY projects, various lighting setups, and artificial light helped me in the process.
You, too, can enjoy the perks of being an indoor photographer. All you have to do is get up, grab your camera, and photograph something that catches your eye. Before you know it, you’ll be having fun and taking fantastic photographs.
Want to learn how to improve your photography? Try our Photography for Beginners course today!


