Editorial portraiture is all about capturing the essence of a person in an image. It's not just about taking a pretty picture; it's about telling a story and creating a portrait that has real meaning. In order to take great editorial portraits, you need to understand some basic principles. Here are 10 tips to help you get started.
10. Editorial Portraiture: Getting to Know Their Story
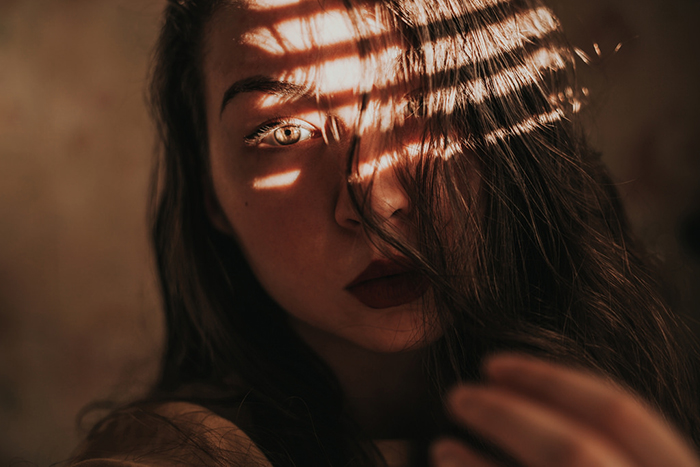
Editorial photography as used in newspapers and magazines supports a written article. Often articles can be about individuals and some interesting aspects of their lives. Their work, hobbies, achievements. The editorial portrait must visually support the story.
Photographing a soccer goal keeper in his team jersey and gloves holding a ball might make a handsome portrait. This will be inappropriate if the story about the goal keeper is concerning a dispute they have with a neighbor.
When you are making an editorial portrait you must know the story. You must make sure your portrait is relevant.
Whether you know your subject or not, it’s a good idea to interview them. If you are making a portrait of someone a journalist will interview, listen to the conversation. Learn what you can to gain ideas for how to create a portrait of them.
Ask your own questions. This will help you and your subject relate better. People generally like it when you show an interest in who they are. If they are passionate about their story they will typically speak quite openly.
By showing interest in your subject and asking them questions you will begin to build some relationship with them.

Photo by: Kevin Landwer-Johan
9. Concentrate On Relationship – Not On Your Camera Settings
Don’t be in a hurry to make your editorial portraits. Enjoy the process of making the portraits tell a story. Taking time to relate with your subject is vital.
Get to know them a little. Learning to ask questions and getting to know the people I have photographed has helped me to create more interesting, meaningful portraits.
Naturally, your camera settings are also vital. Once you have established a relationship and are comfortable with each other, pick up your camera.
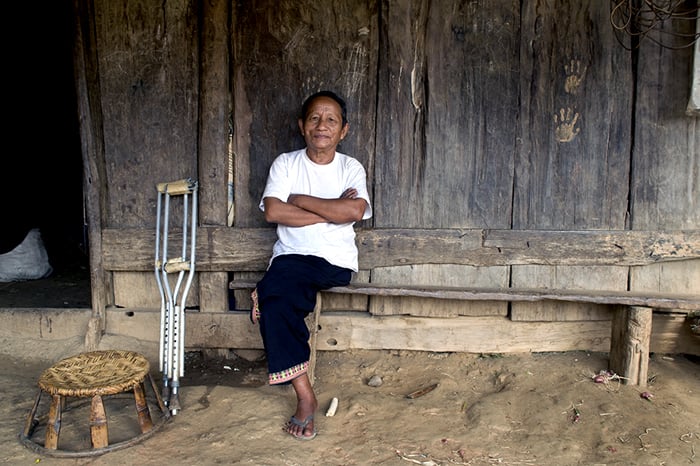
Photo by: Kevin Landwer-Johan
8. Have a Concept in Mind – and Be Ready to Ditch It
Come with a few different concepts in your mind for how you would like to photograph your subject. Consider who they are, what the story is about and the location.
Supposing that you are providing an editorial portrait to be published you may have a brief to follow. If an editor or journalist has told you what they want, follow that.
If you have other ideas and the time to create them, follow through with these too. Editors like photographers who can accept instructions and also work on their own initiatives.
If you have a concept in mind and once you arrive at the location realize it will not work, ditch it. There is no point in trying to bring an idea into reality if it is not practical.
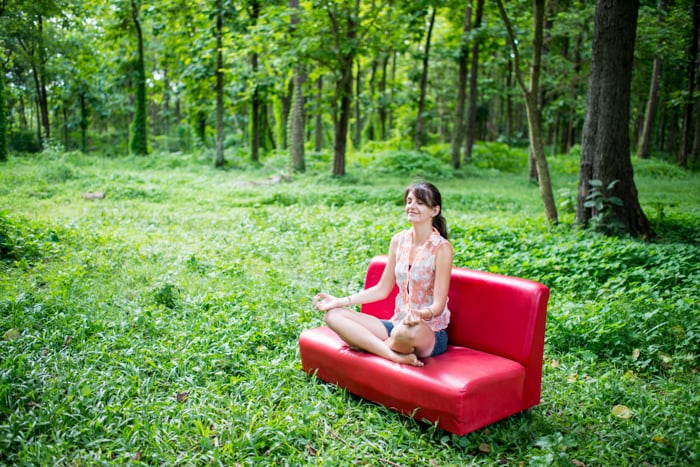
Photo by: Kevin Landwer-Johan
7. Integrate the Location Into Your Photos for More Powerful Stories
Hopefully you can utilize the location for your editorial photography portrait session to tie in with the story. Having a background which supports the story can make a more interesting portrait.
Let’s say you have an executive to photograph to go with a story on a piece of land they will develop. The development will be for community recreation. Avoid photographing them at their desk in their corporate office. Meet them at the location instead.
I prefer to work alone or with an assistant, usually my wife. This way we can focus. The subject can focus. Being in a location that is busy with other people can mean your subject will be distracted. Occasionally this can create some spontaneity, but not often.
Being some place a little out of the way will help you both focus on the portrait and telling the story well. If you find your subject’s attention is diverted, you may have to coach them a little.
Keeping them engaged in conversation can help a lot. This can be challenging if you are not familiar with what you are doing. Again, it is very important that you concentrate on your subject more than on your camera. Focusing too much on getting your camera settings sorted out can mean you disconnect from your subject.

Photo by: Kevin Landwer-Johan
6. Use Props to Make Your Story Clear
Props can be extremely useful, particularly if you have a challenging location. Make sure any props you use are connected somehow to the story. They do not have to be one hundred percent obvious. The use of a somewhat abstract prop can help provide extra interest so long as the portrait is well executed.
I used to photograph regular assignments for an IT management magazine. They gave me lots of freedom to create my editorial portraits. But I was not allowed to have a computer in any of the photos.
I could understand why they had the rule. If they didn’t, there would be at least one computer in every photograph in their magazine. It was always a good exercise pushing me to think outside the box. I had to come up with interesting, creative concepts that told the story without using the most obvious prop.
In an environment where the background gives no support to the story a well used prop can make a huge difference. I was photographing a couple of kids who are part of a drama club in a studio environment. The story was about effective communication techniques.

Photo by: Kevin Landwer-Johan
5. How to Compose Your Editorial Portrait
Only include what’s relevant. Remember, this is a portrait. It is more about the person and their story than anything else. Don’t lose focus of this when you are composing your pictures.
Sometimes a frame can be completely filled by your subject. Sometimes your subject might be very small. Make use of what’s inside the four corners of your frame to enhance the story you are telling.
Change your focal length for a different feel. Show more or less of the background. Often I will choose a 35mm lens for an editorial portrait. On my full frame camera there is no noticeable distortion that happens with wider angle lenses. This lens allows me to include more background without being too far away from my subject.
Using a longer lens will mean you are filling more of your frame with your subject or you are further away from them. The further away from them you are, the more difficult it may be to communicate and hold their attention.
If the background is too cluttered your subject may blend in too much. You probably don’t want this to happen.
Careful choice of lens and aperture will control how much of the background is in focus. You want your subject in focus, but everything in the background does not have to be in sharp focus. If all or part of your background is blurred yet still provides the viewer enough information, this can work very well.
Managing to create a little, or a lot, of background blur can help you draw more attention to your subject.
You may have a location that provides an overwhelming amount of information. It’s not always best to try and use it all. Remember, the story is about your subject, not the background.
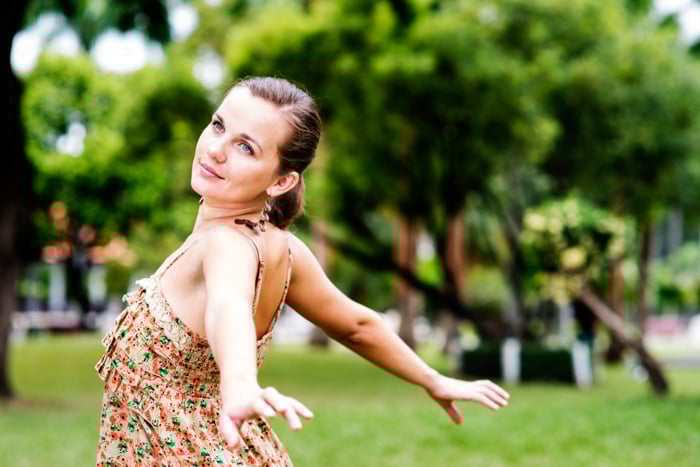
Photo by: Kevin Landwer-Johan
4. How to Use the Right Mood for Better Editorial Portraits
Your task in creating an editorial portrait is different than if you are making a studio portrait or headshot. Mood can make a difference. You will not always want your subject to be smiling.
A portrait with a smile to illustrate a story of food poisoning at a local market would not be a good fit. Some people will automatically smile for the camera. At times you have to remind them that a sombre expression is more appropriate.
Creating the atmosphere during a portrait session is at least as important as getting your exposure correct. If either is off, your portrait will be lacking. Do not neglect either at the expense of the other. You need to be confident enough with your camera and settings to concentrate on capturing the right mood when you are taking the photos.
Think about the type of feeling you wish to capture before you start, (so long as you know enough story.) Work towards building an atmosphere. One of fun, discontent, studious or carelessness, whatever fits best in the situation.
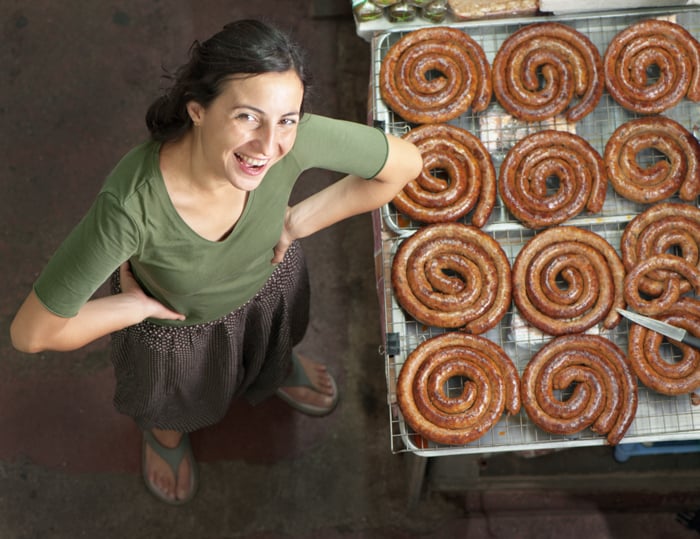
Photo by: Kevin Landwer-Johan
3. Use Light Modifiers to Control the Light
Lighting can add or detract from the mood you are seeking to create. If you have total control of the light you will have not problem. This is rarely the case with editorial portraits which are more frequently on location than in a studio.
Making use of light modifiers can help. Try sing a flash or reflector to add more light. Or even moving your subject out of the sun, or into the sun. This can provide a significantly different feel.
If the light outside is dull and you are illustrating a happy story, use your flash. Adding some balanced flash in an outdoor portrait can alter the mood of the photo.
I prefer to work with minimal equipment. Adding a flash or reflector can complicate things. Unless you have a good assistant you will have to pay more attention to your lighting set up than your subject. But when it is necessary, add more light.
If you have your subject with bright sunshine on their face you may not be able to see their eyes. This will affect the feel of the portrait. With some people and their story it may be the perfect fit not to see their eyes because of dark shadows. If it’s not, find a different location in the shade.
Often I will get people to stand just at the edge of a shaded area when I am making their portrait outdoors on a sunny day. This can allow light to bounce up into their face from the ground or something else nearby. In this situation you can often achieve a pleasing, even light on a person’s face with no dark shadows.
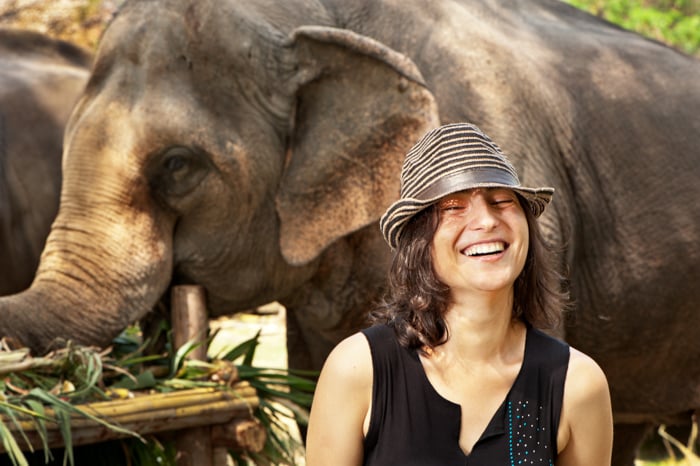
Photo by: Kevin Landwer-Johan
2. Discarding Your Initial Plan Can Lead to Better Portraits
Be prepared to go ‘off script.’ It is always important to have a plan, but at times it’s better to just go with the flow.
You may have been able to form a special connection with your subject. When this happens and they become more relaxed, other more interesting opportunities may arise. Make the most of them.
Unexpected things may happen. At times these can be disruptive. Other times they can really make the picture pop. You must be ready when they do.
Pay attention to how your subject is experiencing the portrait session. Especially if you are spending a long time making a whole series of pictures. This can be quite tiring for people.
Look to see if they are enjoying the whole process or not. Some people will be completely energized by it, others will not. You may need to call it short and stop sooner than you want to. You could suggest taking a break and resuming after a short time. Be prepared to have to enthuse your subject again as they may find if difficult to get back into the swing of things.
You also need to know when to call it quits. If a subject has lost interest or lost energy you are no longer going to be able to capture your best editorial portraits of them.
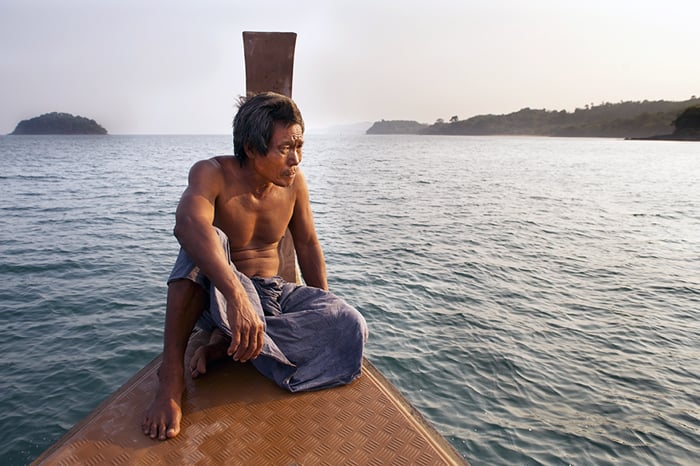
Photo by: Kevin Landwer-Johan
1. Don’t Try New Techniques or Equipment During a Shoot
I have mentioned a number of times how important it is for you to give your attention to your subject. To do this effectively you need to know what you are doing with your camera.
Choose camera settings you are comfortable with. If you are used to working in aperture priority, don’t switch to manual mode. If you have a manual focus lens, but are not used to using it, use your auto focus lens. Making it easier on yourself to get technically good photos will help you make a stronger over all portrait.
Prepare in advance if you can. It will help if you same knowledge of the location beforehand, like potential background and lighting. You can check your exposure settings if you go there at the same time of day you have planned your portrait session. So long as the light is the same when you make your portraits this will help.
If you are not sure of which lens to use, pick a standard zoom to start with. This will most likely give you what you want somewhere within its zoom range. If you prefer using a prime lens, know how far back from your subject you need to be and their position relative to any background you will include.
Do all of this before you engage with your subject. It will free you up to concentrate more on them than on your equipment. You will be able to create a much stronger portrait than if you are fiddling around with your camera settings.
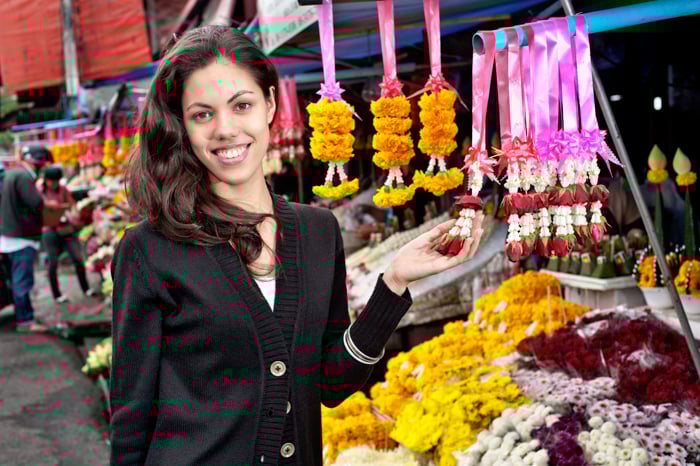
Photo by: Kevin Landwer-Johan
Conclusion
I hope all this is encouraging. It may seem a lot to remember and put into practice even without touching much on the camera and lens settings you can use to make a portrait.
Concentrate on your subject and the story you need to illustrate. This way you are far more likely to come up with a strong editorial portrait.