Art is subjective in nature. Its definition can vary from person to person. What seems art for one can be trash for another. After street photography, fine art photography is the most debatable term. What is fine art photography?
You will find ample amounts of debate over the internet about its definition. This all makes starting out in fine art photography seem daunting, which is why this article will take you through everything you need, from tips to follow to cliches to avoid.
What Is Fine Art Photography?
The most important aspect of fine art photography is the photographer’s vision. It is not about the reality or what is in front of camera. It is all about the message or emotion that the photographer wants to evoke when someone is witnessing that image.
Fine art photography can be very different from reality at times. But you can still shoot realistic documentary style images while doing fine art photography.
Let’s jump into bunch of tips and ideas that you can utilise to get started with fine art photography.
1. Create a Cohesive Body of Work
A body of work means a collection of images somewhat related to one another. It could be the same type of subject matter or activity or even a processing style. Sometimes just one image is not enough to convey the actual feelings or vision of a photographer.
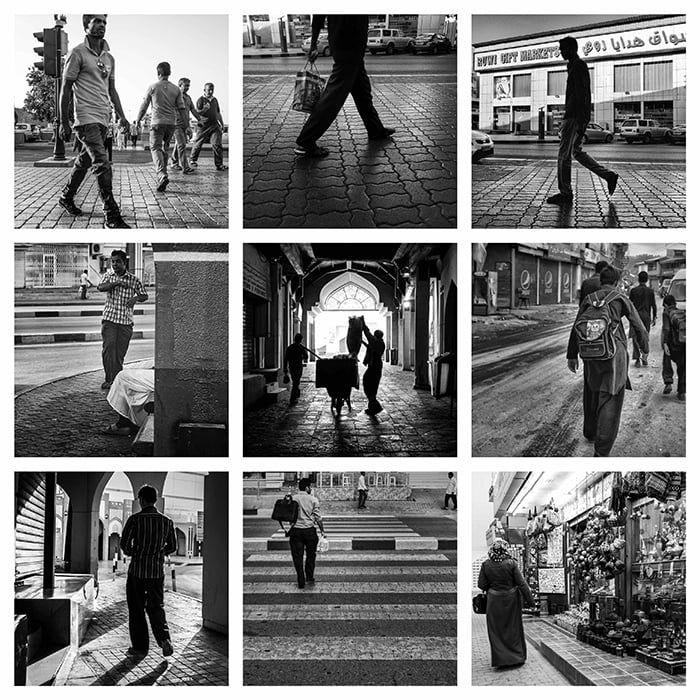
For example, I created a small body of work named Bustle. I collected 15 of my images that depicted the activities of people bustling towards their destinations in their day to day lives.
Some of the images of that collection are above. Notice in each picture, how the legs of the people are in motion. This one thing is common for all images along with the same processing style. And that’s how they are related.
For a decent body of work, collect at least 10-15 images that are strongly related to each other in some way that the viewer can easily identify.
2. Follow the Work of Famous Fine Art Photographers
I know this tip is too obvious. I hated it too in the beginning. But it is the reality that we all have to face.
Fine art photography is a very difficult niche and no book, article or workshop can teach you better than studying the works of famous fine art photographers themselves.
Take Annie Leibovitz for example, the famous fine art portrait photographer. She utilizes a unique lighting style along with bold colors and poses. Josef Sudek and Philip-Lorca Dicorcia are a few more photographers whose work you should check out.
Choose one fine art photographer you like and study their body of work. Analyse how their images are connected to one another. See what makes them special.
3. Don’t Photograph in Black and White Only
I know the first thing that comes to mind about fine art photography is black and white. I have included a list of clichés people do in fine art photography later in this article, but since using monochrome is the worst of all, I am discussing it here in detail.
A majority of professional fine art photography is in black and white. But that’s only because B&W reduces distraction and lets you focus more on the message of a photograph.
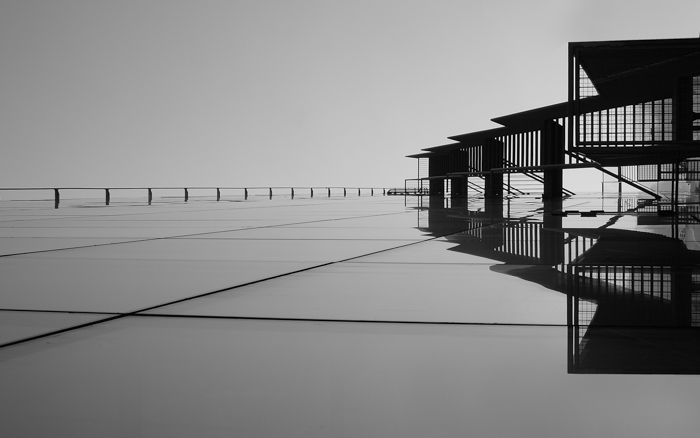
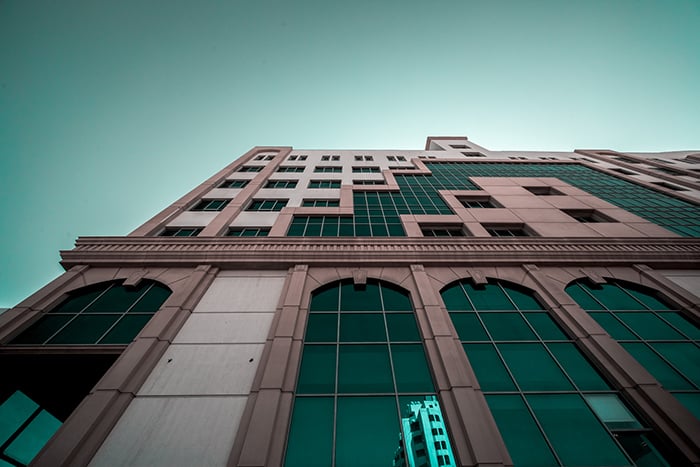
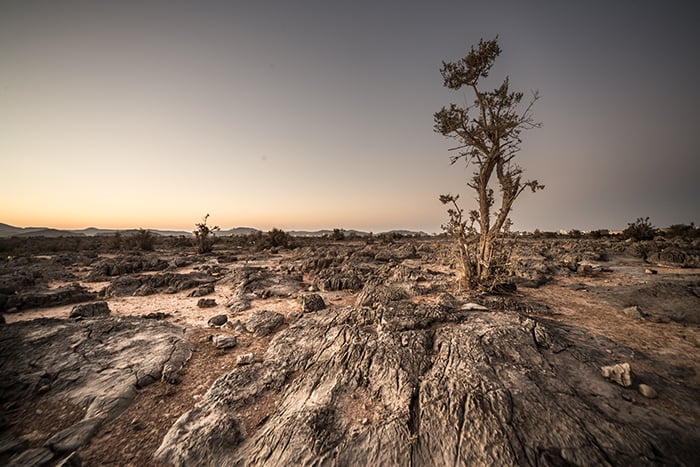
But you can still achieve the same with cleaner and uncluttered compositions. Check out these two images from my project Standing Tall. Both of these images are shot in entirely different settings, i.e. one in urban and one in a rural setting.
Because of the simple compositions, the color versions are much better and more powerful than black and white.
It’s the concept that matters. Convert your images to monochrome only if it really adds value.
4. Have an Artist Statement Ready
Writing an artist statement before starting a project is very helpful. It clears your mind about what your project is about. Once your statement is ready, it will be easy for you to look for subjects and minimise distractions in your images.
Artist statement doesn’t have to be full of technical jargon or long paragraphs. Keep it short and sweet.
For starters, write two or three sentences that give an overview of your project. Then explain how these ideas are presented in your work. That’s it.
Here’s an example that I used for my above project Bustle.
Marketplaces and bus stops are the places where you always find people in a hurry. They are rushing towards their destinations. They don’t have time to stop and think what’s happening around them.
I love to capture people when their guards are down. My work comprises of photographs in which my subjects are people bustling towards their destination. All images here are captured in a purely candid form.
For galleries and other professional spaces, you might need a complete artist BIO or a full artist statement, but it is out of scope of this article.
5. Use Shutter Speed to Alter Reality
Since fine art photography is about the artist’s vision, you can utilize various techniques to emphasise your message. This could be a specific type of post processing technique, in camera trickery or composition.
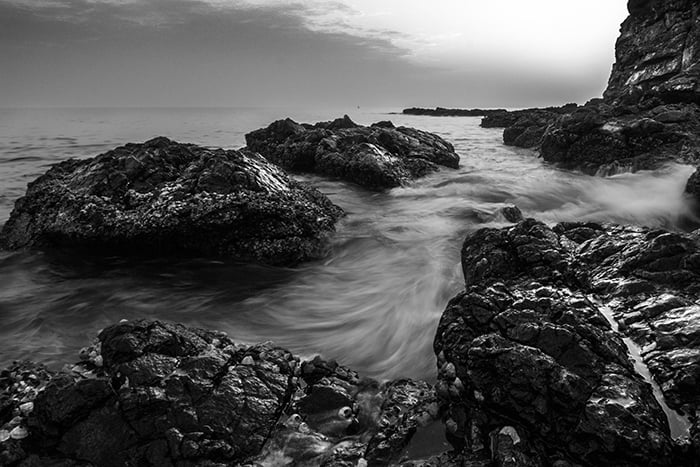
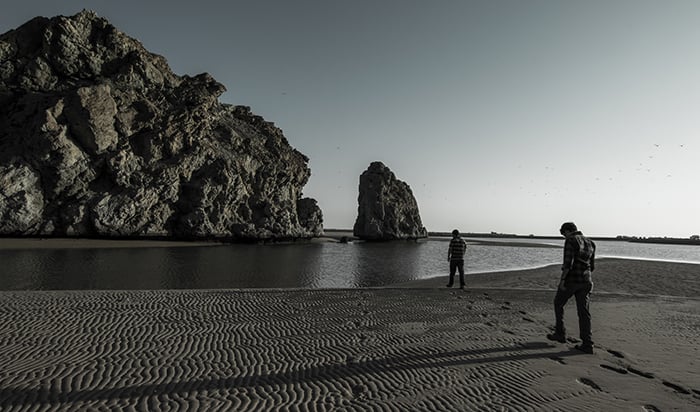
In the image above, I wanted to put an emphasis on the lonely yet aggressive nature of the ocean. A fast shutter speed like 1/200 of a second could freeze the motion. Too slow, and it could add a sense of calmness.
I went with 1/15th of a second, which adds just about the right amount of motion.
You can use this technique for moving people, cars, etc., to alter the scenes and give them a specific meaning. Try to show something that our eyes are not used to witnessing in real life.
6. Use Unique Color Grading and Processing Styles
Black and white is too common. Everyone is using it. Having a unique processing style or color grading is very important for a fine art photographer. It helps people recognise your work.
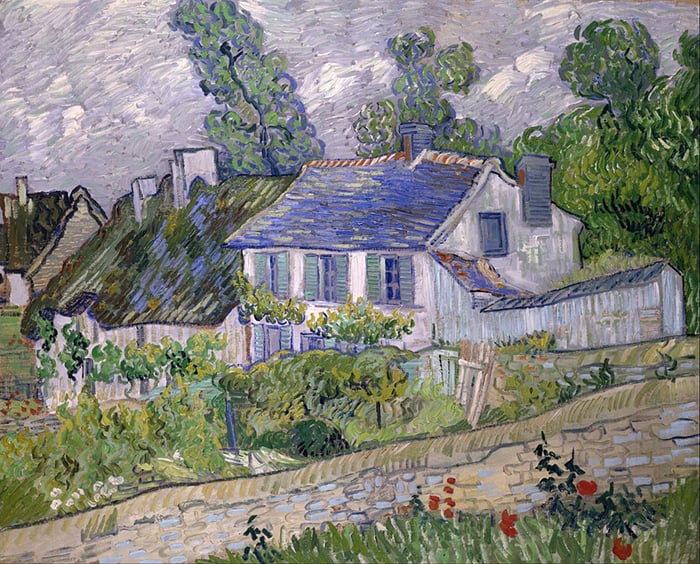
Take the painter Vincent van Gogh. He has a very distinctive style in his paintings. If you know him, you will probably recognise his paintings among hundreds of other paintings. That’s the power of a signature style.
You can’t create a body of work just on processing style only, but having a consistent and unique style will help your images become more cohesive and connected.
7. Use One Subject for an Entire Project
You can use one specific subject for your entire body of work or a mini project if you want. It is a good start for a fine art photography project for beginners.
It is easy to plan and execute. The results are more consistent. And you will learn the basics while focusing on just one subject.
Christian Richter is a German photographer who did a complete series on abandoned places across Europe.
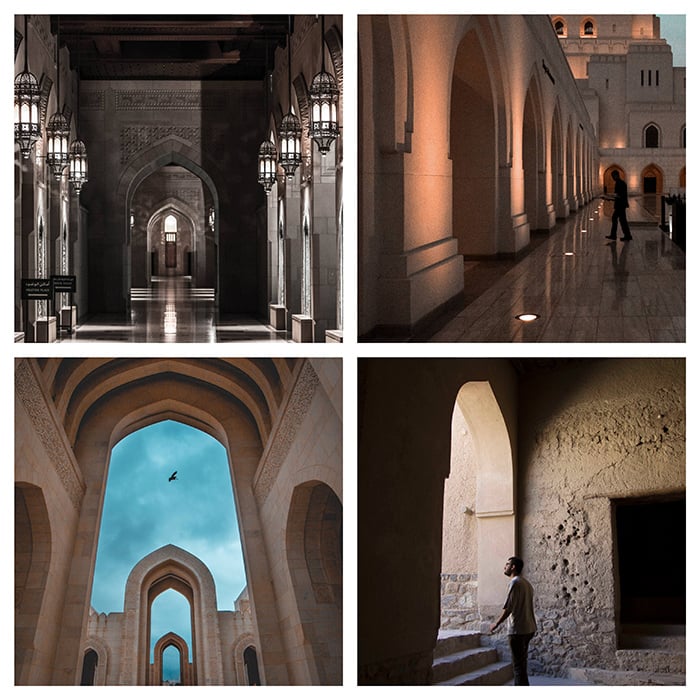
I live in a middle eastern country, Oman, which is full of old Islamic architecture. So I did a project named Arches of Oman and photographed arches in various buildings and mosques.
You can select any specific activity, place or theme to start your first project.
Avoid These Fine Art Photography Cliches
I have explained the basic tips and tricks to start out in fine art photography. But since fine art is very subjective, it’s very important to explain cliches as well.
I am tired of seeing vague and clueless images posted as fine art photography. So here is a quick list of cliches that you need to understand before starting out. And then you should avoid them.
1. Extremely Vague Images
Fine art photography is not a riddle that you need to crack. If your concept is a bit vague, present a complete body of work so it will be easy for people to understand.
2. Noisy and Grainy Images
Sometimes you shoot in extremely low light and this introduces noise. That’s understandable.
Adding grain in post, however, just to cover a bad exposure or to make it look like it was shot on film is not okay.
3. Strong Vignettes
Vignettes help focus the viewer’s attention on the subject. I personally like using these, whether in fine art or any other type of photography. I use it as a stylistic choice, and I definitely encourage you to try it out.
But don’t add a strong vignette just to make the image look like it was shot on film. Or to try and hide bad composition.
Conclusion
So, what is fine art photography? Fine art photography goes beyond what is actually in front of the camera. It is an artists’ very personal interpretation of a situation that might be very different from reality.
Fine art photography’s very core is to convey a certain feeling or a message through your photograph. The camera is just a medium.
You do whatever it takes to convey your message. Whether you need to use in-camera or post-processing techniques. Presenting your images as a cohesive body of work along with an artist statement is not only professional, but it also conveys your message more clearly.
Do you need a fine art degree for that? In my opinion, no. It is helpful to understand the history and how fine art photography has evolved. But it is not a must.
The most important thing is to train your vision and use your imagination to bring out something unique from ordinary situations.