Staging your home for sale or have an e-commerce business? Then having great pictures of your furniture is crucial for making sales.
It’s essential to show your product in the best possible light.
Here are some tips for fabulous furniture photography.

Preparing for Furniture Photography
It goes without saying that before you take any photos, your subject should look as great as it can. This means that you should clean and polish your furniture beforehand. Remove tags or other distractions. Make sure that the furniture looks it’s best.
If the furniture happens to be secondhand, don’t try to disguise the flaws. It should be presented as is, or consumers will get angry.
Location, Location, Location
The importance of location doesn’t only apply to real estate. When taking furniture photography, where you take them will influence your results.
Make sure the area is presentable and clean. If you want to photograph furniture in a studio, use an attractive backdrop. Items like a wrinkled white sheet will not photograph well and will detract from the furniture.
Natural light is always the easiest choice if it’s abundant. Taking the pictures close to a window will give you beautiful light. You may have to direct that light with some bounce or a reflector for the highlights and shadows to fall nicely.
Sometimes the weather is not ideal, or you don’t have enough window light. In this case, you may have to supplement the ambient light with a portable flash, like a Speedlight or monolight.
Use Fill Light
Whether you’re using natural light or flash, you’ll also need a bit of fill light. When you use bounce cards or reflectors, or even a second light, you get fill light. The purpose of fill light is to keep the shadows made from the key (main) light from looking too dark.
Using fill light is important because it helps you manage the light. Even a simple silver reflector opposite your light source can make a world of difference. It will add dimension to your furniture photography.
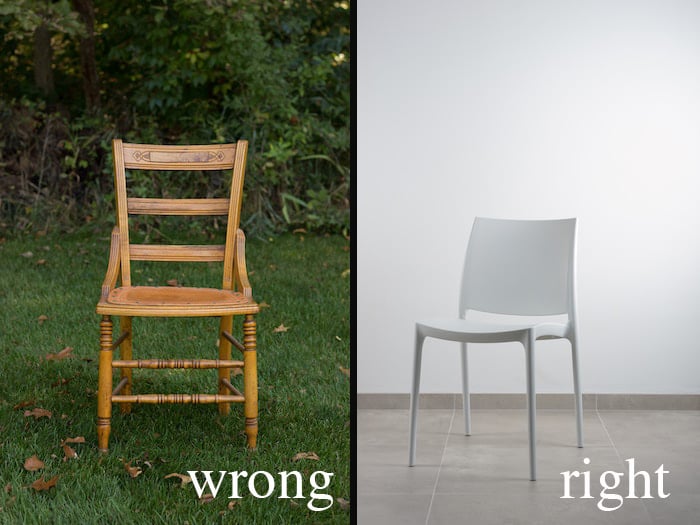
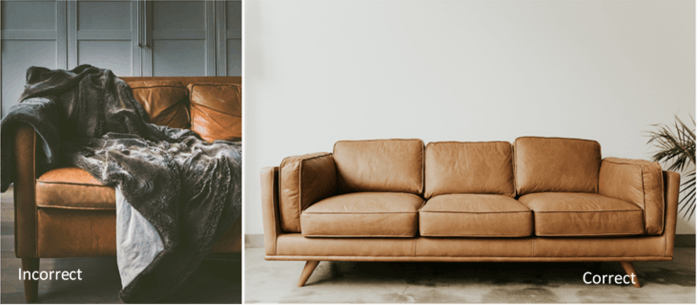
Find the Best Angle
As with any subject, you want to find their most flattering side.
Often, placing an object face-on to the camera makes it look clunky. It doesn’t show it’s best features and you can’t see it’s dimensions. Place the furniture on an angle where you can still see the features.
You might also want to shoot the furniture at a variety of angles. This will give potential customers a clear idea of how the furniture looks. It’s also visually more attractive.
Choose the Right Lens
It’s important to choose the correct lens that will give you enough framing and not distort the photo.
A prime lens is great for still photography because of the sharpness it provides. But, you’ll have to repeatedly move yourself or your camera. You also need to have enough space to shoot.
If you need to move around, a high-quality zoom lens such as a 24-70mm is a good choice. Avoid a wide-angle lens, which will distort your subject.
Use a Tripod
This might be one of the most important furniture photography tips: use a tripod.
A lot of people dislike using a tripod because it limits their movement. Sometimes it’s easier to contort yourself to get the height and angle you want. Using a tripod can definitely be constricting.
However, it’s crucial that pictures of furniture look as sharp and in focus as possible. Hand-holding your camera will not give you this.
By placing your camera on a tripod, you can hit those low shutter speeds that you need when working with natural light.
To get as much of the product in focus as you can, you need to shoot at a high f/stop number, like f/11 or f/13. You’ll need a low shutter speed to do this. Going under 1/160th of a second while holding your camera can introduce camera shake, and make your images look blurry.
Putting your camera on a tripod will also free up your hands to style your set. And ensure that your framing is consistent from image to image.
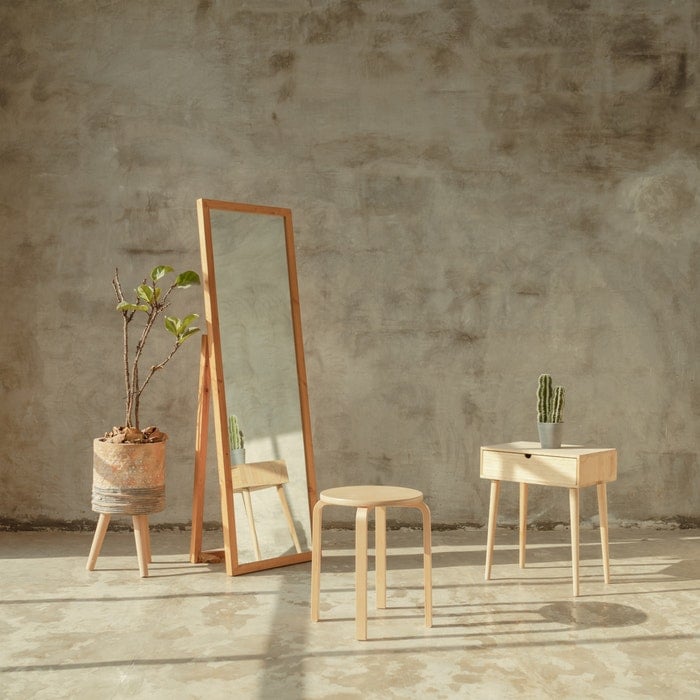
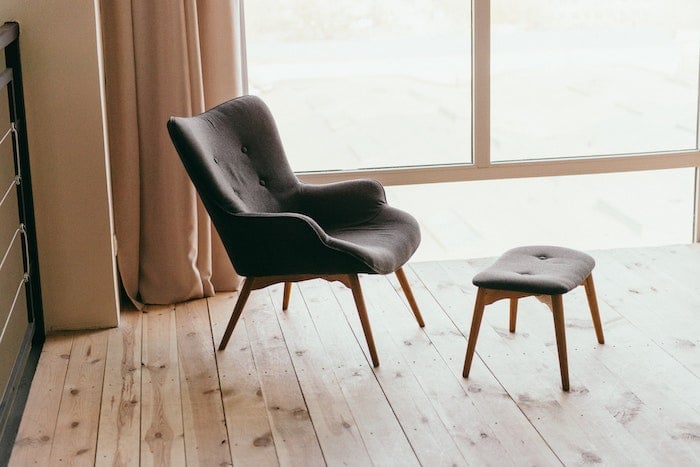
Photo by Nugroho Wahyu from Pexels
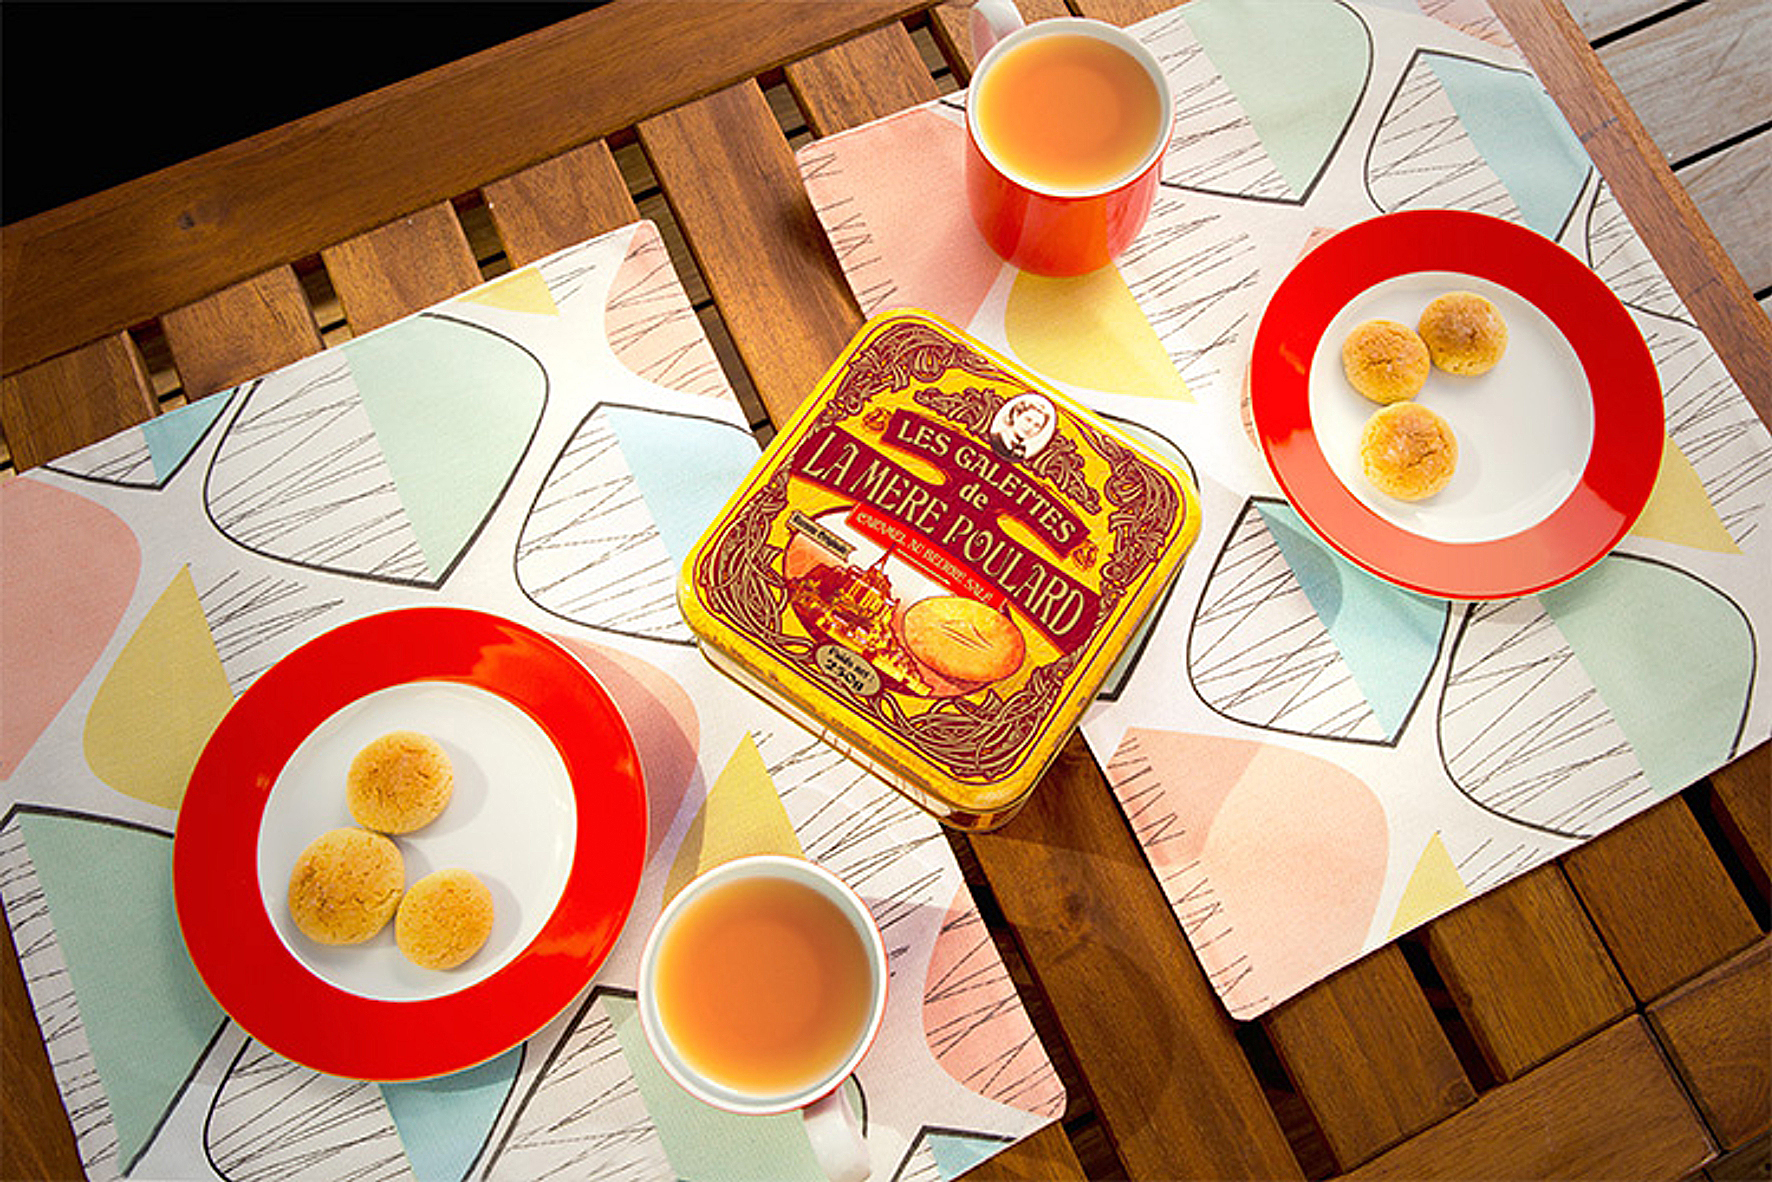
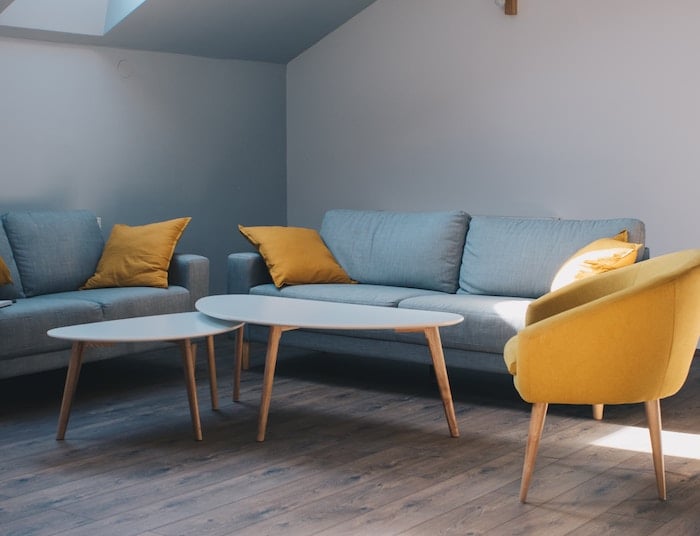
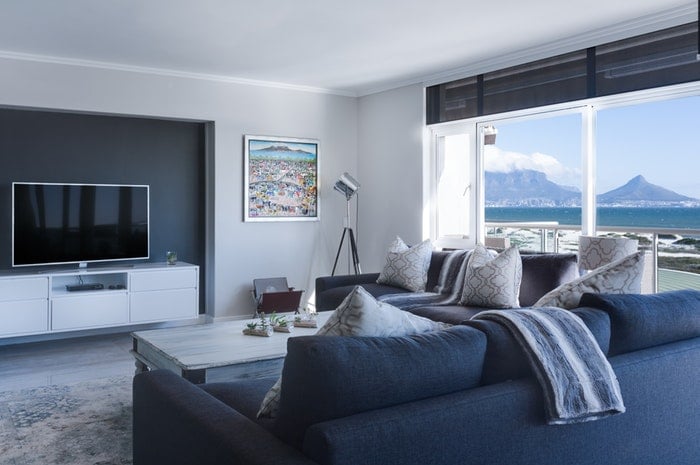
Use the Right Props and Keep Them Minimal
Whether you decide to use props or not depends on how you want to present your photos on the web.
If you’re looking for a more environmental look that requires staging, props are a good choice. They can add a bit of color, texture, and interest to your photo and enhance the look of the furniture piece.
You can do this with a colored pillow or a textured throw. Plants are also trendy. The thing to remember is not to go overboard. Keep the propping to a minimum so as not to detract from your product. You want to enhance it, not detract from it. One right prop will do this.
Most e-commerce photography focus on the product and don’t need extra propping. Customers want to see the item as it comes.
Use the Correct White Balance
White balance can be a complicated topic. The white balance setting you choose depends on the lighting conditions.
When you photograph furniture in natural light, set your camera’s white balance to “Auto”.
In product photography, it’s important that your colors read as close to what the eye sees. This means that your whites and colors need to be accurate.
To help you get the proper white balance, get a grey card online or at your local photography shop.
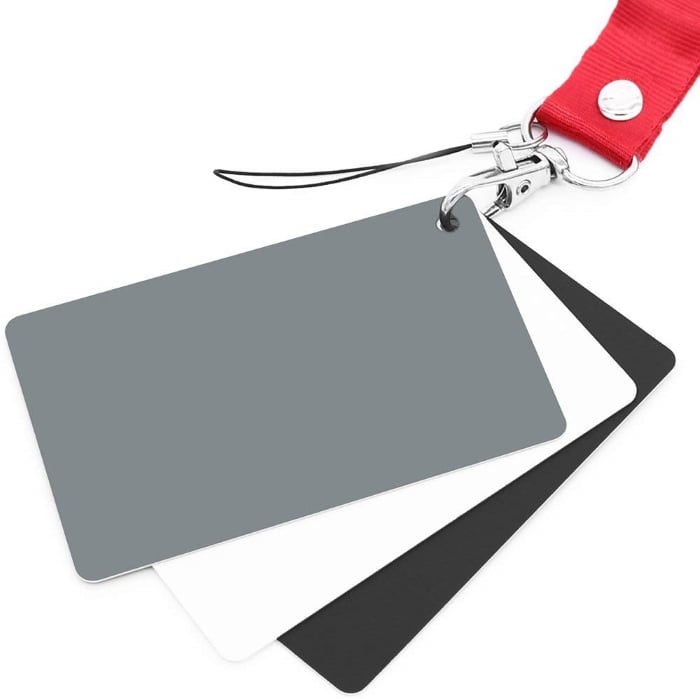
This is an inexpensive piece of cardboard or plastic that has been tinted to 18% grey, which is what your camera meters for.
Take a shot of the grey card placed in your scene and facing the lens. You can use this shot to get the correct white balance in Lightroom.
To do this, take the eyedropper icon and select and area on the grey card. It will choose the right white balance number for the lighting conditions you were shooting in. You can then sync this number to all your photos.

Use Presets to Speed Up Your Workflow
Your aim should always be to get your exposure right and your images correct in-camera. But this doesn’t mean that your images won’t need a bit of retouching.
You don’t have to spend hours image editing, but you should make at least some basic adjustments to your selected images.
Digital files are flat by nature and need at least a bit of processing. This can be minimal if you shoot in JPG. If you shoot in RAW format, you have to do more work but you’ll have a lot more leeway in terms of color.
To speed up your workflow, use presets. You can buy great presets at a reasonable price, or create your own.
Make adjustments to your Highlights, Shadows, Whites and Blacks. Once you have made those, adjust your exposure if needed.
Bumping up the Contrast, Vibrance and Clarity will enhance your furniture images and make them pop.
Once you have created a look you are satisfied this, you can copy these setting to your other images. You can do this with a simple click in Lightroom
Select your finished image and then click on the last image that you want to copy the settings to.
Remove the Background
Whether you use this last tip or not depend on the final destination for your images.
If you’re taking furniture photos for your e-commerce or product photography site, you might want to present the furniture on a plain white background.
This is a typical way to display products in e-commerce because the focus is on the product. There are no distractions to take the viewer’s attention away from what you’re selling.
Shooting on an all-white background and getting it to look white in your images can be complicated.
Your photos will look much more professional if you remove the background. You can then place the subject on an all-white background. You can do this in Photoshop with the “clipping path”.
It takes quite a bit of skill. Outsourcing the job to someone else for a reasonable price can prevent a lot of headaches.
Your furniture pictures will look polished, professional, and consistent.
Ensure that when you shoot your images, your background is white or a light color. Bright colors can reflect and create unwanted color casts on the furniture.
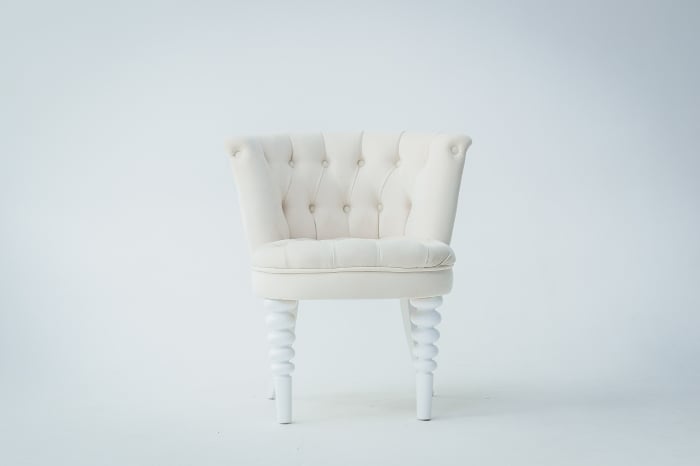
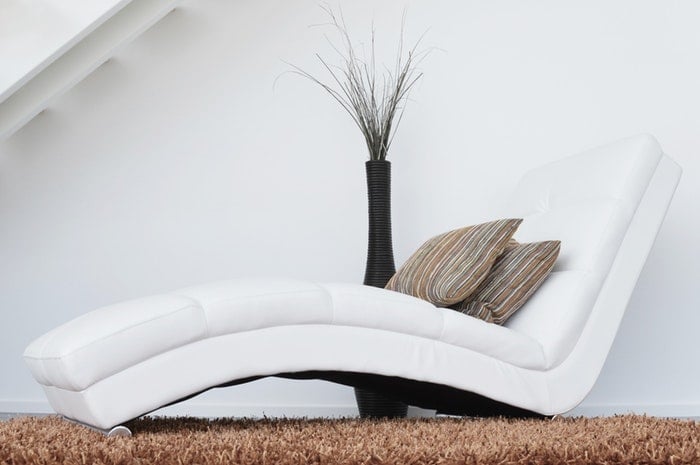
Photo by Daniil Silantev on Unsplash
Most Common Questions About DIY Furniture Photography
How Do You Take Good Pictures of Furniture?
To take good pictures of furniture, shoot in a location where you can get good light. Make sure the furniture looks it’s best, and photograph it from a variety of angles. Be sure to shoot on a tripod at a high f/stop number like f11, so that your images come out sharp enough.
How Do You Take Furniture Pictures for Instagram?
To take great furniture pictures for Instagram, shoot it straight-on. Smartphones have wide-angle lenses, which can end up distorting the furniture from an angle.
How Do You Take Interior Photos?
Take great interior photos by using natural, indirect light. Use a tripod to keep your camera steady. Ensure the space is clean and organized. Style with layers to add personality to the interior without making it look cluttered.
How Do I Take Home Staging Photos?
To take attractive photos of your home, make sure that it’s clean and uncluttered. Style the furniture and props for the camera, not real life, to bring out the best features of the house. Shoot at the time of the day that will give you the best indirect light.
Conclusion
Good-quality images are one of the main drivers of product purchases online. Take the time to ensure that you have bright, indirect lighting and prepare the furniture for its moment in the spotlight.
Using these furniture photography tips, you’ll be sure to create some great product images for your website.