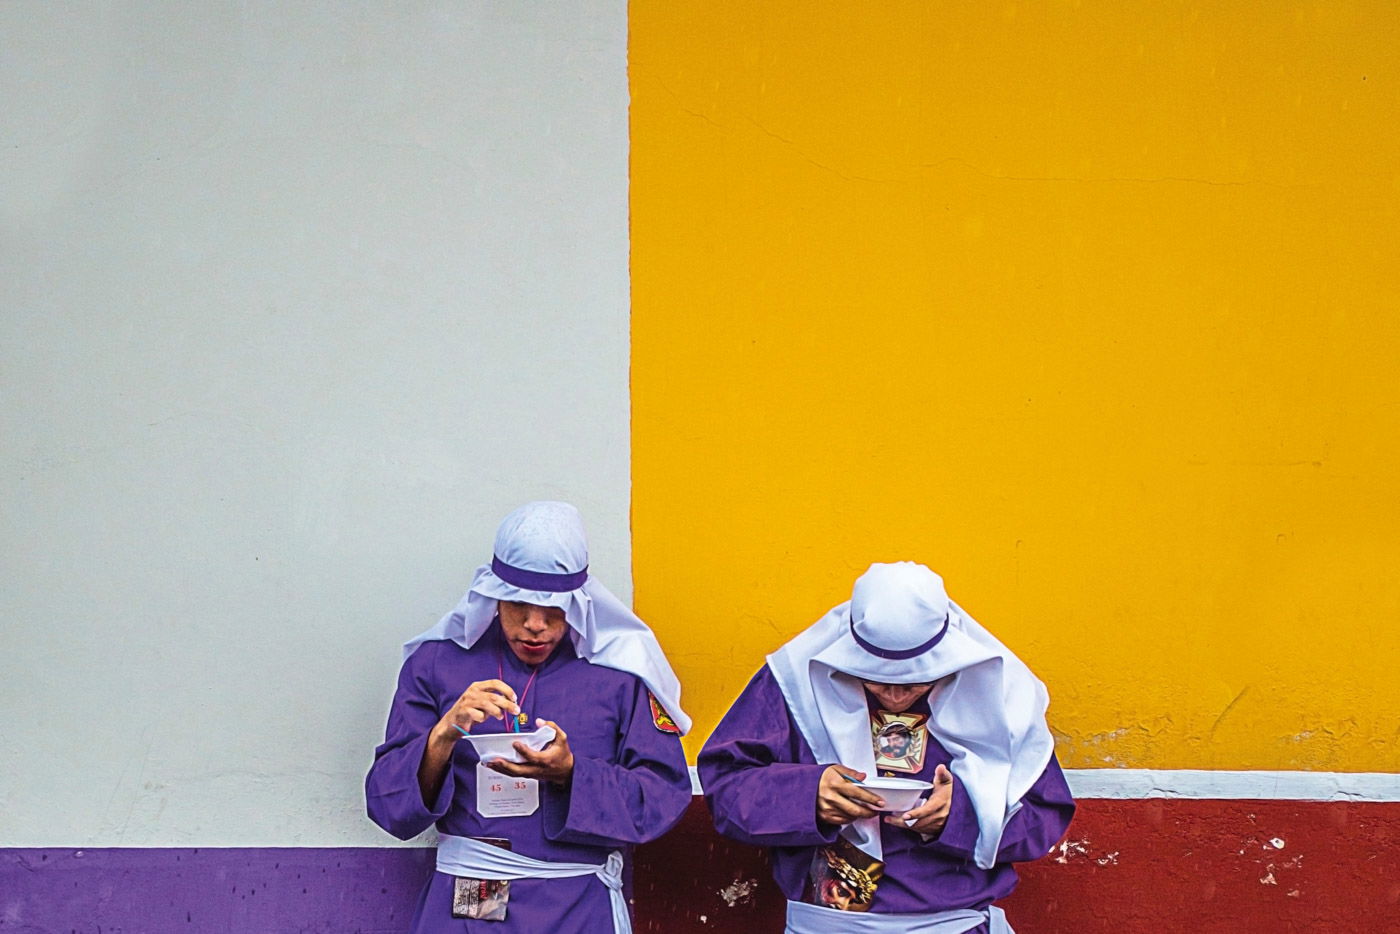
There are many reasons to use the Gaussian Blur filter in Photoshop. You can use it to reduce noise, add an artistic blur effect, or create depth by blurring the background. The Gaussian effect results in a smooth blur that looks as if you are viewing the photograph through a translucent screen.
In this article, we look at exactly how to use the Gaussian Blur in Photoshop.
For our example, we will use this image of a bottle of wine and two glasses. The goal is to blur the bottle to draw attention to the glasses.
Following the steps below, you can blur anything in a photo, including a background.
This can come in handy if you want your subject to pop out or if you want to hide distracting parts of your picture.

Whenever you want to edit a photo, you need to duplicate the background. This way, you can always go back to the original image if something goes wrong.
Select the background layer on the layers panel and right-click on it. Select Duplicate Layer.
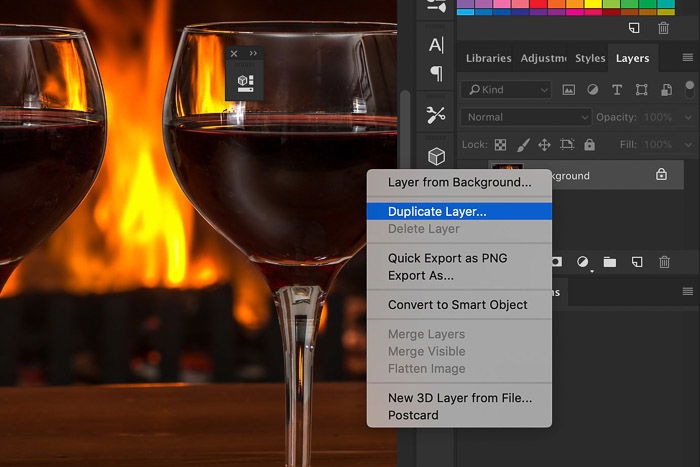
A new layer will appear on top of the background.
Alternatively, you can convert the layer to a smart object. It does not matter whether you re-shape them or apply smart filters to them. Smart objects safely hold the contents of the layer.
This means that any change we make to the object will not affect the layer itself.
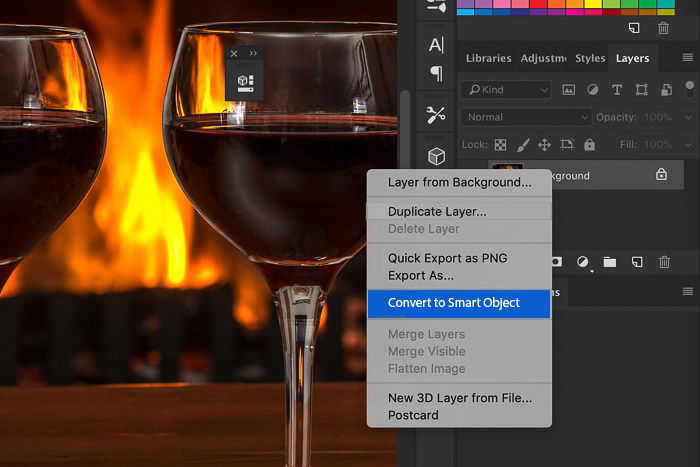
From this point, any adjustment you make to the background will appear under the layer on the layers panel.
You can use any Photoshop selection tool to do this. In this case, we will make a path first. The Pen Tool is perfect for this example because the bottle of wine has a smooth and rounded shape.
If the toolbar is not visible, go to Window > Tools to make it appear. You can also use the Cmd + P.
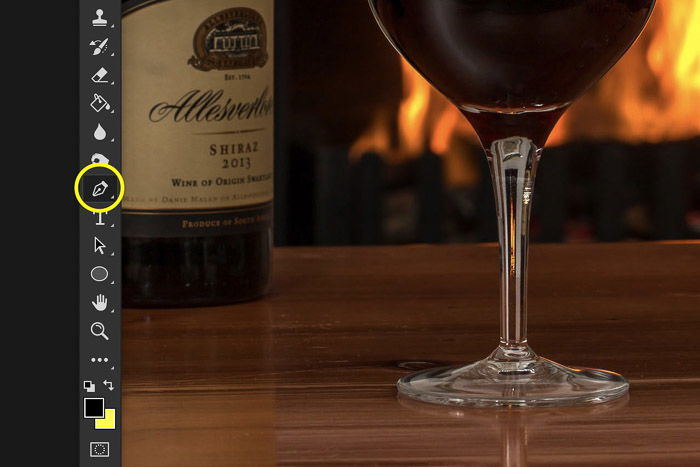
Create a path around the object you want to blur. Zoom in the object and make sure to keep it as smooth and clean as possible.
If you make a mistake, use shortcut Cmd + Z to go a step back (Ctrl + Z for Windows).
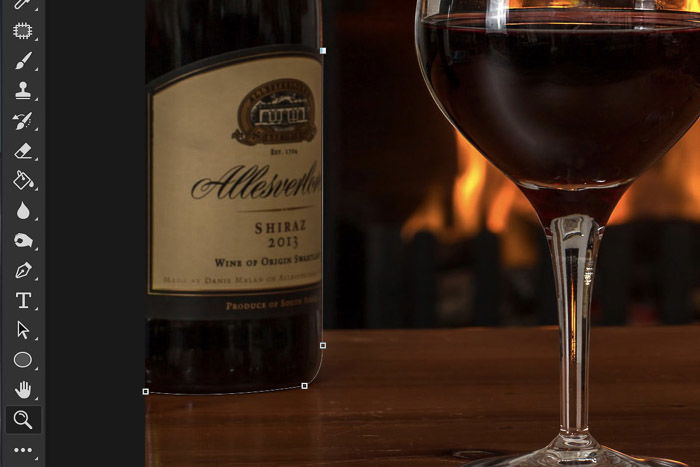
Once you have chosen the desired area, you need to convert it to a selection.
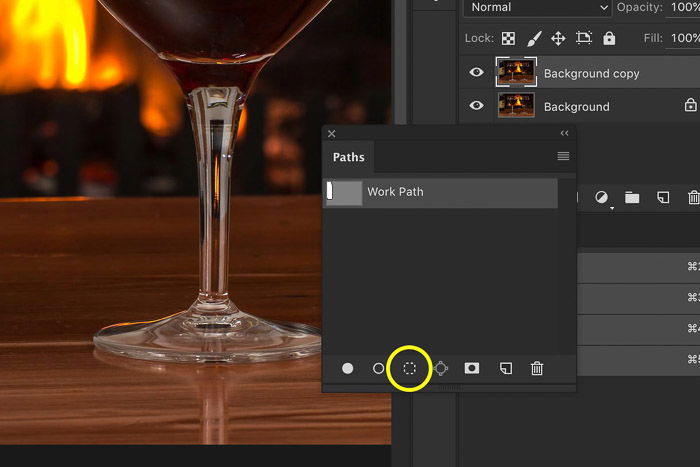
In the Paths panel, select the path you have created. If you do not see the panel, go to Window > Paths. This will reveal the Paths panel.
Click on the Load Path as Selection button to convert the path into a selection.
Before adding backgrounds blur, we recommend using the Refine Edges tool. This way, you can make sure that the sharp edges of a blur effect will not harm your image.
Once you are satisfied with the edges, click OK, and you can start applying the blur on the layer.
Go to Filter > Blur > Gaussian Blur, and the Gaussian Blur window will appear.
You can drag the image in the Gaussian Blur window to look for the object you are going to blur. If you find it too small, tick the Preview box, and the result of the Gaussian Filter blur will be visible in the image.
Drag the Radius slider until you are satisfied with the amount of blur.
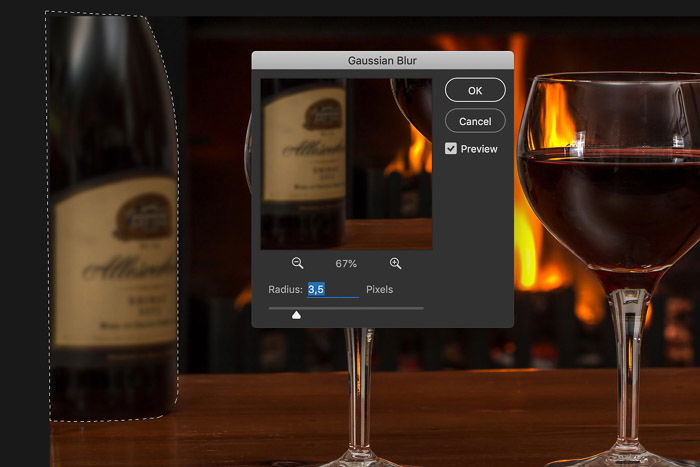
And this is the result. You can see that the bottle is smooth and blends in with the blurred background.
Every filter blur has a specific effect, and it’s good to know the differences to get the best results. Gaussian Blur in Photoshop is one of many filters. It is perfect for blurring the background or unwanted elements. Play around with it and use it to your advantage!
Use basic setups and simple accessories to capture Jaw-Dropping photos with our Wow Factor Photography course!
