

Glamour photography is portrait photography that puts the person's beauty, presence, and style at the centre of the image. Lighting, posing, clothing, and makeup work together to create a polished portrait. Glamour shots can be dramatic or gentle, fully clothed or sensual.
An old Hollywood portrait is one familiar example. But you do not need a movie star or an elaborate studio to try the style. Start with a willing subject, a clear idea, and light you can control.
What Is Glamour Photography?
In glamour photography, the person is the main subject. The clothes and setting support them. This separates it from fashion photography, where the outfit or fashion concept is usually the priority.
Glamour is one of several types of portrait photography. A close-up with carefully shaped light can be a glamour shot, as can a full-length portrait in an evening gown. Revealing clothing is not a requirement.
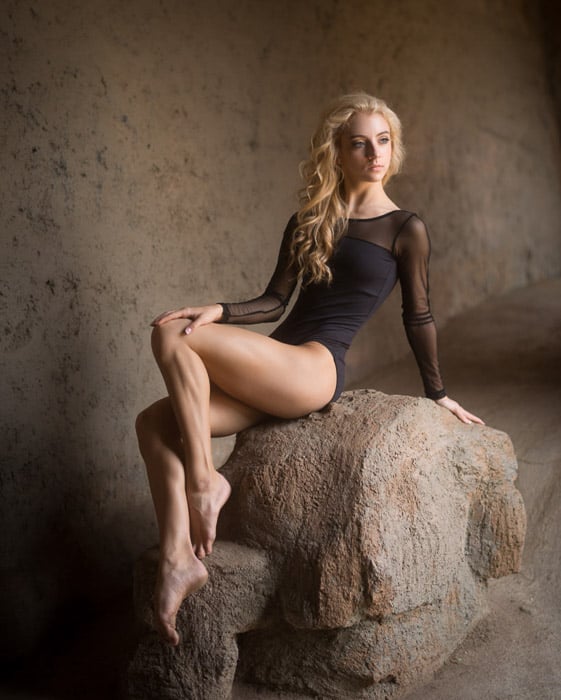
Image by David Hofmann, Unsplash
Photographers use the term in different ways. Some use glamour to describe polished beauty portraits. Others, such as glamour photographer Nino Batista, put more emphasis on sensuality. Agree on the intended look with your subject before the session instead of assuming you both mean the same thing.
A glamour model is the person posing for this kind of photograph. You do not need to hire a professional model to practise. Give someone with less experience clear directions and time to settle into each pose.
What Are Glamour Shots?
A glamour shot is a portrait made in this style. The term also refers to Glamour Shots, the portrait studio brand associated with makeover sessions. The brand and the wider photographic genre are not the same thing. This guide covers the photography technique.
There is no single glamour look. You can use natural light or studio light, colour or black and white, a quiet expression or a confident gaze. The important question is whether the choices work together to draw attention to the person.
How Does Glamour Differ From Boudoir Photography?
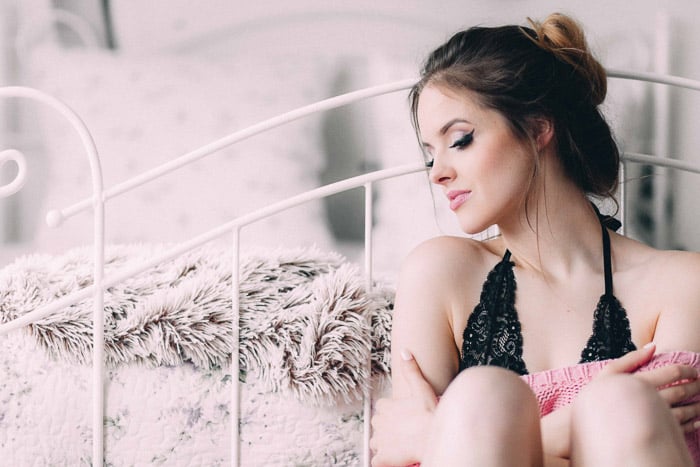
Glamour and boudoir photography overlap. Boudoir usually puts more emphasis on intimacy, often with lingerie and a private setting. Glamour can have that mood, but it can also be a fully clothed beauty portrait in a studio or outdoors.
These are flexible labels, not strict rules about how much skin must appear. A bedroom setting alone does not make a portrait boudoir. The styling, pose, mood, and subject's intent matter. For a session at home, our DIY boudoir guide covers that more intimate approach.
6 Tips for Successful Glamour Shots
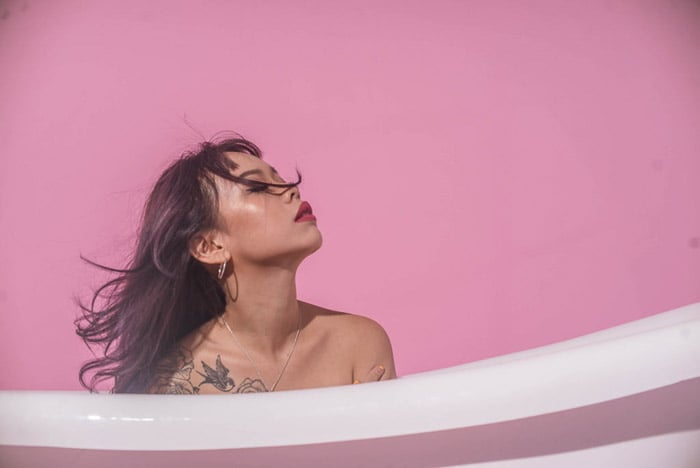
Image by Heng Films, Unsplash
A useful first session needs one workable look, not a long list of outfits and lighting changes. These six steps take you from planning to the finished photograph.
1. Agree on the Look Before the Shoot
Ask your subject what they want from the pictures. A soft, natural portrait and a dramatic Hollywood-inspired image call for different styling and light. Choose a few reference images together and discuss what you like about each one.
Set clear expectations about clothing, poses, retouching, and where the finished photographs may be shared. Do not assume that agreeing to a photo session also means agreeing to public use of the images.
Plan a simple sequence: a head-and-shoulders portrait, a seated pose, and a standing pose. Allow time to check the results together. If a pose or outfit feels uncomfortable, change it.
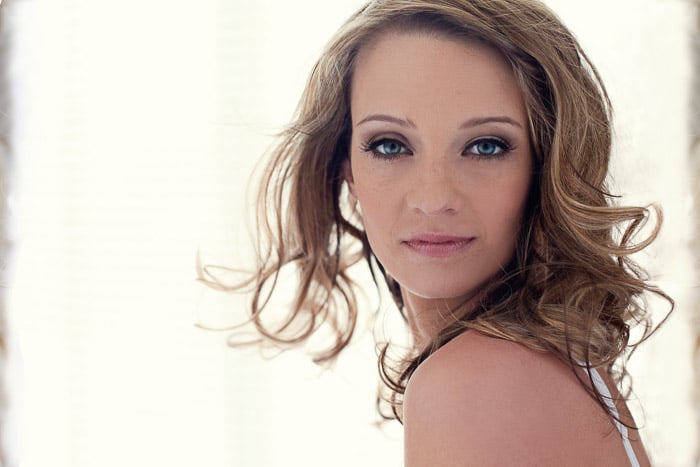
Image by love_k_photo on Flickr
2. Choose Clothing and Makeup That Support the Portrait
Glamour is not fashion photography, but clothing still helps set the mood. Choose an outfit the subject likes and can move in comfortably. It does not need a designer label.
Start with a solid colour if you want fewer distractions. Check the neckline, seams, and fabric folds in a test frame. A busy pattern is not forbidden; it just needs to earn its place in the picture.
Hair and makeup can be simple or elaborate. For a detailed beauty portrait, allow time to check loose hairs, makeup edges, and shine before shooting. If hands will be near the face, pay attention to the nails as well.
A makeup artist can help achieve a specific look, but that is not a requirement for a first attempt. Shoes are also a choice, not a rule. If the subject wants to wear heels, use a stable surface and avoid poses they cannot hold comfortably. Our first boudoir shoot tips include further preparation ideas for an intimate session.
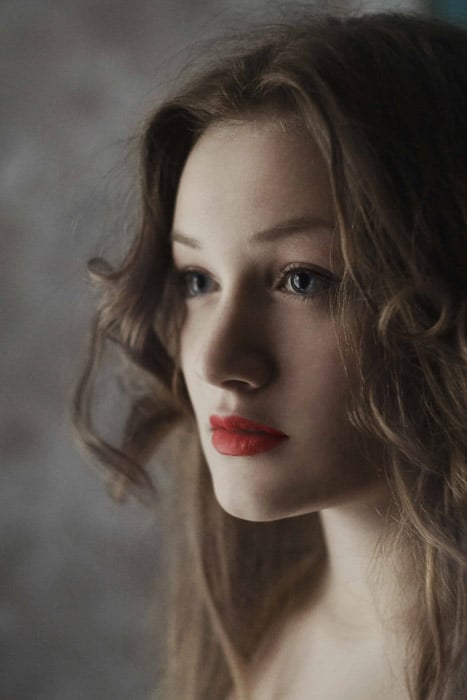
3. Pick a Location With Useful Light and Space
You can make glamour portraits in a photo studio, beside a window at home, or outdoors. Look for light first, then check the background through the camera. Bright objects, clutter, or lines behind the head can distract from the face.
Choose somewhere safe, permitted, and private enough for the planned wardrobe. Leave space for the subject to move and for you to change your camera position. A changing area matters more than an impressive-looking location.
The background can support the outfit or create juxtaposition. An evening gown against a rough-textured wall is one example. Keep that contrast deliberate so the setting does not overwhelm the person.
Use the camera and lens you already have. Frame a wider portrait if the room feels cramped rather than forcing a tight close-up. Check the face, hands, background, and edges of the frame before each new pose.
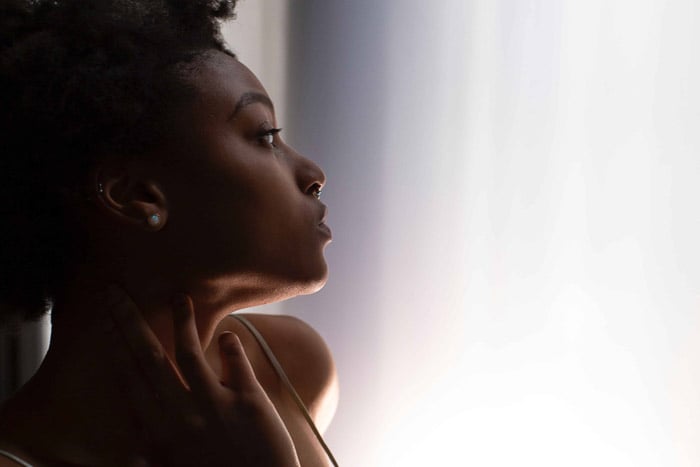
4. Start With One Light and a Reflector
Like other genres of photography, glamour can use soft or hard light. Soft light is a useful first choice for gentle transitions between light and shadow. Harder light and deep shadows can suit a more dramatic portrait.
For a simple window-light setup, try this:
- Place the subject beside a window out of direct sun. Turn their face slightly toward the window and check how the light falls across both eyes.
- Put a white reflector on the shadow side. Move it until it lifts the shadows as much as you want. A white board can serve the same purpose.
- Take a test frame. Check the eyes and bright skin areas, then adjust the subject's angle or the reflector before changing anything else.
Nikon's window-light portrait examples show how a reflector can lift shadow areas. A window with direct sun is not automatically a soft light source; the direction and diffusion of the light matter.
With a studio light, try clamshell lighting: position a diffused light in front of and above the face, angled down, with a white reflector below. Profoto's demonstration shows this arrangement. Adjust the height while watching the nose and chin shadows. If the eyes become too dark, lower the light or change its angle.
There is no single correct exposure for glamour. As a starting exercise with window light, try f/4 and 1/250 second, then adjust ISO for the available light. These are starting points, not a tested recipe for every room. Focus on the nearer eye and enlarge a test image to check sharpness. If you need both eyes sharper, use a smaller aperture and adjust the exposure to compensate. Flash needs settings that also suit your camera's flash-sync limit.
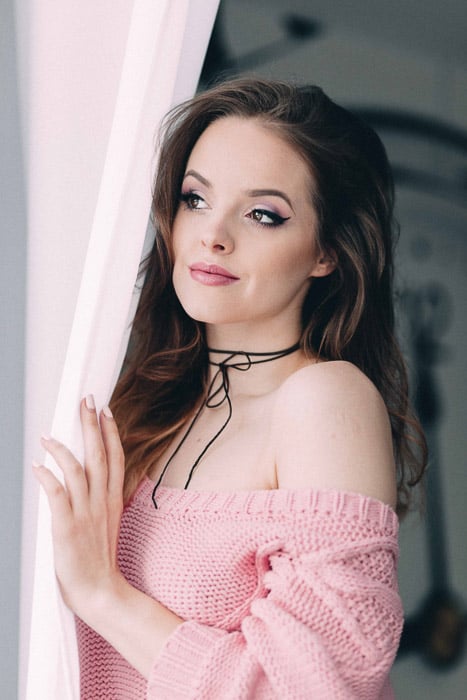
5. Give Clear, Comfortable Posing Directions
Useful portrait poses give your subject something specific to do. Start with the feet or seated position, then adjust the shoulders, hands, and head. Change one thing at a time.
For a standing portrait, ask the subject to shift their weight onto one leg and relax the other knee. Try a slight turn of the shoulders instead of keeping them square to the camera. These are options to explore, not rules for every body or mobility level.
Watch the placement of the hands. Resting a hand lightly on a chair or touching a jacket can look more relaxed than holding a tense pose near the face. Ask the subject to release and reset if the fingers become stiff.
Demonstrate a movement yourself before giving a long explanation. Ask before touching the subject or adjusting their clothing. Keep checking that the position feels comfortable.
Expression deserves as much care as posture. Talk between frames, invite a small change in gaze, and give the subject a moment to breathe. A forced pout is not a requirement for glamour. Review a few frames together and build on the expressions they like.
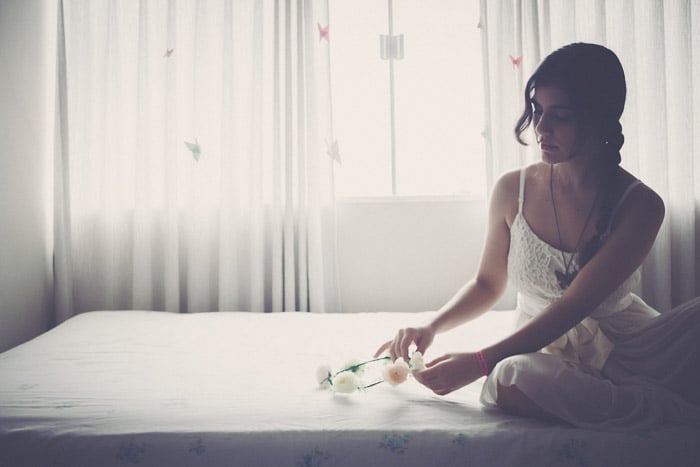
6. Retouch Without Losing the Person
Start with exposure, white balance, and the crop. Then decide whether local adjustments are needed. A good expression with a natural finish can be more effective than heavy skin smoothing.
Agree on the scope of retouching with your subject. Do they want temporary blemishes removed? Should freckles, scars, and other features stay? Do not treat every skin detail as a flaw.
Keep skin texture visible and avoid making the eyes or teeth unnaturally bright. Check the photograph both enlarged and at its intended viewing size. Compare it with the original so small changes do not accumulate into a face the subject no longer recognises.
Conclusion
Glamour photography uses styling, posing, and light to make the person the focus of a polished portrait. It can be sensual, but it does not require lingerie, a professional model, or a complex studio.
For your first session, choose one outfit, one background, and one lighting setup. Make a test photograph, adjust one element, and work with your subject to find a result they like. Our portrait photography guide can help you develop those skills further. They also apply to senior pictures and family portraits.
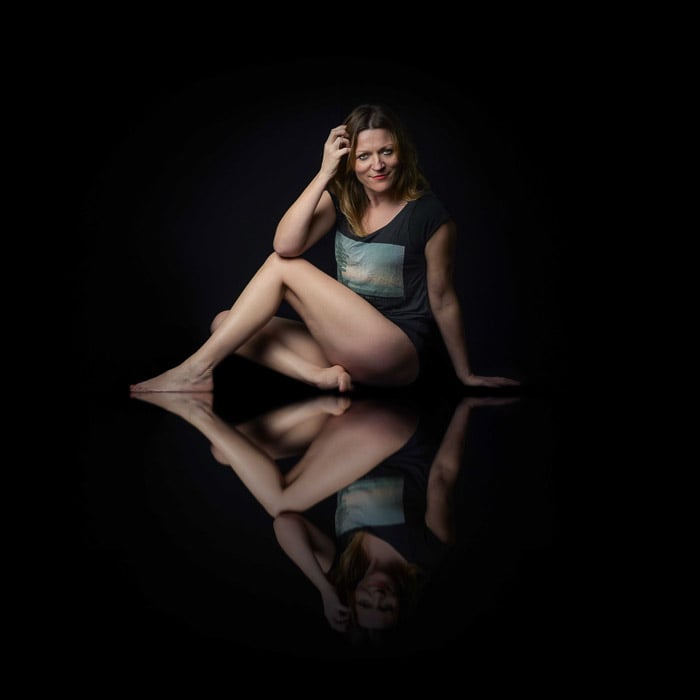
Header image by love_k_photo on Flickr
Before you go, check out this YouTube video.