Nail photography is an important part of both lifestyle and beauty photography. It can be difficult to master taking pictures of nails if you don’t use the right settings and equipment.
Knowing a few simple tricks can help you take stunning pictures of nails.
8. Nail Photography: 8 Tips to Take Care of Your Hands Before the Photoshoot to Make Them Look as Beautiful as Possible
Before you get started, make sure your nails look great. Dry cuticles look unflattering in photos. Use cuticle cream to get rid of unnecessary dryness. You can also use a moisturizer to make your hands look softer.
If there are minor imperfections you can’t fix, don’t worry. You can remove them in an editing program. More on this later.
In nail photography, less is more. If you’re wearing rings or bracelets, make sure they don’t take the attention away from your nails.
7. Use Professional Equipment to Take High-Quality Pictures of Nails
When you see the word professional, don’t feel intimidated. Professional camera equipment can be affordable.
A few inexpensive cameras are the Nikon D3400 and Canon EOS Rebel T5i. These rough prices include lenses.
Professional DSLRs like this tend to be more advanced than smartphone cameras. They’ll give you more opportunities to be creative and flexible with your nail photography ideas.
If you like the soft-focus effect in backgrounds, buy a lens with a large aperture. Prime lenses, such as the 50mm f/1.8 ($100) and 50mm f/1.4 ($399), work well in low light and are ideal for close-ups of nails.
If want to take photos of your own nails, invest in a camera remote. This little device will let you press the shutter from a distance, helping you save time.
6. Shoot With Natural Light to Give the Nails a Beautiful Glow
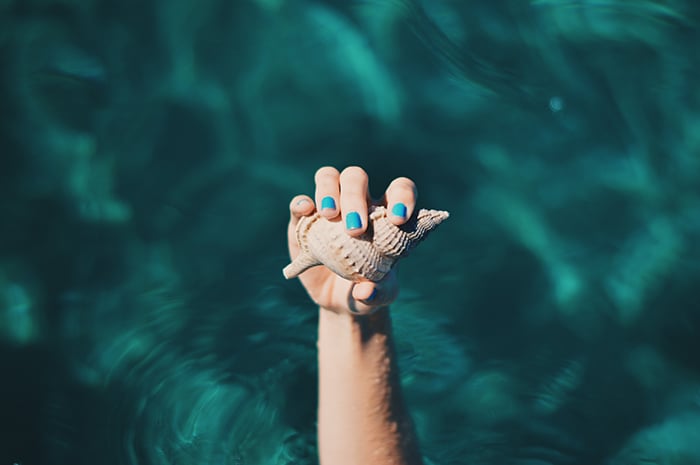
In nail photography, natural light is one of your best friends. You can use ring lights and softboxes as well. Natural light is the easiest way to take visually aesthetic pictures of nails.
For flattering results, shoot indoors next to a large window or outdoors in an open space. Make sure the light is even when hitting your hand.
If there are too many shadows, your hands will look too wrinkled. The softer the light, the better your hands and nails will look.
Never use flash. Even if your nails are matte, your hands will look unflattering in the bright orange light. If there isn’t enough light, use a higher ISO.
You might notice more grain in your pictures, but it’s likely that it won’t look too dramatic. You can also remove grain in editing programs like Lightroom.
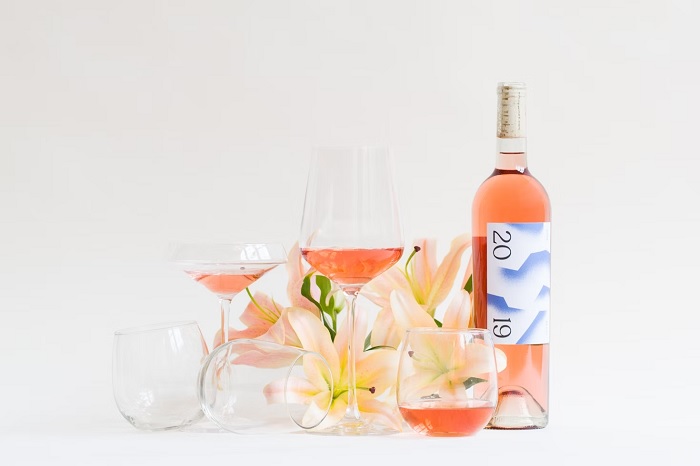
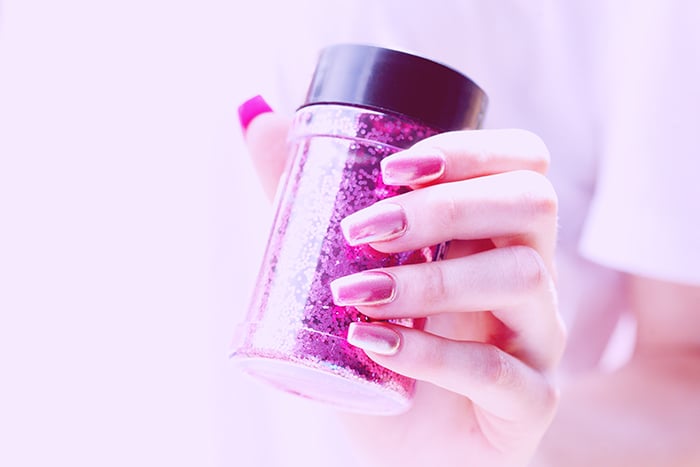
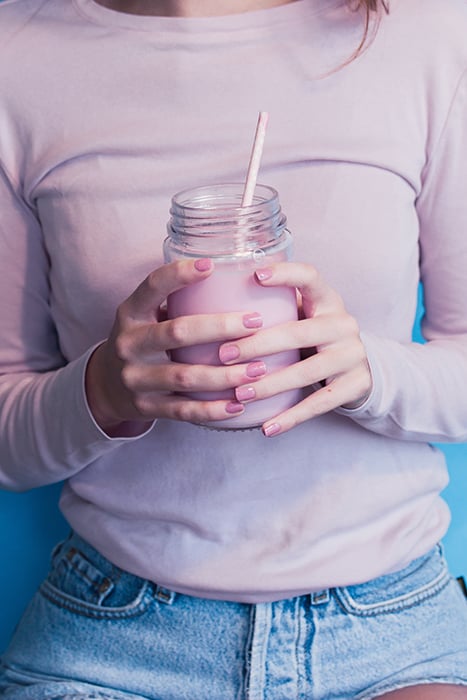
5. Hold Props to Make Your Hand Poses Look Natural
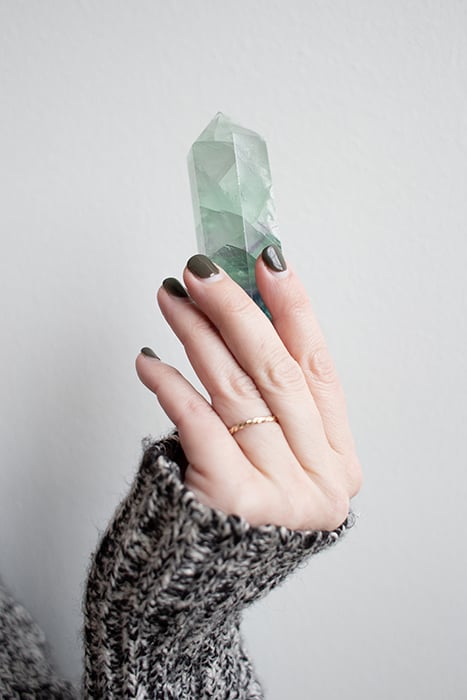
To make your hand poses look natural and original, hold something during your photoshoot. This can be a bottle of perfume, a wallet, or your other hand.
Your props need to be relevant to the photoshoot theme. This will make your nail photos look as authentic as possible. Generally, you can use anything that’s related to lifestyle or beauty.
Holding something will let you show off your nail art. Experiment with props of different colors and sizes. Make sure they’re not more eye-catching than the nails themselves.
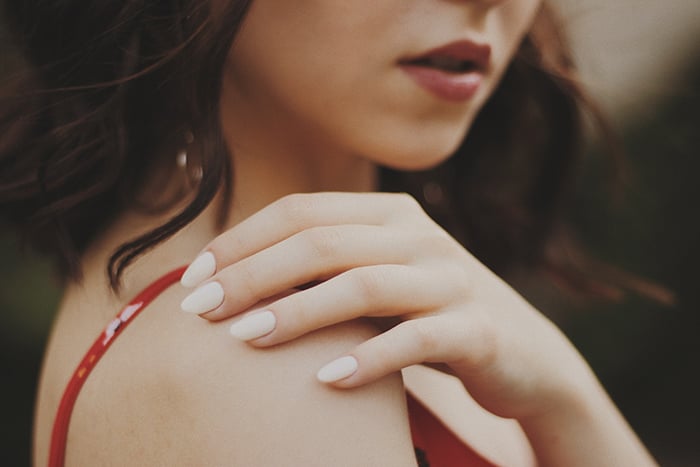
Besides holding props, you can place your hand on your shoulder or another part of your body. You can also place your hand on objects like tables, trees, and even laptops.
4. Use a Large Aperture to Focus Completely on Your Nail Art
The larger your aperture, the blurrier your backgrounds and foregrounds will be. If you want your nail art to stand out against a blurred background, use a lens that gives you that option.
Keep in mind that very large apertures, like f/1.2, can make it difficult to photograph an entire hand in detail.
Depending on the theme of your shoot, choose an aperture that captures every detail that you need without blending into the background.
3. Don’t Get Too Close to Your Nails to Avoid Distortion
If you get too close to a hand, some parts of it might look larger than others. To avoid awkward-looking fingers, shoot from a distance.
When taking photos of someone else’s hand, take a few steps away from them. Don’t worry if small distractions appear in the frame because of this. As long as they’re small and don’t cover the model’s hand, you can remove them in an editing program later.
The same rules should be followed when taking photos of your own hand. If you don’t have a flip screen or external monitor to see your results, this might get very tricky.
To make sure that your hand is centered, place an object where you’ll be sitting. Adjust your camera so that it’s in the center of the frame. This way, you’ll be able to take sharp photos without going back and forth all the time.
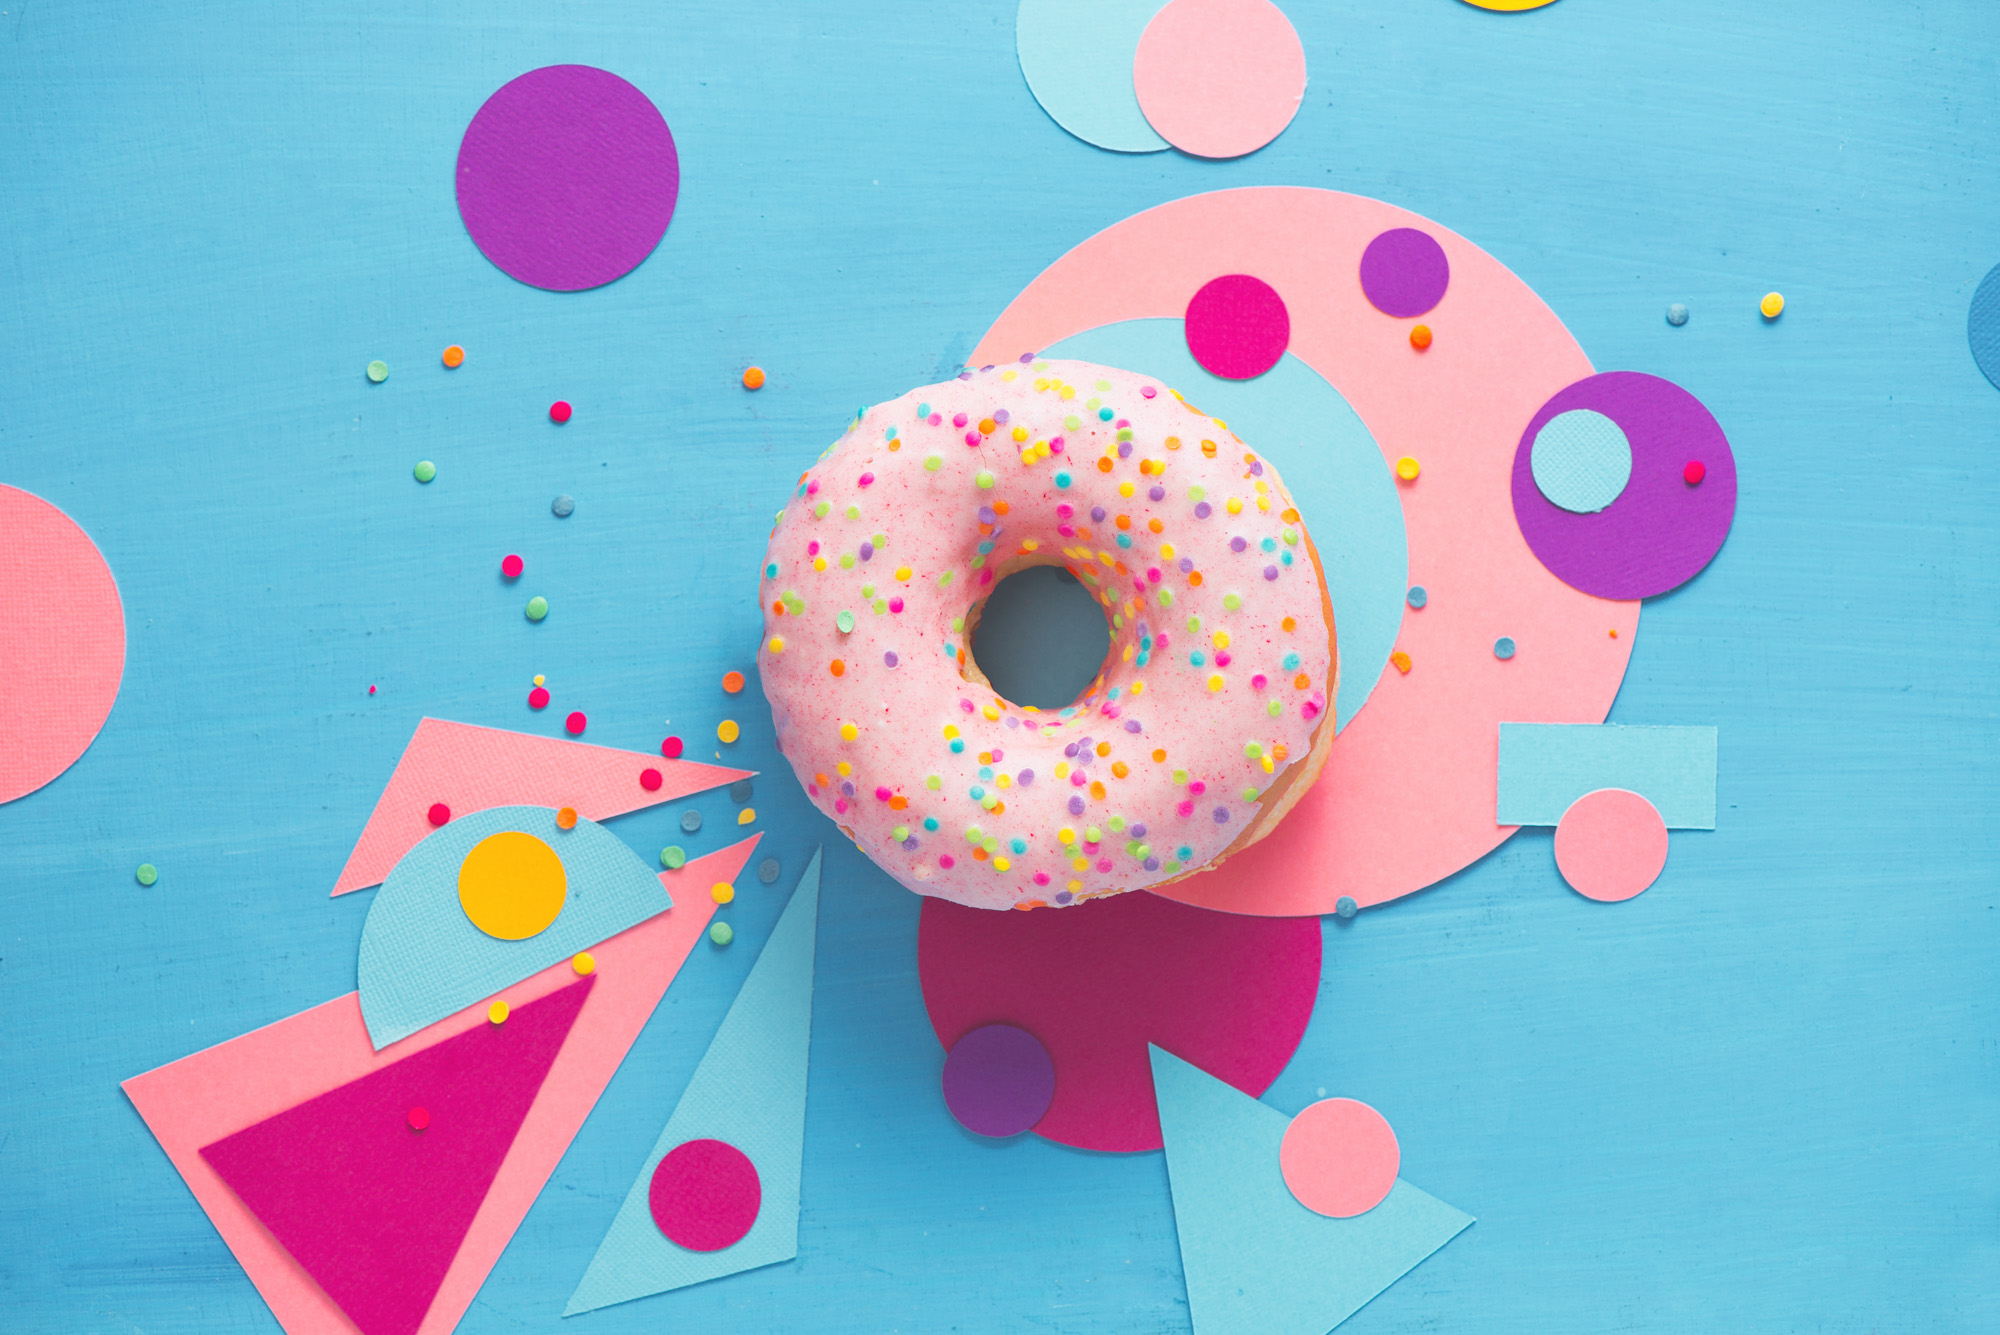
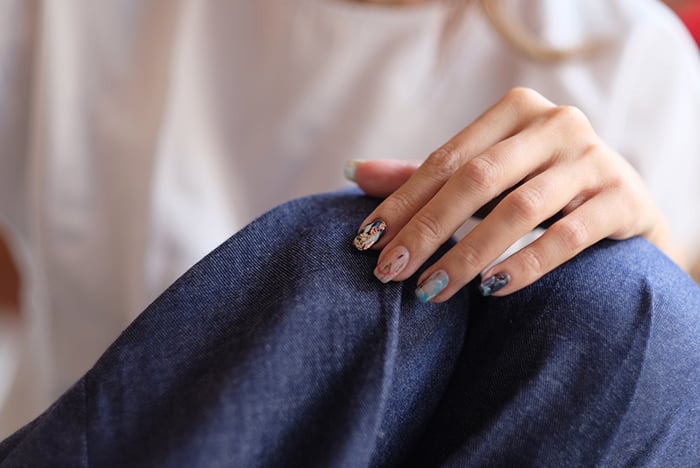
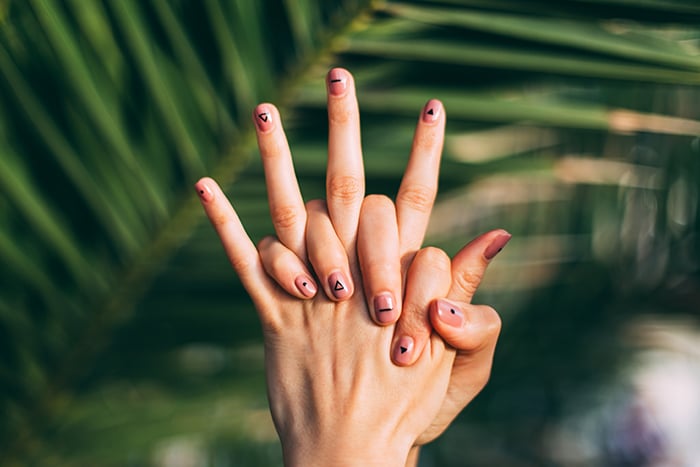
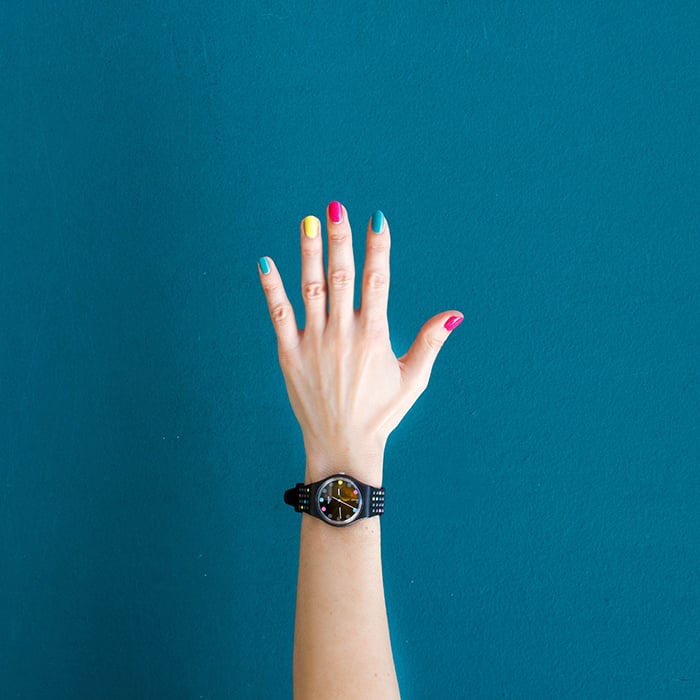
2. Use a Simple Background to Complement Your Nail Colour(s)
Make sure your backgrounds complement the nail design and color. Don’t be afraid of using colors that are very similar or exactly the same.
As long as they don’t clash with the nail color, they’ll make your photos visually aesthetic.
You can also use complementary colors or softer versions of your nail color. Pastels, washed-out colors, and neutral colors like grey can all make the nail design look more appealing. Avoid backgrounds with lots of designs, glitter, or heavy textures.
You can take this even further by using props that complement both the background and your nails.
If all else fails, use safe colors like black or white.
1. Use These Editing Tools to Improve Your Nail Photography Results
Once your nail pictures are ready, there are a few things you can do to enhance them even more. I’ll be using examples from Photoshop. You can find similar tools in your preferred editing program.
- Patch or Clone Stamp Tool – You can use the patch tool to get rid of small flaws on your hands or nails. The clone stamp tool is great for removing a lot of imperfections. And getting rid of unwanted background distractions.
- Crop – If you’ve taken photos from a distance, your background might not look perfect. Too much might be going on in your composition. You can fix this by cropping your photos a little.
- Curves – Though optional, this tool will help you boost contrast and fix discolouration. You can also use it to experiment with fun color effects like cross-processing.
- Blur – You can get rid of dryness by going over the skin using the blur tool. Make sure you don’t overdo it, or else the skin will look unnatural.
Conclusion
You can master nail photography by using the right equipment, shooting with natural light, and choosing the right backgrounds for your nails.
The more you practice, the easier it will be to take flattering photos of hands. Nails that will take your lifestyle or beauty photography to the next level.