Manipulating images is a fundamental aspect of graphic design, and one of the most basic yet powerful techniques is flipping an image. Whether you’re creating a mirror effect or simply adjusting the orientation of a photo, knowing how to flip an image can significantly enhance your design capabilities. However, if you’re new to Adobe Photoshop, this task might seem daunting. This article aims to simplify the process, providing a step-by-step guide on how to flip an image in Photoshop. By following these instructions, you’ll be able to master this essential skill and apply it to your future design projects.
Step 1. Selecting the Image Layer
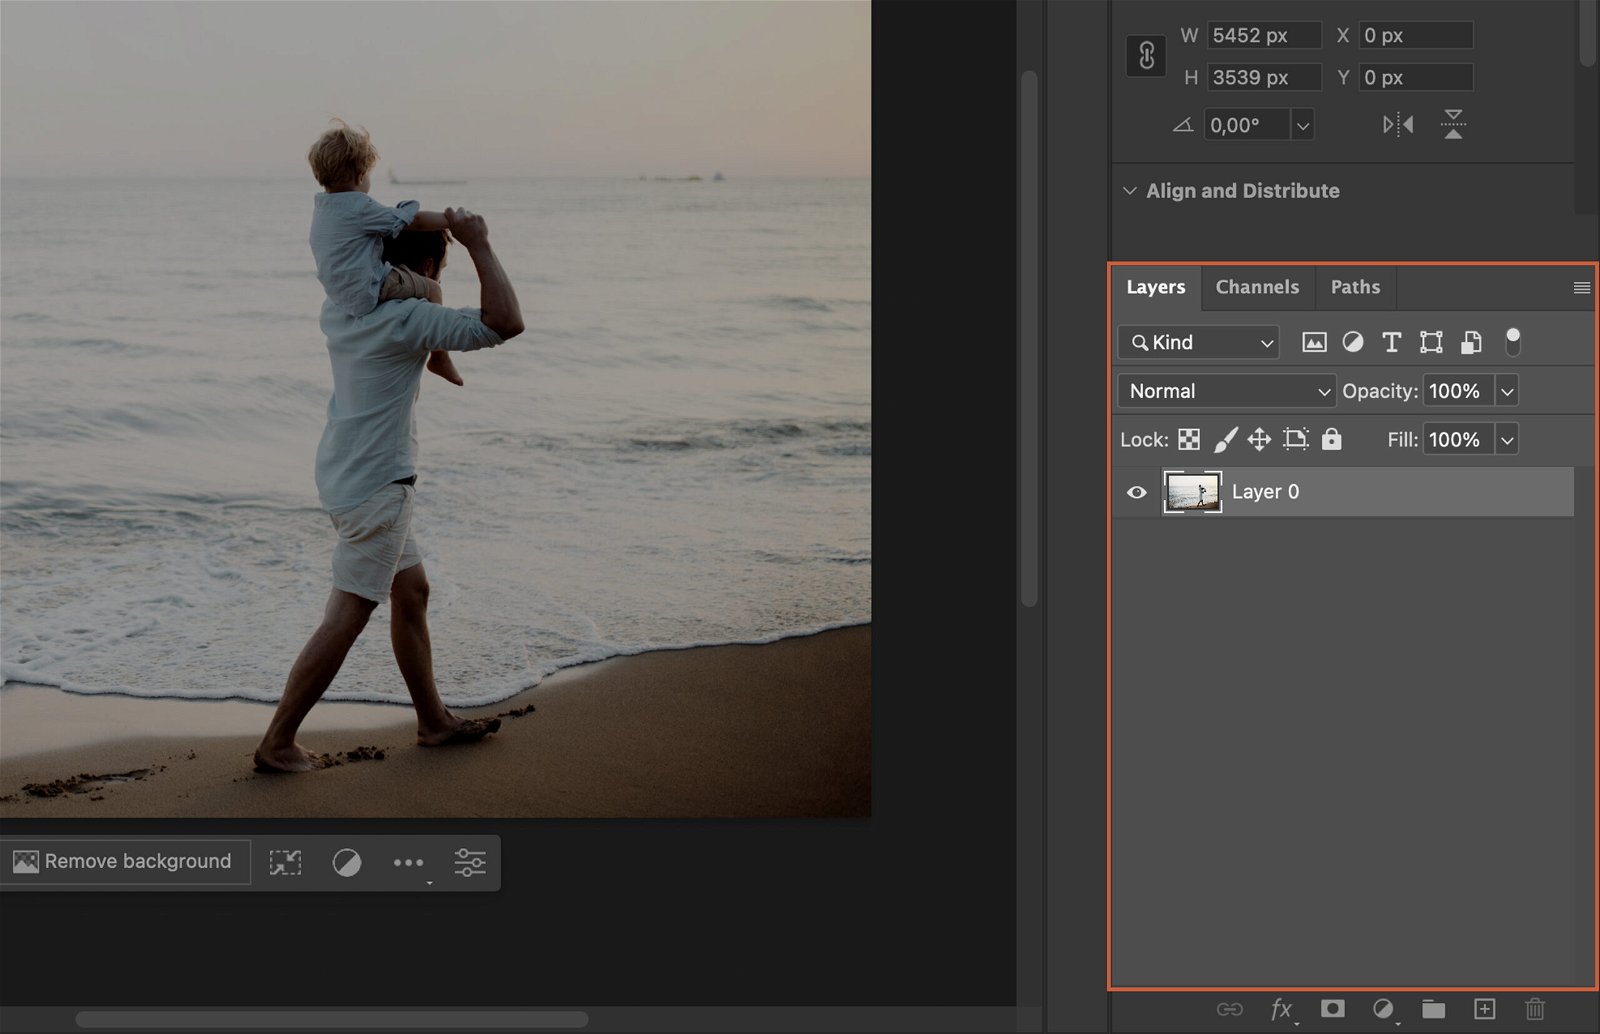
To flip an image in Photoshop, you first need to select the image layer.
The Layers Panel is typically located on the right side of your Photoshop screen. Click on the layer that contains the image you want to flip. If you’re not sure which layer it is, simply click on each layer until you see your image highlighted.
Step 2. Accessing the Transform Function
Once your image layer is selected, it’s time to access the Transform function.
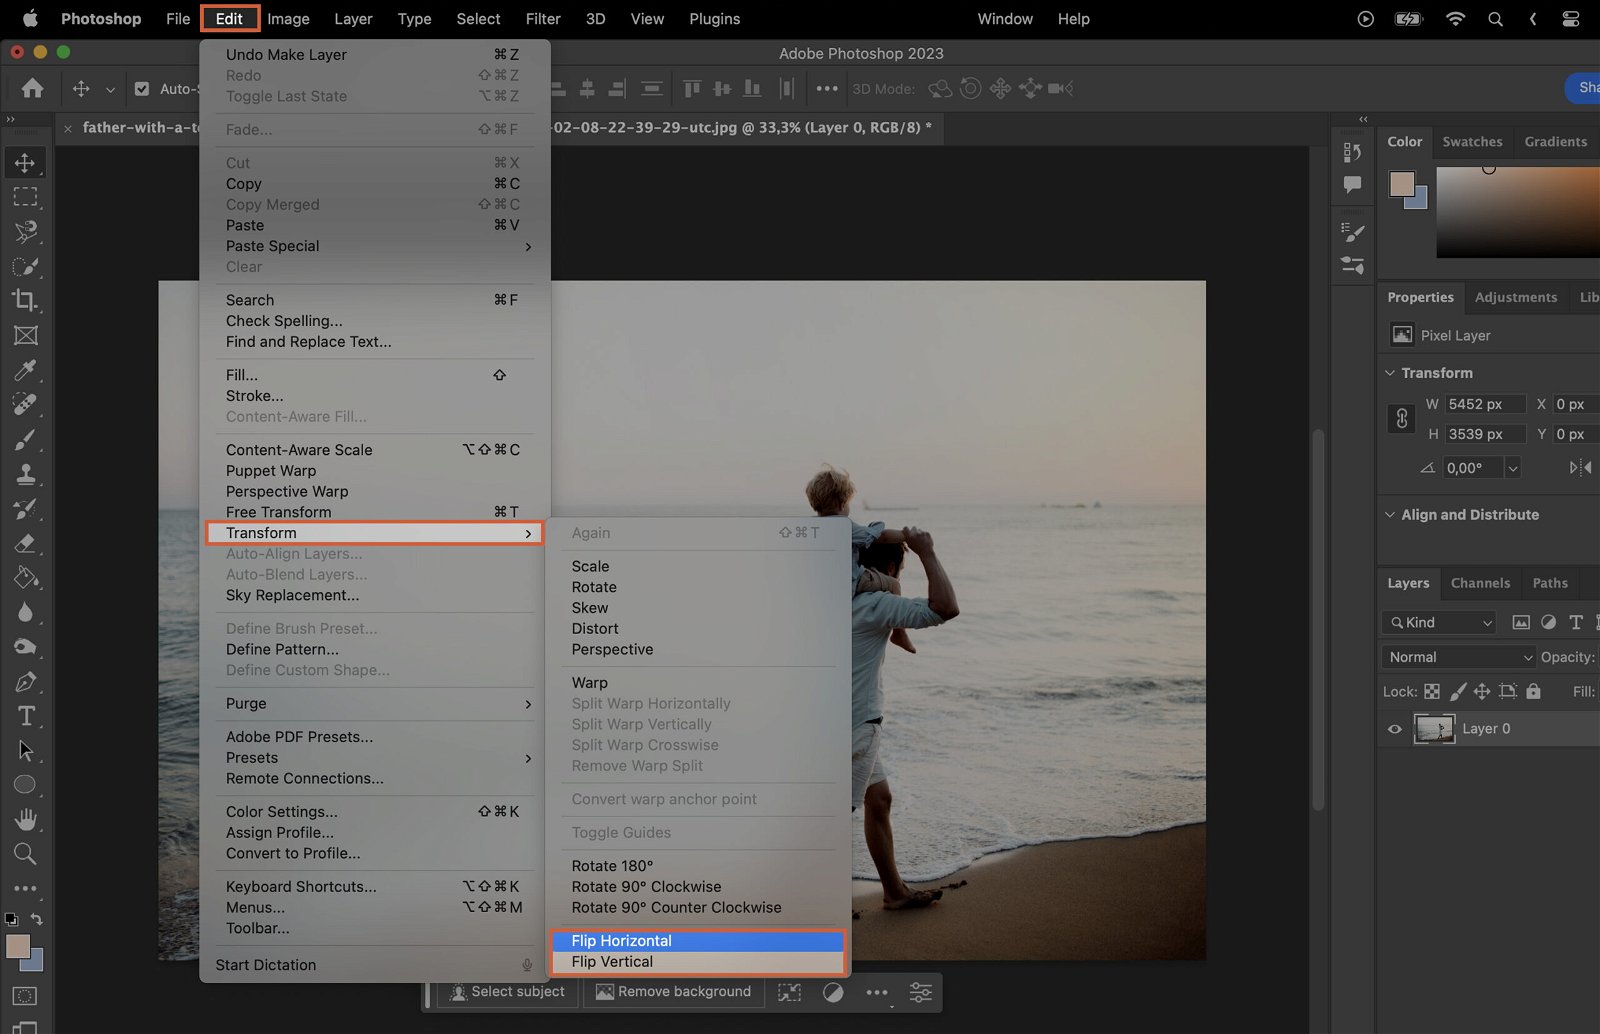
Step 2.1 Through the Edit Menu
Go to the Edit Menu at the top of your screen, then click on “Transform.” This will open a dropdown menu with several options.
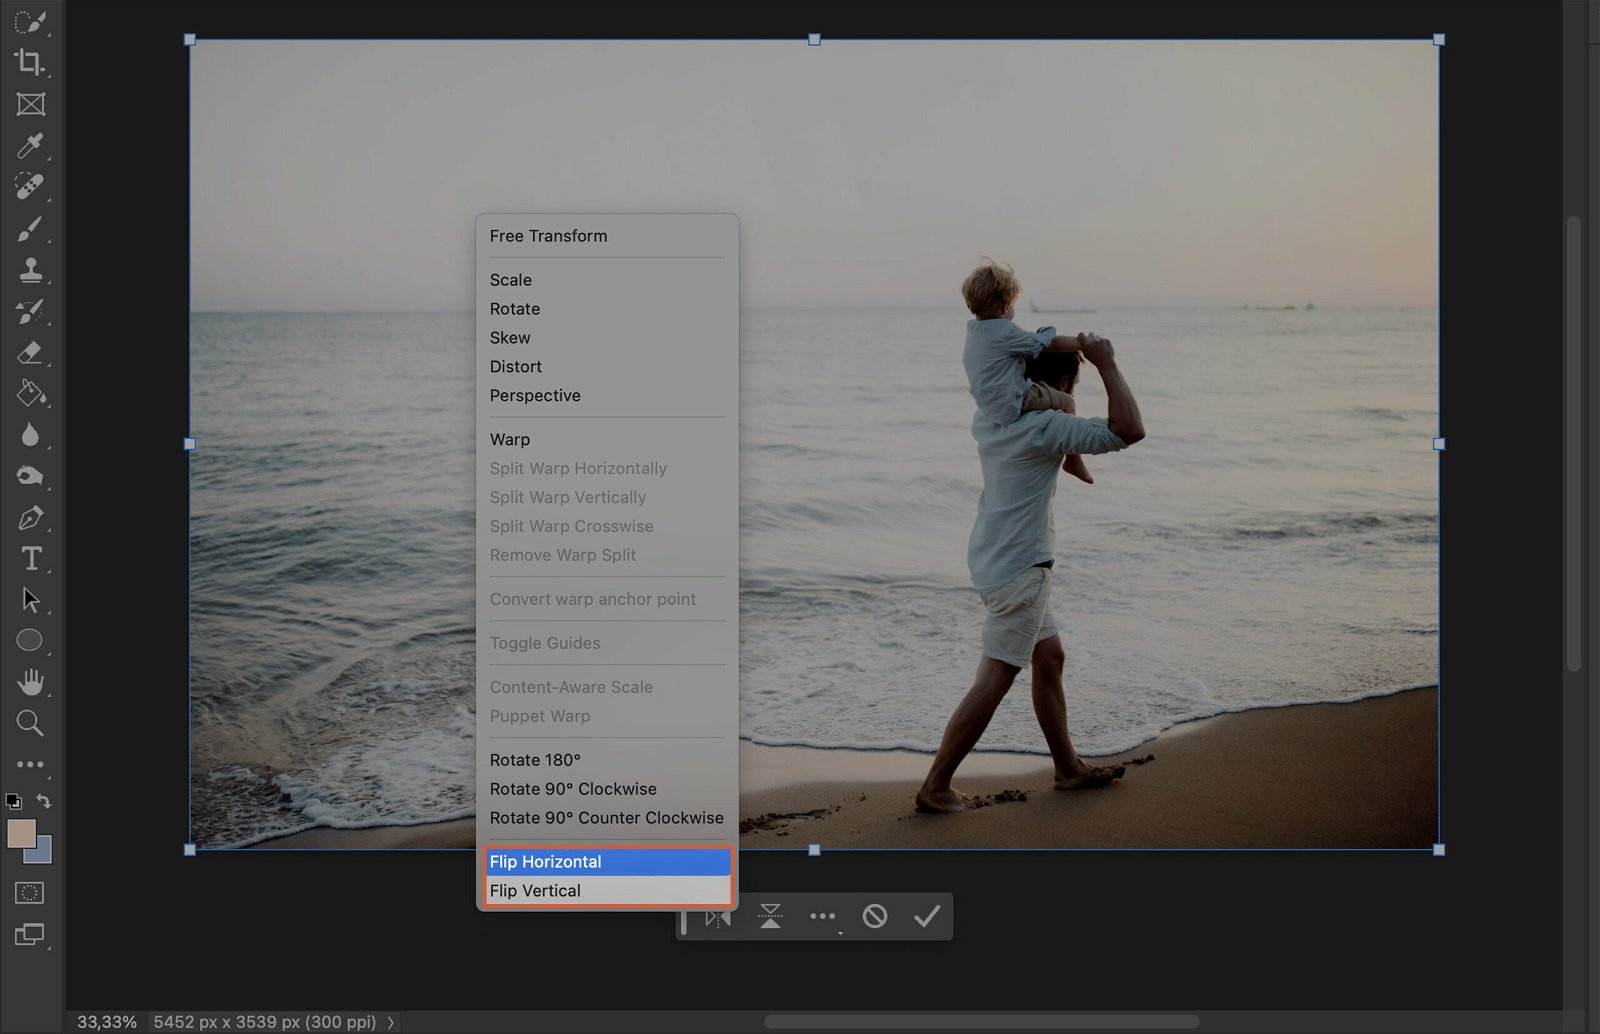
Step 2.2 Using the Shortcut Command
If you prefer keyboard shortcuts, you can access the Transform function by pressing Ctrl + T on Windows or Command + T on Mac. To open the dropdown window, right-click on the image.
Step 3. Choosing and Applying the Flip Effect
Now, you’re ready to flip your image.
Step 3.1 Flip Horizontal
To flip your image horizontally (like looking in a mirror), select “Flip Horizontal” from the Transform dropdown menu.
Step 3.2 Flip Vertical
To flip your image vertically (upside down), select “Flip Vertical” from the Transform dropdown menu.
Step 4. Adjusting the Flipped Image
If your flipped image isn’t quite right, you can adjust it.
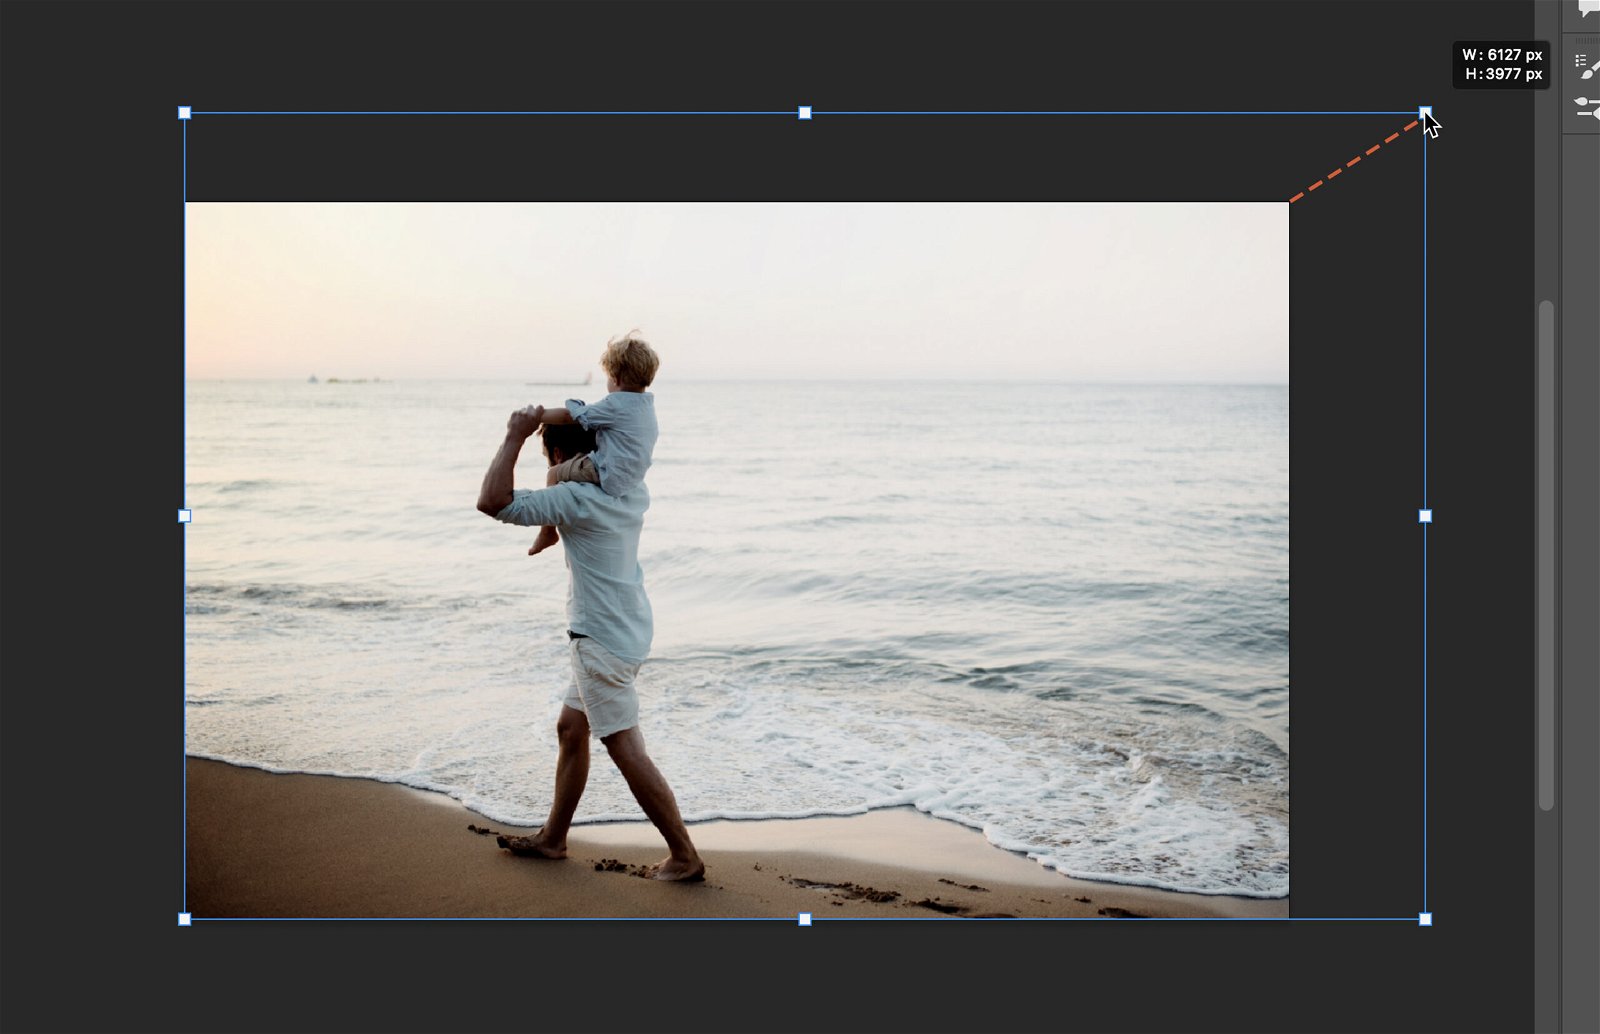
If you need to resize or rotate your image, use the Transform Controls. These are the small squares that appear around your image when it’s selected. Click and drag these squares to adjust your image.
Step 5. Finalizing the Changes
Once you’re happy with your flipped image, it’s time to finalize the changes.
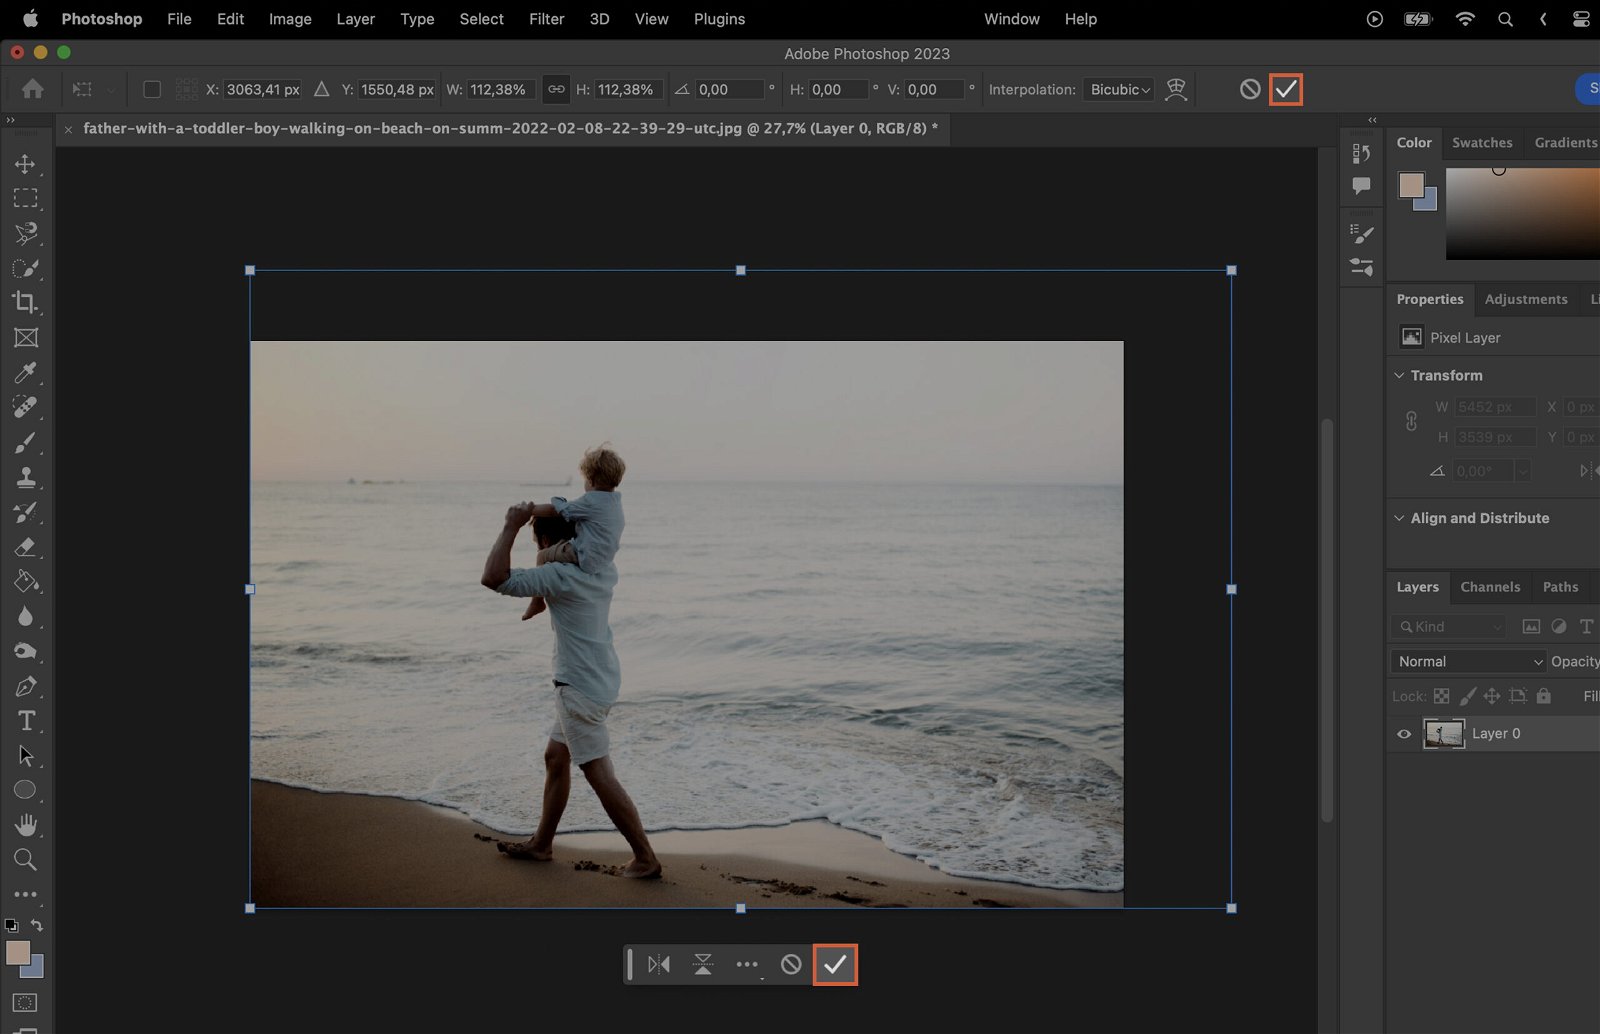
Step 5.1 Confirming the Transformation
To make your flip effect permanent, go to the Options Bar (at the top of your screen) and click the checkmark, or hit “Enter”. This confirms your transformation.
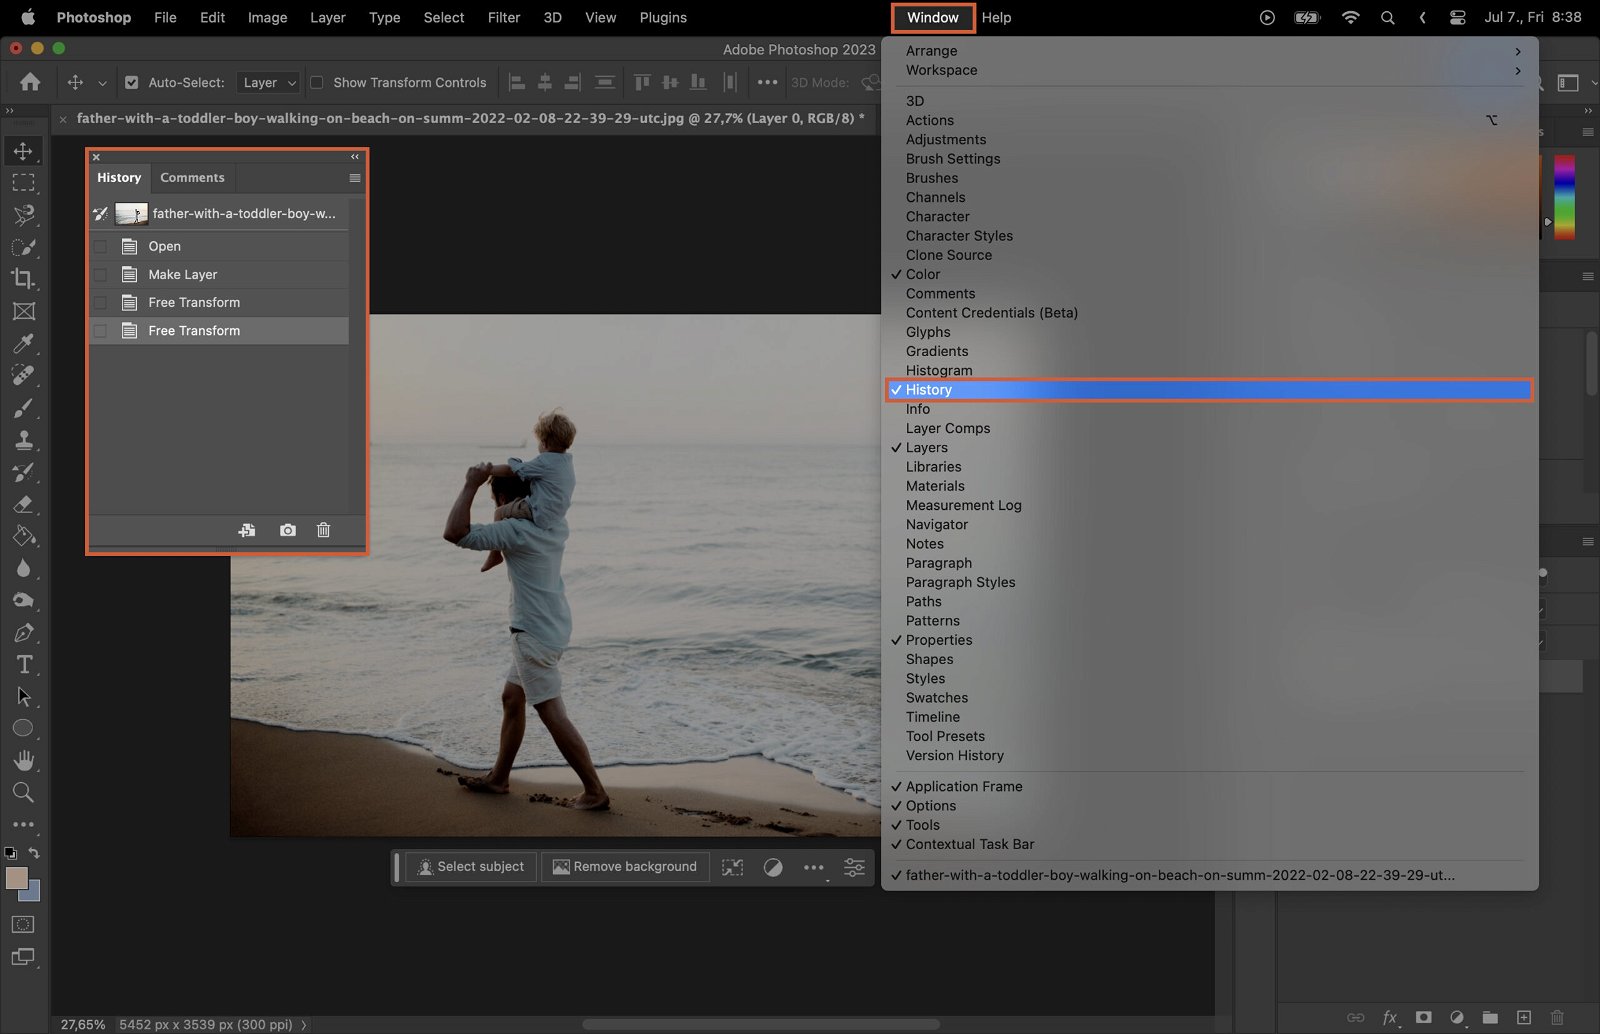
Step 5.2 Using the History Panel
If you make a mistake, don’t worry! The History Panel allows you to undo any changes. Simply click on the step you want to undo, and Photoshop will revert your image back to that point.