In the digital age, protecting your creative work is more important than ever. One of the most effective ways to prevent unauthorized use of your images is by applying a watermark. A watermark subtly asserts your ownership without detracting from the image itself. However, creating a watermark can sometimes seem like a daunting task, especially for those new to Photoshop. That’s where this article comes in. This comprehensive guide will walk you through the entire process of creating, designing, and applying a watermark in Photoshop, even providing tips on how to automate the watermarking process for multiple images. Whether you’re a budding photographer looking to protect your work or a business wanting to brand your images, this step-by-step guide has got you covered.
Step 1. Creating a New Document
Kickstart your watermark creation process by opening a new Photoshop document. Here’s how:
Step 1.1. Setting the Document Size
Go to File > New. A dialog box will appear. Set the width and height to suit your needs. A 500px by 500px canvas works well for most watermarks.

Step 1.2. Selecting the Document Background
In the same dialog box, set the Background Contents to Transparent. This will ensure your watermark doesn’t have a background color.

Step 2. Designing Your Watermark
Now, let’s design your unique watermark.
Step 2.1. Using the Text Tool
Select the Text Tool from the toolbar (or press ‘T’). Click on your canvas and type your watermark text. This could be your name, your business name, or your logo’s tagline.

Step 2.2. Importing a Logo or Image
If you want to use a logo or image, go to File > Place Embedded. Navigate to your image file, select it, and click Place.

Step 2.3. Adjusting the Font and Size
With your text layer selected, adjust the font and size in the Text toolbar at the top of the screen. Make it visually appealing, but not too distracting.

Step 3. Making Your Watermark Transparent
A good watermark is visible but doesn’t obstruct the main image.
Step 3.1. Lowering the Opacity
Select your watermark layer and reduce the Opacity in the Layers panel. Aim for 20-30% for subtle visibility.

Step 3.2. Using the Eraser Tool
If needed, use the Eraser Tool to remove any unwanted areas of your watermark. Be careful not to erase important parts!
Step 4. Saving Your Watermark
Once you’re happy with your watermark, save it in two formats.

Step 4.1. Saving as a Photoshop Document (PSD)
Go to File > Save As, and select Photoshop (PSD) as the format. This allows you to edit your watermark later.
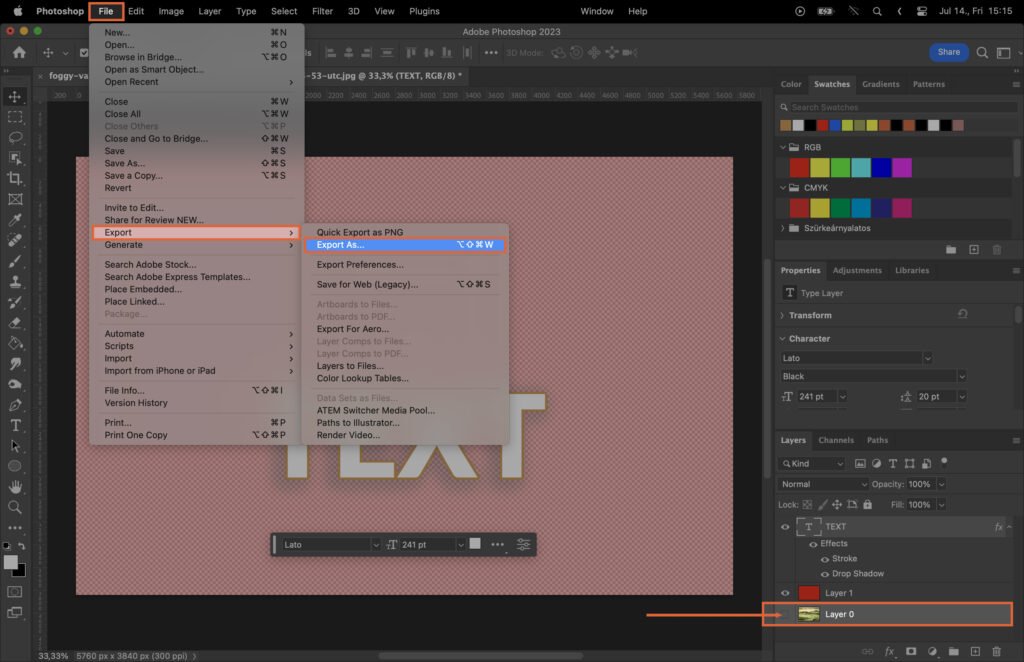
Step 4.2. Saving as a Transparent PNG
Next, save your watermark as a PNG to maintain its transparency. Go to File > Save As, and select PNG.
Step 5. Applying Your Watermark to an Image
Let’s apply your watermark to an image.
Step 6. Creating an Action for Watermarking
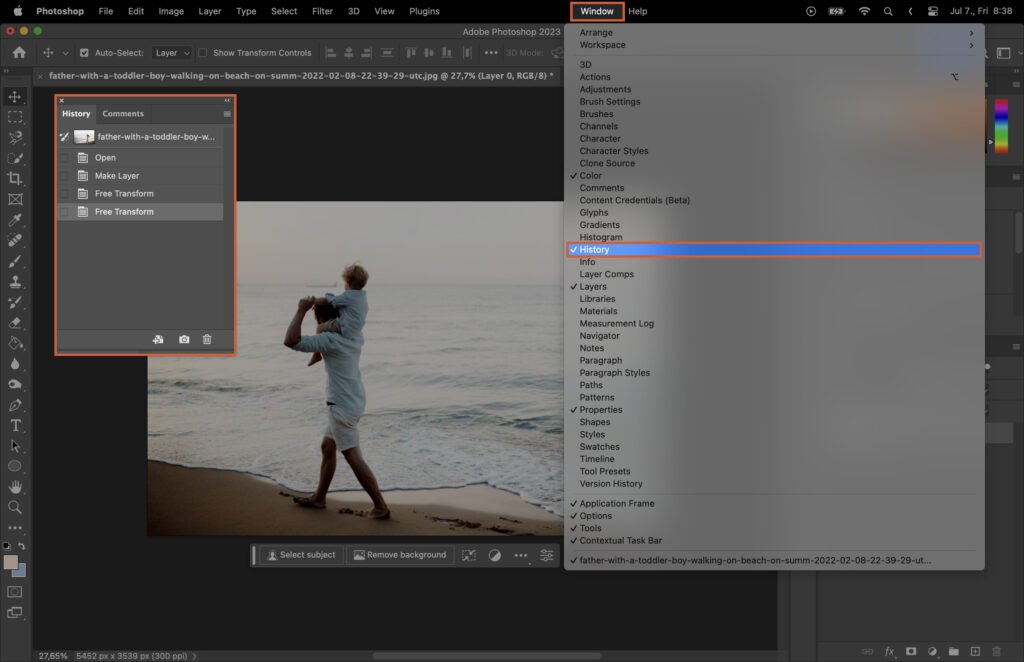
To speed up watermarking, create a Photoshop Action. Go to Window > Actions.

Step 6.1. Recording the Watermarking Process
Click the New Action button and name it. Hit Record.

Step 6.2. Adding Your Watermark
Open the image you want to watermark. Go to File > Place Embedded, and select your watermark PNG. Photoshop will record your steps.

Step 6.3. Positioning Your Watermark
Drag your watermark to your preferred position. Corners are often a good choice.

Step 6.4. Adjusting Watermark Size and Opacity
You can resize your watermark by dragging its corners. Adjust its opacity if needed for better visibility.
Step 6.5. Saving the Action
Once you’re done, click the Stop button in the Actions panel. Your watermarking action is now saved for future use.

Step 7. Batch Watermarking
With your action, you can watermark multiple images at once.
Step 7.1. Using the Batch Command
Go to File > Automate > Batch. Select your watermarking action and the source folder of images you want to watermark.

Step 7.2. Selecting Images for Batch Watermarking
Choose the destination folder for your watermarked images. Click OK, and Photoshop will apply your watermark to all images in the source folder.