Do you take a lot of photos of people? Then you’re going to have to whiten and brighten teeth at some point.
In this article, I’ll show you how to whiten teeth in Photoshop by using adjustment layers.
How to Whiten Teeth in Photoshop
Before you start, it’s important to know how white normal teeth should be. If you make teeth look too white and bright, the result will not look natural.
Take a look at portrait photos in magazines to get a sense of how far you can go.
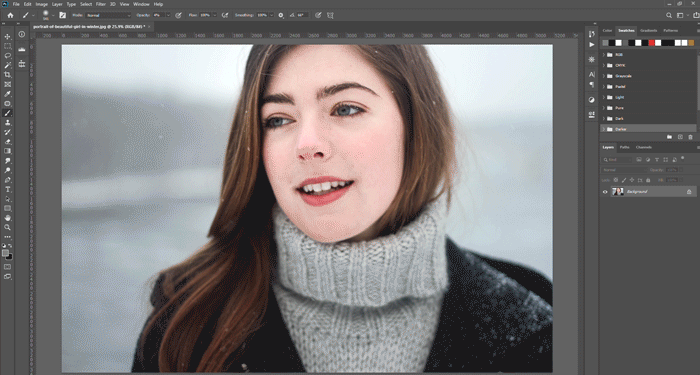
I’ll use this photo as an example. Her teeth look OK, but they could be slightly whiter and brighter to make the portrait look perfect.

Image © Pixabay
Here’s how to whiten them in Photoshop.
Whiten Teeth in Photoshop: Method 1 – When You Need to Get it Done Fast
This is the ‘quick and dirty’ option, but in most cases, it works just fine. And you don’t have to make further changes.
Here’s how it goes:
- On top of your image layer, create a new layer.
- Fill your new layer entirely with 50% grey (type 808080 at the bottom of the color box).
- Change the blend mode of your new, grey layer to Overlay. If you’ve done everything right, the new layer should now be invisible.
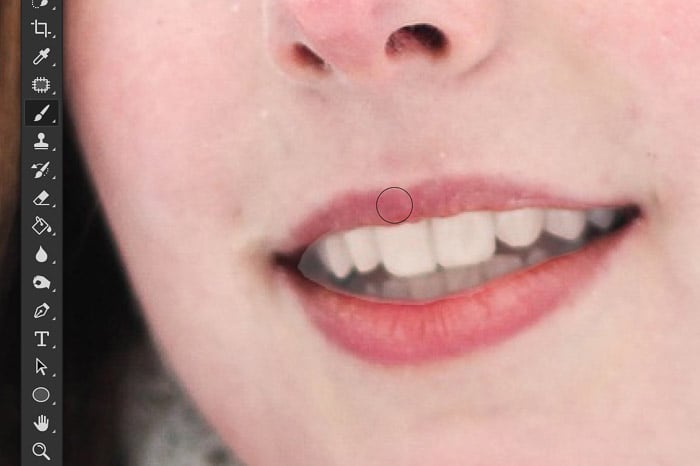
- Grab your Brush tool (press B). Select a white brush with soft edges (hardness at 0) and a low opacity (5-10%). Set its size to roughly match the size of a single tooth.
- Select the grey layer on the layers panel (if it’s not currently selected).
- Paint over the teeth with the white brush. This will make them brighter.
- If you feel that they’re too bright, flip your brush to black. Black makes things darker.
- Be sure to zoom out and check if the image still looks natural as a whole.
If you’re satisfied with the result, export the image, and you’re good to go. This method takes less than a minute, usually.
Method 2
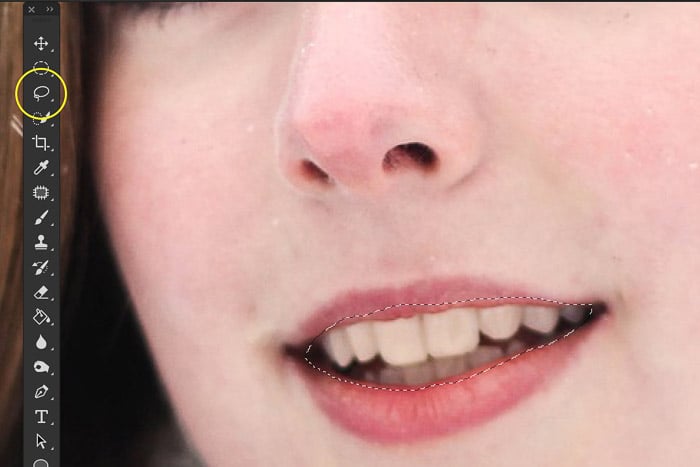
Step 1: Use the Lasso Tool to Select the Teeth
Open the photo and zoom in. Select the Lasso Tool from the tool bar (Shortcut ‘L’) and make a selection of the teeth.
It’s better to select a bit of the lips as well for now. We’ll make it look perfect later.
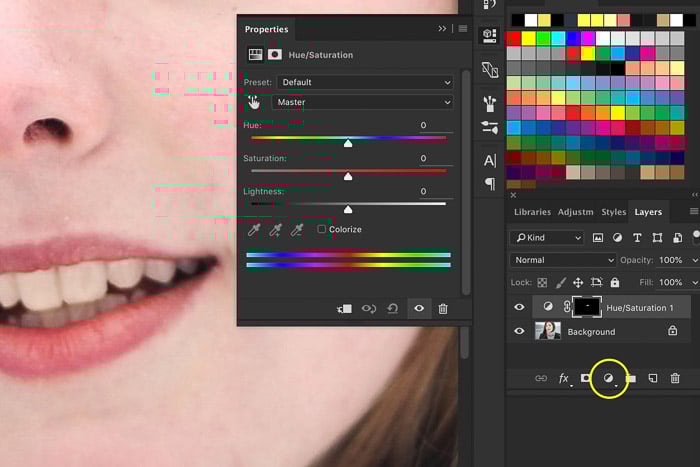
Step 2: Add an Adjustment Layer
Click on the New Fill or Adjustment Layer icon at the bottom of the Layers window and add a Hue/Saturation Layer.
The layer appears above the background layer so you can always go back to the original image.
Step 3: Whiten Teeth
Select Yellows in the Adjustment Layer settings drop-down menu. Lower the saturation by dragging the slider to the left.
This will only affect the area we’ve selected earlier and will make the teeth whiter.
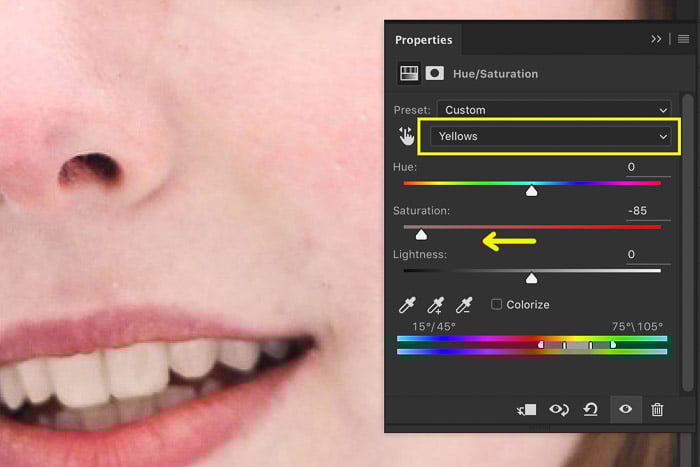 Don’t go all the way to -100. Natural teeth always have a little bit of yellow in them. Keep looking at the photo while dragging the slider and stop when it looks good.
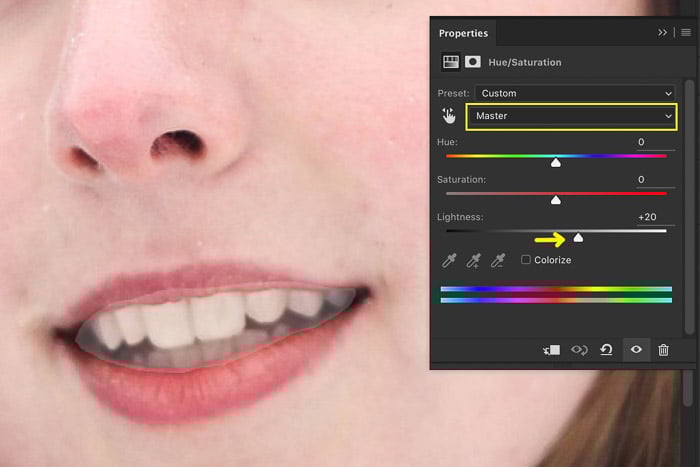
Step 4: Brighten Teeth
Now you know how to whiten teeth but there’s more. The problem in my example was not so much the color of the teeth but the brightness.
When you need to make teeth look whiter in Photoshop, you also have to make them lighter.
Select Master again in the drop-down menu and drag the Lightness slider to the right. The more you drag the slider, the brighter the teeth will get.
 It’s clear now that the selection we’ve made earlier wasn’t perfect. We’ll use a masking technique to remove the lighter areas on the lips and mouth.
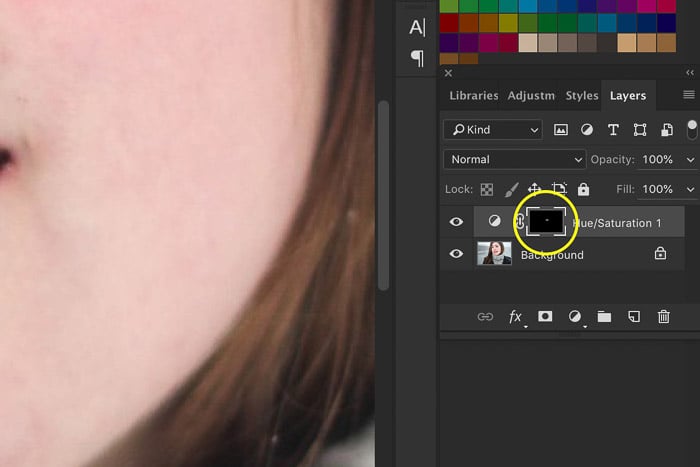
Step 5: Make Final Adjustments to the Selection
Look at the Layers window. The layer mask thumbnail is almost all black. The selection of the teeth is white but almost not visible.
Only the white areas are affected by the Adjustment Layer. You can add or remove areas by painting with black or white on the photo.
 Select the Paint Brush tool from the tool bar (Shortcut ‘B‘). Adjust the settings so it’s small and soft.
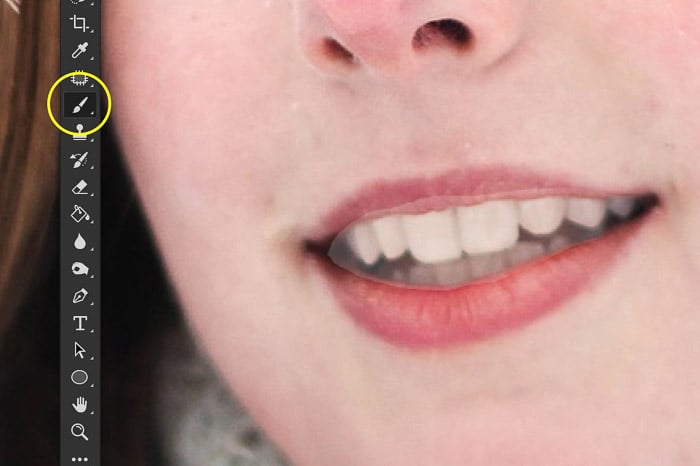
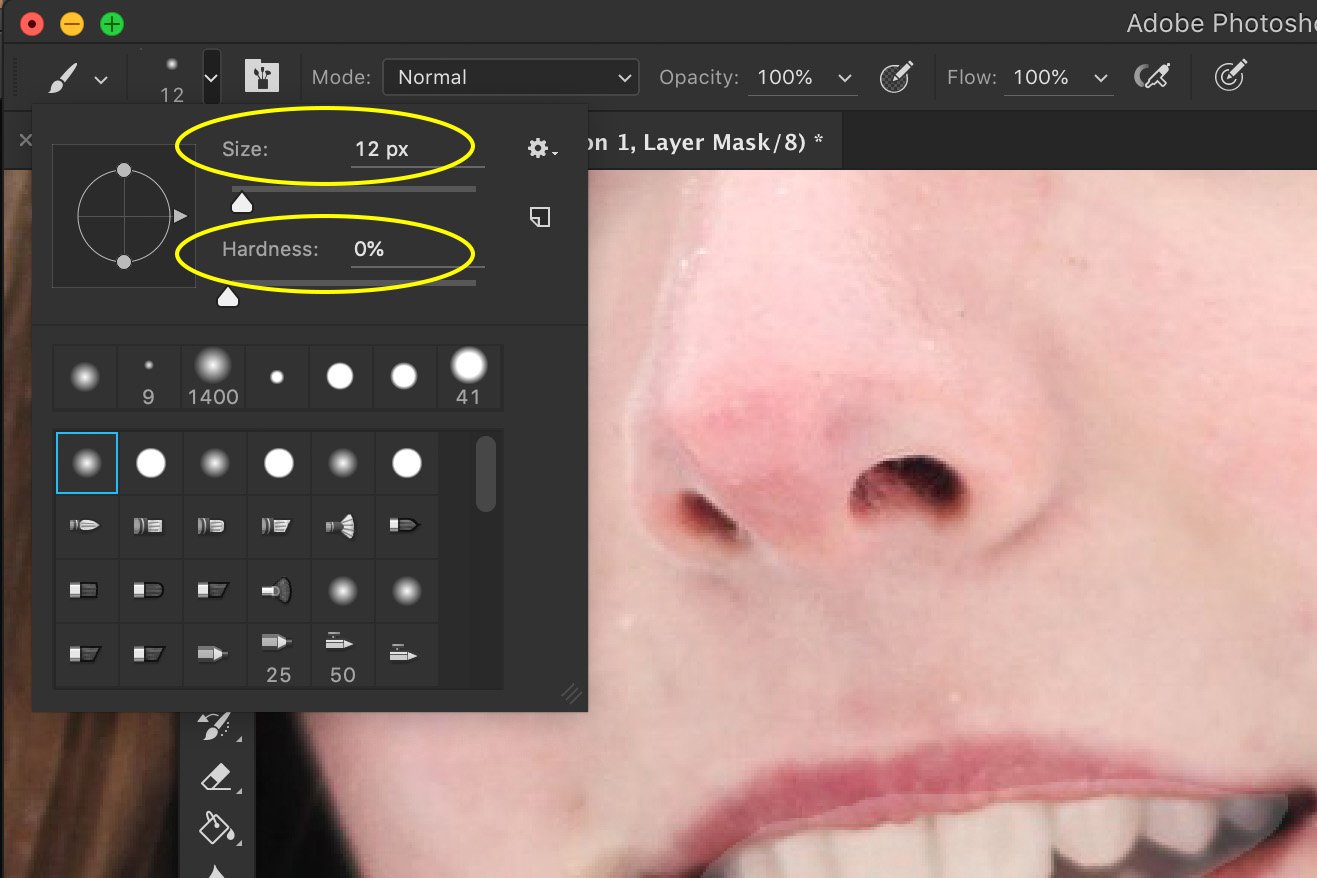 Make sure to select the mask thumbnail in the Adjustment Layer and start painting with black on the lighter areas.
Keep cleaning up the photo until all the lighter areas on lips and mouth are gone.
 You can reverse the effect if you make a mistake by painting with white. Switch between back and white using shortcut ‘X‘.
Here’s a ‘Before and after’ to compare.
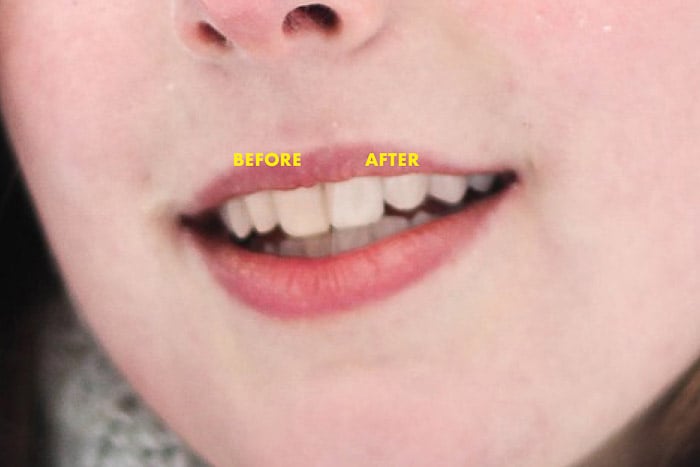
And the result…

Conclusion
Now you know how to whiten teeth in Photoshop. Easy, right?
Before you start, it’s best to know how white healthy teeth really are. This way you’ll get the best results. No one will guess that you used teeth whitening.
Always use a layer mask so you can go back to the original photo if you don’t like the result.
Want to learn the secrets of Lightroom editing as well? Check out our course Effortless Editing with Lightroom! Or, for more great Photoshop tutorials, check our guides on how to crop and straighten or add a cool lens flare effect!


