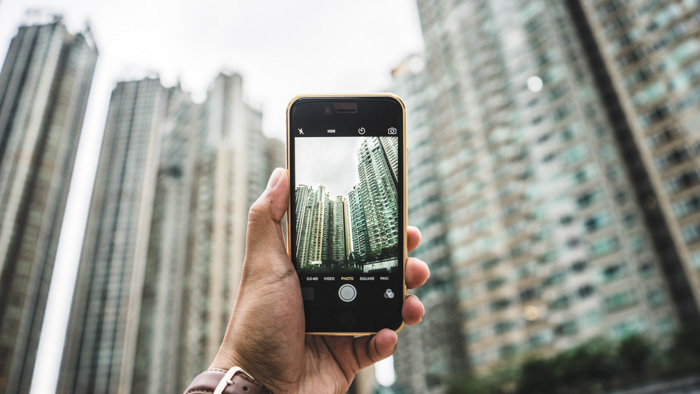
Have you ever tried taking iPhone night photography and ended up with blurry results?
We'll show you a few essential tips to create consistent night images next time you go out and shoot.
Downloading a Third-Party App for Iphone Night Photography With Manual Settings
The iPhone's native camera app does a great job at taking night photos. But it doesn't have all the features you’ll need for shooting in the dark.
Your best choice is to use a third-party app with iPhone night photography settings.
One of the best options out there is Camera+ 2. Its main advantage is that it lets you adjust the exposure manually. That means you can use a low shutter speed or wide aperture to capture dark scenes.
What's cool about Camera+ 2 is that you can take photos in the app itself. It allows you to see the changes in real time when you adjust the settings.
So when you widen the aperture, the scene also gets brighter. This feature helps you better guess what values you need to use while shooting.
Best Settings for iPhone Night Photography
Camera+ 2 has a lot of features perfect for different types of photography. But for this tutorial, we’ll focus on the settings you'll need for good night photos.
First, you’ll need an ISO value that avoids grainy photos. The best options are between 400 to 800. They are sensitive enough for night photography while producing minimal noise.
Try not to go any higher than those values. Your pictures will look grainy and unappealing.
As for shutter speed, you can start between 1/120th to 1/60th for handheld shots. With these values, you'll need to be in an area with plenty of light. Otherwise, you'll end up with a dark image.
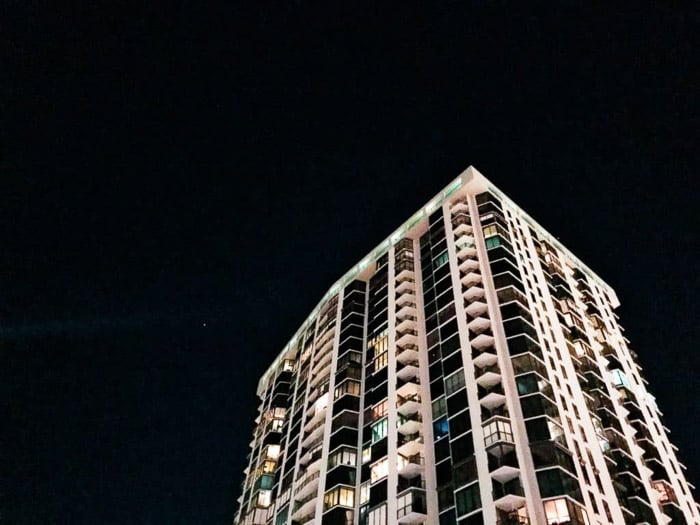
If you're shooting landscape or architecture, you can go below 1/60th or even up to a few seconds. Doing so ensures you achieve the proper exposure. Just remember to look at the screen as you change your setting. If it gets too bright, dial it down a bit.
To access all these settings, tap the Plus icon beside the app’s shutter button. From Normal mode (camera icon), swipe to the right and look for Slow Shutter Mode (aperture icon).
Once you tap it, you’ll find the shutter speed, ISO and even the white balance at the bottom of the screen.
If your iPhone has night mode, you can check this post for added benefits.
How to Stabilize Your Phone to Avoid Camera Shake
Bring a tripod. You're working with slow shutter speeds so you need to make sure your phone is stable. Otherwise, you'll end up with motion blur and light streaks that could ruin your image.
So when's a good time to use a tripod? Generally, you'll need it once you go below 1/60th. That's when motion blur becomes noticeable.
If you're doing an exposure that lasts a few seconds, activate your camera timer. That way, your hands don't have to touch the phone once the shutter clicks.
There are plenty of options when it comes to tripods out there. If you want to be discreet, you can use a tabletop tripod or a Gorillapod.
They're not only small, but they're also easy to set up. If you want to do a serious photo shoot, bring a full-size tripod for more flexibility.
Use HDR to Capture Highlights and Shadows
Activate High Dynamic Range (HDR) if you're not too confident about your exposure settings. It will allow you to capture highlights and shadows you can’t do with regular exposure.
When you use HDR, your phone automatically takes three images. You get a regular exposure. And you also get one that's underexposed, and another that's overexposed.
The app then combines those pictures together into one frame. You'll have better lighting and more details in your photo.
HDR takes several exposures in one go, so it’s best to place your phone on a tripod for best results. If you shake your camera while the shutter’s open, there’s a potential the final photo would look blurry.
Even if you have an iPhone X which has an excellent HDR Mode, try not to take chances and miss good moments.
Start Your Night Photography During the Blue Hour
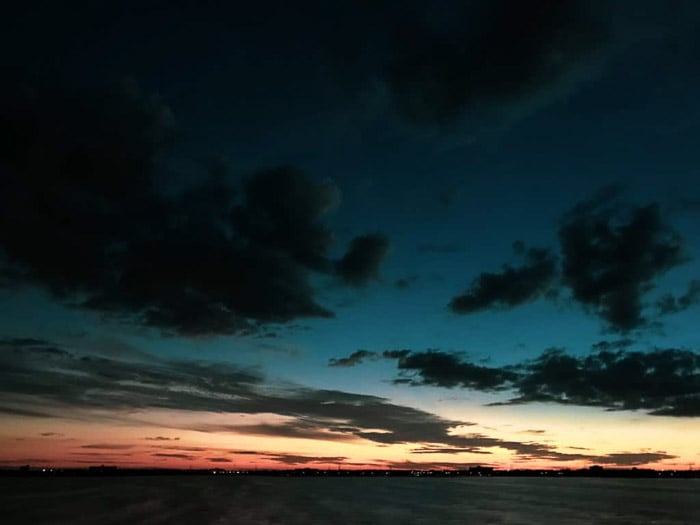
Just because you're doing night photography doesn't mean you should start when the sky is pitch black. In fact, you should use the blue hour. You’ll have enough ambient light to work with.
Also, the sky looks vivid during this time so it can make your photos more colorful.
The blue hour occurs before sunrise and after sunset. The sun is already below the horizon during this time. As a result, it turns most of the sky blue with thin bands or bright red, orange and purple.
By the time the sun dips below the horizon, you have about 10 to 30 minutes to capture the photos before it’s over.
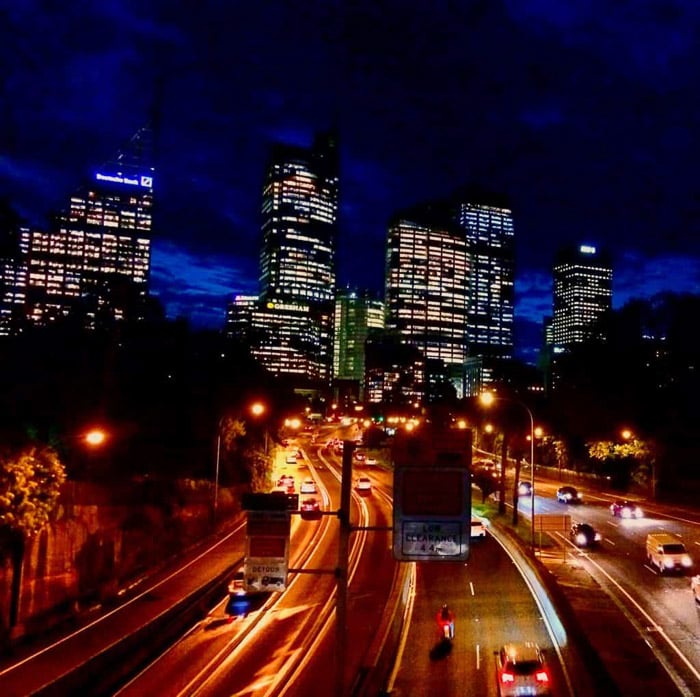
Shoot in Bright Areas to Take Advantage of Artificial Light
Photography is all about capturing light. Even if you have the best camera for night photography, it will struggle to take photos when it's too dark. So make it your mission to go to areas with adequate lighting.
Shooting in bright locations at night has a few advantages. First, you don't have to bump up your ISO and end up with grainy images. Second, you can take photos with faster shutter speeds.
That means you can hold your camera and not worry about motion blur. It makes the process a whole lot easier and quicker for you. No need to set up the tripod and slow down to get the right shot.
Third, light sources at night also create beautiful contrasts. The interplay between the darkness and light creates elegance and drama.
Next time you go out, observe the lights around you. Think about the advantages I told you, and figure out how they will affect your images. Remember that when you’re shooting at night, light sources are as crucial as your composition.
Ask Your Subject to Stand Still for Nighttime Portraits
As mentioned before, shooting with slow shutter speeds can result in motion blur. It often shows up either when you're holding the camera or when your subject is moving.
I already showed you that you can avoid motion blur by using a tripod. But what about when you're shooting a portrait with low shutter speed?
The simple answer is to ask your subject to stop moving. Look at your shutter speed and tell them how long they have to stay still.
Tell them to count up to ten in their head as soon as the shutter opens. That way, you can ensure that they don't make any movement while you're making the exposure.
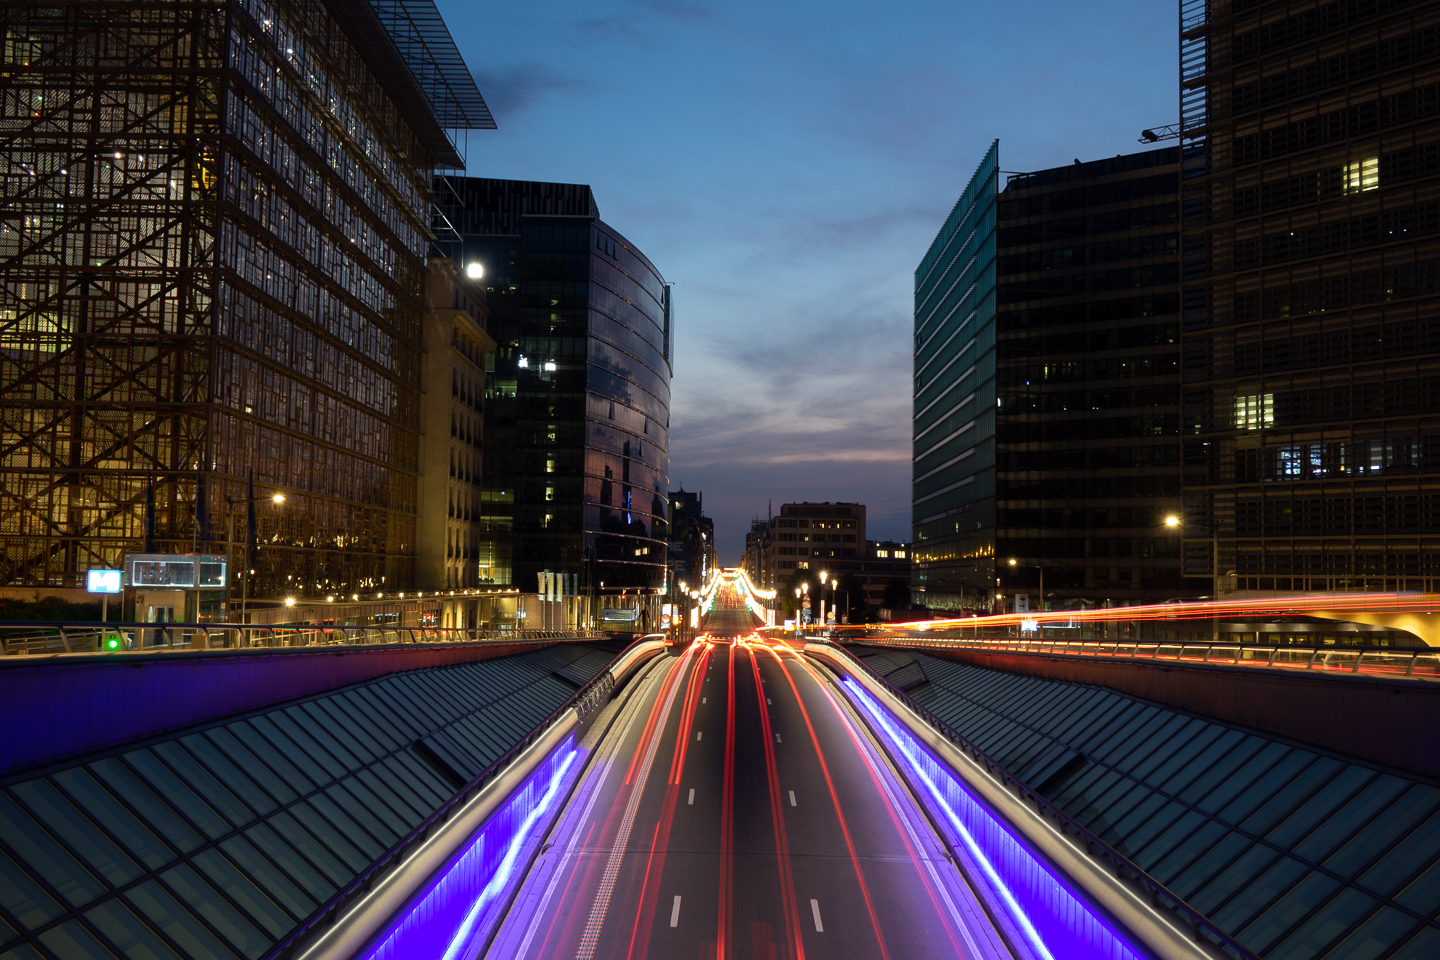
Use Long Exposure Effects for More Creative Photos
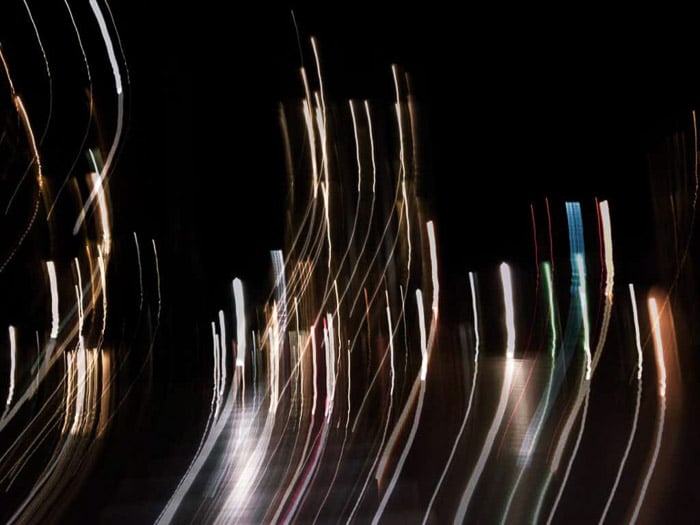
Now that you know how to take night photos using slow shutter speeds, play around with it. Break the rules, experiment and surprise yourself.
For instance, you can place your camera on a tripod and photograph cars passing by. Just set your shutter speed to 5 seconds or more and any moving vehicles will end up as light streaks.
You can also hold your phone and take pictures while you're moving. Any light source you capture will turn up as light streaks (like the cars).
The only difference is that handheld images look more erratic than the ones you shot using a tripod. As a result, you have an image that looks more experimental and artistic.
Editing Nighttime iPhone Photography
Even when you use the right settings, the camera doesn't always nail the shot the way you want it to. That’s where editing your images comes in.
You can make simple changes to your photo using the iPhone's native camera app. Adjust the brightness and the contrast, and you'll immediately see your image improve.
If you want to have more control over the look of your image, consider downloading VSCO or Lightroom.
These apps allow you to change more settings than what your phone offers. Adjust the saturation, sharpness, and even the shadows for vivid results.
If you want a blurry city background, you can even download apps such as Tadaa SLR. It lets you create a mask and choose which elements you want to be sharp or blurry.
If you do it correctly, your image will look like it was taken with a DSLR.
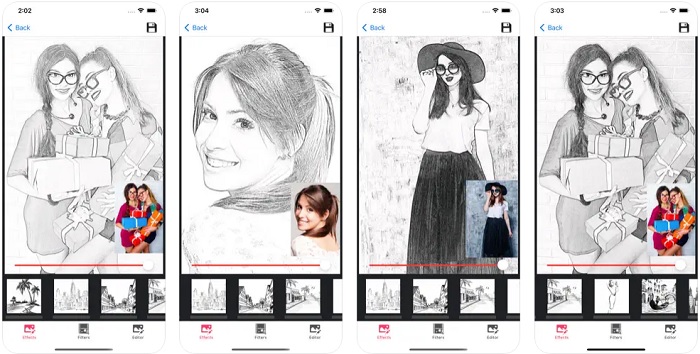
Convert Your iPhone Night Photography Into Black and White
If the colors in your image look distracting, try switching your image to black and white. Doing so emphasizes the lights and the shadows in your picture.
Monochrome also creates a classic, elegant look that perfectly fits night photos.
All you have to do is take a photo and choose a black and white filter while editing your image. You can tweak the picture further by adjusting the brightness, highlights, and contrast.
Make it a habit to keep your color images even if you think you’re satisfied with the black and white photos.
That way, you’ll have a backup in case you need to re-edit your file.
Conclusion
Taking photos at night has its own set of challenges. But if you know what to do, you can produce rewarding results. So remember, always bring a tripod and set the slow shutter speed to get the correct exposure.
And don't worry about not getting everything right the first time. Have fun and learn from your experience. The more you do night photography, the better pictures you'll capture.