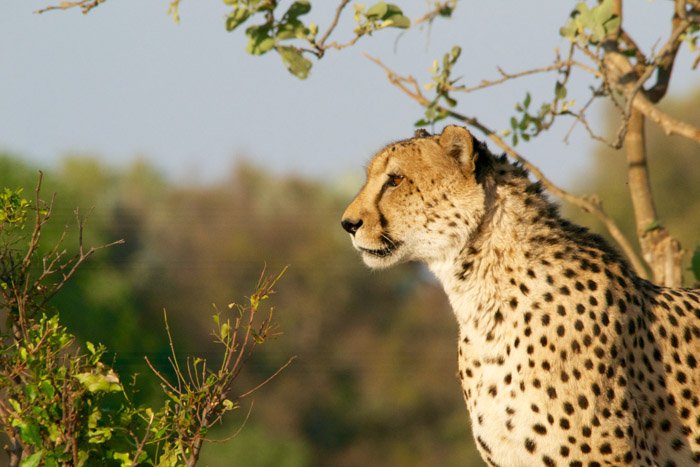
Bird photography is a beautiful and popular niche in wildlife photography. Almost any place on Earth has certain species of birds, so it is easier to find birds close to your home than looking for tigers or lions.
Every bird species has its characteristics, and you have to handle them with a different approach.
If you are interested in owl photography but not sure how to approach these majestic birds, you are in the right place.
Read our tips on how to shoot professional owl photography.
1. Owl Photography: Knowing the Different Species
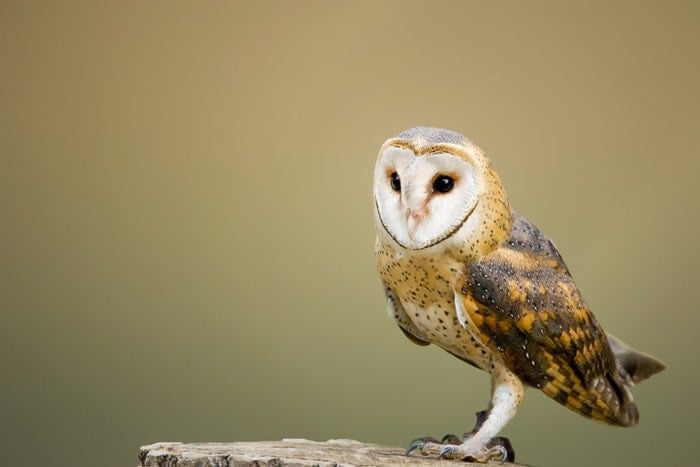
If you want to take a picture of an owl, you need to get to know the various species and their behaviour. You have to know if the owl you chose to photograph is active during the daytime or it is a nocturnal owl.
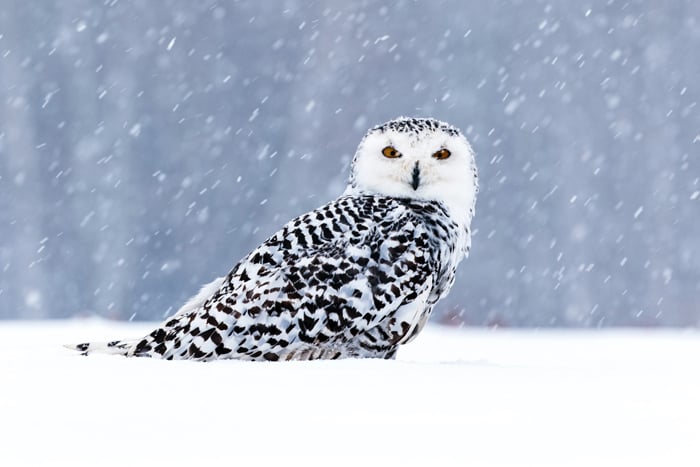
For example, the snowy owl prefers to roost during the day and goes hunting during the night. But the snowy owl often gets active during the day when summer comes.
Knowing the different species of owls also means that you will understand what is the best time to take a photo of them.
For example, the wintertime is ideal for owl photography in North America. This is the time when various owls fly away from the challenging weather.
Owls that live far away from each other during the summer, end up hunting within a few miles of each other. During this time, you may spot a Great Gray Owl and a Snowy Owl around the same area.
2. Be Ready to Work Outdoors
Like in other niches of wildlife photography, you have to be ready to work outdoors when you are aiming for an owl picture. It is never a disadvantage if you like hiking, camping and spending a lot of time in nature in general.
Depending on the types of owls you want to photograph, you may have to adapt to different and challenging .
You can find owls anywhere from dense forests to the arctic tundras. You need to make sure you prepare the right gear, clothing and photography accessories.
3. Make Sure the Owl Is Relaxed
You must never stress out an animal when you try to capture photos. You should make sure that they feel comfortable with your presence.
The aim of photographing owls is not only getting an awesome photo that could lend you an award one day.
Wildlife photography also has a scientific purpose. The photo you capture might help experts get to know more about the owls, their habits and even the animals living around them.
That’s why you should always make sure that the owls are relaxed when you photograph them. Plus, nobody likes to see a scared animal in a photo.
If your subject is relaxed, it means that you are a very good photographer. Real professionals know how to keep their subjects comfortable.
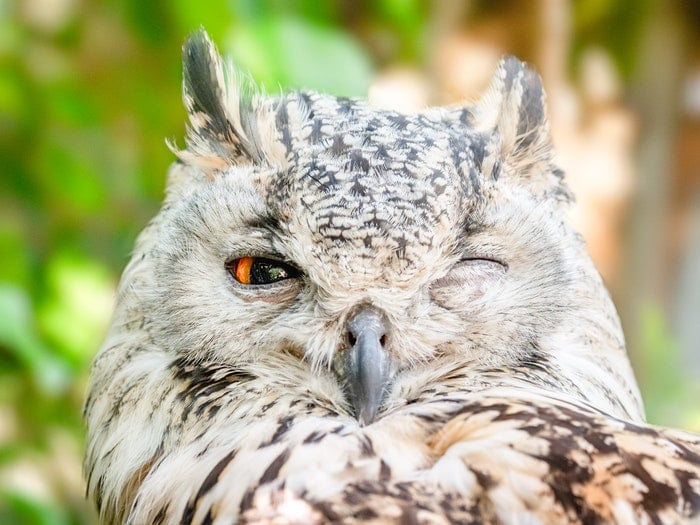
So how do you know if the owl is no afraid of your presence?
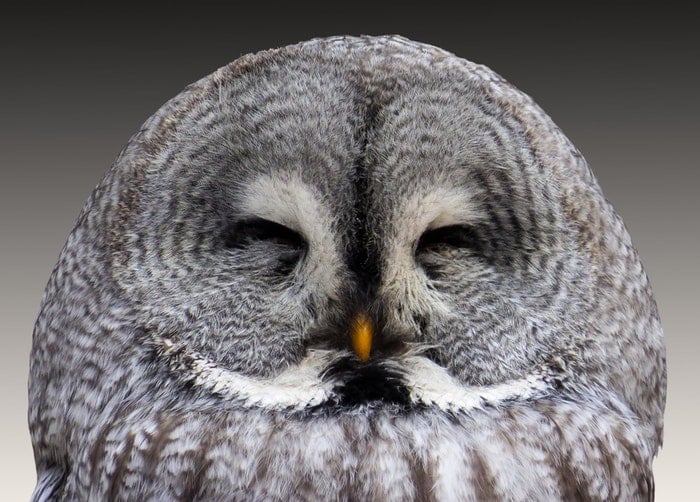
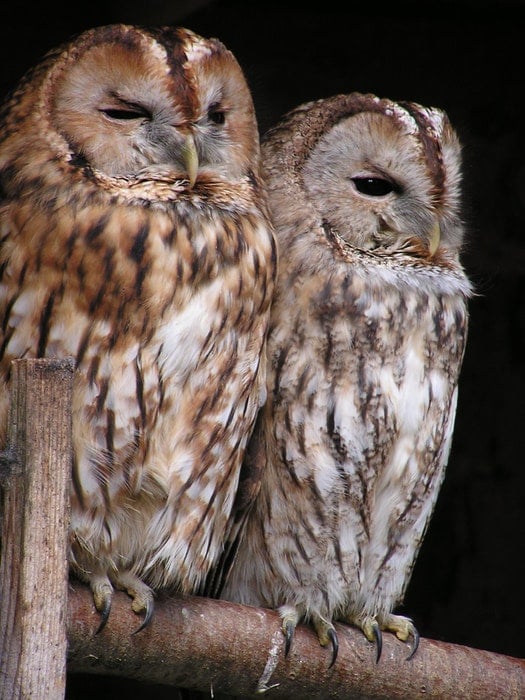
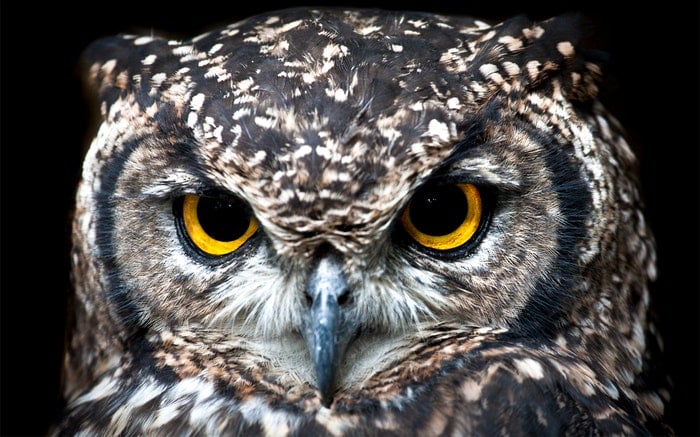
If its upper eyelids are a bit lowered and its ear tufts are also lowered but not flat, the owl is calm. The head feathers of a relaxed owl are not expanded or contracted.
If an owl is ignoring you and preening or sleeping, it is also a clear sign that the bird is not stressed. When the owl is hunting or stretching in your presence, it means that the bird is not bothered by you.
4. Learn the Behaviour of a Stressed Owl
You should learn the typical signs of a stressed and situations you should avoid. These behaviours are warning signs for you as well. They signal that you crossed the line and disturbed the owl’s peace.
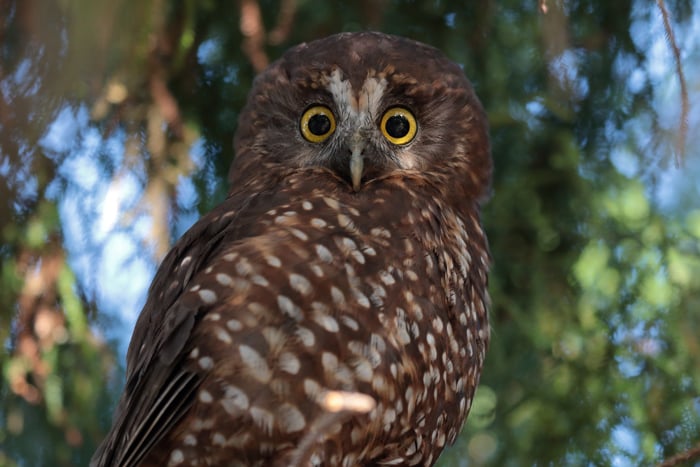
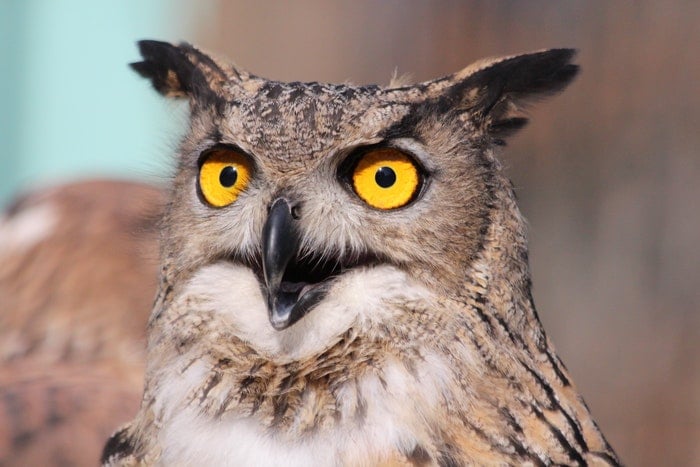
A wide-eyed owl might look cute in a photo. But totally round eyes mean that the owl is alert and focused on something, It’s only okay to see them like that if you are not the one in their focus.
Another stress signal is when the owl has wide eyes, small pupils and blinks often. This means you should get further away because it feels uncomfortable.
Owls have a typical concealment pose as well. Their head and body feathers get compressed, ear tufts are straight up, and their eyes go very small. Avoid making them embrace this position.
Panting, playing dead, and signs of looking to fly away are clear signals of stress.
5. Don't Bait the Owl
It might be tempting to feed the owls for a good photo. But it’s better to avoid baiting them. The owl might get used to getting fed and won’t be hunting like before.
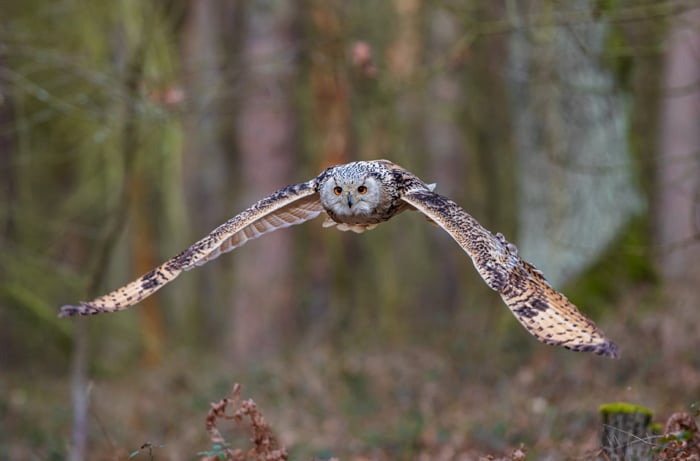
It’s much better to capture a photo of the owl when it’s hunting in a natural way.
Plus, the more people feed the owls, the more they will associate humans with food. This can lead to accidents, especially close to roads and cars.
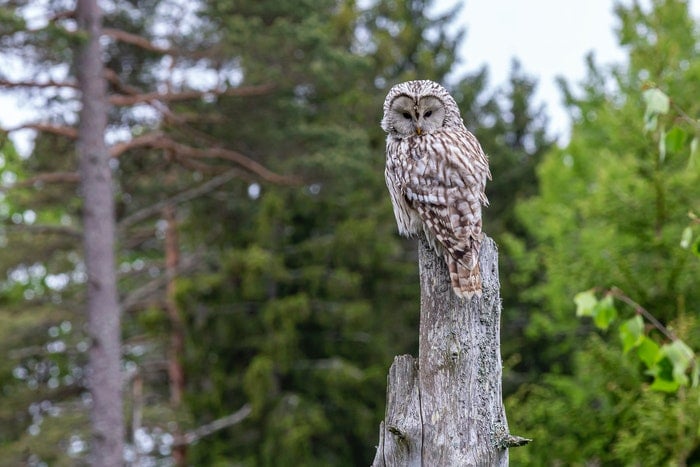
6. Give Enough Space to the Owl
You should always give enough space when photographing owls. They don’t like to be around people.
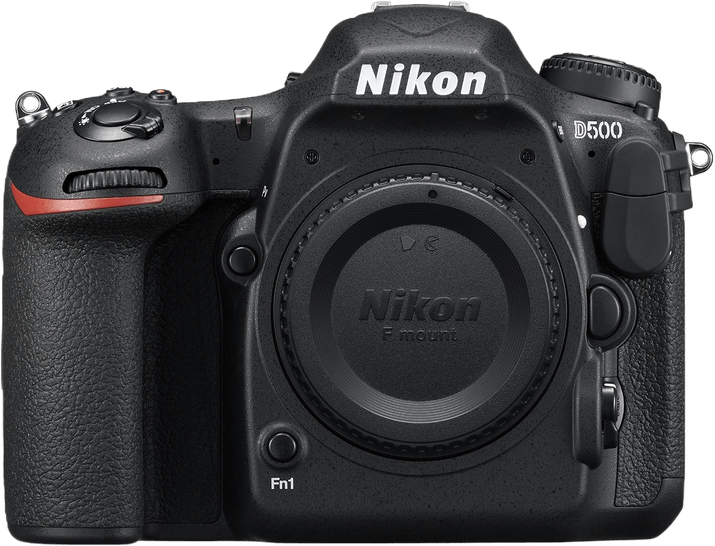
I wouldn’t recommend trying to get pics of owls with a smartphone. From the ideal distance, you need a proper camera with an appropriate lens if you want to have a great photo.
Some owls that live close to urban areas are okay with people coming closer. But you should always notice the first signs of stress when you got too close.
Every bird is different. But you should keep a distance between 20 and 100 yards, depending on the owl’s tolerance.
7. Don't Take Your Dog With You
Owls are afraid of dogs. You may want to have your dog with you during an adventure in the outdoors, but they can stress out owls.
Owls that are used to the presence of humans might be okay with dogs too. But you should always be careful when having your four-feet friend with you.
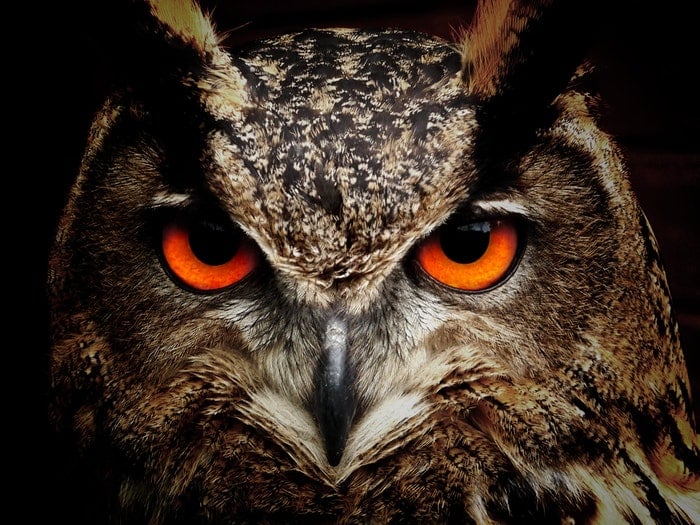
8. Avoid Using Artificial Light During the Night
There are some experiments proving that owls’ night vision can be affected by artificial light in the dark. It’s better to avoid using them as it can disturb the animal.
But how do you photograph nocturnal owls, then? You can’t avoid using flash in complete darkness.
In that case, I recommend you being very careful. It’s a good idea to illuminate the owl first and then fire the flash. You don’t want to strike the innocent bird with a sudden flash out of the complete darkness.
9. Respect Others and Their Private Property
Crossing a fence for a great owl photo might be tempting. But you should always stick to public lands.
Forests, park and public areas are ideal places to spot owls. And you won’t disturb other people. Or worse, find yourself in serious trouble because you didn’t obey the rules.
You should respect other photographers who are trying to capture owl photos. It won’t hurt you to share information, your binoculars or techniques with others.
If you cooperate with other people, you can set a good example for behaving around owls. You can share your advice with them and encourage them to respect the animals.
10. Be An Observers and Move Slowly
Slow movements and being silent applies for wildlife photography in general. But owls have a very sensitive sense of hearing and excellent visions.
You want to be as invisible and silent as possible. Any unusual movement and noise can stress out an owl. A great wildlife photographer knows how to be an undetectable guest in nature.
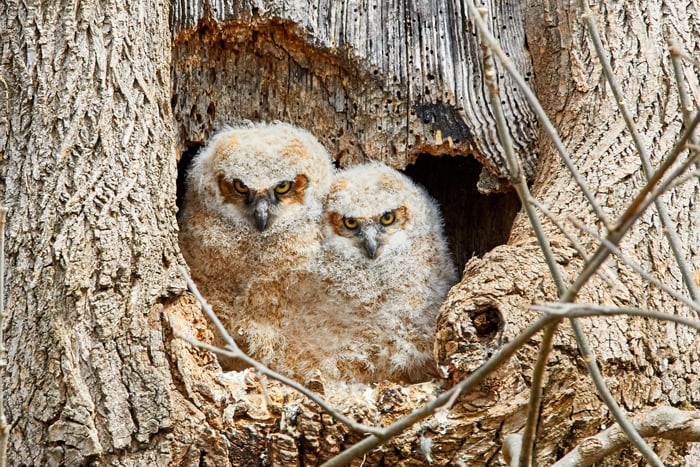
11. Be Careful When Photographing Nests
Many owl photographers’ dream is to photograph nests and how the parent treats the chicks. This is quite risky and you need to be very careful.
The best idea is to set up your gear before the owl arrives. If you are capturing an owl that is active during the day, you should arrive and set up during the night.
If you photograph a nocturnal owl, you should arrive during the daytime and hide behind a blind to set up.
It’s easy to become tempted to go closer to the nest. But you should be getting as far as possible. If you notice that the female owl is not getting back to the nest for long minutes, you should leave and never return to that nest.
You should never ever risk altering the behaviour of a nesting owl. The consequences could hurt the chicks.
Conclusion
When you want to photograph owls, you have to keep a few guidelines in mind.
The most important advice is to never disturb the animals. Even if it means that you have to wait a long time for the first perfect owl photo.
The more you learn about the animal and the more you practice, the better wildlife photographer you become.
Want to learn more about how to get started with photography? Why not check out our course Photography for Beginners next!