When you go out for outdoor photography, the last thing you want is to be uncomfortable in your clothing. Not only will you be miserable, but it will also show in your photos. So how do you choose the right outdoor photography clothing? Here are a few tips to help get you started.
Outdoor Photography Clothing for Handling Cold Climates
When it comes to being able to withstand cold temperatures the right materials and the way you layer are crucial to comfort.
Keep in mind that clothing isn’t the only thing to consider in cold climates.
6. The Base Layer
The purpose of this innermost layer is to wick away moisture from the body. As it is the closest layer to your body it should have a snug fit in to do its job well.
When shopping for top and bottom base layers, opt for synthetic fabrics or merino wool.
If you choose the wrong material, such as cotton, you could end up in a dangerous situation.
Cotton is not recommended, as it is terrible at wicking away moisture from the body. In extreme situations it could lead to hypothermia.
Base layers come in different thicknesses such as lightweight, mid-weight, and heavyweight. Lightweight base layers are best for moderate temperatures.
Mid-weight base layers are good for cold temperatures. And heavyweight base layers are ideal for below freezing temperatures. The type of base layer you choose will be dependent on where you are shooting.
In freezing temperatures I usually wear an ultra-lightweight base layer, followed by a mid-weight base layer.
I find I am the most comfortable this way, but play around with it and choose what works best for you.
5. The Middle Layer
The purpose of the upper middle layer is to help your body retain heat. This piece generally consists of either a fleece, down or synthetic insulated jacket. And, of course, each option has its pros and cons.
If you opt for a fleece, keep in mind a wind-resistant outer layer will be necessary—as fleece tends to breathe well.
While this feature helps to keep you from overheating, and thus drier, it does not retain heat as well as a down or synthetic insulated jacket.
Despite the fact that down offers the best option for warmth, it loses that feature when it becomes damp. It can be great for situations where you will be sitting for long periods of time waiting for wildlife.
Synthetics might not be able to compete with down’s ability to retain heat. But they do offer better heat retention when they become damp.
Again it all depends on the situation. You may have noticed when you wash a fleece, it tends to come out of the washing machine dry.
If you need to exert a lot of energy to get to your shooting location, you might want to consider how much you sweat.
For those who sweat a lot, and plan to exert a lot of energy, a fleece might be the right fit.
4. The Outer Layer
This layer is the last barrier between you and the elements. The outer layer keeps the rain and wind at bay. As someone who spends a lot of time outdoors, I really feel it doesn't make much sense to have anything but the best materials.
I prefer waterproof rather than water-resistant, and windproof instead of wind-resistant. Anything labeled waterproof will also likely be windproof.
Keep in mind the outer layer should also be breathable.
When it comes to rainwear, shells are available in 2, 2.5, and 3-layer designs. And once again there are trade-offs to each.
The 3-layer design is the most durable and breathable—albeit the most expensive. But, it is not as quiet as the 2-layer shell, which we know is quite important in wildlife photography.
3. Hands and Feet
Keeping your hands and feet warm can be tricky, especially when sitting for long periods of time.
For extreme temperatures, mittens are your best bet for keeping your fingers warm. Opt for mitts that zipper open at the knuckles, and wear a thin fleece glove beneath for operating your camera.
If you do this and still have a difficult time keeping your extremities warm, you might want to consider chemical hand warmers. These pouches provide lasting warmth when exposed to air, and can also be added to your boots.
When it comes to keeping your feet warm, consider footwear that goes well above the ankles and is waterproof.
Wearing a thin wool sock beneath a thicker wool sock will provide you with the most warmth. Again opt for wool as it has the best wicking properties.
If you'll be encountering more than a few inches of snow, waterproof gaiters are a must. But gaiters can also help protect your feet against downpours.
They come in a variety of sizes, such as: over-the-ankle, mid-calf, and knee. It all depends on how much protection you need.
And lastly, microspikes are one of my favorite winter accessories. They allow me to glide effortlessly over icy, uphill terrain.
They are lightweight and are very easy to attach to the bottom of your boots. If you haven't tried them yet, I highly recommend them!
2. Head and Neck
We all know that most of our body heat escapes from our head. As such, I generally recommend wearing a knit hat, balaclava, neck gaiter, and sunglasses in extreme temperatures.
I have a very difficult time tolerating cold, windy weather, but with these items, the cold is much more manageable. Mix and match to see what works well for you.
1. Keep Your Gear Lightweight to Stay Cool
Try to limit the number of lenses and bodies you put in your bag.
Keeping the weight of your pack down will ultimately keep you from overheating, and sweating—which we know can be dangerous.
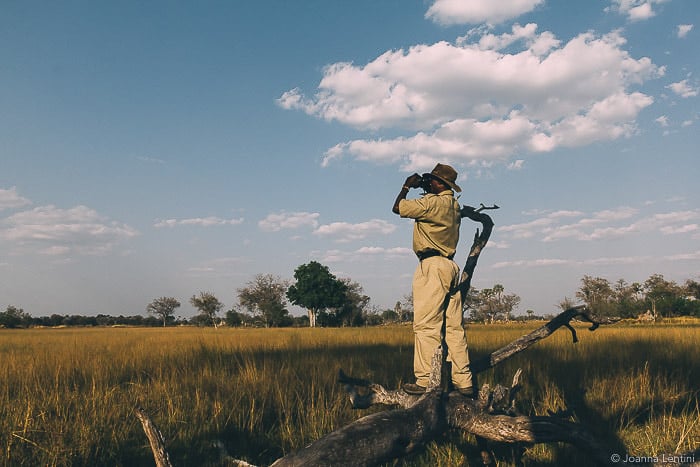
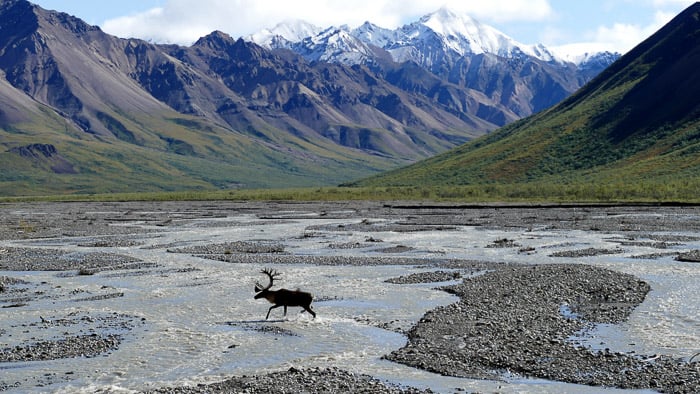
©Joanna Lentini
Staying Safe in Warm Climates
Keeping comfortable while shooting in warm temperatures can be as tricky as staying warm in cold temperatures.
While one could argue that it is easier, there does come a point at which we can't remove any more layers! Therefore, picking the right materials is also important in warm climates.
5. Base Layer
As mentioned earlier, cotton is excellent at soaking up moisture, is slow to dry, and will keep you cool. However, all of that sweat won't keep you very comfortable.
Synthetic materials such as nylon and polyester are definitely the way to go even in warm climates. Opt for clothing that features mesh pits and pockets, which will help keep the air circulating.
Having zippered waist and knee pockets can be helpful for miscellaneous items such as lens caps and cloths. Many nylon pants now come with the option to turn pants into shorts via zippers.
4. UV/Insect Protection
Long-sleeve shirts and pants might not seem ideal in hot weather, but they add a layer of protection from injuries, sunburn and insect bites. They also help you blend into your surroundings better.
Outdoor clothes are available with built-in UV and insect protection. This is ideal if you are spending long periods of time in the wilderness.
I'm sure some will disagree, but I am always hesitant to use sunscreen. I’m concerned about it opening up in my bag as well as transferring the residue to my camera body and lenses.
I prefer to keep covered in lightweight, UPF (ultraviolet protection factor) materials that breathe. If I do wear sunscreen, I tend to do so only on the sides of my face and ears.
I like to keep the rest of my face covered with polarized sunglasses and a lightweight, mesh cap. If you will be shooting in an area with lots of insects you may want to consider investing in an insect net hat.
3. Quick Dry Towel
Carrying a quick dry towel can be super useful for hot days. Let's face it perspiration and electronics don't mix.
A quick dry towel is also great to have after drying off from a much-needed dip in a river or lake.
2. Footwear
In hotter climates, it can be tempting to wear improper footwear to keep your feet cool. No one likes hot, sweaty feet. Wool socks might seem counter-intuitive, but remember wool wicks away moisture and keeps your feet dry.
Always opt for sturdy shoes with a good amount of grip. And regardless of whether you are in a cold or warm climate be sure to break them in before heading out to avoid blisters.
1. Keep Weather Fluctuations in Mind When Packing
Certain regions can have four seasons in a single day, while other regions such as deserts can have major shifts in day and night temperatures.
It's important to be aware and prepared for these sorts of things. Look into the possibilities and pack accordingly.
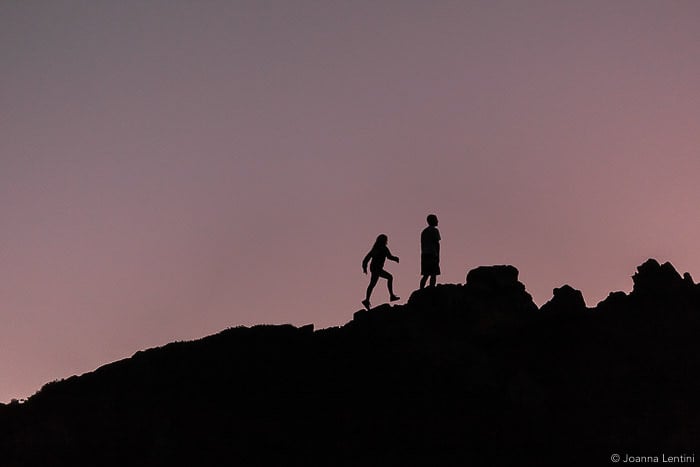
©Joanna Lentini
How Clothing Color Can Help You Get Better Images and Stay Safe
The colors you choose to wear can impact your chances of creating great images. White clothing is great for snow-covered landscapes. And neutral colored clothing is ideal for the other seasons.
While it might seem like common sense to dress according to the environment in which you are shooting, there are some other things to also consider.
2. Hunting Seasons
Be aware of the different times of the year when hunters about. If you must go into areas where hunting takes place, please do so in bright colors to identify you to hunters.
While wildlife will no doubt see you, it's better to be on the safe side during this season.
1. Camera Camo
While you might be well camouflaged, your camera bag and equipment might not be. For an added layer of disguise, consider dressing your camera and its bag in its own camouflage gear.
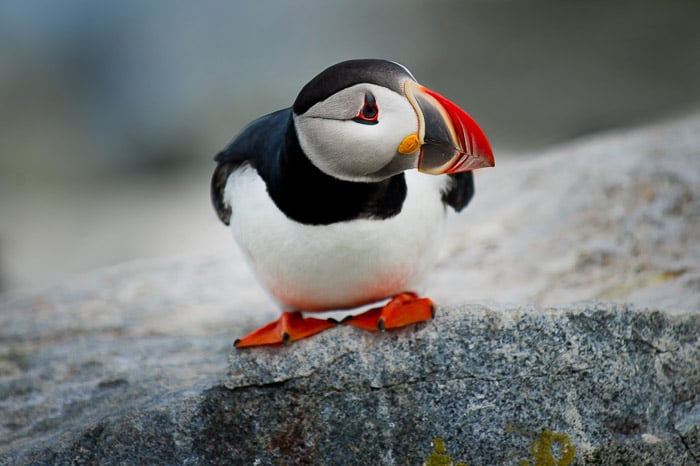
It might seem excessive, but those that photograph birds will understand. Birds have excellent eyesight, particularly when it comes to colors.
The slightest reflection or color from the camera body will give away your position. Covers for camera bodies, lenses, and bags are available at most large camera shops and online.
Conclusion
Wildlife and nature photographers are vulnerable to many variables. Thus making the right clothing choices is of paramount importance to your success.
Whilst outdoors, it is best to prepare for the worst.
At the end of the day, fancy camera bodies and lenses mean nothing if you can't withstand the elements because of poor clothing choices.