Studio photographers know that there are a slew of wonderful lighting combinations they can use for their subjects. There is the triangle arrangement, split lighting, Rembrandt lighting, paramount lighting…
Wait. Paramount lighting? That sounds like something out of a movie!
Well, you’re not too far off. One of the most timeless lighting arrangements may quickly become your favourite studio portrait photography style!
Paramount lighting is also referred to as butterfly lighting. It is a portrait illumination in which one light source is placed at an angle above the subject. The style of lighting is called butterfly because of the butterfly-shaped shadow that appears under the nose.
The term ‘paramount’ was invented by Hollywood, as a description for the glamour portraits. This portrait style was made famous by celebrities such as Marlene Dietrich in the early 20th century.
You’ll find that besides the nose, Paramount lighting is also characterized by the emphasis on beautiful cheekbones. This setting makes these shapes look sharp and prominent by using shadow.
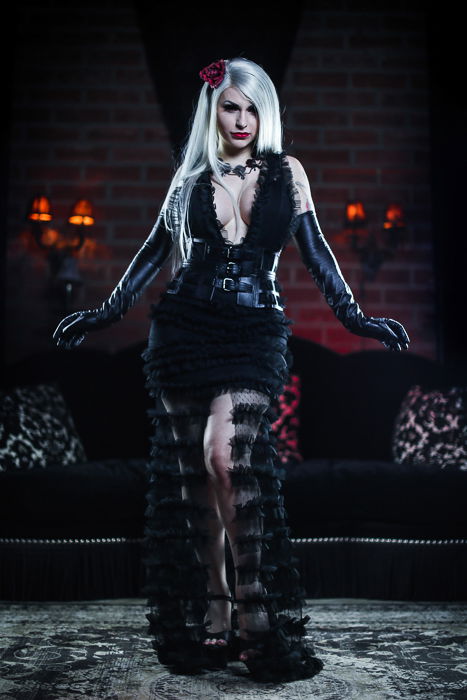
Creating Paramount lighting in a studio is fairly simple. All Paramount lighting consists of is a key light placed above and directly centered with a subject’s face. You want this light source to be above and behind the camera, angled down towards your subject.
This can be achieved with either a continuous light softbox or a strobe / off-camera flash. My favourite softbox shape for this is the octagon, as it creates beautiful catchlights in your model’s eyes.

You might find that the butterfly shadow under the nose is too harsh. If so, you can take a reflector and place this underneath your model’s chin – it will soften the shadows.
If you feel like your subject doesn’t have enough separation from the background, break out the three-point lighting arrangement. Place two studio lights to the back of the subject. These lights can be aimed at either the wall or towards the subject at a diagonal angle. This will create some separation between the background and your model.
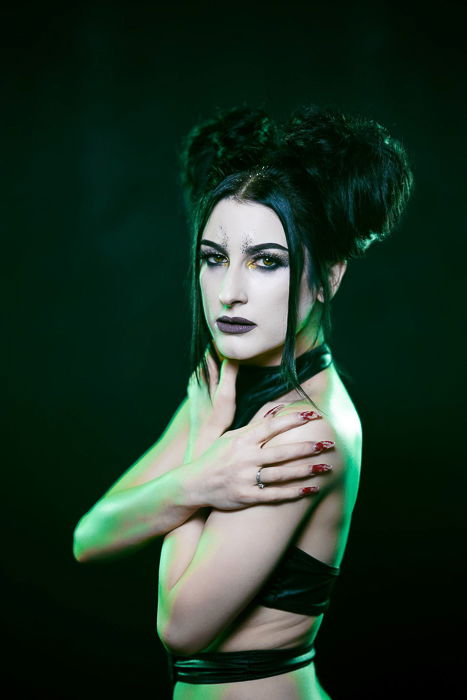
As described above, butterfly lighting utilizes one light source placed above and angled down towards your subject. By nature, you can create this look outdoors with the sun too.
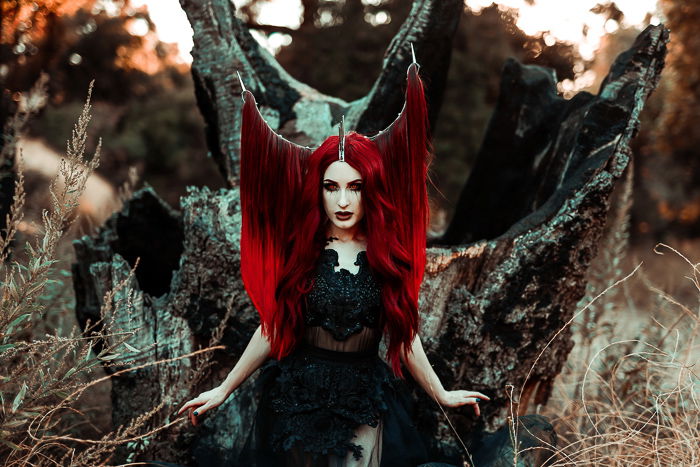
Just wait until the sun begins setting, at which point it will mimic the studio lighting positioning naturally as it goes down! The photo below is a perfect example for natural Paramount lighting, taken right at the beginning of the golden hour.
Every time!
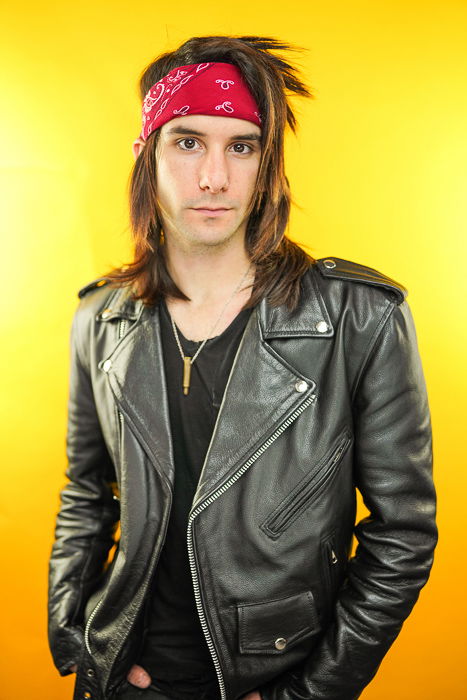
Just kidding, but truly this lighting arrangement tends to be very flattering for the majority of people that come in front of your lens. The overhead and angled light fills wrinkles and facial lines, creates a softness to the skin, and is truly timeless for a reason.
Now go out there and create some beautiful Butterfly lighting portraits!