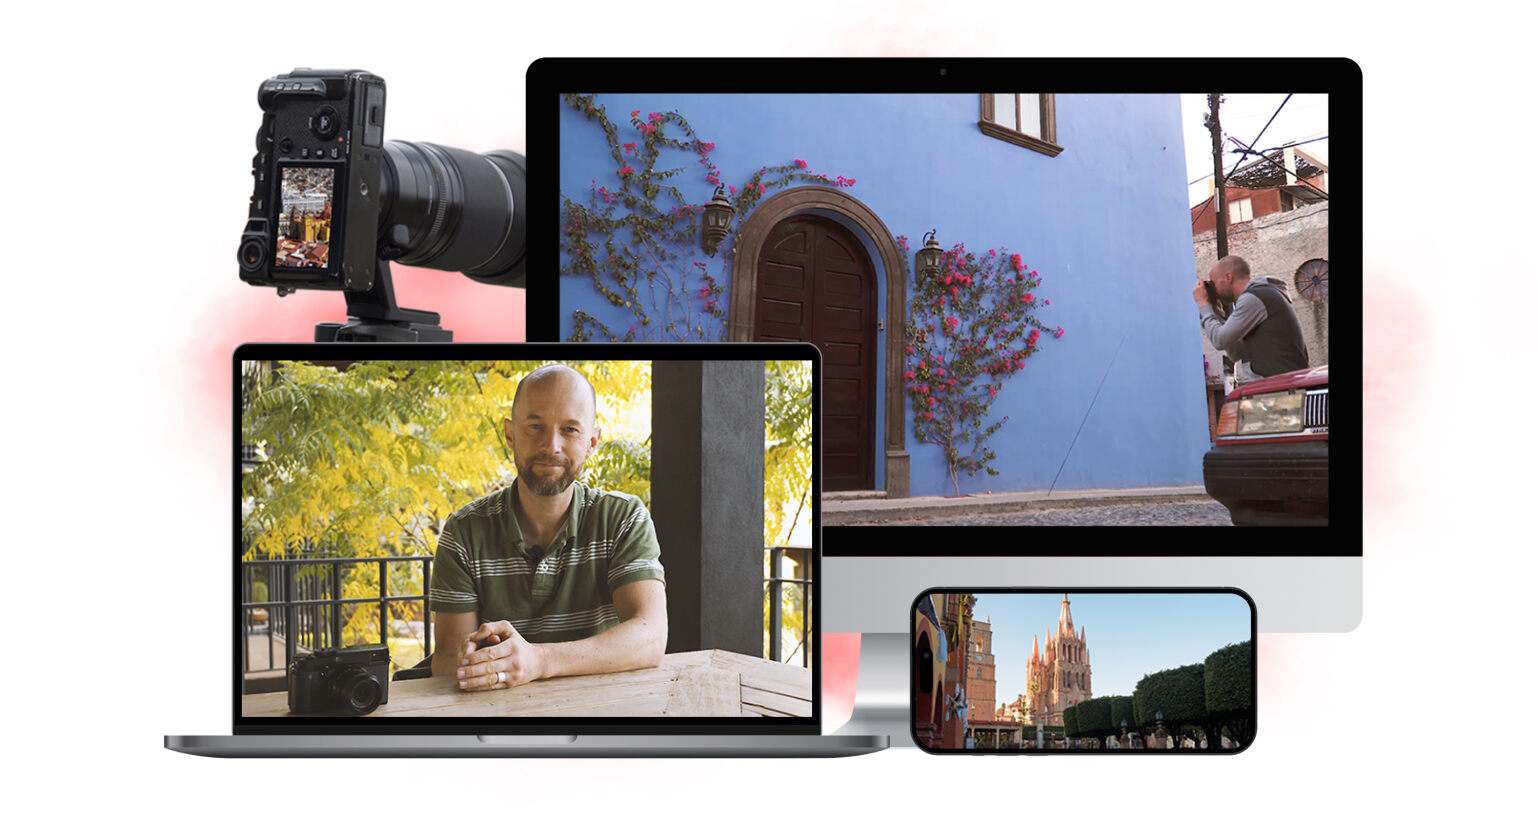
The aim of Photo Shortcuts from Photography Pro is to bring new life to your photography. The ideas are presented as tips, almost like recipes.
Is it enough to bring new life to your photography? Our review will take you through the product's strengths and weaknesses. We'll also look at alternatives, and we'll let you know if we think that these shortcuts from Photo Pro are good value for money. Read on!
Who Is the Course For? Photography Pros
‘Photo Shortcuts’ is promoted as a beginner (to medium) level course. It picks up where ‘Digital Camera Mastery‘ left off.
There is some overlap between the two, though, including the bonus module ‘Photography Fundamentals‘.
The creators claim that ‘Photo Shortcuts’ is ideal for users of any experience level. I would say that it’s aimed at beginner photographers with some experience in the field. I don’t recommend it for total beginners (you’ll find out why below).
‘Photo Shortcuts’ is a collection of step-by-step tutorials that help you through various scenarios. If you’re the type who prefers specific tips for specific tasks, it might be a good choice for you.
As with all the courses from Photography Pro, this course has a great flow and is structured well.
If you prefer learning through a video presentation over reading or in-person, it’s worth checking out. The production value of the course is outstanding.
My conclusion after watching the course is that it’s best for beginner photographers with a critical eye and thinking. Most of the shortcuts are practical and valuable, but some could be more refined.
‘Photo Shortcuts’ sells for $199, which is listed as an 80% discount from $995. In reality, the discounted price is always available.
The creators offer a 30-day money-back guarantee. If you buy it and decide that it’s not for you, it won’t be an expensive mistake.
Overview of ‘Photo Shortcuts’
The course has five modules, plus three bonus modules and a bonus PDF.- 7 Stunning Shots That You Can Take Today (8 Episodes)
- How To Use Light For Taking Extraordinary Photos (5 Episodes)
- Creative Shortcuts To Unique Travel Photography (8 Episodes)
- Landscape & Nature Photography (6 Episodes)
- Portrait Photography (5 Episodes)
- Bonus #1: Photography Fundamentals (4 Episodes)
- Bonus #2: Fundamentals Of Lightroom Editing (5 Episodes)
- Bonus #3: Trick Photography (7 Episodes)
- Bonus #4: Photography Cheat Sheets (in .pdf), a summary of the course
Although there is an advised order of completion, you can watch it in any order you want.
At the end of each episode, you will find a short summary of its contents, with timecodes.
In some cases, you get assignments. These usually involve photographing a particular scene or editing an image.
You’ll also become a member of Photography Pro’s Facebook group. You have the possibility to upload the assignments there to get feedback. It’s also advised that you provide constructive criticism on others’ works, too.
There are badges and achievements. The badges show up next to your name in the comments section. I am not a fan of these, because they do not reflect your knowledge, especially the “expert” badge. You have to collect 11 achievements to get it. You can’t do this without purchasing at least one more course from Photography Pro.
But this system can be inspiring for those who like gamification.
‘Photo Shortcuts’ is shot in San Miguel de Allende, Mexico. The beautiful location sets the vibe perfectly.
About the Creators
The author and presenter of ‘Photo Shortcuts’ is Mark Hemmings. He is a professional photographer from Canada.
His style of presentation is consistent and concise. The lessons are entertaining but get straight-to-the-point.
I’ve found one thing to be annoying. When watching the episodes, I had a recurring feeling that he was still trying to sell the course to me. He might do this to keep the viewers inspired, but my view is that the language should have been a bit more succinct.
Mark partnered with Photography Pro, a sister company to iPhone Photography School, to produce the course.
What I Really Liked
Despite my mixed feelings, there are things I really liked about the course.
Visual Quality
First, the video production is very nice. Photography Pro’s team put a lot of work into making it look great.
Every episode is available in Full HD resolution, which is ideal for desktop monitors and TVs, too.
Furthermore, most of the photographs shown throughout the course look great. It’s definitely a pleasure to watch despite some flaws in the content.
Sidebar Information
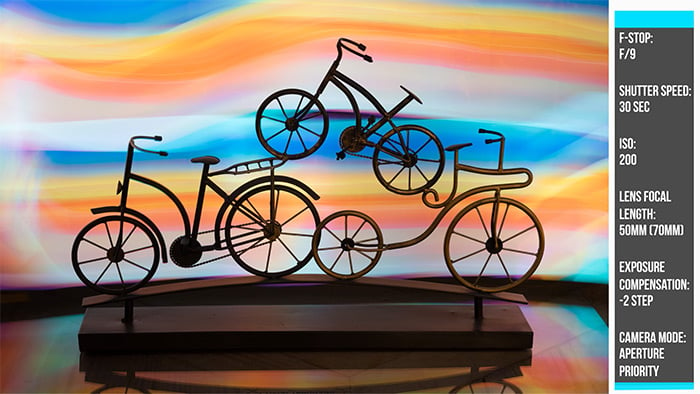
In most cases, when Mark shows a photograph, there’s a sidebar with all the information related to the shot.
The information includes exposure settings (aperture, shutter and ISO), focal length, and camera mode. It also shows other data where necessary.
After a while, you’re able to guess these settings by a small margin just by looking at an image. But until then, this information is valuable for photographers.
The Trick Photography Module
Despite one issue involving a laser and a camera (more on that later), I loved the Trick Photography episodes.
The photos and techniques in this module are particularly inspiring, although not very unique. This shot below is an exception, I haven’t seen this one before.
Mark created it by waving his iPad in the background while shooting a long exposure.
Other tips in this module include:
- Using panning to capture a moving object,
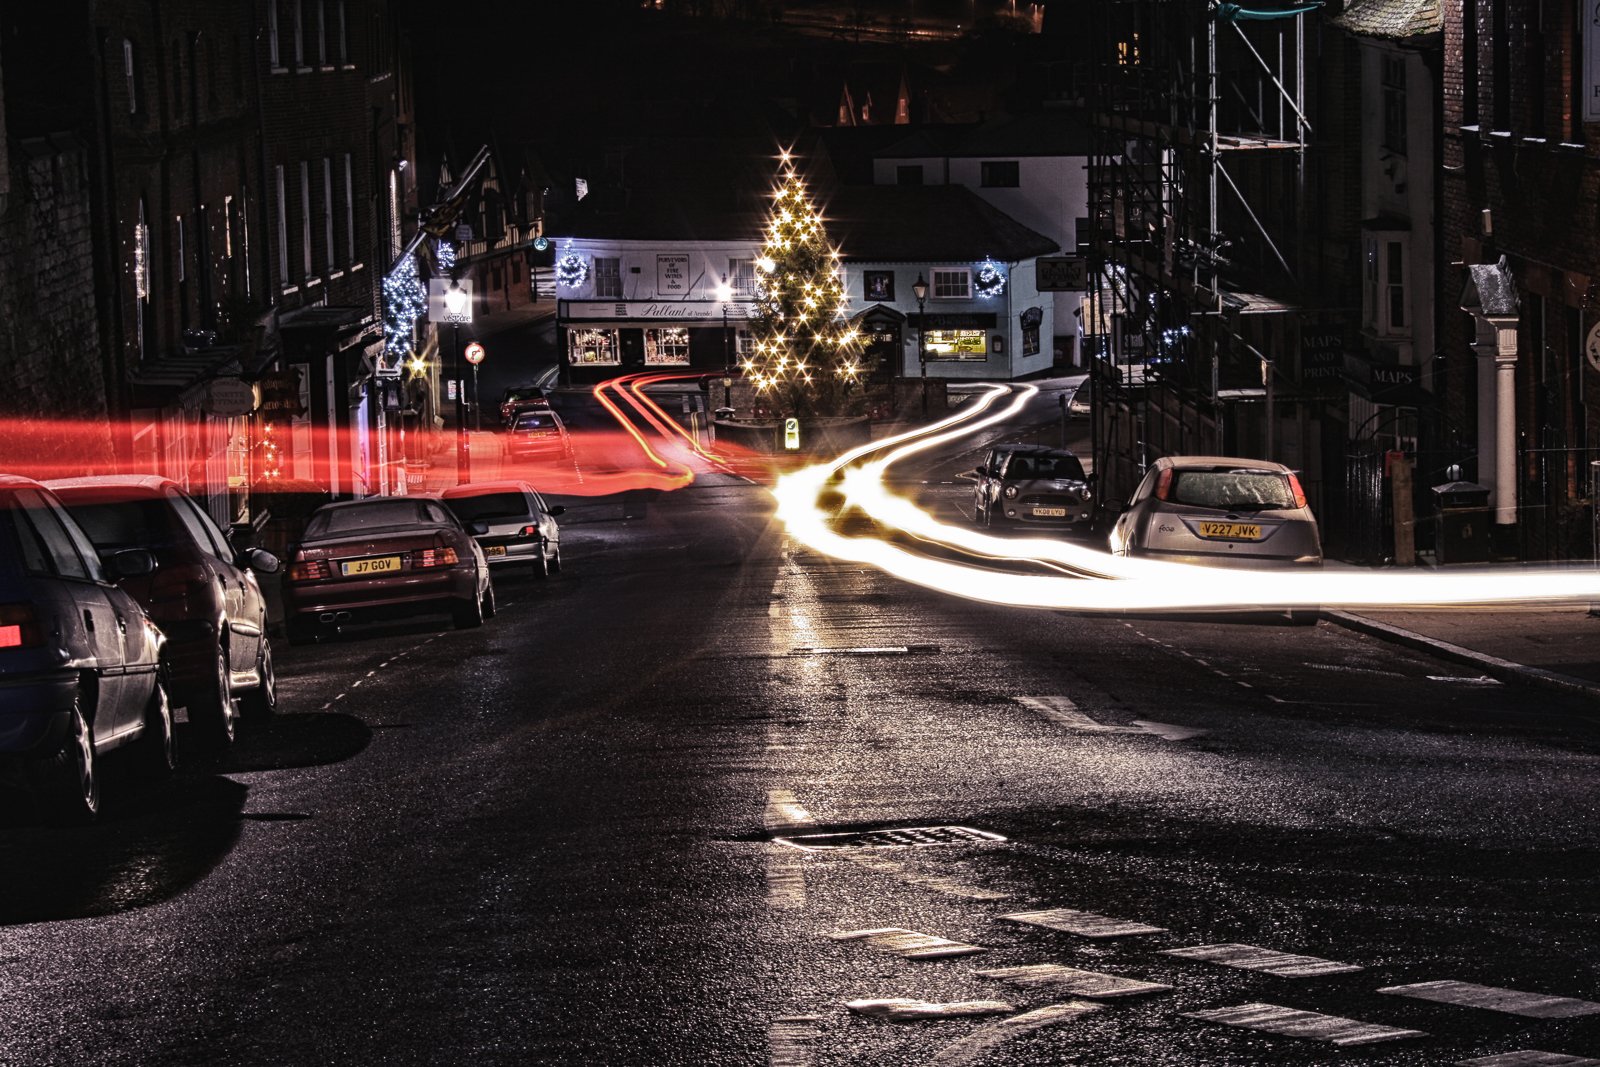
- Playing with car headlights using long exposure,
- Time-lapses – a sneak peek,
- How to pose and shoot forced scale photos,
- Abstract, out of focus portraits,
- Lights out of focus – creating bokeh balls from highlights.
Approach to Lighting
I love how Mark emphasises the effect of light.
A great example is the chapter called “How To Get Professional Photos Without A Studio” in Module 5. It’s a brief but insightful presentation about your options for directing light.
He talks about options to shape it, work around it, and prepare for different lighting situations. This is something many other courses miss out on, even though it’s the very core of photography. Mark definitely has great knowledge in this area.
Some overlaps can be found between this chapter and ‘Digital Camera Mastery’.
Areas to Improve
If you’ve read my review about ‘Digital Camera Mastery’, Mark’s beginner course, some of these may sound familiar. But these areas are more pronounced in ‘Photo Shortcuts’.
Keep in mind though, that this is a higher-level and more expensive product than DCM.
Oversimplification and Accuracy
Mark often oversimplifies technical considerations and camera settings. This might happen in an effort to make the viewers understand them easier, but it takes away value.
As ‘Photo Shortcuts’ is not exactly a beginner course. The creators should have paid more attention to the small details.
I’m talking about little things.
For example, when Mark says that optical image stabilization doesn’t matter when photographing on a tripod. (In my experience, it does, and you should turn it off. It’s often the very thing that causes motion blur, especially with third-party lenses.)
Or, when he divides lenses into two categories: wide-angles and zooms. Of course, there are plenty of lenses that fall into both categories. This is a typical mistake many beginners make, so I was surprised to find it in a professional tutorial.
Aperture priority is used too much, in my opinion (it might be what works best for him). There is a chapter about blurring your subjects on the street for added drama. Mark’s advice is to shoot aperture priority at the highest setting. You’re much better off using manual or shutter priority. That way, you can set your desired shutter – which determines blur – and not only hope for a good result. Other scenarios mentioned (night events, sports, fireworks, and more) can also be easier to achieve using different modes.
Autofocus advice is often only comprised of “using normal autofocus”. This appears in an episode about shooting festivals and events in dark conditions with fast-moving subjects. There are other episodes depicting tricky situations. I would have liked to hear a further explanation of autofocus settings in these episodes. In my experience, autofocusing in such conditions can be challenging. Eye detection systems also struggle quite a bit there (except the newest Sony A7 models).
These are little things, and it wouldn’t be a big deal if there were a few of them. But there’s plenty of them, throughout the course, in almost every episode. The minor mistakes add up.
Don’t Do This Trick at Home
There was a moment in the Trick Photography bonus module (which I liked otherwise) when Mark pointed a laser at his camera
I don’t know how strong that laser was, but it can damage your eyes and your camera’s sensor. Don’t ever do that.
I spent some time repairing photo gear in the past, and I once came across a sensor with laser damage. It’s not a cheap fix.
Insufficient Coverage
I felt that some episodes were lacking more advanced tips.
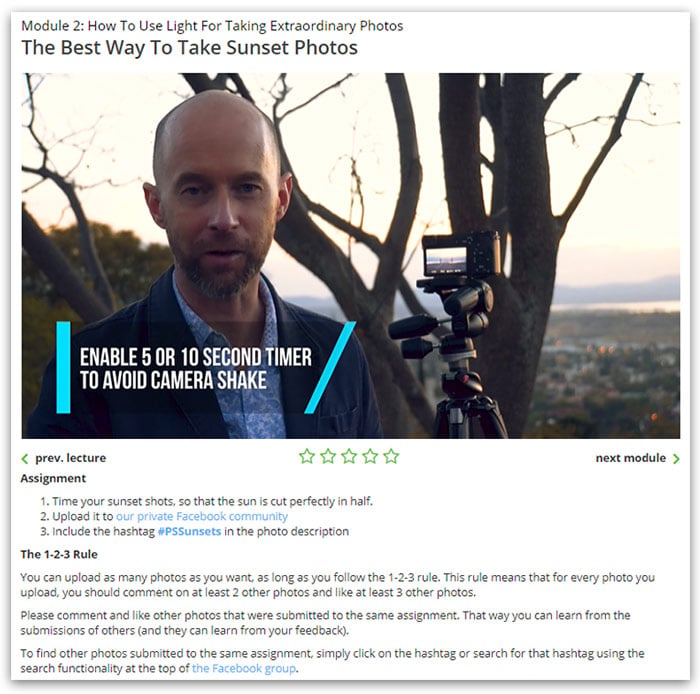
For instance, in the “Best Way To Take Sunset Photos” episode of Module 2, Mark should have covered HDR. Sunsets and sunrises are prime examples of when to use exposure bracketing – Mark didn’t point that out.
Instead, he talks about how to take advantage of the position of the sun to balance out foreground and background brightness. This, in itself, a great lesson, but not enough.
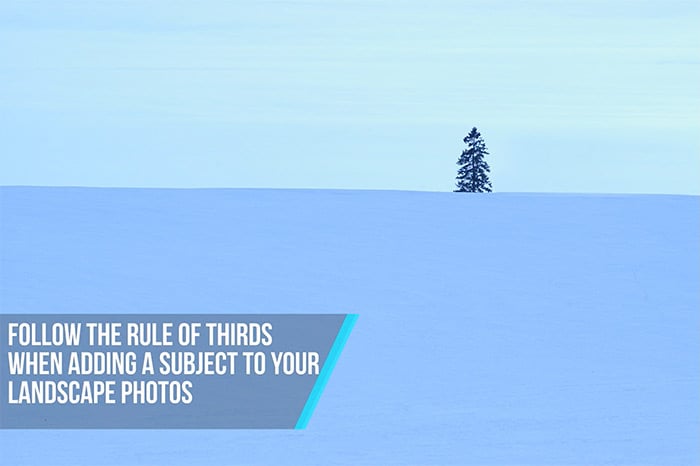
Let me bring another example in the “5 Extraordinary Landscape Shots” episode of Module 4.
Throughout the five images, the only compositional tip he gives is the rule of thirds, over and over. The shots are not so extraordinary either, though this is just my humble opinion.
This doesn’t take away value, but I expected more.
Alternatives
I couldn’t find direct alternatives to ‘Photo Shortcuts’.
‘Photo Shortcuts’ is what the name covers – tips and tricks to shortcut your learning curve in photography.
Plenty of the shortcuts are presented in our ‘Photography for Beginners’ course, too. But keep in mind that that’s really a beginner course.
Conclusion
Clearly, a lot of effort went into creating ‘Photo Shortcuts’. The production value is great, the scenery is stunning, and the images shown are nice, most of the time.
But overall, I have a mixed opinion on it, and I don’t think it’s for everyone. If you want a course that you can take as scripture, I have to advise against ‘Photo Shortcuts’. It’s often inaccurate in the details.
If you have great basic knowledge, a critical eye and want a course to broaden your horizon, I recommend it. Check it out here.
Scores
To standardise and compare our product reviews, we’ve decided to use a scored-based ranking system. To learn more about interpreting these numbers and how other courses measure, please visit our review roundup page here.
[scores price="no" product="31114″ tag="expertphotog-20″ toc="no" left_title="Measurement" right_title="Score"]

